
Cute Crochet Amigurumi Hamster Free Pattern For Animal Lovers
Make a cute Crochet Hamster Plushie with this free pattern that guides you step by step to create an adorable handmade stuffed animal easily.
Finding a soft toy that feels comfortable to hold and has a funny little face can be a lovely surprise for animal lovers. The Crochet Hamster Plushie is a sweet yarn animal inspired by the tiny pets many people love. Its chubby body and innocent appearance give it a lovable look that can easily catch anyone's attention.
Mini Crochet Hamster Plushie Free Pattern With Round Cheeks
Hamsters are known for their round cheeks, and this plushie can show that feature beautifully. Its wide face, small ears, and tiny pink nose help give it the appearance of a real hamster. The short front feet and almost hidden tail add to its round shape. You can use cream, golden, or white yarn with brown patches to give it natural hamster colors.
This plushie can be worked using simple crochet stitches. The body is shaped into a full, round form, while the ears and feet are added as smaller pieces. Soft stuffing helps give it a plump appearance. The eyes and nose can be stitched carefully to complete its face.
You can keep this hamster on your pillow, place it in a toy hammock, or use it to decorate a little girl's room. It is also a nice birthday present for someone who owns a pet hamster. Children can include it in their pretend pet games or keep it with their favorite stuffed animals.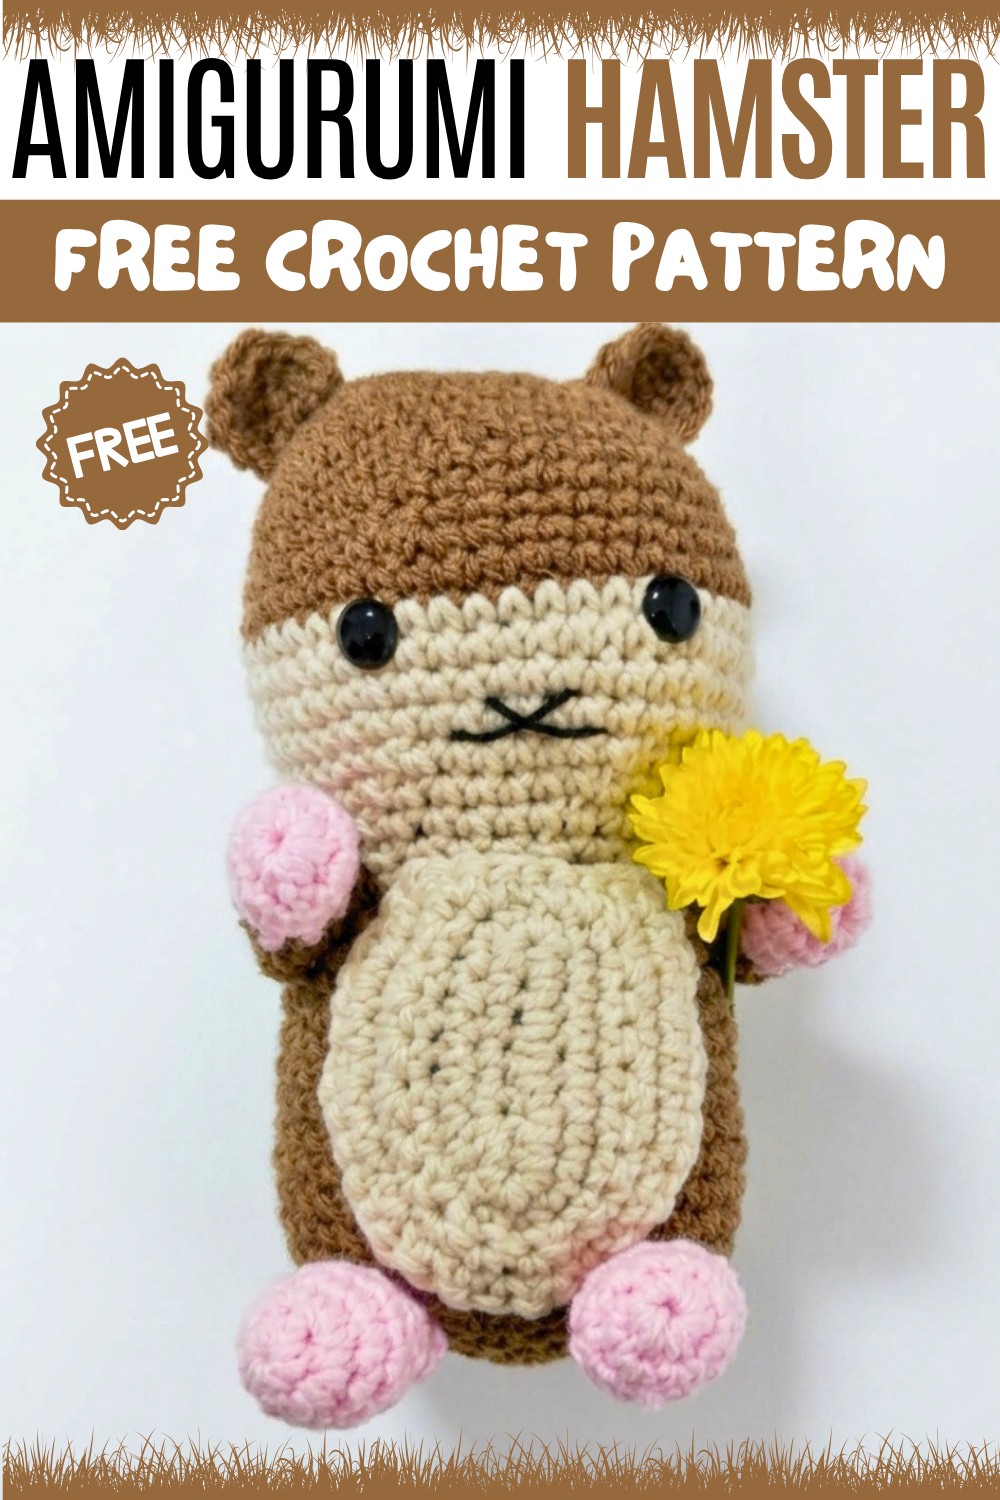
One fun thing about this hamster is its chubby cheeks, which give it a funny expression. Its short legs and round belly help it look like a tiny pet resting after a meal.
Crochet Hamster Amigurumi Pattern
About the Pattern
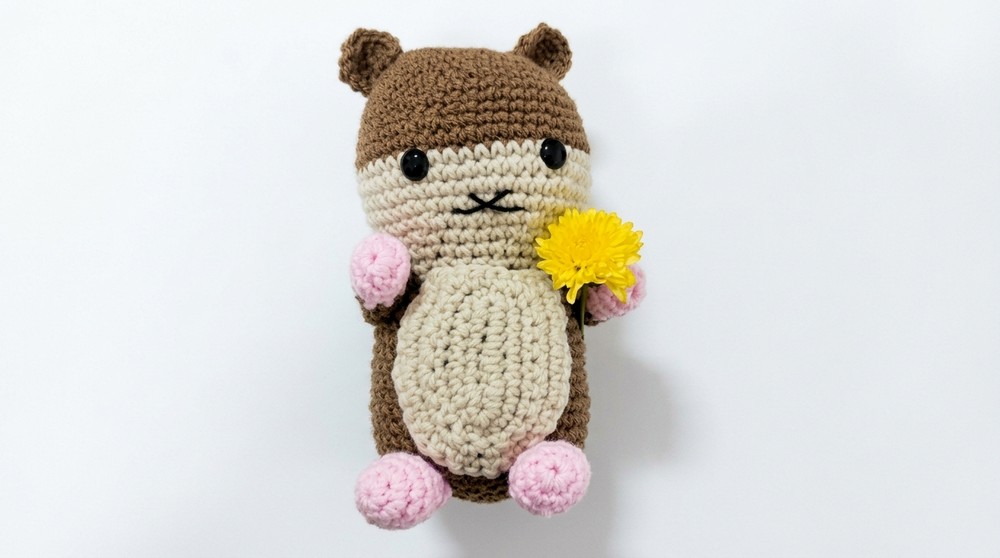
This amigurumi hamster pattern creates an irresistibly plump and lifelike figure, accentuated by smooth color changes and three-dimensional limb and belly construction. The body is made in a continuous spiral, with strategic increases and decreases for gentle shaping and a seamless look. The pattern features small, moveable limbs and ears, a belly patch, and an embroidered face for maximum personality and warmth, making it suitable as a toy or decorative collectible.
Pattern at a Glance
- Construction: The hamster is worked from the head down to the body in one piece, changing colors for realistic markings.
- Features: Color change for the muzzle and back, attached belly panel, shaped arms and legs, small folded ears, and face embroidered with a nose and mouth.
- Finishing: All appendages are sewn on for durability, making the finished hamster soft, sturdy, and detailed.
Important Notes
- Use a tight tension to ensure stuffing does not show and maintain the shape of small limbs.
- Color changes should be made at the last yarn over of the previous stitch to achieve a sharp transition.
- Stuff firmly as you go, especially in the head and body, to avoid lumps.
- Safety eyes should be securely fastened between the color change rounds for best expression.
- Counting is especially important when working increases and decreases to keep shaping balanced.
Difficulty Level
- Beginner to Intermediate: Requires familiarity with spirals, increasing and decreasing, simple color changes, and basic sewing/embroidery for assembly.
Supplies Needed
- Worsted weight yarn: cream (main), oat (for muzzle), brown (for back and limbs), pink (paws)
- 3.5 mm crochet hook
- Polyester fiberfill stuffing
- 8–12 mm black safety eyes
- Black embroidery thread or yarn (face)
- Yarn needle (assembly and embroidery)
- Stitch marker
- Small scissors
Size & Measurements
- Approximate finished size: 14–16 cm (5.5–6 inches) tall, width is proportional for a chubby hamster.
Gauge & Stitch Details
- Gauge: Not critical, but stitches must be tight and even. Approximately 7–8 rounds and 8–10 stitches per 2.5 cm (1 inch).
- Work in continuous spiral rounds, using a stitch marker to mark the first stitch of each round.
Crochet Abbreviations
- sc – single crochet
- inc – increase (2 sc in 1 stitch)
- dec – decrease (sc 2 together)
- ch – chain
- sl st – slip stitch
- MR – magic ring
- st(s) – stitch(es)
- FO – fasten off
Special Stitch Guide
- Magic Ring (MR): Start with a loop, crochet stitches into the center, and pull tight.
- Color Change: On the last pull-through of the last stitch before new color, switch yarn.
- Fold & Slip Stitch Closed: Flatten open end and slip stitch through both sides for a closed, oval result, perfect for limbs and ears.
Complete Crochet Pattern
Head & Body (Worked in One Piece)
- MR: 6 sc in magic ring (6 sts)
- R2: Inc in every stitch (12 sts)
- R3: (1 sc, inc) repeat around (18 sts)
- R4: (2 sc, inc) repeat (24 sts)
- R5: (3 sc, inc) repeat (30 sts)
- R6: (4 sc, inc) repeat (36 sts)
- R7: (5 sc, inc) repeat (42 sts)
- R8–10: 1 sc in each stitch (42 sts per round)
- R11: (6 sc, inc) repeat (48 sts)
- R12–13: 1 sc in each stitch (48 sts per round)
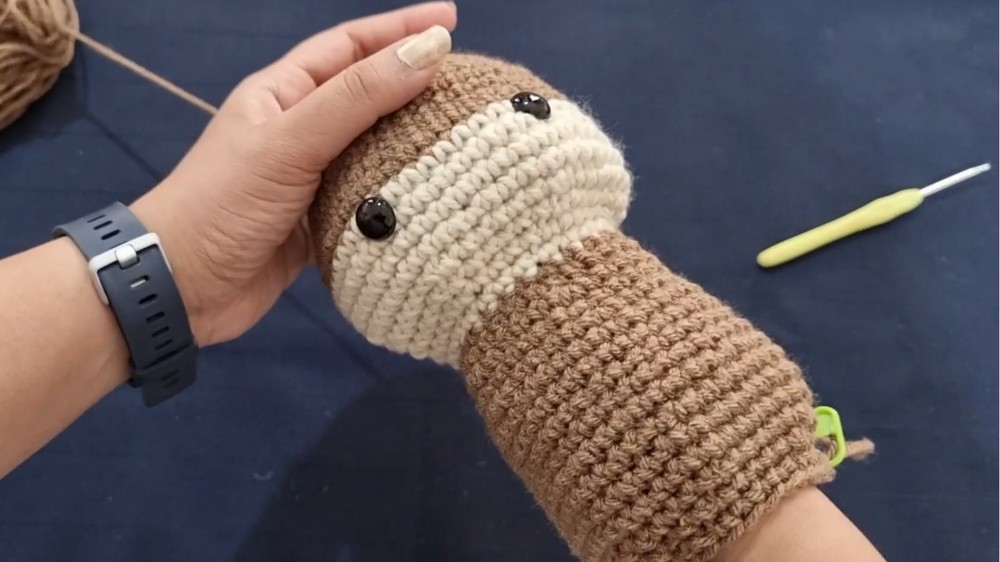
- R14–17: Change to oat yarn. 1 sc in each stitch (48 sts per round)
- At this stage, insert safety eyes between the cream and oat color change rows—space evenly for facial symmetry.
- R18: (6 sc, dec) repeat (42 sts)
- R19: (5 sc, dec) repeat (36 sts)
- R20: (4 sc, dec) repeat (30 sts)
- R21: (3 sc, dec) repeat (24 sts)
- R22: Change to brown yarn. (3 sc, inc) repeat around (30 sts)
- R23: 1 sc in each stitch (30 sts)
- R24: (4 sc, inc) repeat (36 sts)
- R25: 1 sc in each stitch (36 sts)
- R26: (5 sc, inc) repeat (42 sts)
- R27–34: 1 sc in each stitch (42 sts per round)
- R35: (5 sc, dec) repeat (36 sts)
- R36: (4 sc, dec) repeat (30 sts)
- R37: (3 sc, dec) repeat (24 sts)
- R38: (2 sc, dec) repeat (18 sts)
- Firmly stuff head and body at this stage, making sure shape is even and plump.
- R39: (1 sc, dec) repeat (12 sts)
- R40: Dec 6 times, FO. Weave end through the last stitches to close and hide the tip.


Ears (Make 2)
- MR, 6 sc in ring
- Ch 1, turn, inc in each stitch (12 sts)
- FO, leave long tail for sewing. Do not stuff.
Arms (Make 2)
- With pink yarn: MR, 9 sc; work 3 rounds of 9 sc.
- Switch to brown yarn: 4 rounds of 9 sc.
- Flatten opening, slip stitch through both sides to close.
- FO and leave a tail for sewing.
Legs (Make 2)
- MR, 6 sc
- Inc in each stitch (12 sts)
- 3 rounds: 1 sc in each stitch (12 sts)
- 4 dec, then 4 sc (8 sts total)
- 3 rounds: 1 sc in each stitch (8 sts)
- Fold opening, slip stitch to close.
- FO, leave tail for sewing.
Belly Patch
- Ch 9
- 2 sc in 2nd ch, 6 sc, 4 sc in last ch.
- Continue on other side: 6 sc, 2 sc in first ch (20 sts).
- Continue working back and forth in rows, increasing at corners as needed, forming a U-shape.
- Repeat rows, increasing along each “turn” until the patch reaches 30 sts, or fits the hamster’s belly area.
- FO and leave tail for sewing.
Assembly & Finished Size
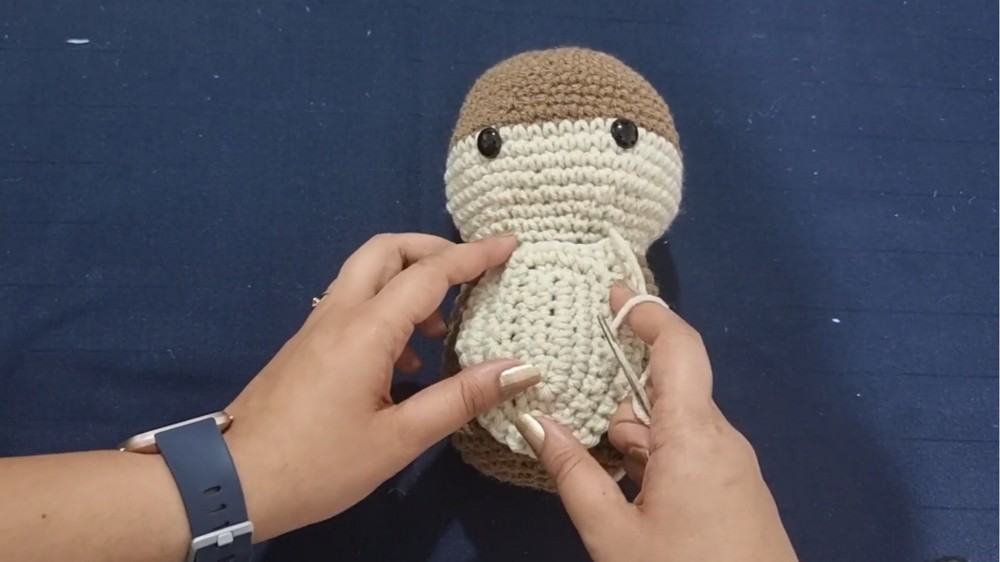
- Center and sew belly patch securely to the hamster’s front.
- Attach legs at base, then arms slightly forward and at the sides.
- Stitch ears to the top sides of the head, folding at the base for a slight curve.
- Use black yarn or thread to embroider the nose and mouth between the safety eyes on the white/oat section.
- Finished hamster stands approximately 14–16 cm tall, plush and sturdy.

Conclusion
This hamster pattern combines detailed body shaping with individual appendages and expressive embroidery, resulting in a realistic and gentle creature. The construction method produces a seamless, weighted feel that is balanced and pleasant in hand. With smooth color transitions and careful assembly, the finished hamster blends both cuteness and lifelike charm, making it desirable for gifting, collections, or heartfelt companion crafting.