
Cuddly Crochet Panda Bear Amigurumi Pattern That Wows
Snuggle up with a cute and cuddly friend using this Free Crochet Panda Bear Amigurumi Pattern that's perfect for gifts or cozy décor.
There’s something undeniably adorable about a handmade panda crocheted with soft yarn, the perfect mix of charm and cuddliness! These little Crochet Panda Bear Amigurumi Pattern can be used as thoughtful gifts, delightful home decor, or comforting toys for children of all ages. Unlike mass-produced plushies, creating your own panda bear amigurumi brings a touch of uniqueness and love to every stitch.
Magical Crochet Panda Bear Amigurumi Pattern That Pops
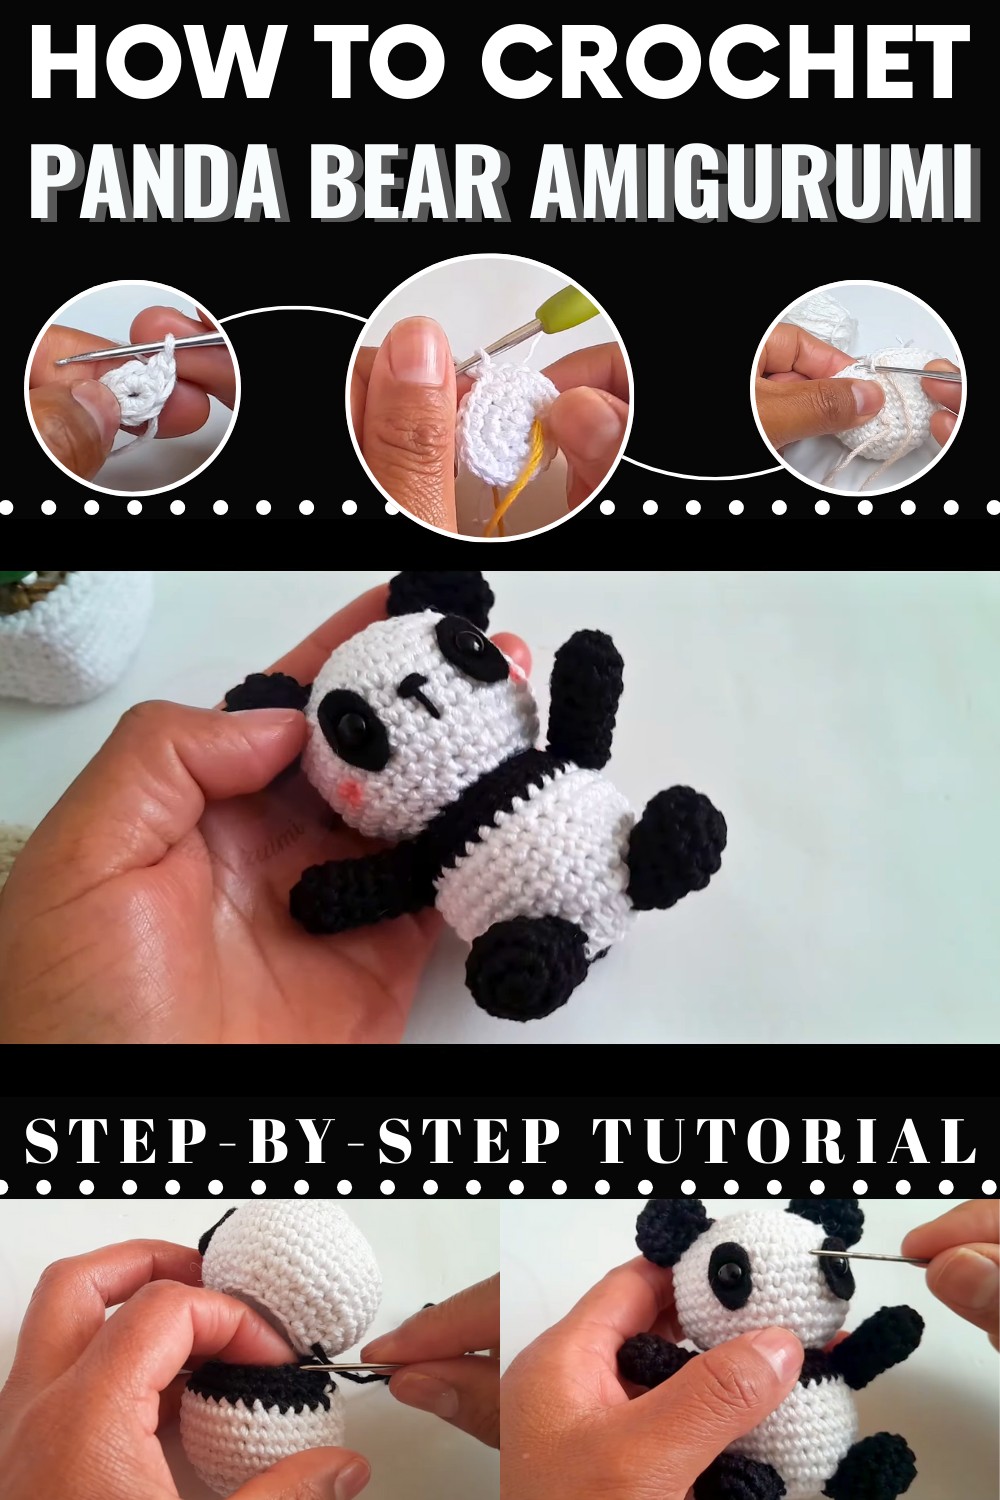
Crafting a panda amigurumi can also be a stress-relieving activity, offering a sense of accomplishment when you finish your cute creation. Whether for gifting or as a thoughtful keepsake, a crochet panda pattern is a wonderful way to express love and creativity through handmade art.

Amigurumi Panda Crochet Pattern
Skill Level:
Intermediate
Finished Size:
Approximately 9cm tall
Materials Needed:
Yarn:
- White Yarn: Worsted weight cotton for the main body and head.
- Black Yarn: Worsted weight cotton for arms, legs, ears, tail, and details.
Additional Materials:
- Safety Eyes: Size 7mm, for the panda's face.
- Black Felt: Cut into ovals for the eye patches.
- Blush (Optional): For rosy cheeks.
- Stuffing: Synthetic polyfill fiber stuffing to fill the toy.
- 2mm Crochet Hook
- Tapestry Needle: For sewing pieces securely.
- Scissors: Sharp scissors for clean cuts.
- Stitch Marker: Optional, but helpful to track rounds.
Key Abbreviations:
| Abbreviation | Meaning |
|---|---|
| MR | Magic Ring |
| ch | Chain |
| sc | Single Crochet |
| st | Stitch |
| inc | Increase (2 sc in one stitch) |
| dec | Decrease (Invisible decrease over next 2 stitches) |
| sl st | Slip Stitch |
Special Notes:
- Crochet in Continuous Rounds: Always work in a spiral unless otherwise specified (no slip stitches at the end of rounds).
- Use Stitch Markers: To mark the first stitch of each round for easier tracking.
- Adjust Tension: Your tension and yarn thickness might slightly affect the size of the panda.
Pattern Instructions
Legs (Make 2):
- Round 1: Using black yarn, create MR, work 6 sc into the ring. Tighten and secure. (6 sts)
- Round 2: Inc in each st around. (12 sts)
- Rounds 3-4: Work 1 sc in each st. (12 sts per round)
- Round 5: Work 2 inc, followed by 4 dec, ending with 2 inc. (12 sts)
- Fasten off, leaving a long tail for sewing to the body. Repeat steps to make the second leg.

Tail:
- Round 1: Using black yarn, create MR and work 6 sc. Tighten. (6 sts)
- Round 2: Alternate 1 sc, 1 inc across the round. Repeat 3 times. (9 sts)
- Round 3: Work 1 sc evenly in each st. (9 sts)
- Round 4: Alternate 1 sc, 1 dec across the round. Repeat 3 times. (6 sts)
- Fasten off, leaving a long tail. Do not fill the tail—it should remain flat for the final look.
Arms (Make 2):
- Round 1: Using black yarn, create MR and crochet 7 sc. Tighten. (7 sts)
- Rounds 2-7: Work 1 sc evenly in each stitch around. (7 sts per round)
- Fasten off, leaving a long tail for sewing. Repeat steps to make the second arm.
Ears (Make 2):
- Round 1: Using black yarn, create MR and crochet 6 sc. Tighten. (6 sts)
- Round 2: Work inc in each st around. (12 sts)
- Round 3: Work 1 sc in each st. (12 sts)
- Round 4: Alternate 2 sc, 1 dec for three repetitions. (9 sts)
- Fasten off, fold the ear in half, and pinch the bottom together before sewing to the head. Leave a long tail for sewing.
Body:
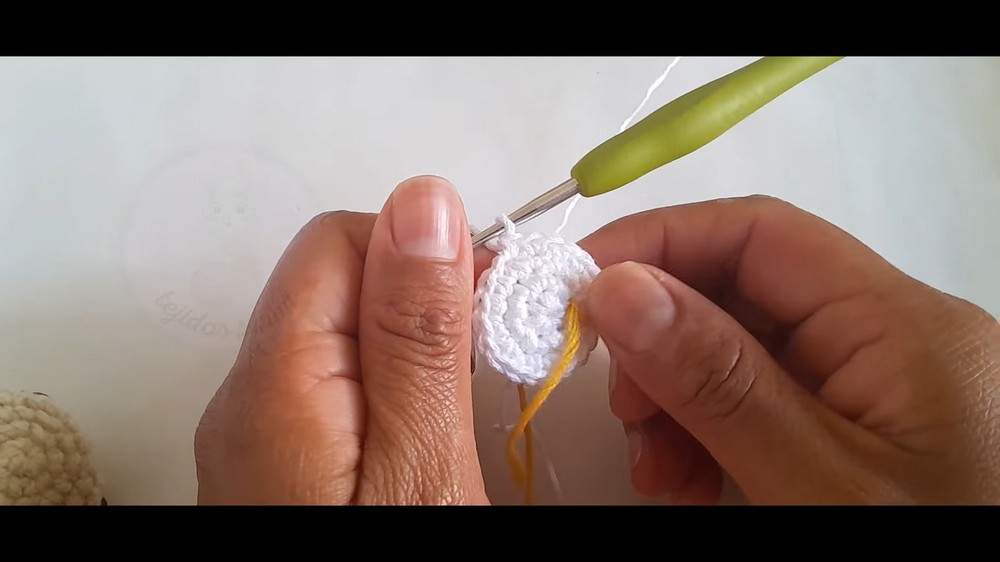
- Round 1: Using white yarn, create MR and crochet 6 sc. Tighten. (6 sts)
- Round 2: Work inc in each st. (12 sts)
- Round 3: Alternate 1 sc, 1 inc around. (18 sts)
- Round 4: Alternate 2 sc, 1 inc around. (24 sts)
- Round 5: Alternate 3 sc, 1 inc across the round. (30 sts)
- Rounds 6-10: Work 1 sc evenly in each stitch around. (30 sts per round)
- Round 11: Switch to black yarn before finishing the last st. Work 1 sc in each st across the round. Secure the yarn color change. (30 sts)
- Round 12: Work 3 sc, 1 dec across the round. (24 sts)
- Round 13: Alternate 1 sc, 1 dec across the round. (18 sts)
- Fasten off, leaving a tail for sewing the head. Fill the body firmly with stuffing.

Head:
- Repeat Rounds 1-4 (same as the body) in white yarn.
- Round 5: Alternate 3 sc, 1 inc across the round. (30 sts)
- Round 6: Alternate 2 sc, 1 inc, 2 sc across the round. (36 sts)
- Rounds 7-13: Work 1 sc evenly in each stitch. (36 sts per round)
- Round 14: Alternate 2 sc, 1 dec for nine repetitions. (27 sts)
- Round 15: Alternate 1 sc, 1 dec across the round. (18 sts)
- Fasten off, leave a long tail, and add stuffing.

Assembly:
- Eyes:
- Cut two black felt ovals (approx. 1.5cm x 1cm).
- Punch small holes in each oval for the safety eyes.
- Place felt patches between Rounds 9-10 of the head, 6 stitches apart. Secure safety eyes.
- Nose:
- Embroider a small, curved nose using black thread on the head near the center of the safety eyes.
- Sewing:
- Attach the head to the body, ensuring the color change on the body aligns at the back.
- Sew the arms near Rounds 10–13 of the body.
- Sew the legs near Rounds 3–6 of the body.
- Attach the ears symmetrically between Rounds 4–7 of the head.
- Sew the tail centered at the back of the body.

Conclusion:
Congratulations! Your 9cm amigurumi panda is complete. The design is versatile for keychains, gifts, or decorations. Experiment with blush and accessory ideas, like bows or small props, to give your panda unique personality.
Pattern Correction & Tips:
- Ensure tight stitching to avoid gaps when stuffing.
- Double-check counts at the end of each round to maintain shape consistency.
- If desired, glue rather than sew felt features to save time (recommended for decoration only, not for toys intended for young children).