
Crochet Stingray Amigurumi Pattern for Handmade Gifts
Enjoy crafting an adorable stingray with this crochet pattern, offering a cozy and versatile gift or a playful home accessory.
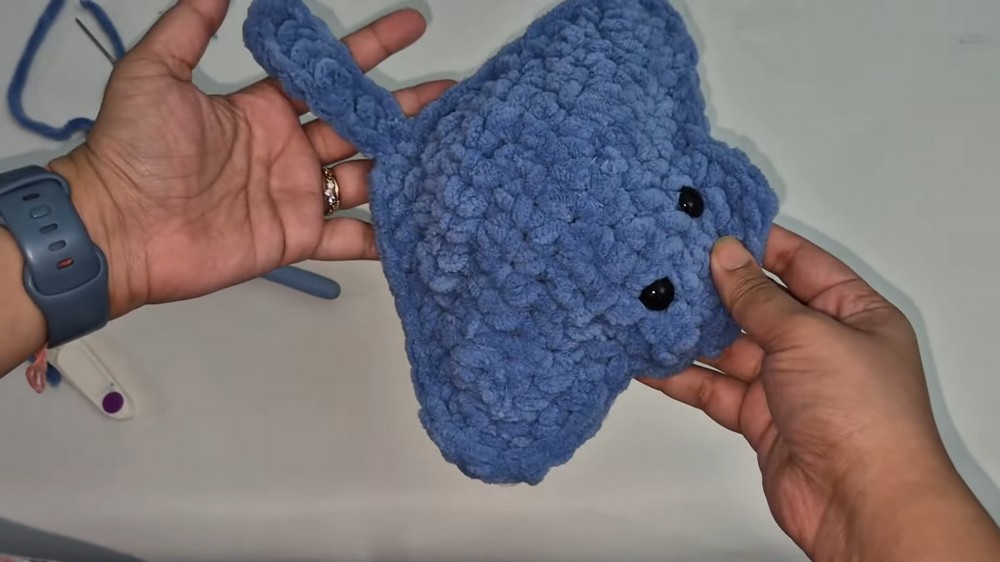
The adorable appearance, with a round body, gentle curves, and charming safety eyes, brings life to any space. Whether as a toy, decor, or gifted as a handmade gesture, this stingray’s versatility makes it a lasting piece for all ages. The two-toned yarn gives it depth and vibrance, making it visually appealing and unique, while its soft finish adds a touch of cozy delicacy.
Crochet Stingray Amigurumi Pattern
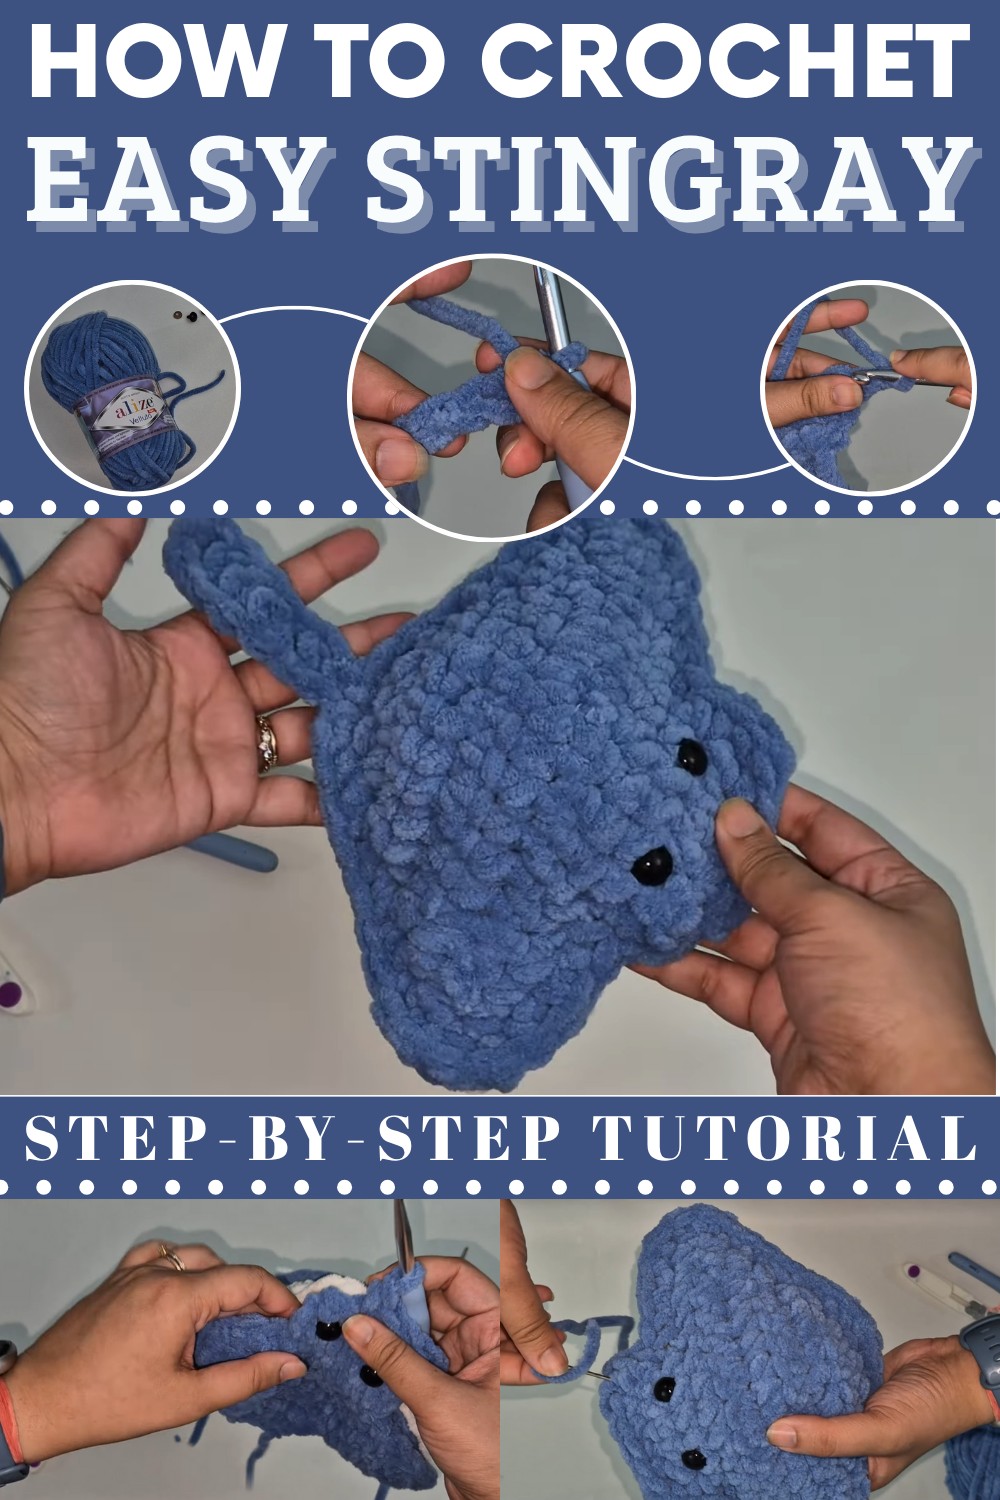
Crochet Stingray Amigurumi Pattern
If you dislike sewing but love quick and easy crochet pattern, this stingray amigurumi is perfect for you! This beginner-friendly, no-sew crochet guide works up quickly into a cute, squishy plush toy suitable for markets, gifts, or decor. Follow this detailed guide to create your own stingray using super bulky yarn and basic techniques. Let's dive into the materials, stitch guide, and step-by-step pattern instructions!
Materials
To create this stingray, you will need the following materials:
- Super bulky yarn: Suggested yarn is Alize Voluto or any super bulky yarn. You will need two colors—one for the top of the stingray and one for the belly (blue and white were used in the video).
- Crochet hook: A 7 mm hook (recommended).
- Safety eyes (10 mm): Optional, for adding personality to your stingray’s face.
- Scissors: For snipping yarn ends.
- Yarn needle: For weaving in ends.
- Stuffing material: Use fiberfill, polyfill, or even leftover yarn scraps.
- Stitch markers: Optional, to mark stitches if working with super bulky yarn feels difficult in the initial rows.
Abbreviations
Let’s help you understand the common crochet abbreviations used in this pattern:
- ch: Chain
- sc: Single crochet
- inc: Increase (two single crochets in same stitch)
- sl st: Slip stitch
- st(s): Stitch(es)
- yo: Yarn over
Step-by-Step Pattern Instructions
1. Top Part of the Stingray (Body Section)
- Start with blue yarn (or any color for the top of your stingray).
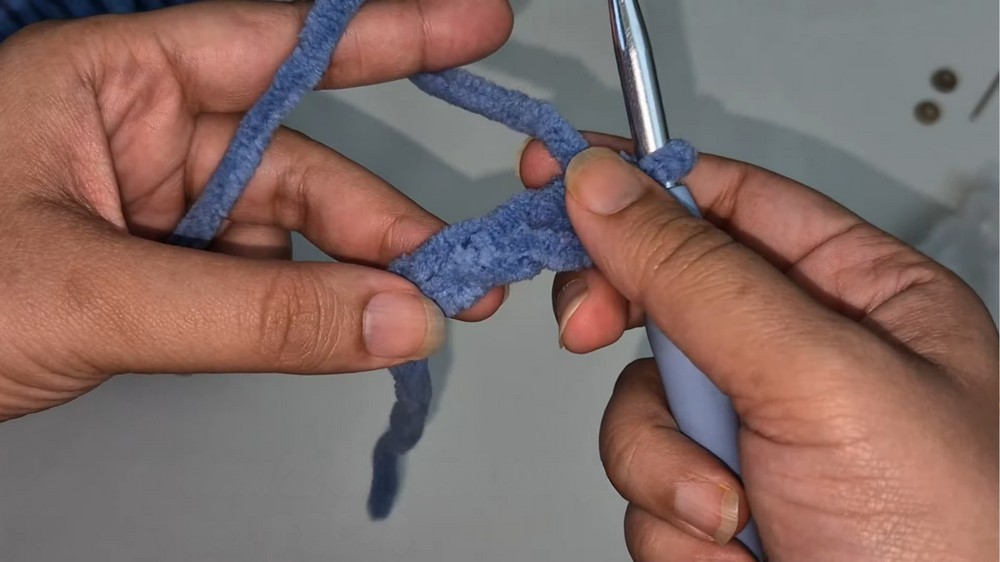
- Make a slip knot and insert the hook.
- Chain 4.
ch 4 - Skip the first stitch, then:
- Work 1 sc in the second stitch.
- Work 2 sc (inc) in the third stitch.
- Work 1 sc in the fourth stitch.
- You now have 4 stitches. Ch 1, turn the work.
- Row 2:
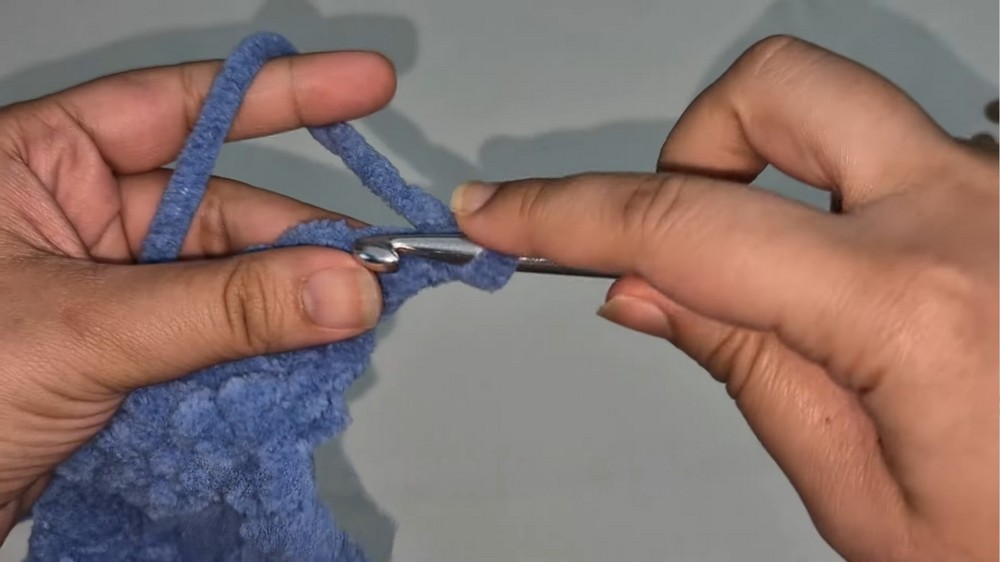
- Into each stitch in the row, work 2 sc (inc).
- You’ll end up with 8 stitches. Ch 1, turn.
- Row 3:
- Work an inc in the first stitch.
- Do 1 sc in each subsequent stitch until the last stitch.
- Work an inc into the last stitch.
- You’ll now have 10 stitches. Ch 1, turn.
- Repeat this process:
- For each row, start and end with increases while placing 1 sc in between. Your stitch count increases by 2 per row.
- Continue until you reach 18 stitches in total.
- After completing the last increasing row (18 stitches), make one more row without increasing:
- Chain 1, turn your work, and place 1 sc in each stitch across the row for 18 stitches total.
- Fasten off the blue yarn, leaving the tail to weave in later.
(You’ll repeat the body section using white yarn to create the bottom part of the stingray.)
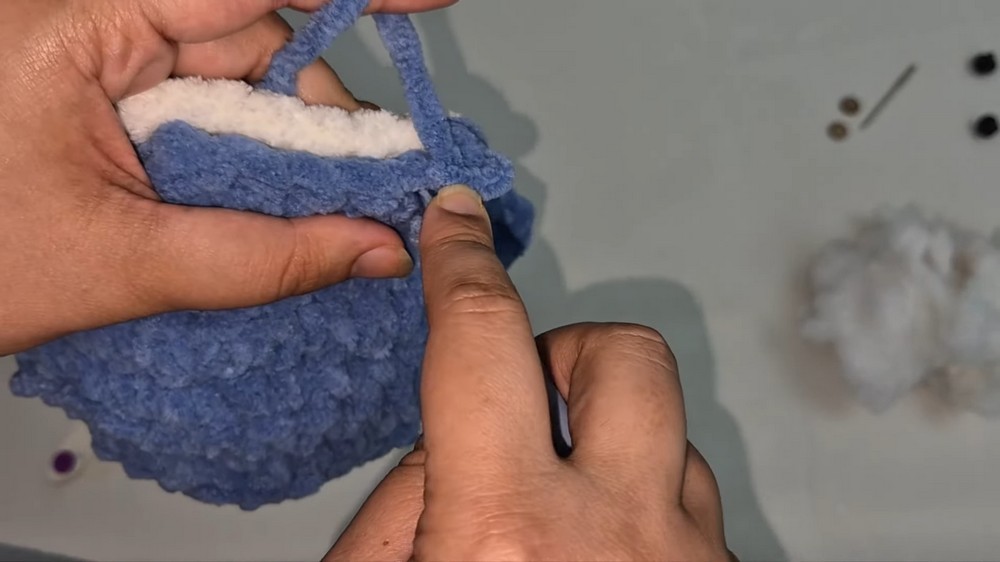
2. Stingray’s Head
- On the top piece (blue), identify 18 stitches at the top edge and divide them into three sections of 6 stitches each.
- Count 6 sts, skip them, and attach your blue yarn at the 7th stitch.
- Work 6 sc across the row.
- Ch 1, turn, and work 6 sc back.
Leave blue yarn attached here—do not fasten off yet.
3. Belly Part
- Repeat Steps 1-10 above to create the bottom section of the stingray in white yarn or any chosen belly color.
4. Assembly
- Place the top (blue) and bottom (white) pieces together with their edges aligned.
- Ensure the stitches match row by row.
- Reinsert the hook into the blue yarn you left attached to the headpiece.
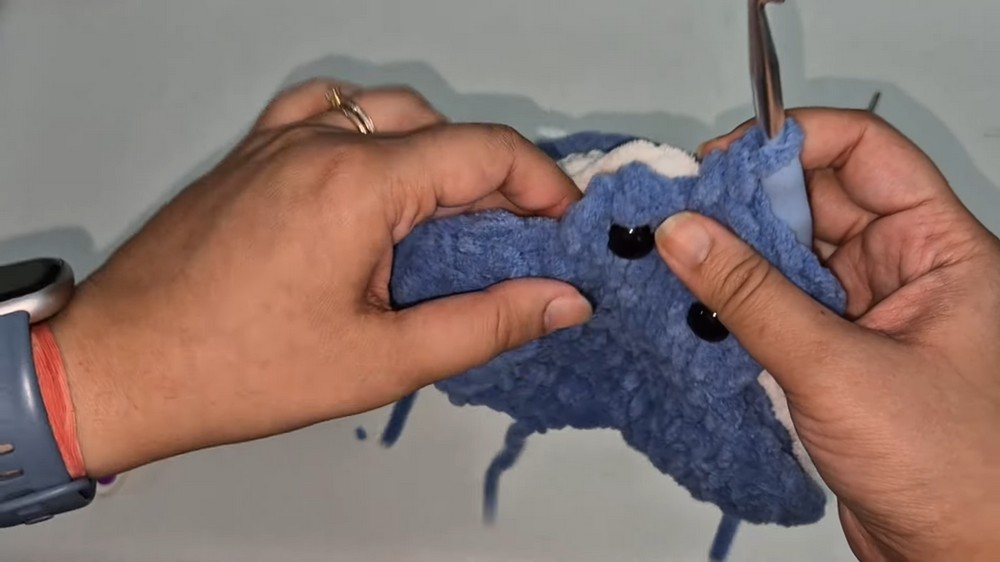
- Work single crochets around the edges to join the two pieces:
- Insert hook through the top and bottom stitches and complete a sc. Repeat for all stitches around.
- Leave a small portion open to add the stuffing.
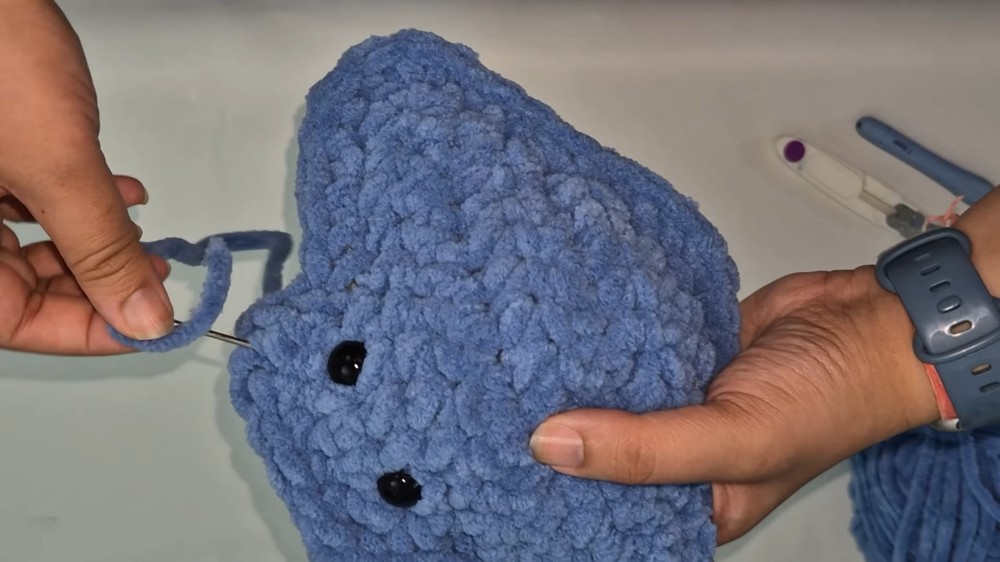
- Optional: Attach safety eyes if desired:
- Insert the safety eyes in the first row of 6 stitches on the stingray head.
- Place them evenly near the edge.
- Attach the safety backing only through the top blue (not the belly).
- Stuff the stingray:
- Add enough stuffing to make it soft and squishy, but keep the stingray relatively flat.
- Complete sewing the open section with single crochets.
- Weave in ends: For the blue yarn, ensure you only weave through the blue top stitches to prevent it from showing through the white.
5. Stingray Tail
- To begin, reattach the blue yarn at the back bottom-center of the stingray.
- Ch 8 stitches.
- Skip the 1st ch, then work 7 sc back along the chain.
- Slip stitch to the body to attach the tail.
Fasten off and weave in the ends the same way as before.
Optional Details
You can opt to decorate your stingray with white yarn accents or even embroider a small, cute smile on its face.
Conclusion
Your adorable stingray is now complete! This project is perfect for beginners and a great option for crochet craft fairs or personalized gifts. Simple and quick to complete, this plushy design is sure to bring a smile to anyone’s face. Let your creativity shine with different color combinations or additional accents. Stitch up some joy, and happy crocheting!