
Crochet Simple Rose Amigurumi Pattern with Realistic Petals
Learn how to craft gorgeous crochet roses effortlessly with this simple amigurumi pattern! Perfect for projects, decorations, or floral arrangements.
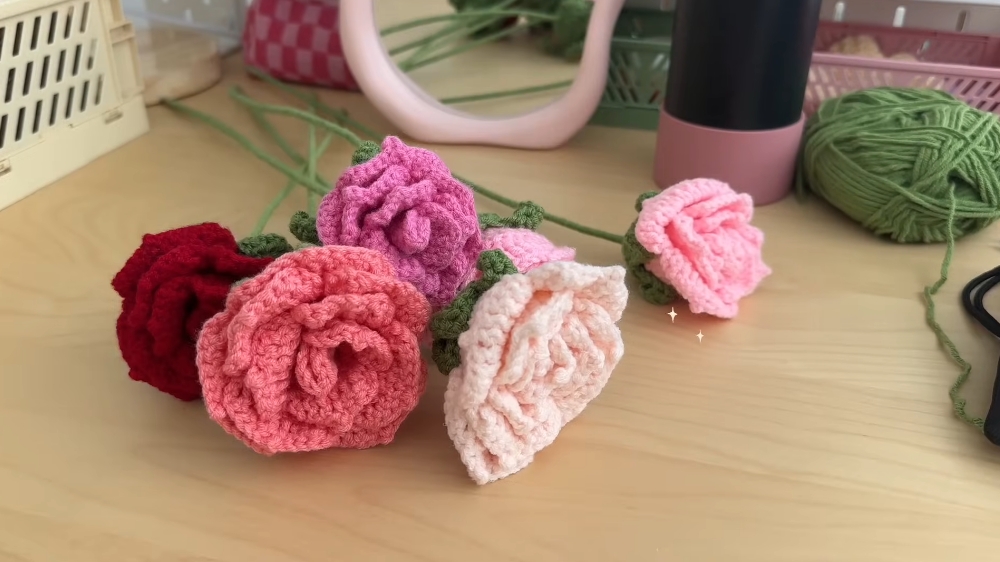
These handmade crochet roses make for a beautiful, versatile addition to any space. Available in shades of red, peach, pink, purple, blue, and yellow, their lifelike elegance adds a vibrant touch to gifts, floral arrangements, and interior décor. The design blends simplicity with the charm of delicate petals and natural-looking leaves. Create personalized gifts or decorations while enjoying a relaxing hobby that leaves you with beautiful results.
Crochet Simple Rose Amigurumi Pattern
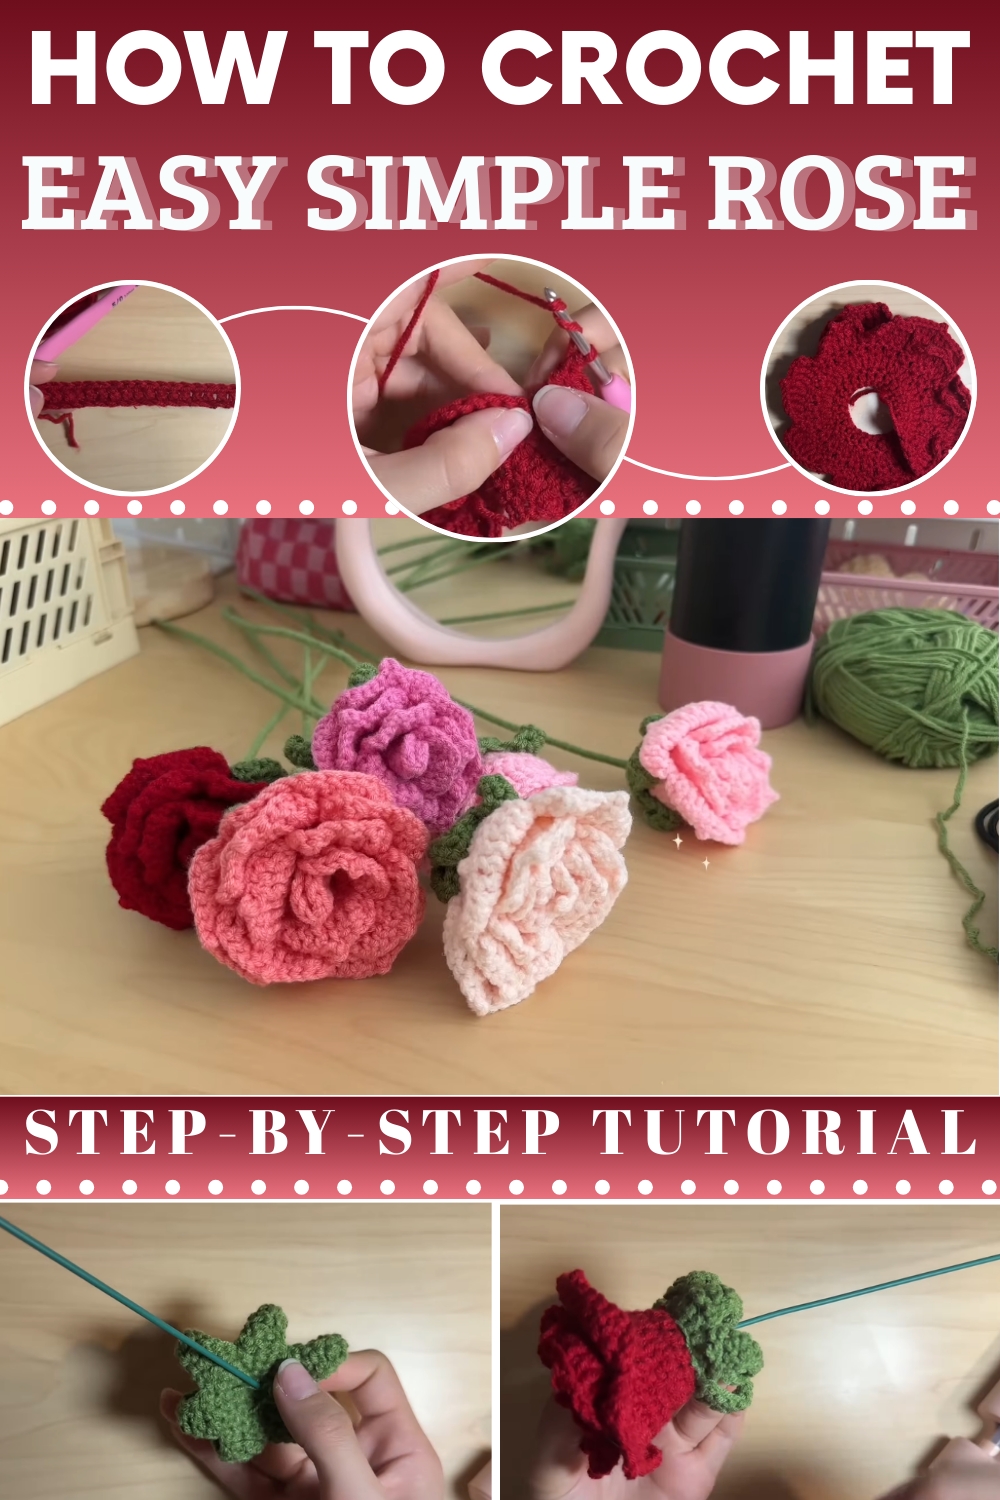
Crochet Rose Pattern (Step-by-Step Tutorial)
In this tutorial, I will walk you through creating a stunning crochet rose with petals and a stem, perfect for decoration or gifting. This easy-to-follow guide is beginner-friendly, and you can make these roses in various colors such as red, peach, pink, purple, or even blues and yellows, depending on your preference. By following the instructions below, you'll be able to craft a lovely rose, its petals, leaves, and assemble the flower step-by-step.
Materials Needed
- Yarn: 4-ply milk cotton yarn (red for petals; green for leaves/stem)
- Crochet Hook: 3 mm hook (Tulip recommended)
- Accessories: Floral stem (used to provide structure), hot glue gun, stitch markers, scissors
Abbreviations of Stitches
To follow this tutorial, familiarize yourself with these basic crochet abbreviations:
- ch = chain
- sl st = slip stitch
- sc = single crochet
- hdc = half double crochet
- dc = double crochet
- tr = treble (or triple) crochet
- inc = increase (2 stitches worked into the same loop)
- sk = skip
- st = stitch
- rep = repeat
- picot stitch = chain 1, insert hook into two loops of treble crochet, and slip stitch
Steps to Crochet the Rose
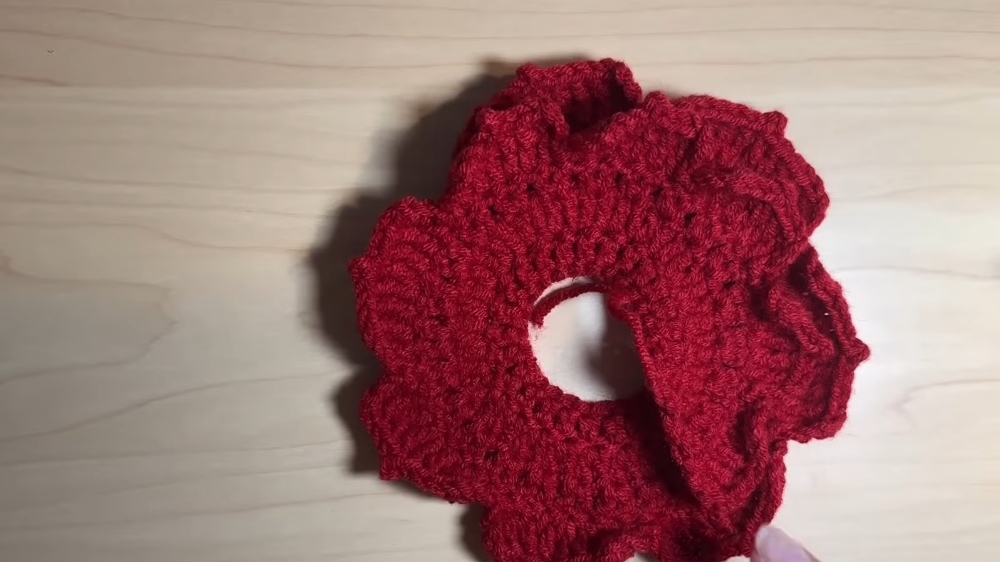
Step 1: Create Petals
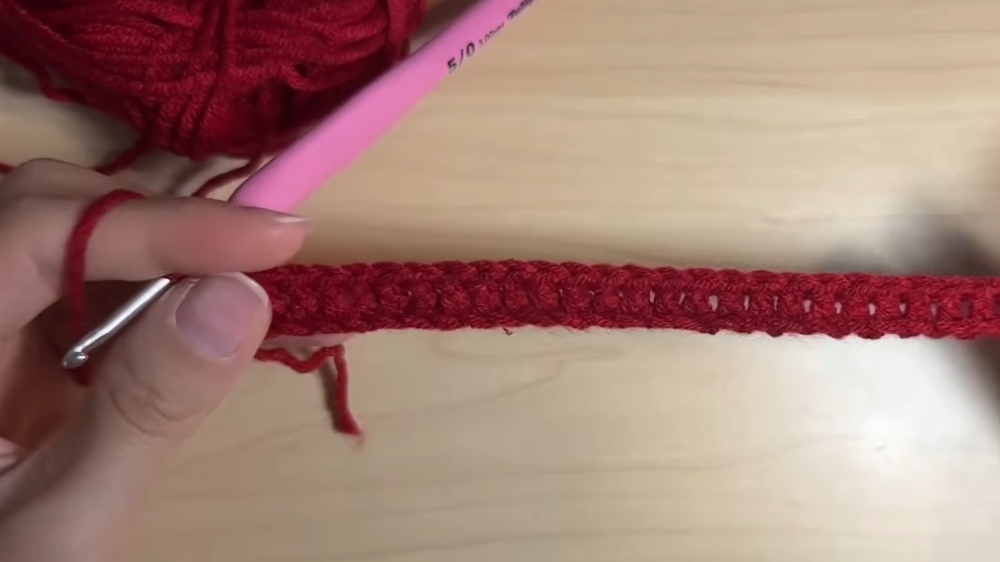
- Row 1 (Base):
Start with a slip knot and then chain 41 stitches (40 + 1 chain for the "pillar stitch"). - Row 2 (Foundation of Petals):
- Begin with a double crochet (dc) into the second loop from the hook and work 40 double crochets (dc) across each loop.
- At the end of the row, chain 1 to form the next "pillar chain."
- Row 3:
- Chain 1 and turn your work.
- Work 39 increases with double crochets: Start with one double crochet in the first loop, work two double crochets in the same loop (increase).
- Repeat this increase (2 dc into one loop) for the next 39 stitches.
- In the last loop, work just 1 double crochet. You will now have 79 double crochets in total at the end of this row.
- Row 4:
- Chain 1 and turn your work.
- Now create the following pattern: 1 double crochet increase into the loop, sk 1 loop, and repeat until the end of the row.
- At the end of this row, you should have 80 double crochets.
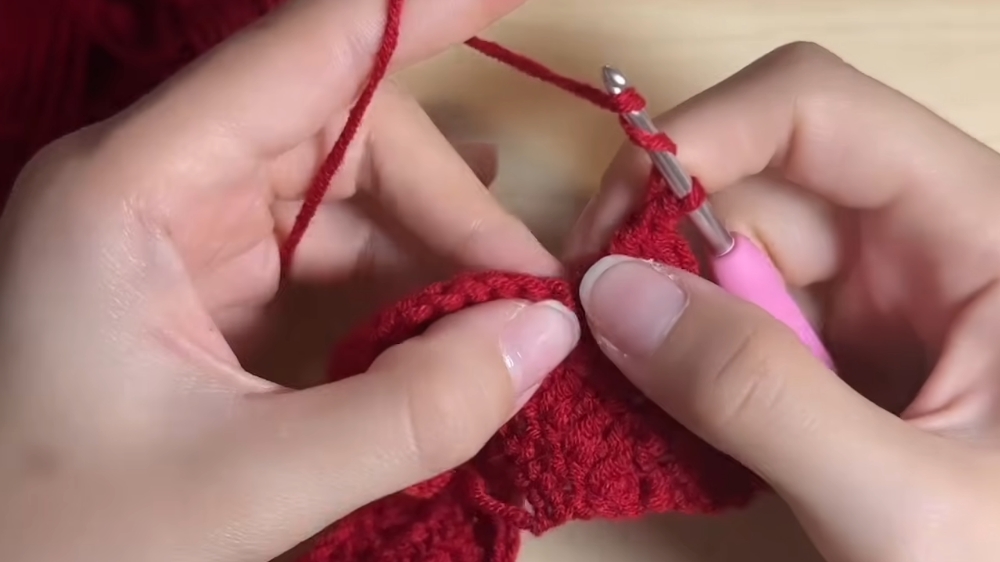
- Row 5 (Petal Patterns):
This row consists of several patterns, forming an intricate design for the petals. Follow the instructions for each pattern below carefully:Pattern 1 (1 time):
- Chain 3, turn your work, and insert one treble crochet (tr) in the first loop.
- Work three treble crochet (tr) into the next three loops consecutively.
- Create one double crochet (dc) in the next loop.
- Then chain 3 and insert a slip stitch in the same loop as the last treble crochet.
- Secure this section and move to the next pattern.
Pattern 2 (repeat 4 times):
- Work a sl st in the next loop then chain 3.
- Work 1 treble crochet (tr) in the same loop where you made the slip stitch, and continue with 1 treble crochet in the next loop.
- In the next loop, work one treble crochet, then chain 1.
- Create a picot stitch by inserting the hook into the two loops from the treble, yarn over, and pull through. Finish the picot with a slip stitch.
- Continue by working another treble crochet in the same loop as the picot stitch.
- In the next loop, work one treble crochet with chain 3, followed by a slip stitch in the base of the same loop.
- Repeat this process until four sections of Pattern 2 are complete.
Pattern 3 (repeat 4 times):
- Work a sl st in the next loop, then chain 3.
- Create two treble crochet (tr) into the next two loops.
- Work 1 treble crochet and a picot stitch, followed by another treble crochet (tr) into the same loop.
- In the following three loops, insert three treble crochet (one per loop), then chain 3 and sl st into the last base loop of this section.
Pattern 4 (final row):
- Work a sl st, and chain 3.
- Create three treble crochet (tr) into the next three loops consecutively.
- Work a treble crochet + picot stitch into the subsequent loop, followed by another treble crochet into the same loop.
- Add three more treble crochet into the next three stitches before finishing this petal with a double crochet slip stitch (ch 3) into the base loop.
- Repeat Pattern 4 three more times to finish.
- Fasten off the petal piece by chaining 1 and cutting the yarn. Pull through, leaving a short tail.
Step 2: Create the Leaves
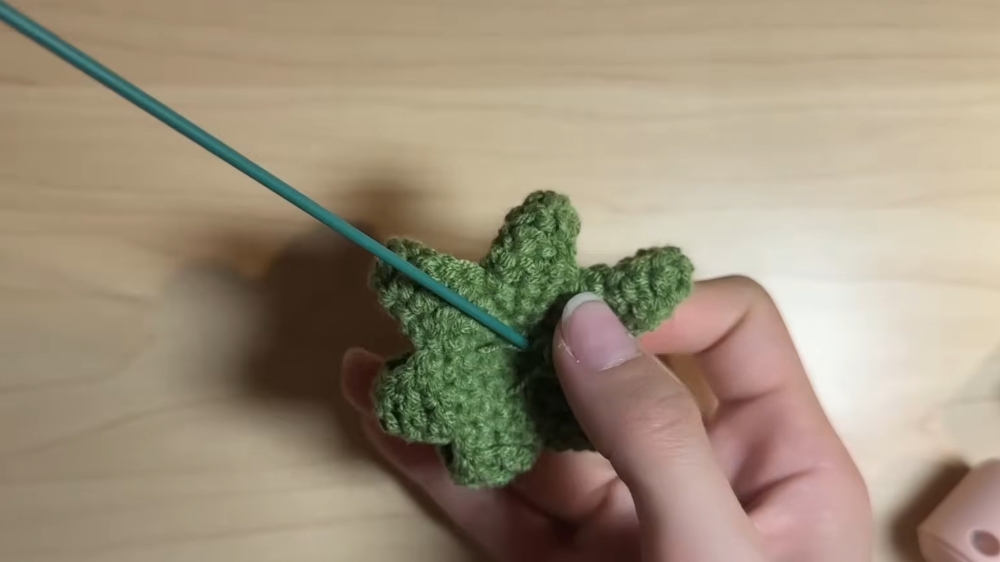
- Use green yarn and form a magic ring.
- Wrap the yarn over your fingers, cross it, and insert the hook into the middle. Create one chain.
- Row 1: Work 6 single crochets (sc) into the magic ring. Pull the tail gently to close the circle and slip stitch into the first sc.
- Row 2:
- Chain 1, insert 2 sc (increase) into each of the 6 loops (total 12 sc).
- Place stitch markers for the start/end of the round if needed.
- Row 3:
- Chain 1. Work 1 single crochet, 1 sc inc in alternating loops across. Repeat this six times. At the end, you’ll have 18 stitches total.
- Row 4:
- Chain 1, and work 18 sc evenly across the entire round.
- Row 5 (Leaf Design):
- Chain 9 stitches. Work slip stitch into:
- Second loop from the hook (sl st twice).
- Work 1 sc into the next loop, 2 hdc into the next two loops, and 2 dc into the subsequent loops.
- Finish with 1 dc into the last loop, and attach the completed leaf by skip 2 stitches, sl st into the third loop.
- Repeat this step to make six leaves in total.
- Fasten off with chain 1, cut the yarn, and weave in the ends.
- Chain 9 stitches. Work slip stitch into:
Step 3: Assemble the Rose
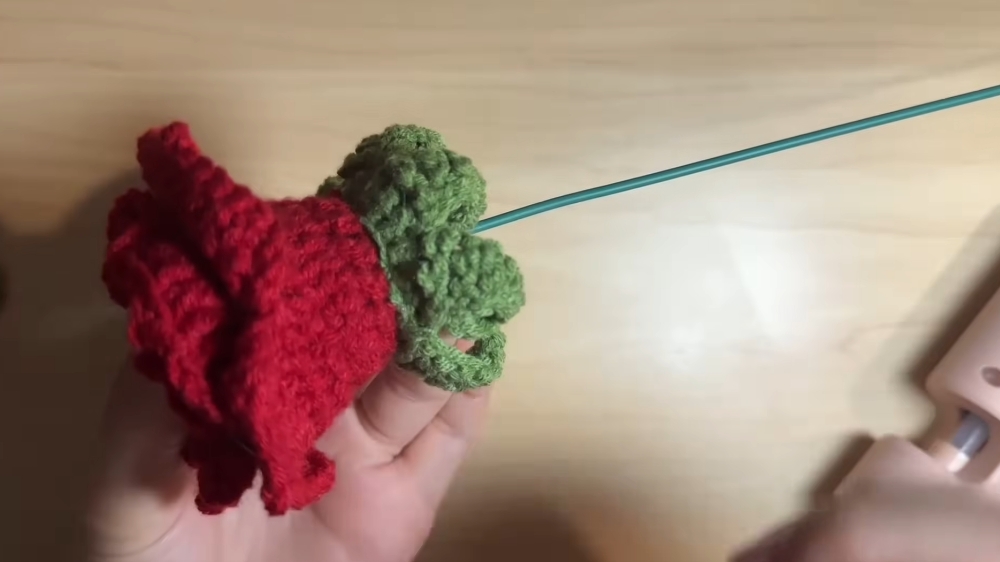
- Start rolling the petal piece to create a natural rose shape. Use a hot glue gun to secure the layers as you roll.
- Position the floral stem in the center and attach the green leaves around the base using hot glue. Secure the rose and leaves tightly to the stem.
- Wrap a length of green yarn tightly around the floral stem and secure it with hot glue at the base and bottom of the stem. Trim excess yarn if necessary.
- Once completed, shape the leaves to give them a realistic appearance.
Conclusion
Congratulations! You’ve successfully crocheted a beautiful rose with detailed petals, leaves, and a wrapped stem. You can now create these roses in a variety of colors and sizes to decorate gifts, bouquets, or even your personal space. With a little practice, this project can be a simple and enjoyable way to get creative with crochet.
Enjoy making your delicate handmade roses!