
Free Crochet Mallard Duck Amigurumi Pattern
Bring the charm of mallard ducks to life with the Crochet Mini Mallard Duck Pattern—perfect for gifts, décor, or relaxing crochet sessions!
Mallard ducks are iconic birds known for their vibrant colors and graceful presence, inspiring crochet enthusiasts to recreate them in miniature form. The free Crochet Mini Mallard Duck Pattern brings this charm to life, allowing you to design a stylish yet functional piece. Perfectly sized for small spaces, these handmade ducks are ideal for use as whimsical decorations, unique gifts, or cherished toys for children. Their compact design also makes them suitable as keychains or desk ornaments.
FREE Crochet Mini Mallard Duck Pattern For Fun
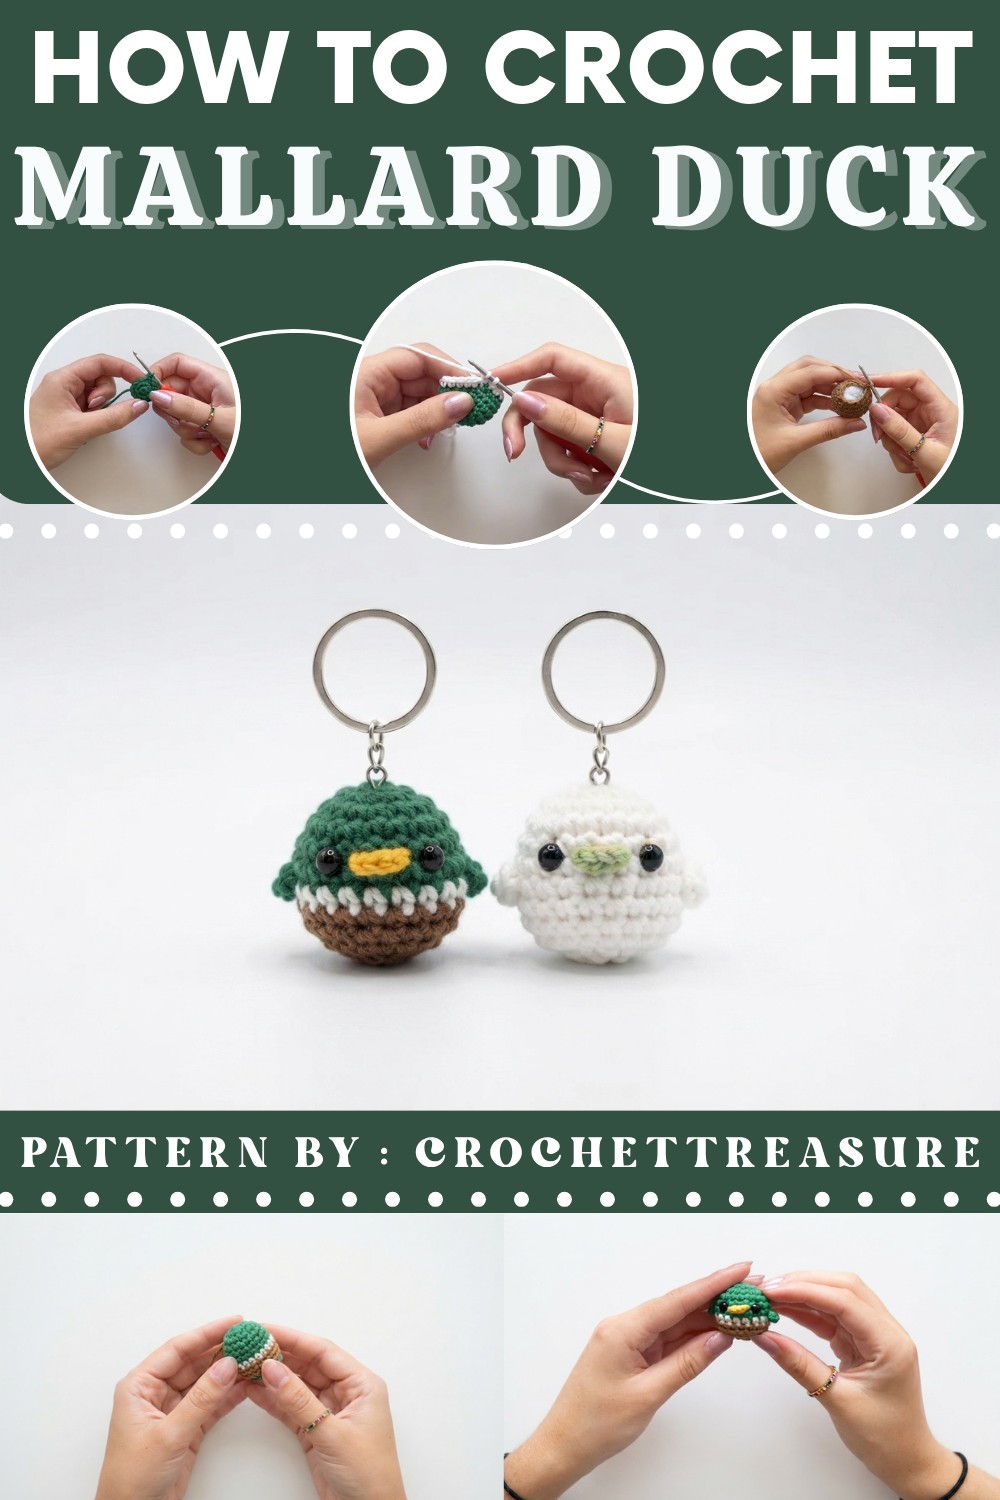
The pattern is thoughtfully designed to incorporate clean lines and vivid color transitions, showcasing the trademark green head, white neckband, and brown body associated with mallards. This functional project is suitable for crochet artists of varied skill levels, offering an opportunity to practice shaping techniques and refine assembly skills. Made with durable yarn, each duck captures the essence of nature while lasting for years.
The benefits extend beyond beautifying spaces, as this project encourages relaxation and mindfulness during its creation process. It’s a gentle reminder to slow down and enjoy moments of productivity. A free pattern like this makes crafting accessible to all, offering a rewarding experience that blends style and utility effortlessly. These little ducks symbolize peace and creativity, turning simple yarn into true inspiration.
Pattern Overview
-
Skill Level: Intermediate (due to color changes and small-scale assembly).
-
Finished Size: Approximately 4–5 cm in height (depending on tension and stuffing).
-
Design Note: This pattern uses a specific color sequence (Green, White, Brown) to mimic a mallard, but can be worked in a single color (e.g., solid White) by ignoring the color-change instructions.
Materials and Tools
-
Yarn: Light-weight (DK/Sport) yarn, ideally a 60% cotton and 40% acrylic blend.
-
Colors: Green (Head), White (Neck ring), Brown (Body), and Yellow/Orange (Beak).
-
-
Crochet Hook: 3.0 mm.
-
Safety Eyes: 6 mm black safety eyes.
-
Filling: Polyester fiberfill stuffing.
-
Notions: Sharp scissors, tapestry needle, and an optional stitch marker.
Special Techniques
-
Invisible Decrease ($dec$): Insert hook into the front loops only of the next two stitches, yarn over, pull through both front loops, yarn over, and pull through remaining two loops.
-
Clean Color Change: On the last stitch of a color, work the stitch until two loops remain on the hook. Drop the old color and pull the new color through the loops to finish the stitch.
-
Surface Join for Beak: Attaching yarn directly to the face of the amigurumi to crochet the feature in place rather than sewing a separate piece.
Pattern Instructions
1. The Body and Head
Worked in continuous rounds from the top down.
Round 1 (Green): Start with a Magic Circle. Work 6 single crochet ($sc$) into the circle. (6 $sc$)
Round 2: Work 2 $sc$ in each stitch around ($inc$). (12 $sc$)
Round 3: (1 $sc$, 1 $inc$) repeat 6 times. (18 $sc$)
Rounds 4–5: $Sc$ in each stitch around. (18 $sc$)
Round 6: $Sc$ in each stitch around. In the final stitch, perform a color change to White. (18 $sc$)

Round 7 (White): $Slst$ into the first stitch to smooth the transition, then work 18 $sc$ around (the last $sc$ goes into the $slst$). In the final stitch, perform a color change to Brown. (18 $sc$)
Round 8 (Brown): $Slst$ into the first stitch, then work 18 $sc$ around. (18 $sc$)

Round 9: $Sc$ in each stitch around. (18 $sc$)
Eye Placement: Insert 6 mm safety eyes between Rounds 5 and 6 (the last two green rounds). Leave 3 visible stitch holes between the eyes. Secure the backings inside. Tip: Tie the interior yarn tails together in pairs for extra security.
Round 10: (1 $sc$, 1 $dec$) repeat 6 times. (12 $sc$)
Begin stuffing the head and body firmly.
Round 11: 6 $dec$ around. (6 $sc$)
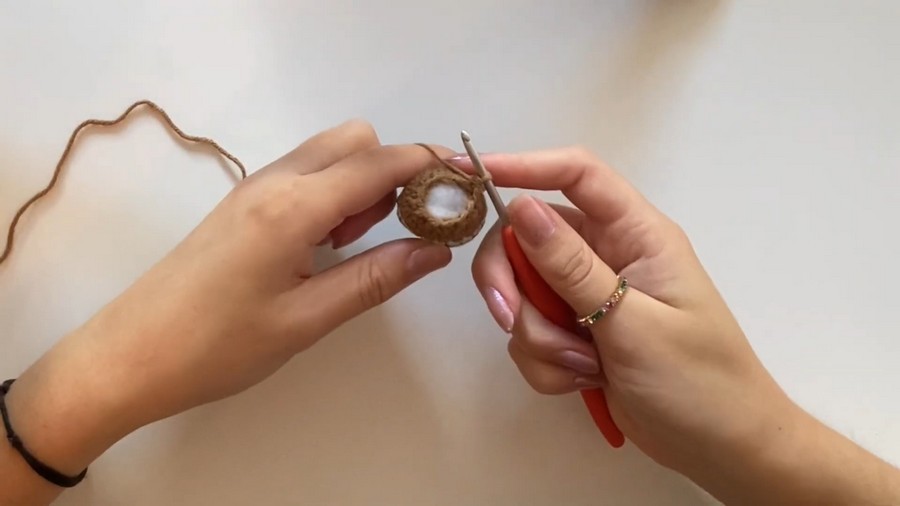
Finishing the Body:
Cut yarn leaving a tail. Use a tapestry needle to weave through the front loops of the remaining 6 stitches. Pull tight to close. Tie a knot and hide the tail inside the body.
2. The Beak
The beak is crocheted directly onto the head.
-
Create a slip knot with Yellow/Orange yarn and place it on your hook.
-
Locate the row between the eyes (Round ⅚).
-
Insert hook from right to left under the post of the stitch immediately centered between the eyes.
-
Work a $slst$, then 1 $sc$ into that same stitch.
-
Move to the next stitch to the left and work 1 $sc$.
-
Fasten off. Pull the yarn tails into the head using a hook, tie them together, and hide them inside the body.

3. The Wings (Make 2)
Round 1 (Green): Start with a Magic Circle. Work 4 $sc$ into the circle. (4 $sc$)
Do not join or work further. Fasten off, leaving a long tail for attachment.
Assembly and Detailing
-
Attaching Wings: Position the wings on either side of the body between Rounds 6 and 7 (the transition between Green and White).
-
Ensure the "right side" of the wing's magic circle faces outward.
-
Pull the two yarn tails of the wing into the body, one stitch apart. Tie them in a secure double knot and hide the ends inside.

Customization and Enhancement
-
The "Classic" Duck: Work the entire pattern in bright yellow with an orange beak for a traditional rubber ducky look.
-
The "Winter" Duck: Add a tiny chain-stitch scarf in a contrasting color like red or blue around the white neck ring.
-
Keychains: These ducks are perfectly sized to be turned into keychains by attaching a jump ring through the top of the head (Round 1).
Conclusion
Your miniature duck is now complete! The final result is a charming, pocket-sized companion with a distinct mallard aesthetic. By utilizing the slip-stitch transition during color changes, you have achieved a clean horizontal stripe that defines the neck. Ensure all yarn ends are fully recessed into the stuffing to maintain a neat appearance.