
Crochet Halloween Ghost Pattern With Witch Hat
Crochet Halloween ghost pattern with easy-to-follow steps for haunting creations that bring joy and handcrafted Halloween beauty.
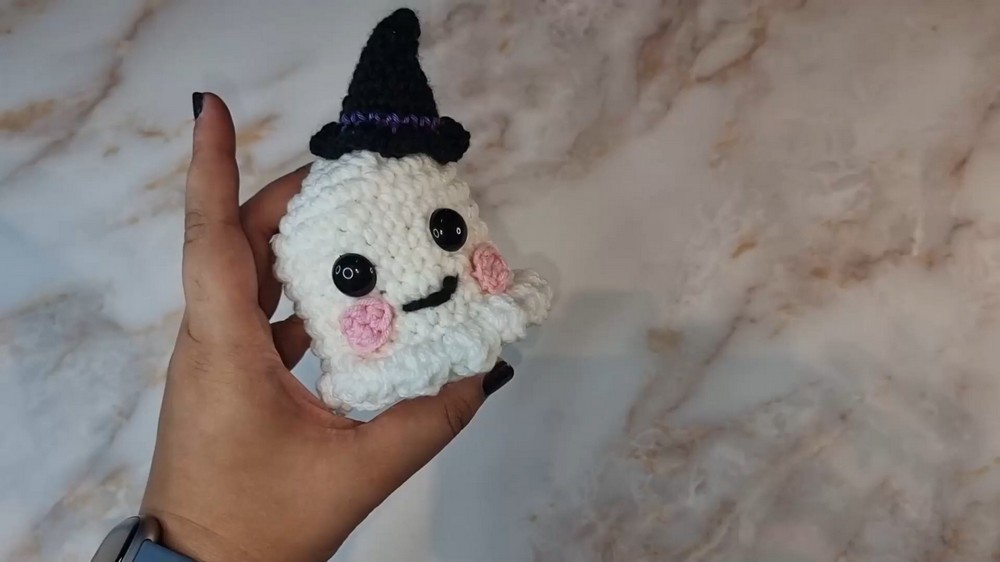
This adorable Halloween-inspired crochet ghost is the perfect spooky addition to seasonal décor or unique gifting. Sporting a cute witch hat with a charming brim and subtle frills on its base, this small ghost design pairs a cheerful smile with optional blush-colored cheeks or safety eyes for extra personality. Its compact size makes it ideal to display on shelves, tables, or even as a keychain or cute pin. Simple yet full of character, it’s great for bringing playful charm to any setting.
Crochet Halloween Ghost Pattern
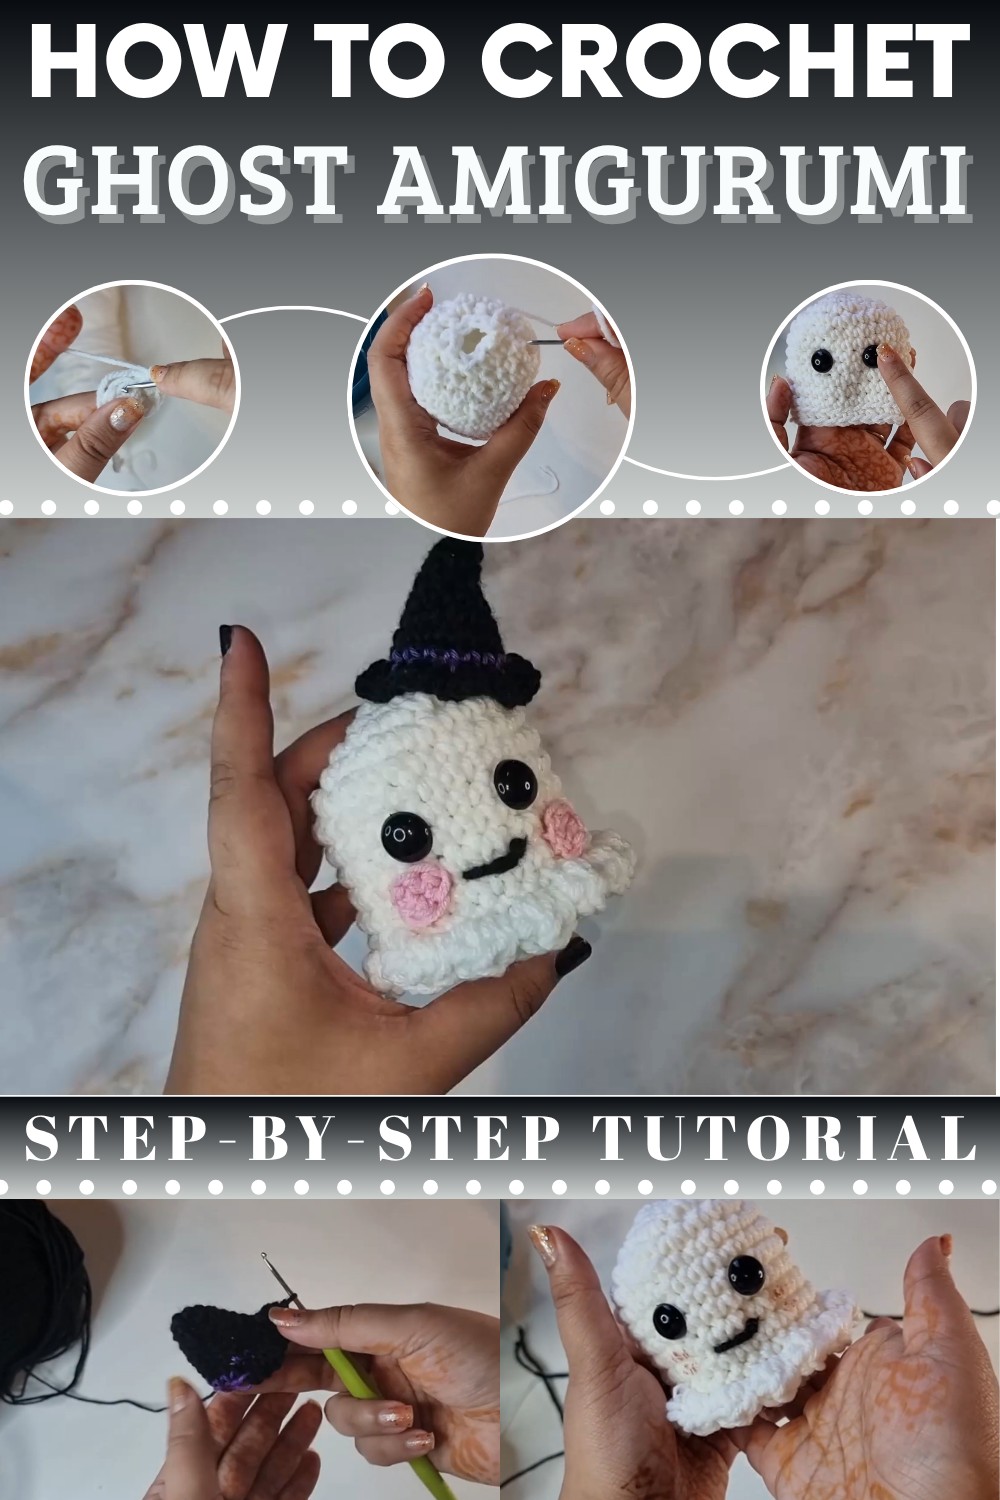
Crochet Halloween Ghost
This crochet tutorial guides you to make an adorable small Halloween ghost with a witch hat. The Halloween crochet pattern is quick to finish and perfect for decorations, gifts, or even as keychains. Customize the ghost with your own choice of accessories or colors. This pattern uses basic crochet techniques, making it suitable for beginners as well.
Materials Needed
For this pattern, you will need:
- Medium-weight (Worsted #4) yarn:
- White yarn for the ghost body.
- Black yarn for the witch hat.
- Optional: Purple yarn for hat detailing.
- Crochet hook size: 3.25 mm (or your preferred size for tighter stitches).
- Stuffing material: Polyester fiberfill or your choice.
- Pair of safety eyes (optional).
- Scissors.
- Yarn needle.
- Stitch marker: For keeping track of stitches.
Abbreviations
Here’s a list of crochet abbreviations used in this pattern:
- ch = chain
- sc = single crochet
- hdc = half-double crochet
- inc = increase (two stitches into one stitch)
- dec = decrease (single crochet two stitches together)
- sl st = slip stitch
Step-by-Step Instructions
1. Ghost Body Creation
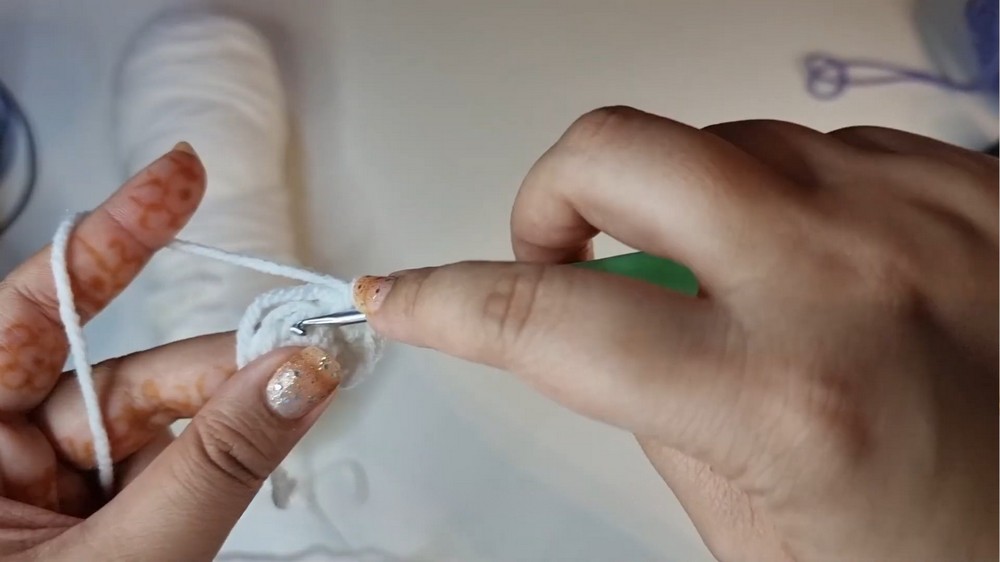
- Magic Ring:
- With white yarn, create a magic ring.
- Insert your crochet hook into the magic loop, pick up the strand, and twist. Pull up a loop for a magic circle base.
- Row 1: Create First Round:
- Place 6 sc into the magic ring.
- Pull the tail end of the magic ring to close the loop.
- Row 2: Increase:
- Place 2 sc (increase) into each stitch.
- You’ll now have 12 stitches.
- Use a stitch marker on the 12th stitch to keep track.
- Row 3: Single Crochet & Increase:
- Alternate between 1 sc and 1 inc across the row.
- This results in a total of 18 stitches.
- Row 4: Two Single Crochets & Increase:
- Create 2 sc stitches followed by 1 inc. Repeat 6 times.
- Total stitches = 24.
- Row 5: Three Single Crochets & Increase:
- Place 3 sc, followed by 1 inc. Repeat 6 times.
- Total stitches = 30.
- Rows 6 to 12: Steady Rows:
- Place 1 sc in each stitch (30 stitches per row).
- Continue for 7 rows.
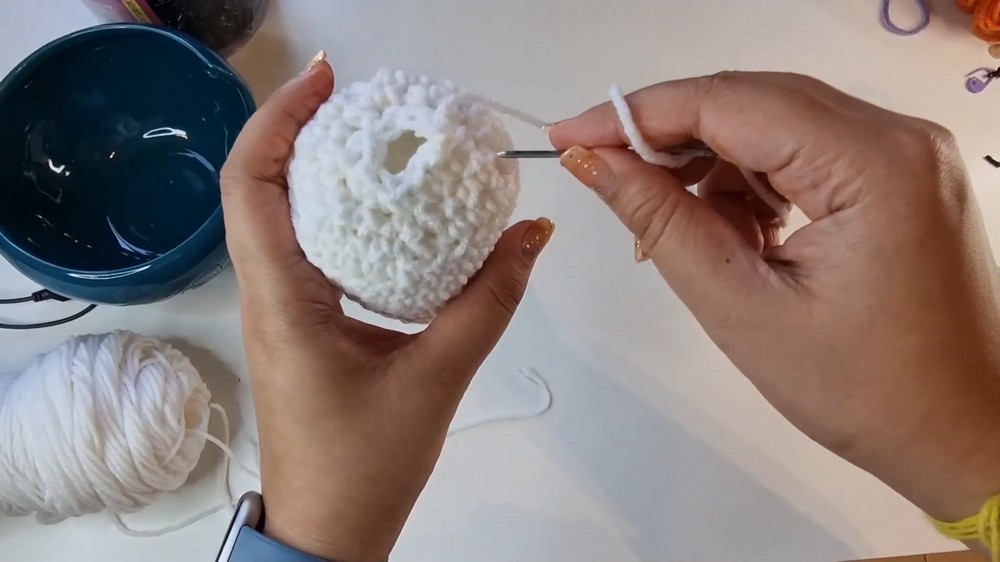
2. Work Back Loops Only
- Row: Back Loop 3 sc + Decrease:
- Work it in back loops only: 3 sc, then 1 dec.
- Perform this sequence 6 times to get 24 stitches.
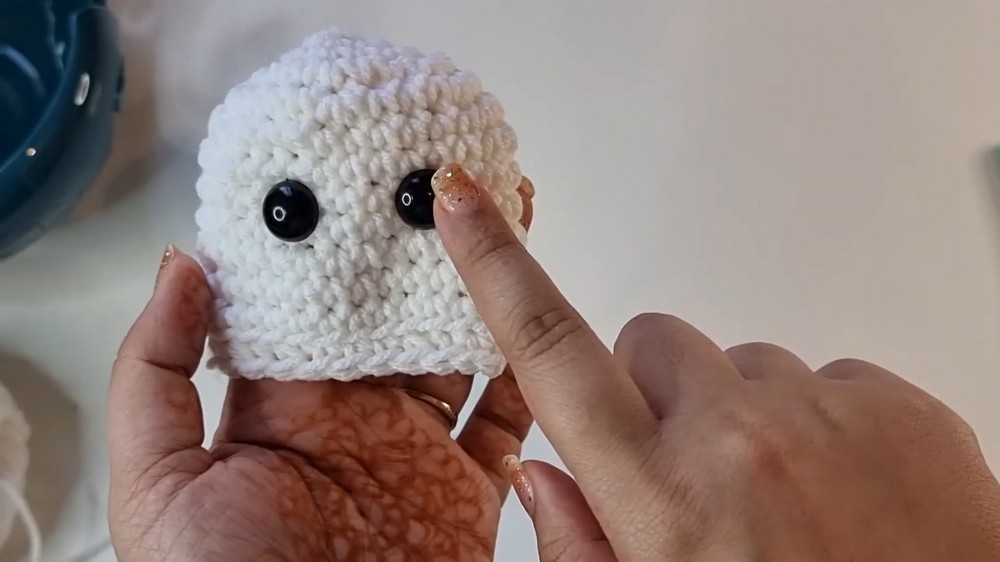
- Add Safety Eyes:
- Attach the safety eyes between rows 6 and 7.
- Leave 4 stitches in between them.
- Secure with backings.
- Row: 2 sc + Decrease:
- Switch back to working in both loops: 2 sc, then 1 dec.
- Perform this sequence 6 times to reduce stitches to 18.
- Stuff the ghost body at this stage.
- Row: 1 sc + Decrease:
- Crochet 1 sc, then 1 dec 6 times.
- This results in 12 stitches.
- Final Row: Decrease Only:
- Decrease for all stitches (6 decreases total).
- Leave a long tail to sew the bottom closed later.
- Use a yarn needle to weave through each stitch to close the bottom and hide any loose ends.
3. Create Frill for Ghost
- Join Yarn:
- Attach white yarn to the back loop of the ghost’s bottom edge.
- Frill Pattern:
- Ch 2, 2 hdc in the same stitch.
- Slip stitch into the next stitch.
- In the following stitch, place 3 hdc and slip stitch in the next.
- Alternate: Slip stitches and hdc stitches create a frill all around.
- Slip stitch into the starting point once completed, fasten off, and tuck the ends.
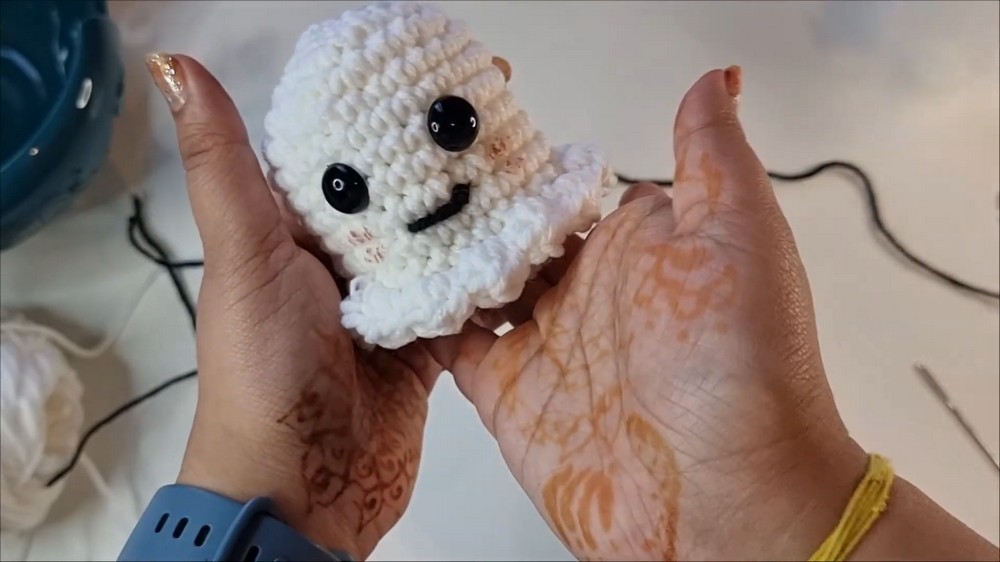
4. Simple Smile
- With yarn (color of your choice), create a small embroidered smile on the ghost:
- Thread the yarn and go over two stitches to form the smile.
- Tie the yarn ends, tuck them into the ghost, and trim.
5. Witch Hat
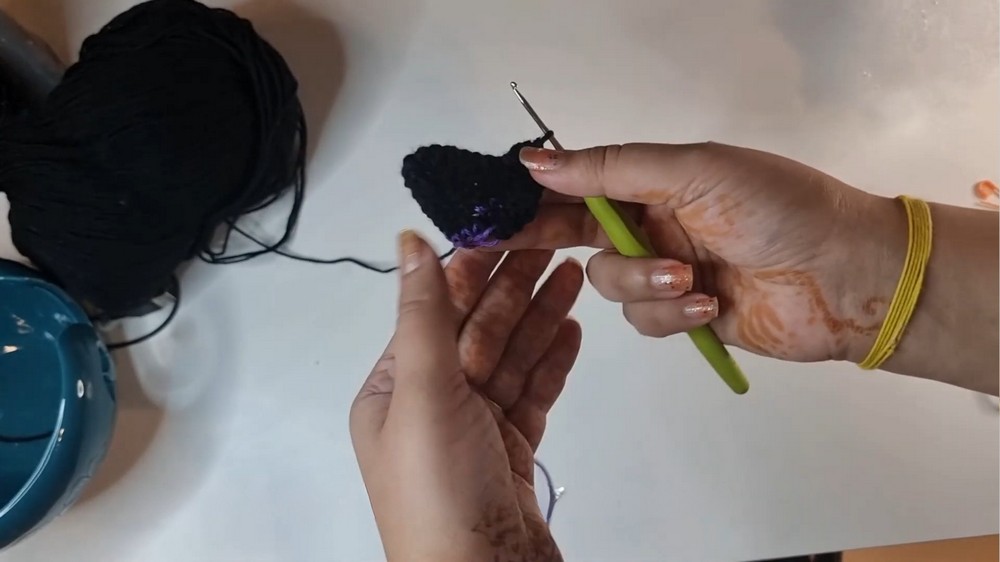
- Magic Ring:
- Work with black yarn and start a magic ring.
- Place 4 sc into the circle.
- Pull to close the ring.
- Rows for Hat:
- Gradually increase stitches:
- Row 2: 1 sc, 1 inc → 6 stitches.
- Row 3: 2 sc, 1 inc → 8 stitches.
- Row 4: 3 sc, 1 inc → 10 stitches.
- Row 5: 4 sc, 1 inc → 12 stitches.
- Row 6: 5 sc, 1 inc → 14 stitches.
- Row 7: 6 sc, 1 inc → 16 stitches.
- Gradually increase stitches:
- Color Change:
- Switch to purple yarn for detailing. Place 1 sc into all stitches (16 stitches total).
- Brim of the Hat:
- Switch back to black yarn.
- Place 2 hdc in each stitch around.
- Slip stitch into the first stitch to finish the brim.
- Finishing Hat:
- Leave a long tail and thread with yarn. Add a small amount of stuffing into the hat’s base for structure.
- Stitch the hat in place on top of the ghost’s head using black yarn.
Optional Accessories
- Blush Cheeks:
- Create two tiny magic rings with 6 sc each for cheek shapes.
- Sew them onto the ghost’s face.
Conclusion
You’ve created an adorable crochet Halloween ghost with a witch hat! This guide is quick, customizable, and makes for festive decorations or thoughtful handmade gifts. You can modify the size or colors, and even convert this into keychains for a fun, smaller version.