
Crochet Giraffe Amigurumi Pattern for Joyful Creations
Share happiness with loved ones through this adorable crochet giraffe amigurumi pattern that combines creativity, warmth, and fun in every stitch.
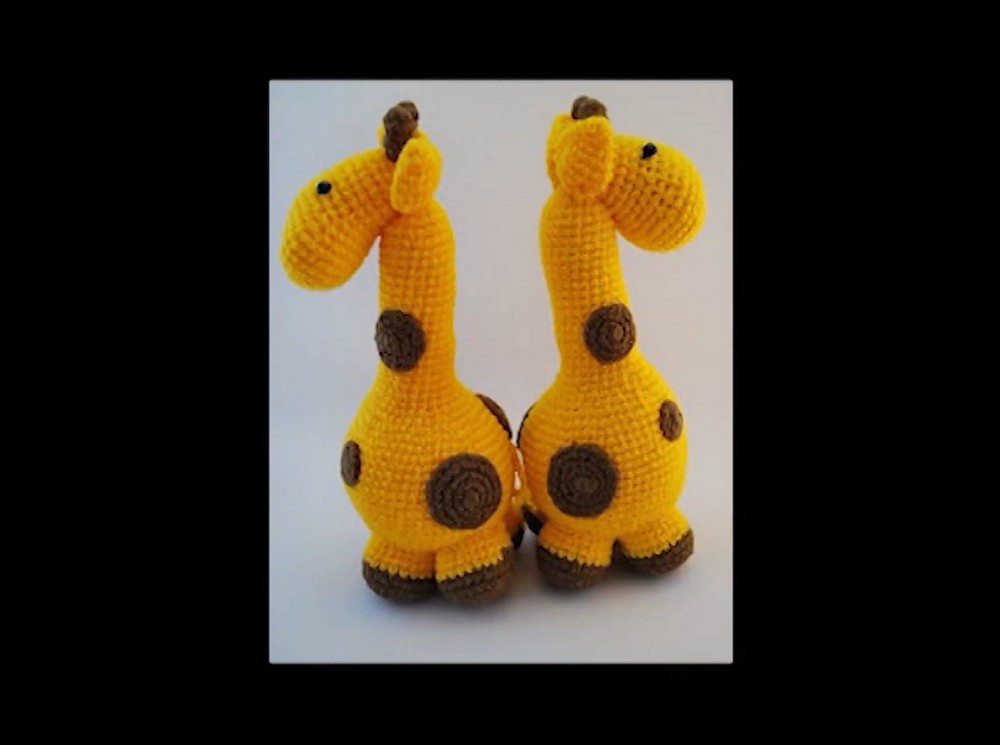
Its charming long neck, playful spots, and delicate curves bring warmth to any space, giving a cozy touch to bedrooms or living rooms. Whether displayed as a cheerful decorative piece or held close during relaxing moments, its soft texture and unique design evoke comfort and happiness. A delightful choice for animal lovers, it blends practical use with a sentimental aesthetic that’s hard to resist.
Crochet Giraffe Plushie
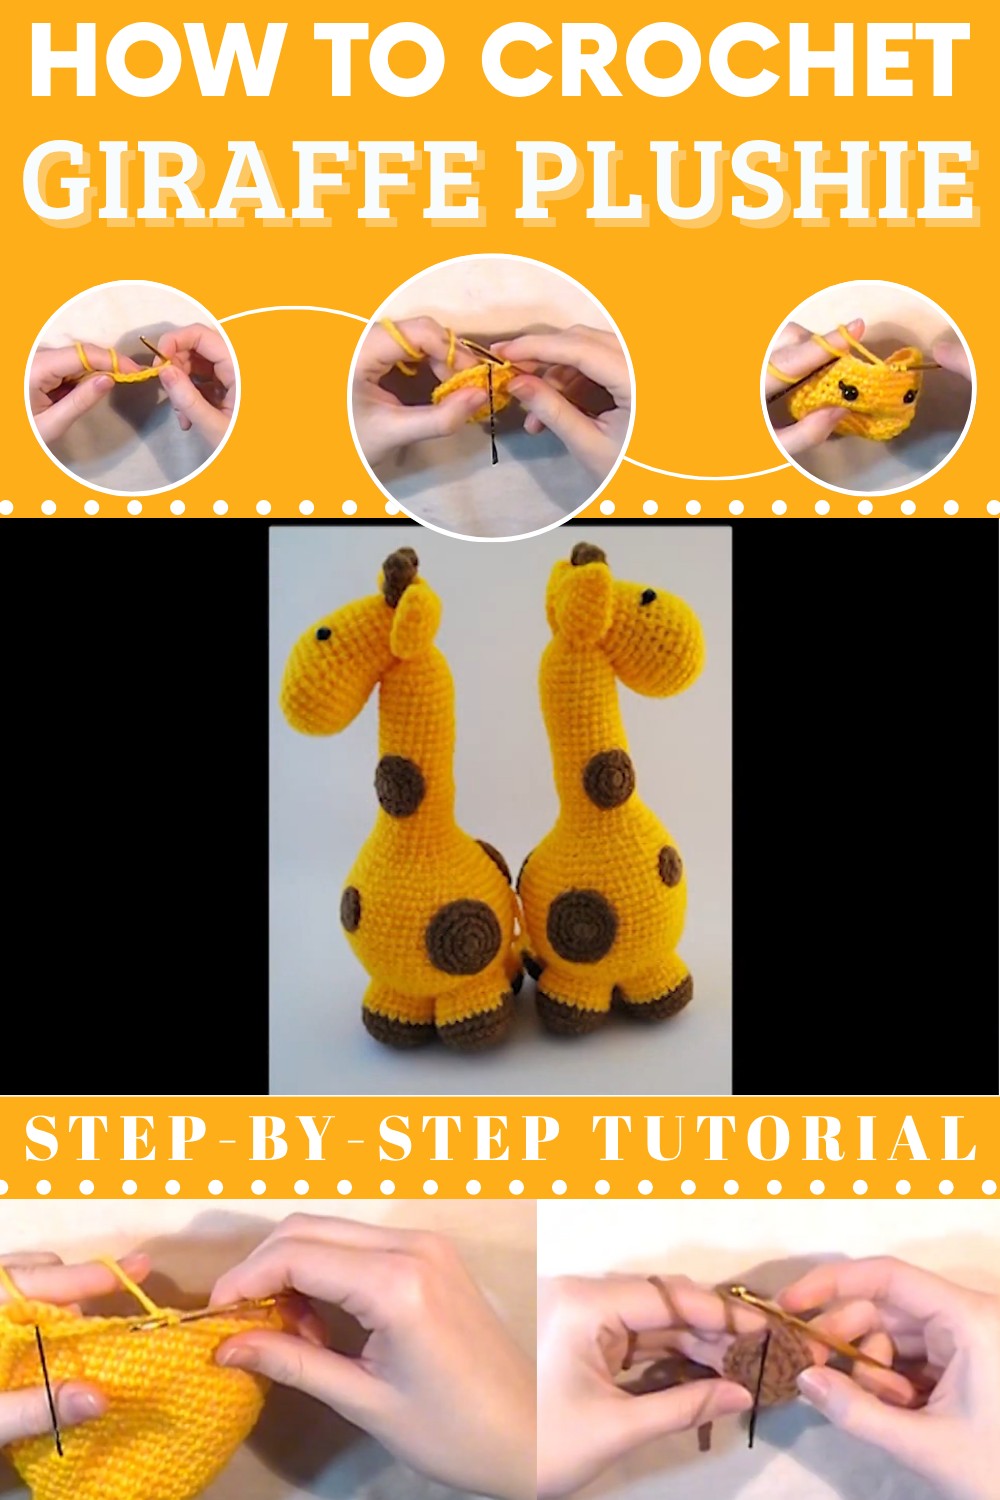
Crochet Giraffe Plushie
This pattern describes how to crochet an adorable plushie, complete with its head, neck, body, ears, horns, legs, tail, and spots. It is designed for crocheters of intermediate skill levels and involves single crochets, increases, and decreases to achieve the design's shape. The giraffe can be customized with the colors, spot placements, and textures of your choosing. Follow the step-by-step guide below to create your very own stuffed giraffe companion.
Materials Needed
The following materials are required to complete the giraffe plushie:
- Yarn in multiple colors: yellow (for body), brown (for spots and accents), and contrast colors for decoration.
- Crochet hook (appropriate size for your yarn; e.g., 3.5mm–4mm).
- Stitch marker or contrasting thread to mark rounds.
- Fiberfill/stuffing for plushie body.
- Scissors.
- Yarn needle for sewing pieces together.
- Optional: Felt pieces or safety eyes for additional details.
Abbreviations
These are the crochet abbreviations used in the pattern:
- ch - Chain
- sc - Single crochet
- inc - Increase (two single crochets into one stitch)
- dec - Decrease (single crochet two stitches together)
- rnd - Round/Row
- sl st - Slip stitch
Step-By-Step Pattern
The pattern is broken down into sections: Head, Neck and Body, Ears, Horns, Legs, Tail, and Spots.
1. Head
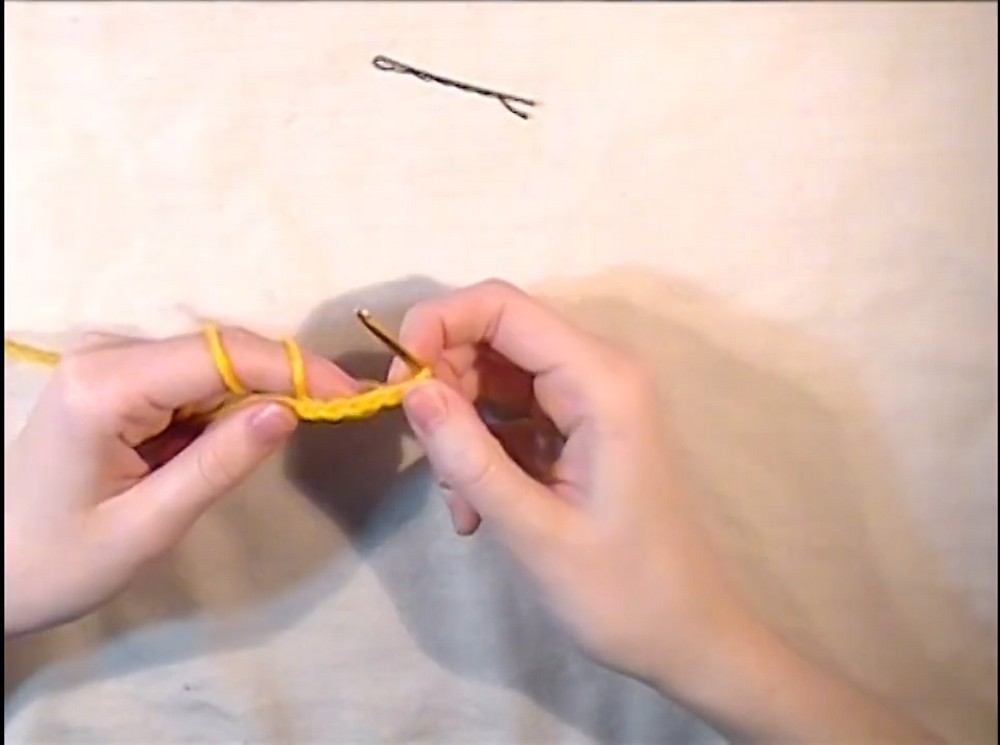
- Foundation:
- Ch 6.
- Start in the second stitch from the hook and sc back across to the end.
- Add 2 more sc into the last stitch, creating 3 stitches in the last stitch.
- Turn your work so the bottom of the chain faces up, and sc across the top of the chain.
- In the last chain, add 2 sc stitches to finish creating an oval shape (12 total stitches).
- Working the Rounds:
- Round 3: Inc in the first stitch, sc in the next 4 stitches, inc, sc, inc, sc, inc, sc, sc in the next 3, inc, sc, inc, sc (total 24 stitches).
- Round 4: [Sc, inc] x 1, sc in next 5 stitches, inc, sc in next 2, inc, [sc, inc] 2 times, sc in next 4, [sc, inc] x 2, sc in the last 2. (30 stitches).
- Round 5: [Sc in next 4, inc] repeat this pattern all the way around (36 stitches).
- Rounds 6–8: Sc all the way around.
- Round 9: [Dec 2 stitches, sc 14, dec 2 stitches, sc 14] (28 stitches).
- Round 10: [Dec 2, sc 14] (30 stitches).
- Round 11: [Sc 3, dec] repeat this pattern all the way around.
- Rounds 12–15: Sc all the way around.
- Round 16: [Sc 2, dec] repeat this pattern around.
- Rounds 17–18: Sc all the way around.
- Round 19: [Sc 1, dec] repeat this pattern all the way.
- Last Round: Dec around until the hole closes completely.
- Additional:
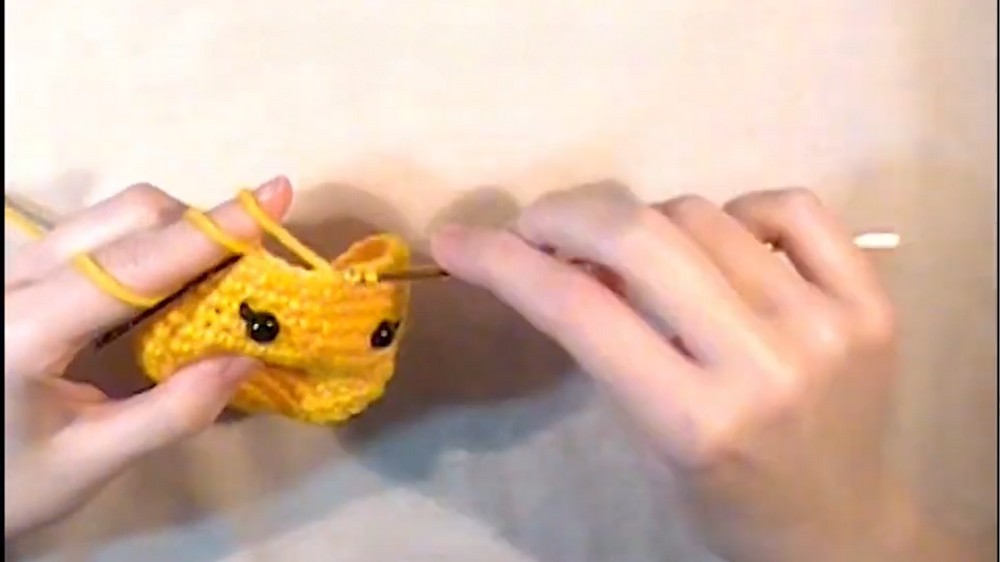
- Weave in ends and stuff the head tightly with fiberfill.
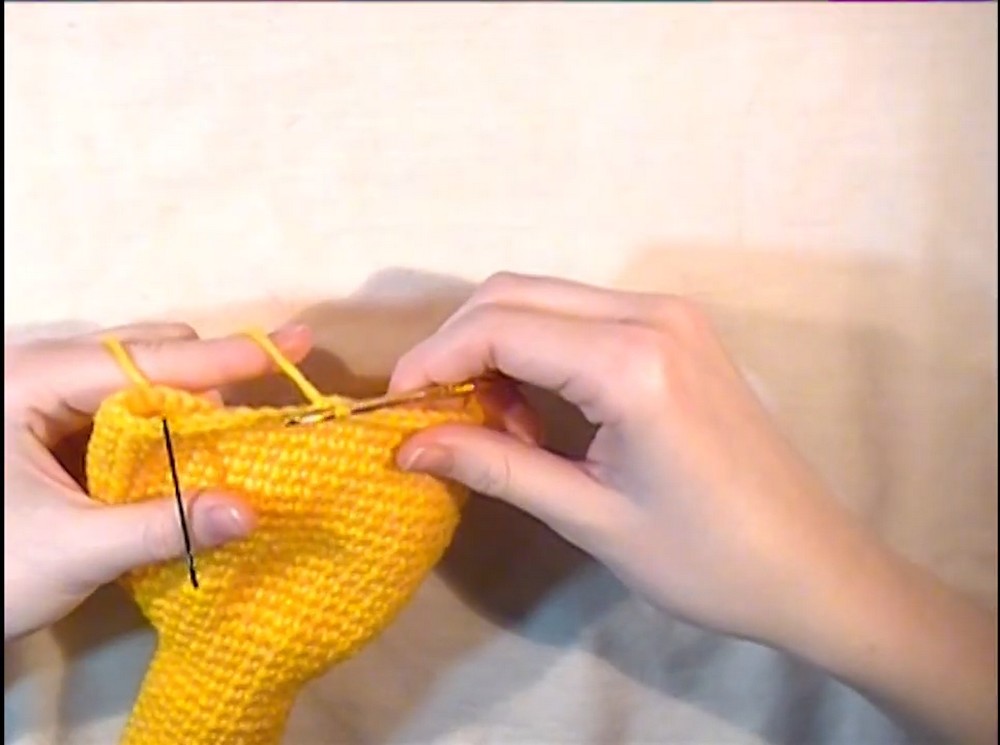
2. Neck and Body
- Foundation: Make a magic circle with 6 sc.
- Rounds:
- Round 2: Inc in every stitch (12 stitches).
- Round 3: [Sc, inc] repeat all the way around to grow the circle.
- Round 4: [Sc 2, inc] repeat.
- Rounds 5–22: Sc all the way around, stuffing as you go to maintain shape.
- Shaping:
- Round 23: [Sc 7, inc]; repeat around.
- Round 25: [Sc 8, inc]; repeat.
- Continue similar increments to gradually expand. By Round 29 you should have 54 stitches.
- Rounds 32–40: Sc all the way around.
- Round 41: [Sc 4, dec, sc 8]; repeat five times.
- Round 42: [Sc 7, dec]; repeat.
- Continue decreasing until the body tapers to a closed base in Round 48.
Finish off and sew the head onto the body.
3. Ears
- Create a magic ring with 6 sc.
- Work increasing rounds to shape the ear:
- Round 3: Inc all the way around.
- Round 5: [Sc, inc]; repeat.
- Begin decreasing in Round 8: [Sc, dec]. Repeat the same for the last round.
- Make a second ear and sew both onto the head.
4. Horns
- Begin with a magic circle (6 sc).
- Work Rounds 2–5 in single crochet only.
- Stuff and sew the horns onto the giraffe head.
5. Legs
- Start with a magic circle (6 sc) in brown yarn.
- Growing the circle:
- Round 2: Inc all the way around.
- Round 3: [Sc, inc]; repeat.
- Round 4: [Sc 2, inc]; repeat.
- Leg Shape:
- Rounds 5–6: Sc all the way around; change yarn color on the last stitch of Round 6.
- Rounds 7–9: Sc using the new color.
- Make three additional legs identical to the first. Stuff and sew all four legs onto the body.
6. Tail
- Ch 5 and finish off.
- Sew the tail onto the back of the body.
7. Spots
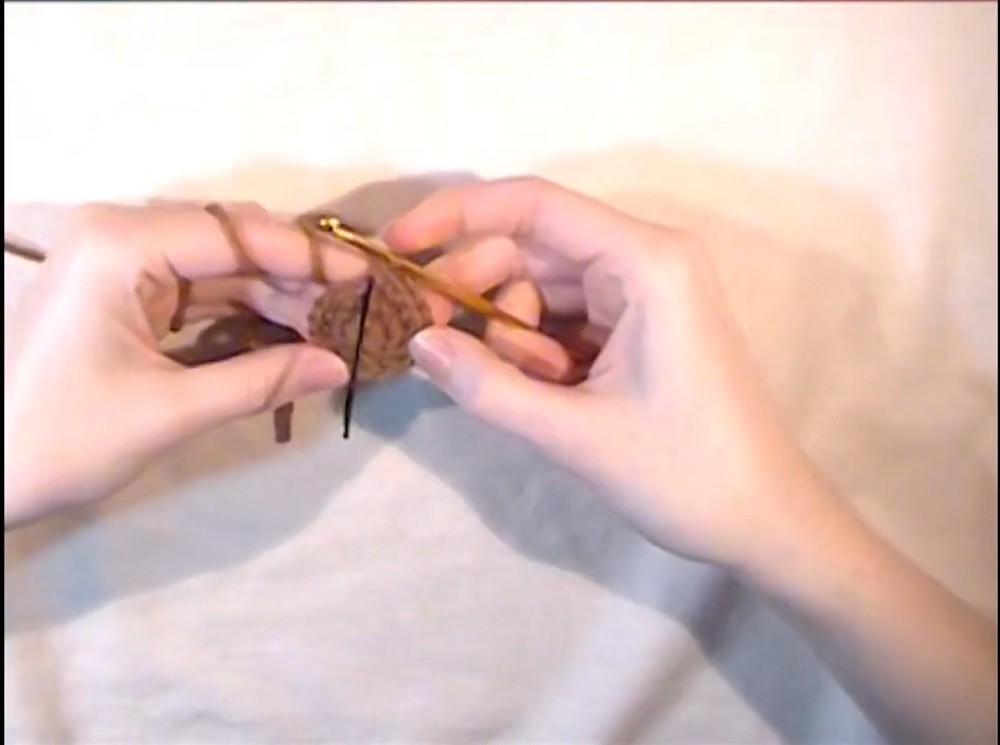
- Large Spots:
- Magic circle with 6 sc.
- Round 2: Inc in every stitch (12 stitches).
- Round 3: [Sc, inc]; repeat.
- Round 4: [Sc 2, inc]; repeat.
- Medium Spots:
- Magic circle with 6 sc.
- Round 2: Inc in every stitch.
- Round 3: [Sc, inc]; repeat.
- Small Spots:
- Magic circle with 6 sc.
- Round 2: Inc in every stitch.
- Create as many spots as desired and sew them onto the giraffe’s body.
Conclusion
You have now completed your giraffe plushie. This step-by-step pattern guides you through creating every part of the giraffe—from the head, neck, and body to the decorative spots. The final product is a customizable, adorable soft toy perfect for gifting or keeping for yourself. Let your creativity shine as you experiment with colors and additional details. Don't forget to proudly admire your creation!