
Crochet Ghost Amigurumi Pattern for Spooky Halloween Decor
Add a little ghostly sweetness to your Halloween with this Crochet Ghost Amigurumi Pattern – charming, easy-to-follow, and perfect for the spooky season!
Ghost ornaments are versatile decorative pieces that add charm to Halloween setups, whether used on trees, mantels, or as fun hanging accessories. Perfect for home decor or thoughtful handmade gifts, these ornaments bring playful vibes to Halloween celebrations. Their compact size makes them ideal for quick crochet projects that spread joy for any spooky season.
Crochet Ghost Amigurumi Pattern
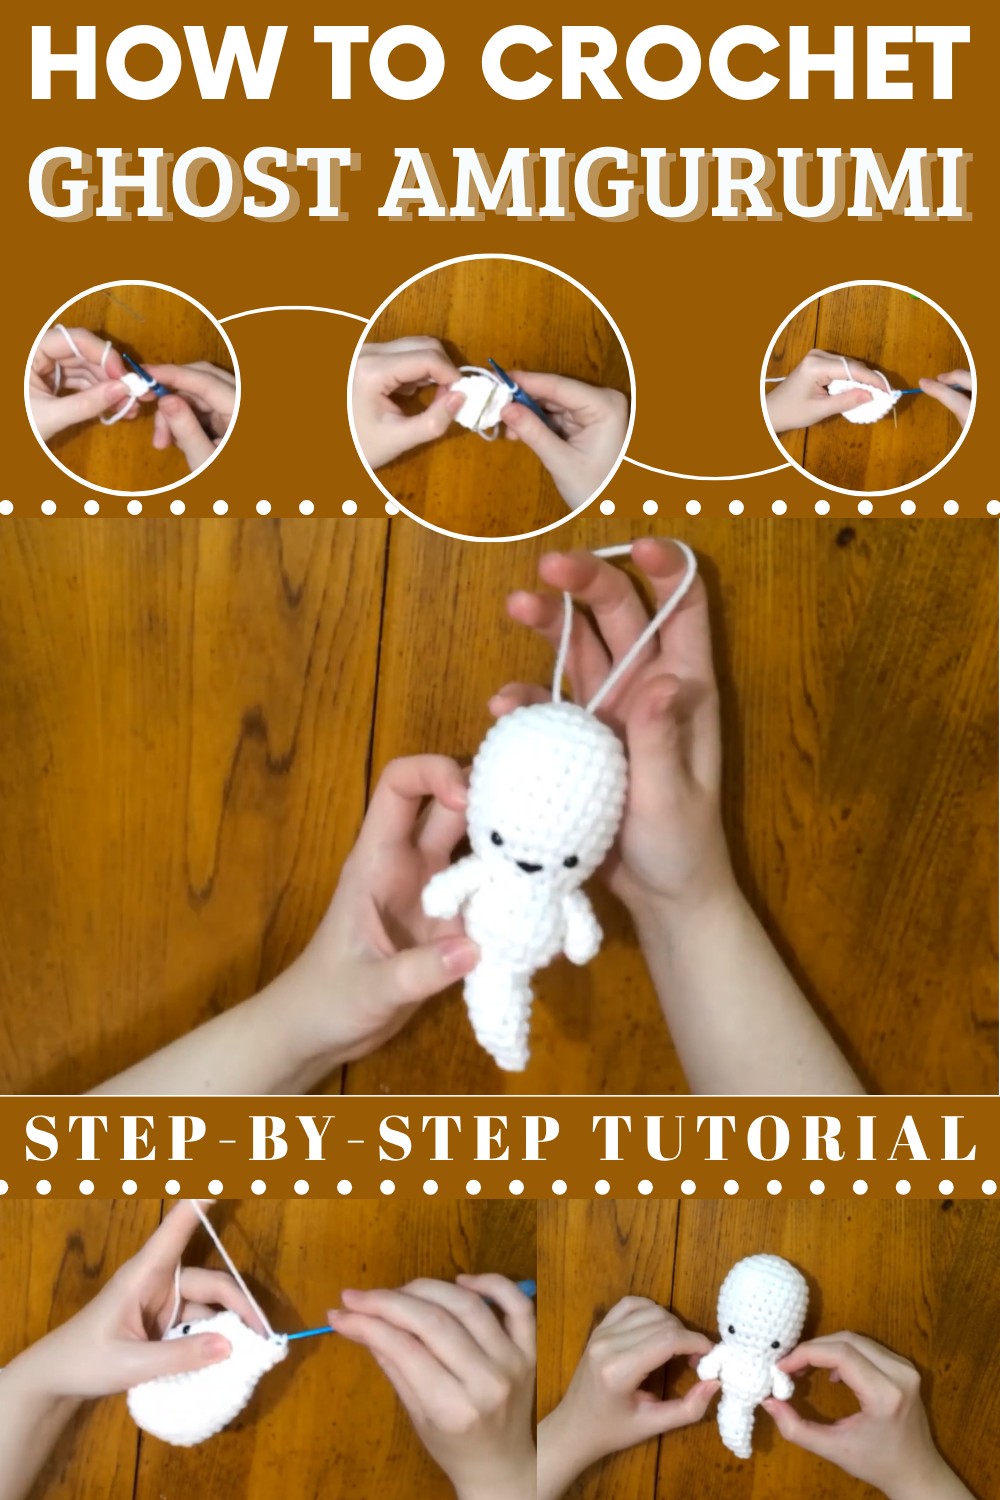
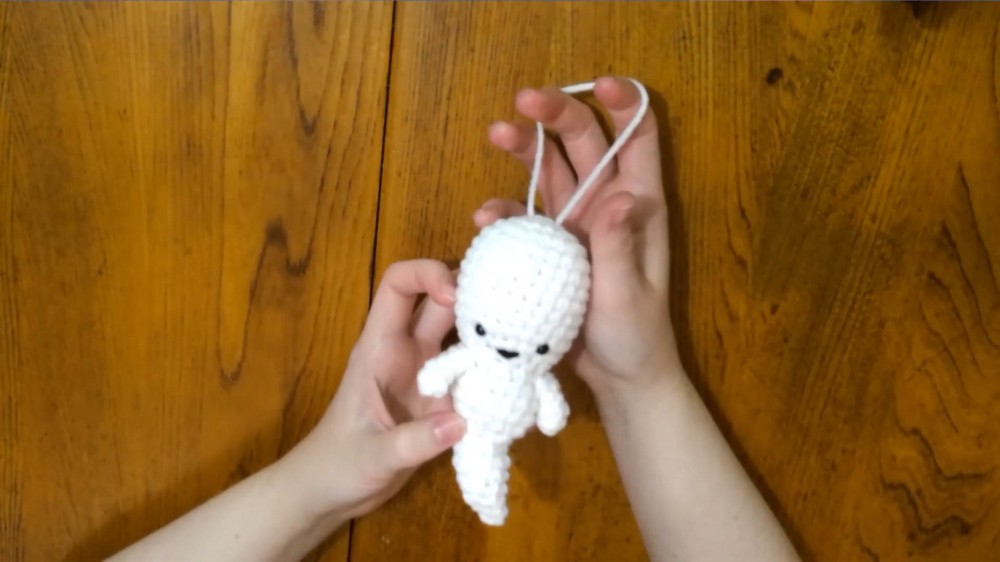
Halloween Ghost Ornament Crochet Pattern
This adorable Halloween ghost ornament is perfect for decorating your home or yard during the spooky season. Simple yet creative, this crochet project is beginner-friendly and can be completed in just a short time. Follow these precise, step-by-step instructions to crochet your very own crochet ornament.
Materials Needed
- Yarn: White yarn (any desired weight, but ensure it works well for amigurumi projects)
- Hook: Crochet hook (size suitable for your yarn; most likely 3mm or 3.5mm for amigurumi)
- Stuffing: Polyester fiberfill or toy stuffing
- Safety Eyes: Small black safety eyes (optional; for the ghost’s face)
- Embroidery Floss: Black embroidery floss (optional; for adding a smile)
- Darning Needle: For sewing parts together
- Scissors
Abbreviations Used
- MR = Magic Ring
- SC = Single Crochet
- INC = Increase (2 SC in the same stitch)
- DEC = Decrease (single crochet 2 stitches together)
- R = Round(s)
Step-by-Step Pattern
Body of Ghost
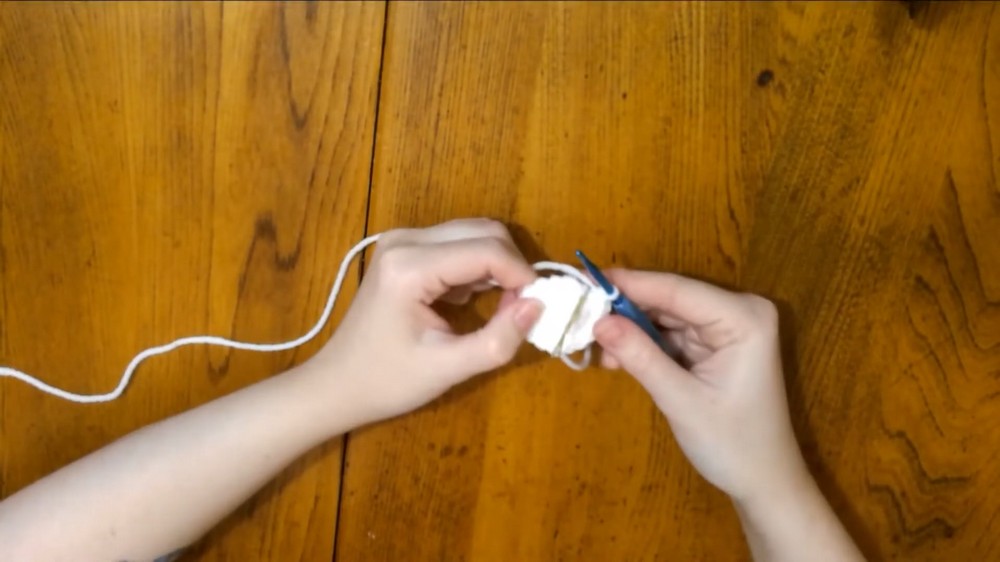
- R1: Begin with a Magic Ring (MR) and make 6 SC into it. Pull the ring tight. (6 stitches total)
- R2: Work INC in each stitch around. (12 stitches)
- R3: 1 SC, INC — repeat around the ring. (18 stitches)
- R4: 2 SC, INC — repeat around the ring. (24 stitches)
- R5 – R11: SC all the way around. Maintain the stitch count from the previous round. (24 stitches)TIP: At this point, you can add safety eyes between Rounds 11 and 12 if desired.
- R12: 2 SC, DEC — repeat around the ring. (18 stitches)
- R13: 1 SC, DEC — repeat around the ring. (12 stitches)
- R14: 1 SC, INC — repeat around the ring. (18 stitches)
- R15 – R17: SC all the way around. Maintain the stitch count from the previous round. (18 stitches)
- R18: 1 SC, DEC — repeat around the ring. (12 stitches)
- R19: DEC all the way around. (6 stitches)
- R20: Work INC in each stitch around. (12 stitches)
- R21: SC all the way around. (12 stitches)
Bottom Ruffles:
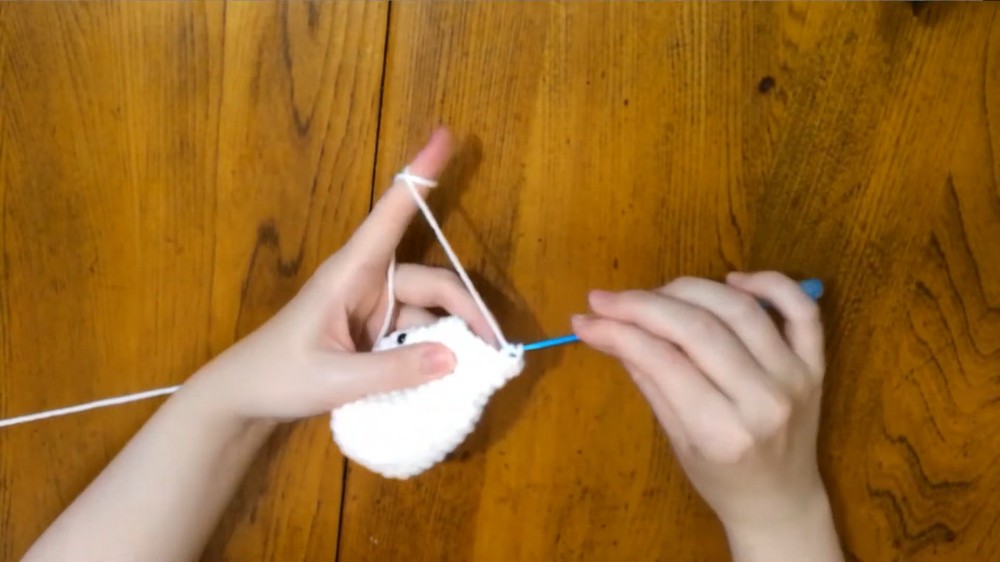
14. R22: 2 DEC, SC in next 8 stitches. (10 stitches)
- R23: 2 DEC, SC in next 6 stitches. (8 stitches)
- R24: 2 DEC, SC in next 4 stitches. (6 stitches)
Final Round: DEC twice, SC in the last 2 stitches. Fasten off.
Ghost Arms
- R1: Start with a Magic Ring (MR) and make 6 SC into it. Pull the ring tight. (6 stitches)
- R2 – R4: SC all the way around, maintaining the stitch count from the previous round. (6 stitches)
- Finish: Fasten off and make a second arm using the same method.
Finally, sew both arms to the sides of the ghost's body securely.
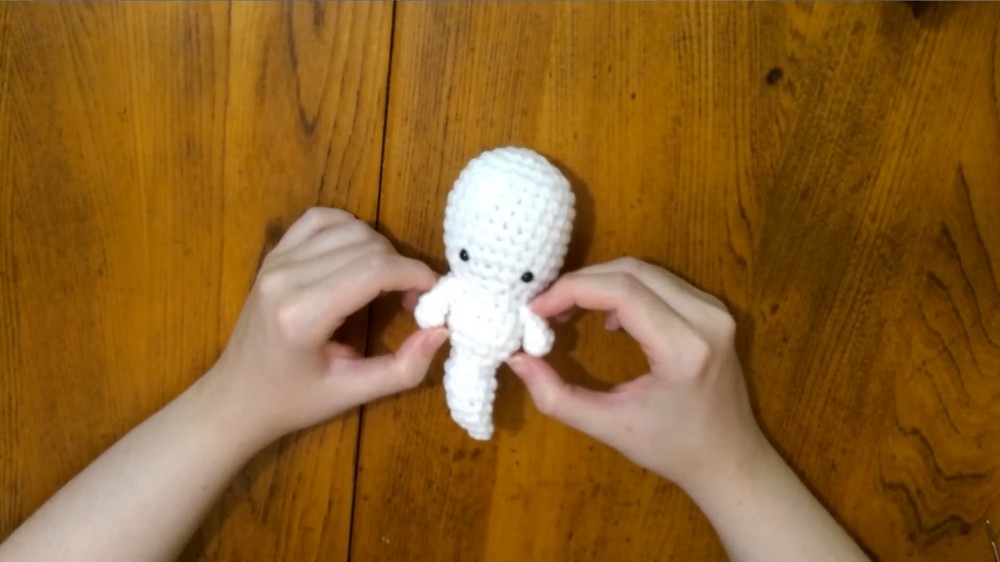
Optional Finishing Touches
- Face: Add a small smile by embroidering with black embroidery floss, or leave the ghost without a mouth for a spooky appearance.
- Hanging Loop: Use a small piece of white yarn and attach a loop to the top of the ghost to hang as an ornament.
Conclusion and Final Notes
Congratulations! You now have a cute Halloween ghost ornament to hang on your tree, decorate your home, or gift to friends and family. This simple project is perfect for practicing basic amigurumi techniques, like increasing, decreasing, and working in the round. Customize your ghost with different expressions or decorations to make it unique. Enjoy your spooky creation, and happy crocheting!