
Crochet Chick Keychain Amigurumi Pattern for Cute Plushies
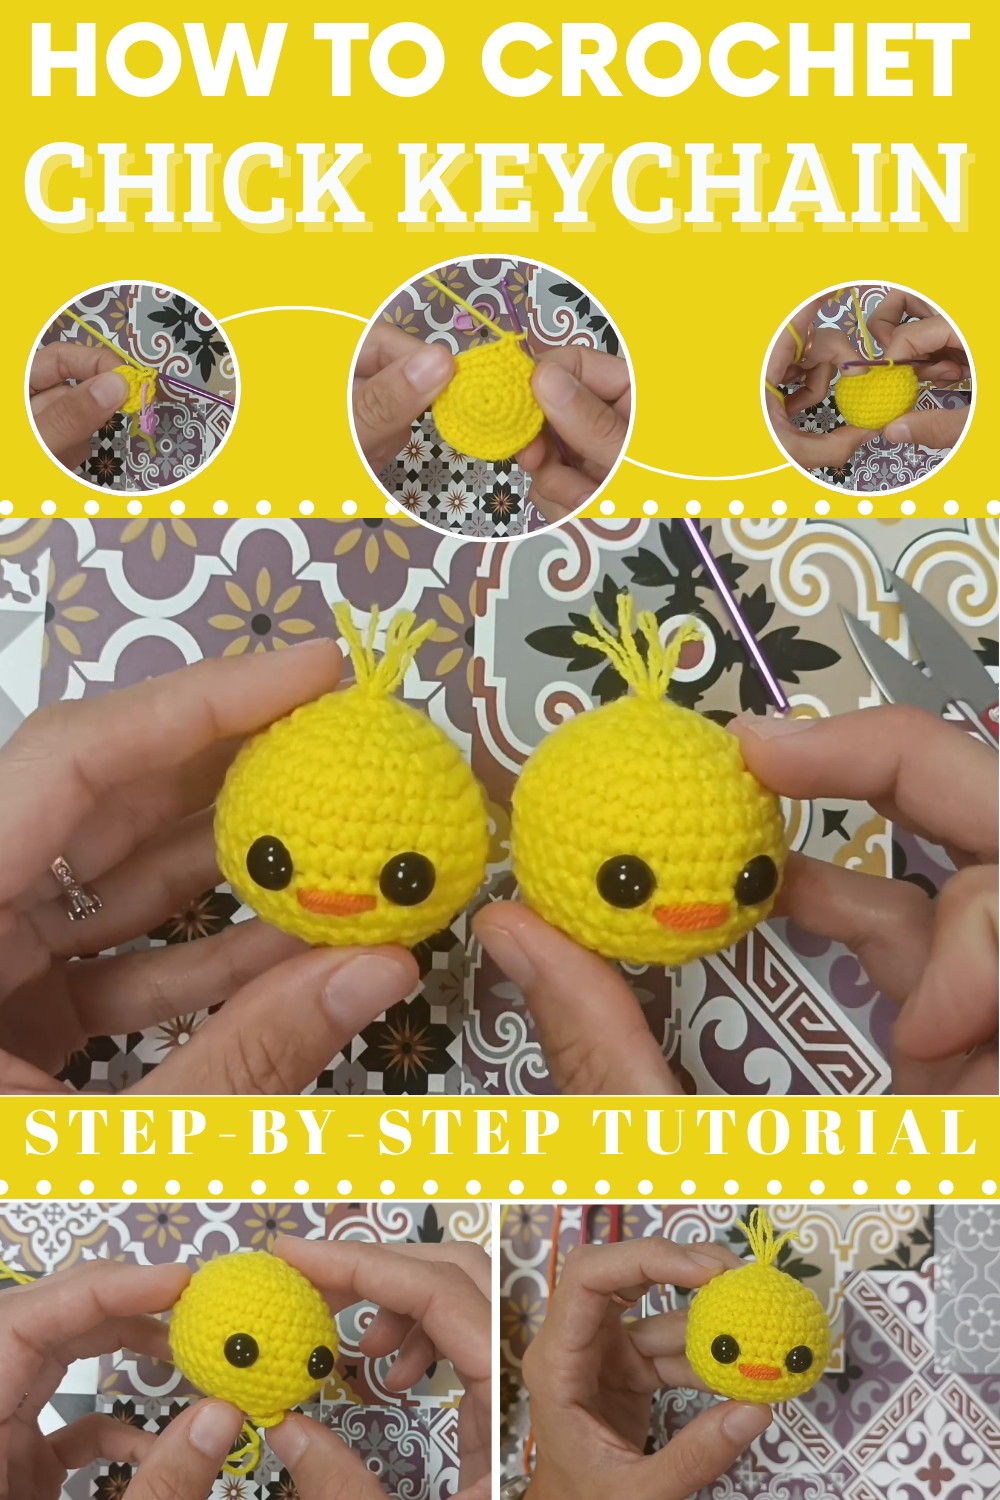
Bring cuteness to your accessories with this charming crochet chick keychain amigurumi pattern—quick to make and perfect for adding flair to your everyday look.
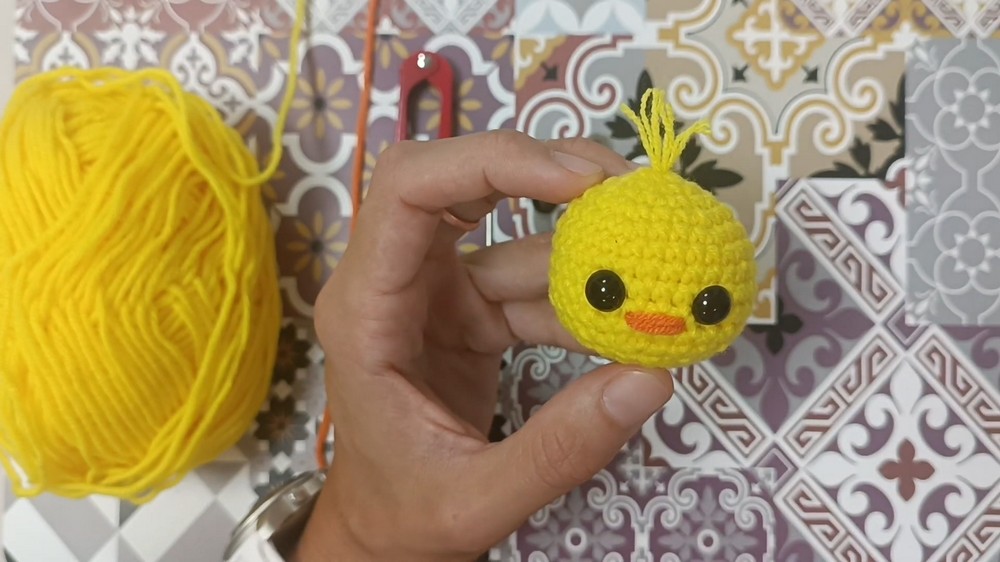
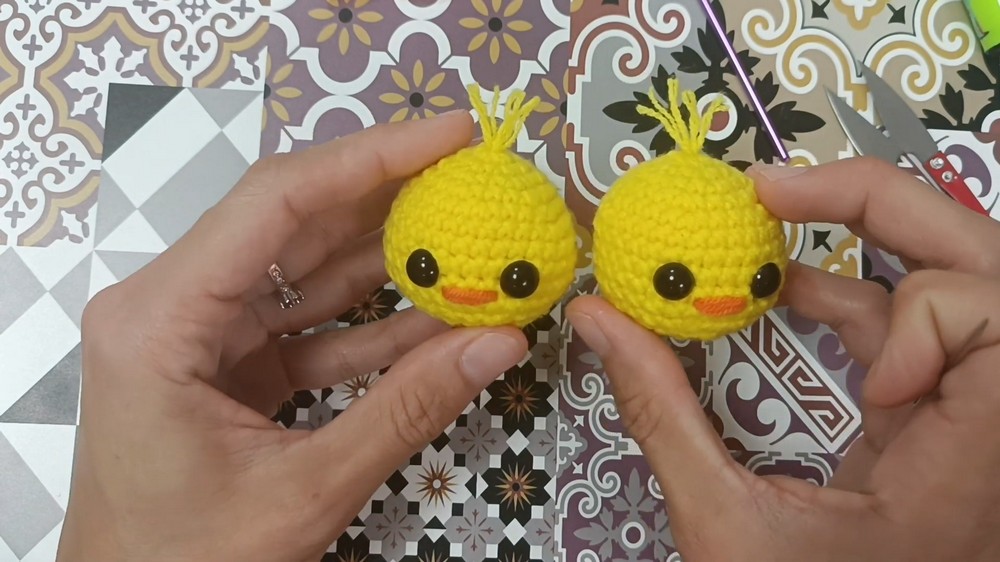
Adorned with tiny safety eyes, a pop of orange for its beak, and playful tufted yellow hair, this adorable chick brings charm wherever it goes. It’s a delightful addition to keychains and bags or a thoughtful handmade gift for loved ones. Practical yet heartwarming, it’s perfect for expressing creativity while adding a vibrant little character to brighten your day.
Crochet Chick Keychain
Crochet Gray Baby Mouse Tutorial
In this detailed tutorial, you will learn how to crochet an adorable gray baby mouse that can be finished in less than an hour. It is a beginner-friendly project and uses straightforward stitches and techniques. Perfect for gifting or decorating, this project will teach you how to create the body, add facial details, and assemble the mouse with ears and a tail. Follow along step by step to create your own amigurumi toy!
Materials Needed
- Yarn: Chenille blended yarn in gray, black, and pink or any suitable yarn for amigurumi.
- 5mm crochet hook: Recommended for working with chenille yarn.
- Stitch marker: Helps keep track of rows efficiently.
- Needle: For sewing pieces together and adding facial features.
- 8mm safety eyes
- Glue (optional): For securing safety eyes (hot glue or any other kind).
- Fiber stuffing: To fill the mouse body.
- Scissors: For cutting yarn neatly.
Abbreviations
| Abbreviation | Stitch/Technique |
|---|---|
| MR | Magic Ring or Magic Circle |
| SC | Single Crochet |
| INC | Increase (Insert 2 SCs into the same stitch) |
| DEC | Decrease (Crochet two stitches together) |
| Sl St | Slip Stitch |
Step-By-Step Crochet Pattern for the Mouse
Start with the Body (Rows 1–11)
Row 1: Beginning the Magic Ring
- Begin with a magic ring.
- Wrap the yarn around your fingers to create a loop.
- Insert the hook into the loop, yarn over, pull up a loop, yarn over again, and pull through the loop to secure.
- Work 6 SC into the magic ring.
- Pull the loose tail to tighten the center. Make sure it is not too tight so you can easily crochet into the stitches.
Total stitches after Row 1: 6 SC
Row 2: Increases
- Place a stitch marker in the last stitch.
- Work 6 increases all the way around:
- Pattern: Place 2 SC in each stitch across all 6 stitches.
- At the end of the row, move the stitch marker into the last stitch.
Total stitches after Row 2: 12 SC
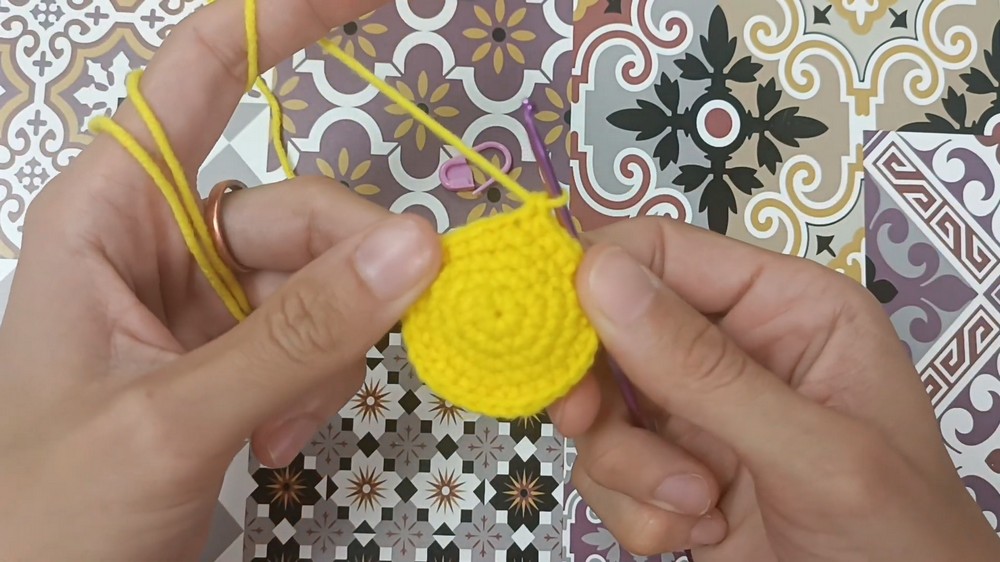
Row 3: Single Crochet and Increases
- Alternate between a single crochet (SC) and an increase (INC) around the row:
- Pattern: SC in the first stitch, then INC in the second stitch. Repeat this pattern 6 times.
- Add the stitch marker to the last stitch.
Total stitches after Row 3: 18 SC
Row 4: Single Crochet and Increases
- Work SC in the first two stitches, followed by INC in the third stitch. Repeat 6 times.
- Pattern: SC, SC, INC.
Total stitches after Row 4: 24 SC
- Pattern: SC, SC, INC.
Rows 5 to 8: Maintaining Shape
- For Rows 5–8, work 24 single crochets (SC) around for 4 rows:
- Pattern: SC in every stitch around.
- Add stuffing when completing these rounds to fill and shape the mouse's body slowly as it grows.
Total stitches after Rows 5–8: 24 SC each row
Starting to Decrease
Row 9: Single Crochet and Decrease
- Work SC into the first two stitches, then a decrease (DEC) into the next two stitches:
- Pattern: SC, SC, DEC. Repeat 6 times.
- Add stuffing after completing this row.
Total stitches after Row 9: 18 SC
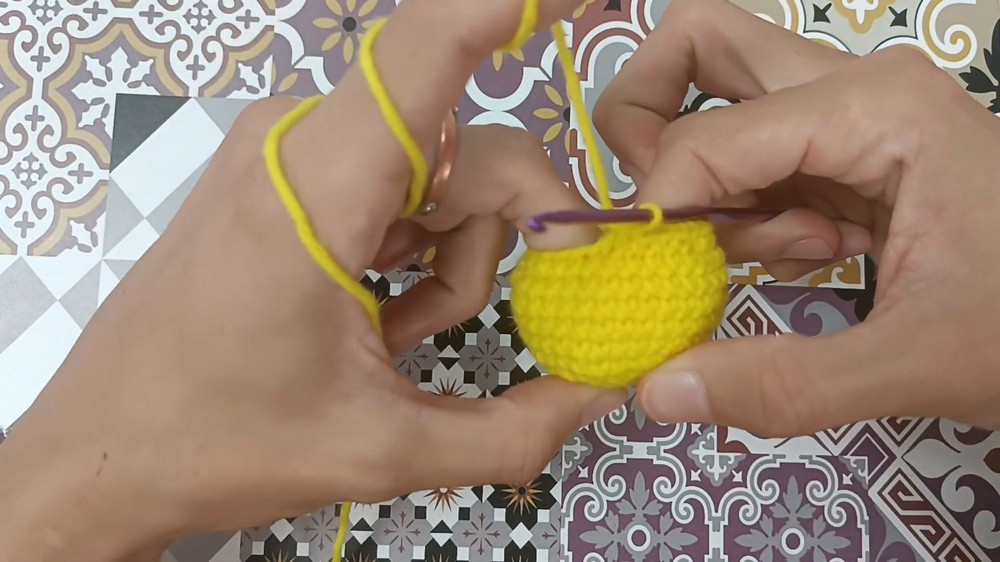
Row 10: Single Crochet and Decrease
- Work SC into the first stitch, then DEC into the next two stitches:
- Pattern: SC, DEC. Repeat 6 times.
Total stitches after Row 10: 12 SC
- Pattern: SC, DEC. Repeat 6 times.
Row 11: Final Row and Closing
- Work 6 decreases across the row to close the hole at the bottom of the mouse:
- Pattern: DEC in every stitch.
- After completing all decreases (6 remaining stitches), close the hole:
- Thread your needle through the front loops of all remaining stitches to pull and close it.
- Tie off securely, leaving a length of yarn for creating the tail. Thread your needle through the body and insert the yarn into the desired tail location.
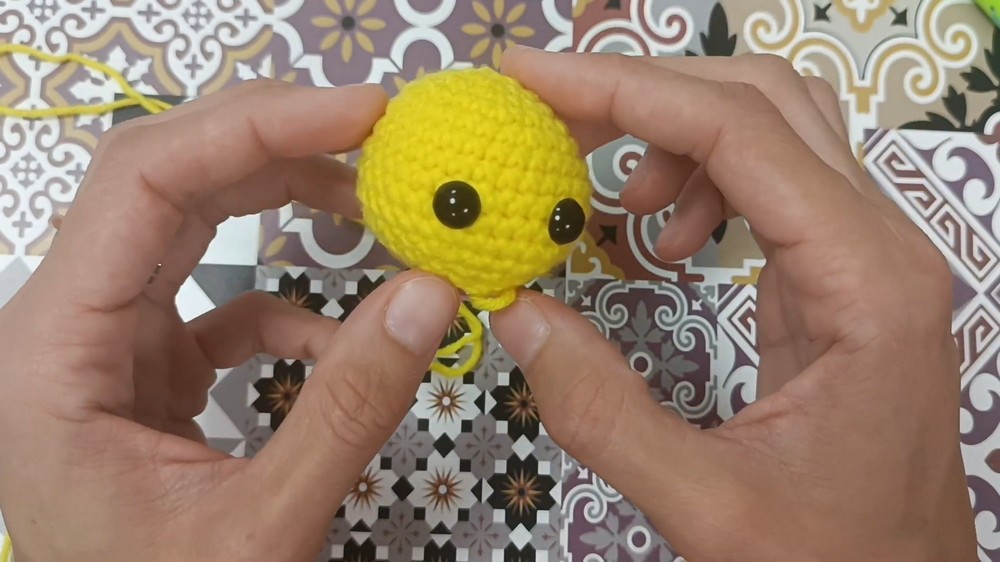
Facial Details
The facial features include safety eyes, a stitched muzzle/smile, and pink cheeks for blush.
Adding Safety Eyes
- Insert 8mm safety eyes between Rows 5 and 6, leaving 3 stitches between each eye.
- Use glue (optional) or washers to attach the eyes securely.
Adding Blush
- Use pink yarn or thread to create a small "X" below each eye.
- Insert your needle from inside the body to make the first diagonal, then from outside again for the second diagonal.
- Tie securely inside the mouse and hide the loose threads.
Adding the Smile
- Use black yarn/thread to stitch a simple smile onto the face.
- Insert the needle from the back of the head and bring it out slightly right of one eye, then curve it down and toward the center.
- Repeat for the other side of the smile to create a symmetric curve. Secure with knots inside the mouse and hide threads in the stuffing.
Making and Attaching Ears
Step 1: Crocheting Each Ear
- Attach gray yarn and start with a magic circle.
- Row 1: Work 7 SC into the magic circle. Tie off and pull the loose end to close the circle. Place a stitch marker in the last stitch.
- Row 2: Work 7 increases (INC):
- Pattern: For every stitch around, work 2 SC into the same stitch.
- Total stitches at the end of Row 2: 14 SC
- Secure with a slip stitch, chain 1, and leave a long tail for sewing the ear to the mouse. Repeat to make a second ear.
Step 2: Attaching the Ears
- Position one ear on the side of the head and hold it in place.
- Sew the ear using the long tail and a needle:
- Attach the ear by sewing into the head and then into the bottom edge of the ear. Make tight stitches around the ear until it is securely attached.
- Secure the tail by tying knots on the underside of the ear and hiding leftover threads inside the head.
- Repeat the process for the second ear on the opposite side of the head.
Adding Details: The Tail
- To make the tail, leave the long gray yarn tail from Row 11.
- Position the tail on the opposite side of the face to make it look natural.
- Thread the long tail through the needle and sew straight into the bottom of the mouse's body to attach the tail. Pull tight to secure.
Conclusion
Congratulations on completing the adorable gray baby mouse! With simple tools and stitches, this crochet pattern is ideal for beginners or anyone looking to make a quick, creative project under an hour. You’ve learned how to crochet a magic circle, single crochet, increase, decrease, and slip stitch, as well as assemble the ears, tail, and detailed facial features. Add finishing touches (like blush and a smile) to personalize your mouse or turn it into a keychain for a thoughtful handmade gift.