
Crochet Charmander Amigurumi Pattern For Tiny Friend
Create your personal masterpiece with the Crochet Charmander Amigurumi Pattern—fun, step-by-step instructions to stitch the cutest Pokémon-inspired creation!
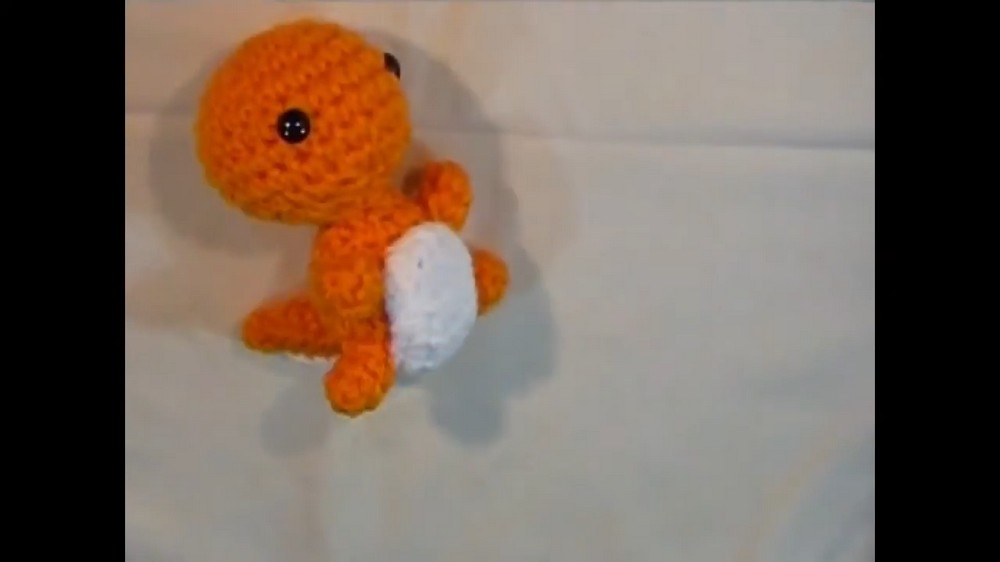
This adorable Charmander amigurumi design brings to life the playful essence of the fire-type Pokémon. Small yet detailed, it showcases a charmingly soft head, vibrant orange body, expressive safety eyes, a structured flame tail, and cute white belly accents. Either for personal collections, thoughtful gifts, or as a charming display piece, this pattern offers delight in every stitch.
Crochet Charmander Amigurumi Pattern

Crochet Charmander Amigurumi
Charmander, the beloved Fire-type Pokémon, is here as a cuddly crochet plushie! This step-by-step pattern will help you create an adorable handmade keepsake that's perfect for any Pokémon fan. Whether you're a seasoned crocheter or an enthusiastic beginner, follow this guide carefully, and you'll soon have your very own crocheted Charmander. This pattern involves crocheting separate body parts (head, body, tail, arms/legs, tummy, cheeks) and sewing them together for the final result.
Materials Needed
To make your Charmander plushie, you'll need the following materials:
- Yarn: Red, orange, white, yellow (optional pink for cheeks)
- Crochet hooks: 4 mm hook (for body parts) and 3.5 mm hook (for finer details like tummy/cheeks)
- Safety eyes: 2 small safety eyes
- Stuffing: Polyfill or fiberfill to stuff the plushie
- Scissors
- Yarn needle: For sewing parts together
- Optional: Red and yellow yarn or felt, and a cat (or bristle) brush to create the flame effect for the tail
Abbreviations
Here are the abbreviations used in this pattern:
- ch: Chain
- sc: Single crochet
- inc: Increase (make 2 single crochets in the same stitch)
- dec: Decrease (single crochet 2 stitches together)
- sl st: Slip stitch
- MR: Magic ring (start your crochet work in a loop)
Crochet Pattern
Head
- Round 1: With red yarn and a 4 mm hook, make a magic ring and put 6 sc inside the magic ring.
- Round 2: Increase in every stitch (2 sc in each), ending with 12 stitches.
- Round 3: Do 1 sc, then 1 inc (repeat this pattern all around). Finish with 18 sts.
- Round 4: Do 2 sc, then 1 inc (repeat all around). Finish with 24 sts.
- Rounds 5-8: Work 1 sc in each stitch around (maintain stitch count at 24).
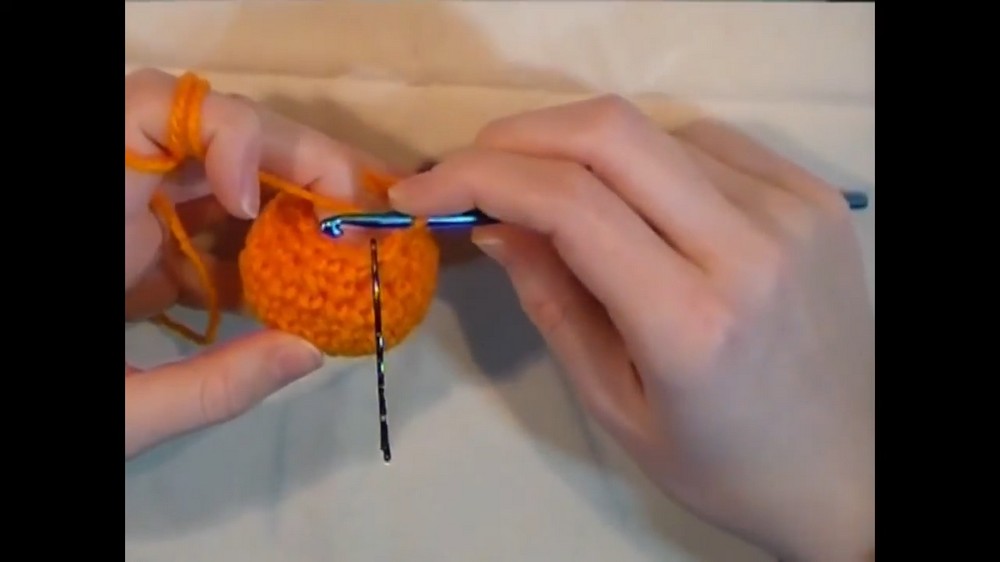
- Add safety eyes between Rows 6 and 7, keeping them spaced evenly apart.
- Round 9: Do 2 sc, then 1 dec (repeat all around). Finish with 18 sts.
- Round 10: Do 1 sc, then 1 dec (repeat all around). Finish with 12 sts.
- Stuff the head with fiberfill or stuffing.
- Final Round: Work decreases all around until you have 6 sts. Cut off a short tail, finish off, and weave in the ends.
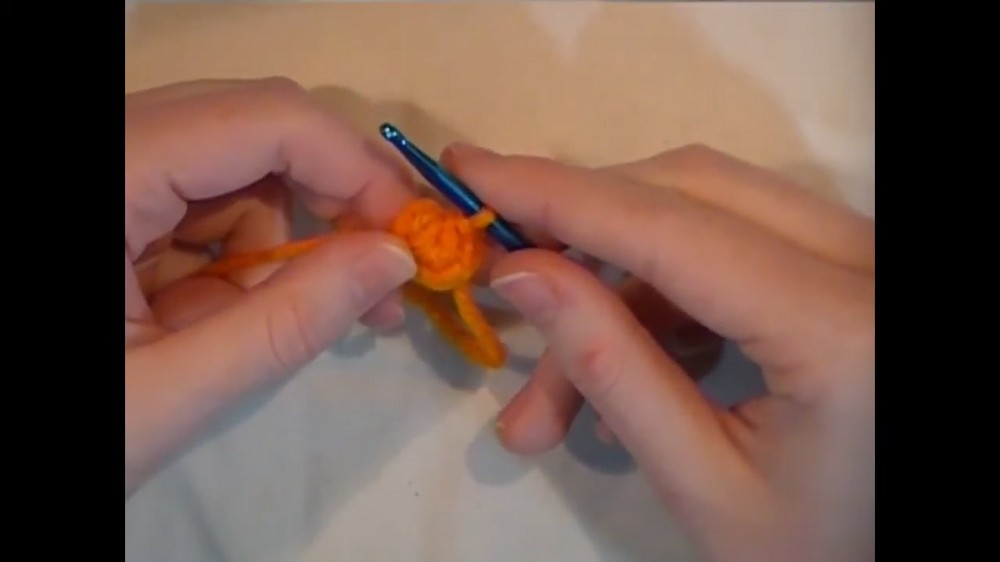

- The head is complete.
Body
- Round 1: With red yarn and a 4 mm hook, make a magic ring and put 6 sc inside the magic ring.
- Round 2: Increase in every stitch (2 sc in each), ending with 12 stitches.
- Round 3: Do 1 sc, then 1 inc (repeat this pattern all around). Finish with 18 sts.
- Rounds 4-7: Work 1 sc in each stitch around (maintain stitch count at 18).
- Round 8: Do 1 sc, then 1 dec (repeat all around). Finish with 12 sts.
- Round 9: Work 1 sc in each stitch. Maintain stitch count at 12.
- Stop here and stuff the body.
- Final Round: Work decreases all around until you have 6 sts. Cut a long piece of yarn and finish off.
- The body is complete.
Tail
- Round 1: With orange yarn and a 4 mm hook, make a magic ring and put 4 sc inside the ring.
- Rounds 2-3: Work 1 sc in each stitch around (maintain stitch count at 4).
- Round 4: Do 1 sc, then 1 inc (repeat). Finish with 6 sts.
- Rounds 5-6: Work 1 sc in each stitch. Maintain stitch count at 6.
- Round 7: Do 2 sc, then 1 inc (repeat). Finish with 8 sts.
- Round 8: Work 1 sc in each stitch (8 sts).
- Round 9: Turn your work and sc 4 sts.
- Cut a long strand of yarn and finish off. Stuff the tail.
- The tail is complete.
Arms and Legs
- Round 1: Using orange yarn and a 4 mm hook, make a magic ring and put 5 sc inside.
- Rounds 2-3: Work 1 sc in each stitch. Maintain stitch count at 5.
- Final Round: Sl st into the next sc, leave a short tail, and finish off.
- Stuff the arm/leg lightly.
- Make 4 pieces total (2 arms, 2 feet).
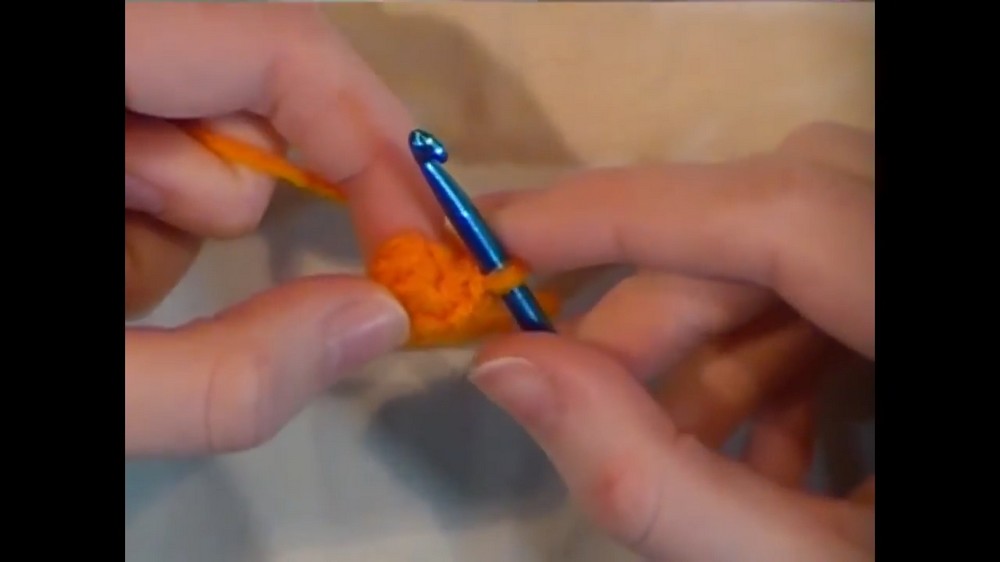
- Arms and legs are complete.
Tummy
- With white yarn and a 3.5 mm hook, ch 5.
- Rounds 2-10: Work 1 sc across, ch 1, and turn your work.
- Round 11: Work 2 decreases evenly across.
- Rounds 12-19: Work 1 sc across, turn your work.
- Slip stitch up the tail and crochet around the sides and top. Finish with sl sts around the edges to neaten the borders.
- Cut a long piece of yarn and finish off.

- Tummy is complete.
Cheeks
- With pink yarn and a 3.5 mm hook, chain 2 and finish off.
- Make 2 pieces, one for each cheek.
- Cheeks are complete.
Assembly
- Start with the head: Weave in the tail from the head and securely sew the head to the body.
- Attach the tail: Place the flap of the tail at the base of the body and sew it securely.
- Attach the tummy: Sew the white tummy piece at the front of the plushie, centered on the body.
- Attach arms and legs: Pin the arms and legs onto the sides of the body; ensure symmetry before sewing them on.
- Sew cheeks: Place and sew the cheeks beside the safety eyes, ensuring proper placement.
Adding the Tail Flame
- You can use red and yellow yarn to create flame decorations for the tail:
- Cut small pieces of yarn (red and yellow).
- Attach them to the tail using loops: Place a loop of yarn on your hook, insert into the tail’s stitches, and pull the loop through, then pull the two strands through the loop.
- Position red yarn in the middle and yellow yarn around the edges.
- Unravel the strands of yarn to create a "flame-like" texture by opening the twists. You can also brush the yarn with a bristled brush (like a cat brush) for a fluffier effect. Alternatively, cut flame-shaped felt pieces and glue them onto the tail.
Conclusion
Congratulations! You’ve completed your Crocheted Charmander Plushie, complete with an adorable flame tail and Pokémon nostalgia. This handmade plushie is perfect as a gift for a Pokémon enthusiast or as a collectible for yourself. You can customize colors or size by adjusting the yarn weight or hook size. Share your creation proudly with family and friends.