
Crochet Amigurumi Koya Free Pattern with Helpful Tips
Create your own Koya plush with our easy-to-follow amigurumi pattern that's perfect for beginners, this guide breaks down every step to help you make the perfect companion.
There’s something truly fun about making small, cute crochet toys that brighten up your day. One such charming project is the free crochet AMIGURUMI KOYA pattern, which lets you crochet an adorable plush toy inspired by a beloved character. This amigurumi KOYA is perfect for fans of amigurumi or anyone looking to create a sweet handmade item that stands out with its playful look and cuddly feel.
Free Crochet Amigurumi Koya Pattern Perfect for Gifts
The KOYA amigurumi is beautifully designed with a soft, rounded shape that’s both simple and eye-catching. Its smooth texture makes it pleasant to hold, while its large ears and sleepy eyes give it a gentle, lovable personality. The project’s style is minimal yet cute, focusing on basic shapes and carefully stitched details that make KOYA instantly recognizable. Because of its small size, it’s great to display on shelves, use as a keychain or bag charm, or give as a thoughtful handmade gift.
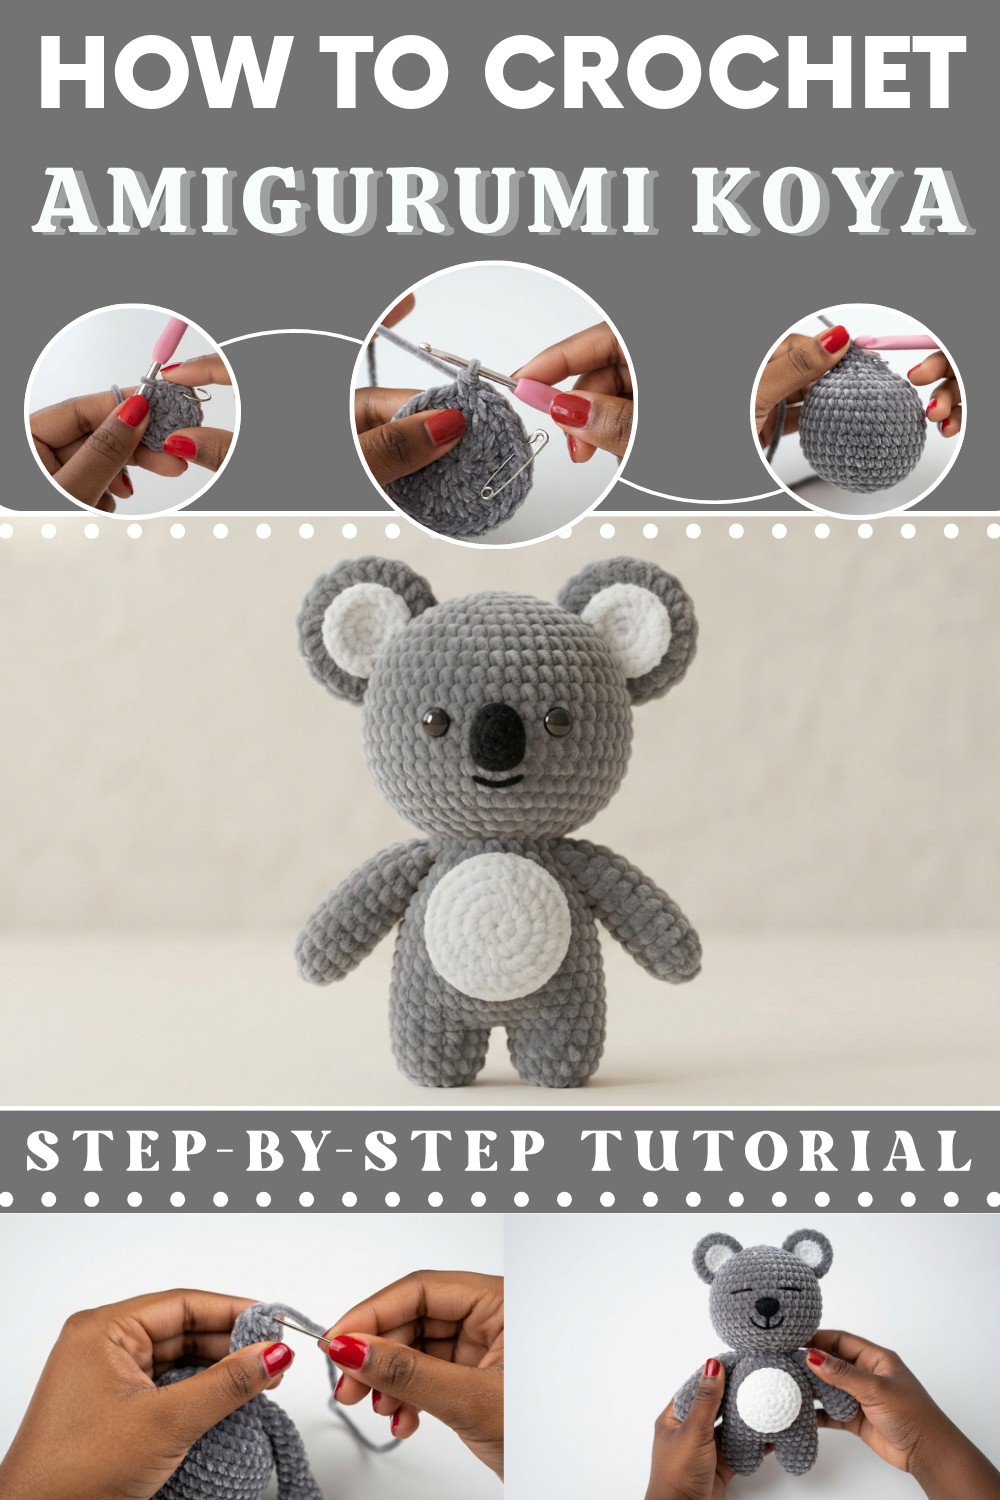
This pattern is friendly to beginners and those with some crochet experience since it mainly uses the single crochet stitch worked in continuous rounds. The instructions also guide you through basic shaping techniques to form KOYA’s unique features with ease, making it a satisfying project that helps you build your skills without being too difficult.
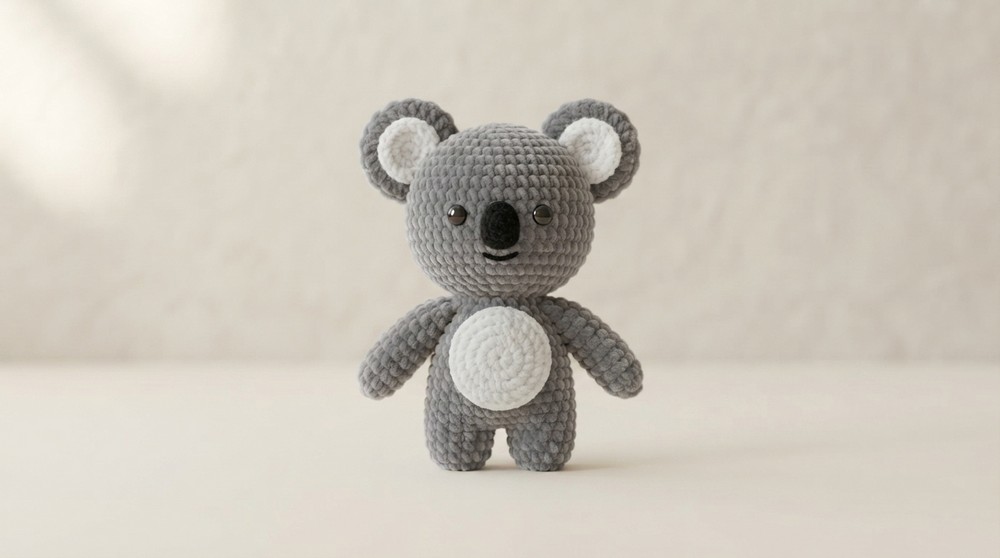
If you’re looking for an easy and fun crochet project that produces a delightful character, the free crochet AMIGURUMI KOYA pattern is an excellent choice. It’s perfect for gifts, cute decor, or collectibles that add charm to any space.
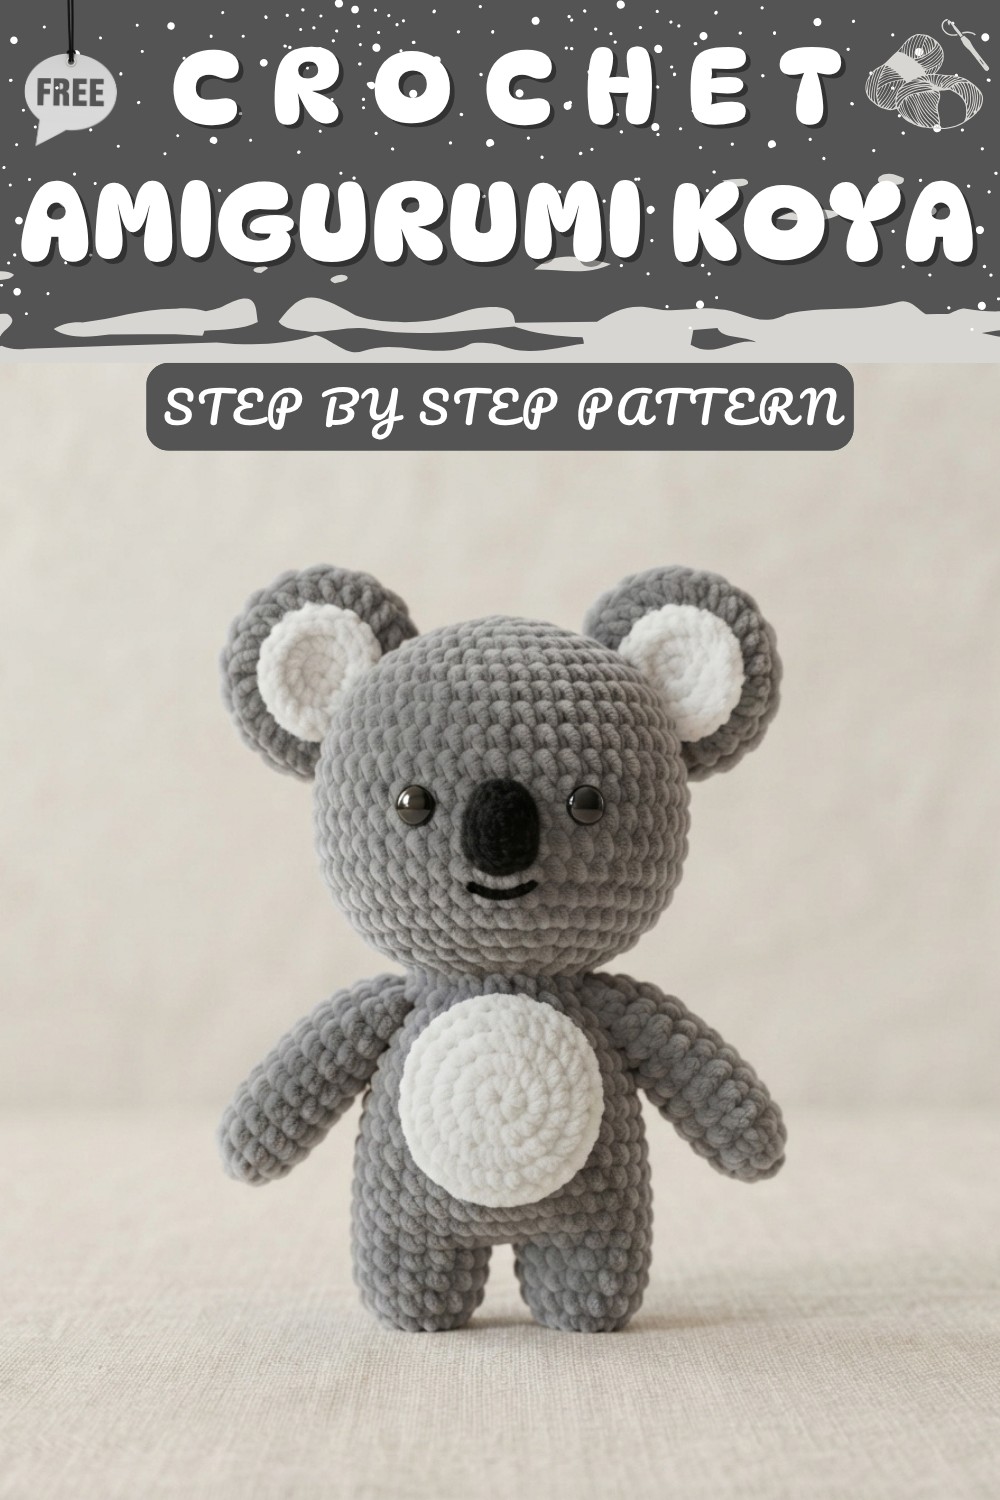
Creating an amigurumi version of this character is a rewarding experience that allows you to master circular construction and precise finishing techniques. This pattern guides you through the creation of Koya, ensuring that every detail—from the round, soft body to the expressive face—is executed with clarity.
This project is excellent for those looking to refine their ability to work in continuous rounds, manage color changes, and master the delicate embroidery work required to capture a specific character’s personality. By following this guide, you will produce a professional-quality plush toy that serves as a charming addition to any BT21 collection or a thoughtful gift for a fan.
Quick Overview Of Pattern
-
Technique: Primarily worked in continuous spiral rounds without joining.
-
Construction: The body is crocheted as a single unit, with limb partitions created by working separately into specific stitch counts.
-
Features: Includes instructions for ears (dual-layered), a stomach patch, and detailed facial embroidery.
-
Design: A plush, dense construction that ensures the stuffing remains contained.
-
Assembly: Involves sewing on the ears, nose, and chest patch, followed by delicate embroidery for the facial features.
Notes
-
Continuous Rounds: This pattern utilizes the continuous round method. Unlike patterns that require slip stitching at the end of every row, these rounds spiral upward. You must use a stitch marker at the beginning of each round to avoid losing your place.
-
Stitch Tension: For amigurumi, maintaining a firm and consistent tension is the most critical element. If your stitches are too loose, the stuffing will show through the gaps. If you notice gaps, consider switching to a smaller hook size than the one recommended on your yarn label.
-
Stuffing: It is imperative to add your stuffing gradually as you close your pieces. Ensure the filling is packed firmly to prevent the finished plush from appearing lumpy or deflated.
-
Invisible Decrease: This pattern assumes the use of the "invisible decrease." This method involves inserting your hook only through the front loops of the two stitches you are combining. It creates a seamless look that mimics the appearance of a standard single crochet, providing a much higher quality finish.
Skill Level
Beginner to Intermediate. While the stitches used are basic, the construction requires careful counting and patience during the partitioning of the limbs.
Materials
-
Yarn: Cotton or acrylic yarn in gray (body), White (ears and stomach), White (inner ears), and Black (face/nose).
-
Crochet Hook: 3.0mm.
-
Stuffing: Polyester toy stuffing (or clean scrap yarn).
-
Tools: Scissors, yarn needle (with a blunt tip), and a safety pin or stitch marker.
Measurements / Sizing
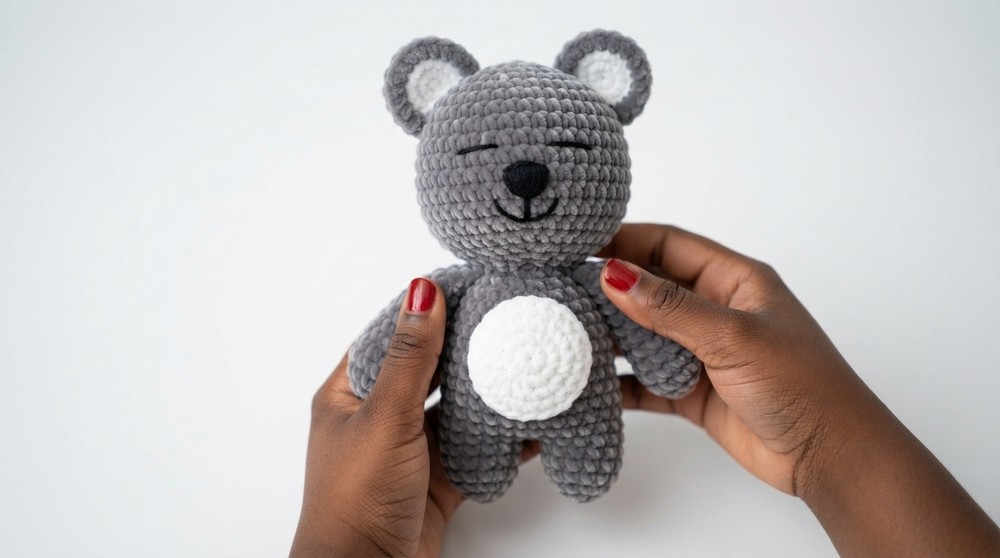
The finished Koya plush will measure approximately 4 to 5 inches in height, depending on your individual crochet tension and the yarn weight selected. It is designed to be a handheld, display-ready size.
Gauge
Aim for a dense gauge where stitches appear tight and compact. There should be no visible space between the stitches when the work is slightly stretched.
Stitch Abbreviations
| Abbreviation | Full Term |
| MR | Magic Ring |
| Ch | Chain |
| SC | Single Crochet |
| Inc | Increase (2 SC in same stitch) |
| Dec | Decrease (Invisible method) |
| SS | Slip Stitch |
| St/Sts | Stitch/Stitches |
Special Stitches
-
Magic Ring (MR): Creates an adjustable starting loop that allows you to pull the center of your circle completely tight, preventing a hole.
-
Invisible Decrease: A crucial technique for amigurumi. It reduces the stitch count by pulling the front loops of two adjacent stitches together, resulting in a cleaner, more professional finish than a standard decrease.
The Crochet Pattern!
Main Body (Head and Body)
-
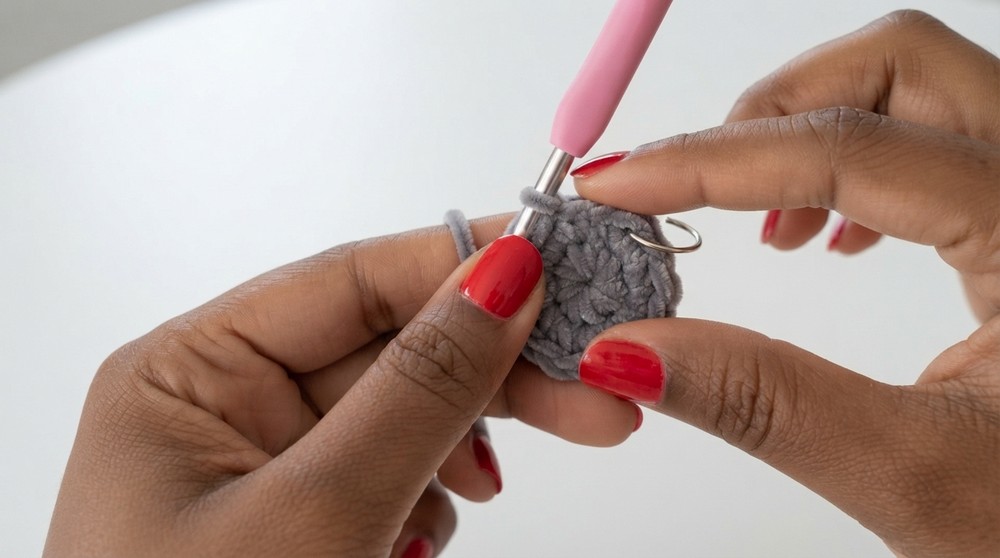
Round 1: MR, Ch 1, 6 SC in ring. Pull tight to close. Place stitch marker. (6 sts)
-
Round 2: Inc in every stitch. (12 sts)
-
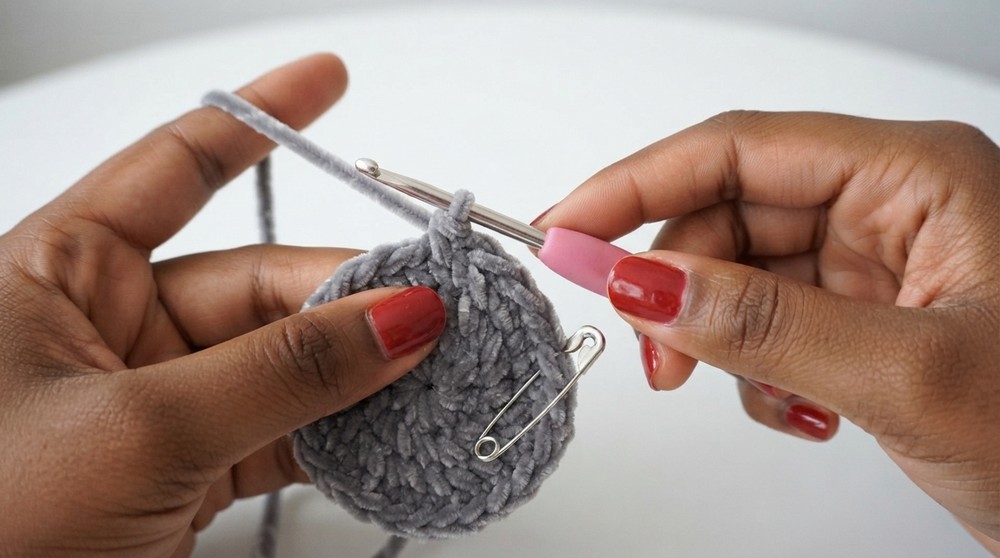
Round 3: 1 SC, 1 Inc. Repeat 6 times. (18 sts)
-
Round 4: 2 SC, 1 Inc. Repeat 6 times. (24 sts)
-
Round 5: 3 SC, 1 Inc. Repeat 6 times. (30 sts)
-
Round 6: 4 SC, 1 Inc. Repeat 6 times. (36 sts)
-
Round 7: 5 SC, 1 Inc. Repeat 6 times. (42 sts)
-
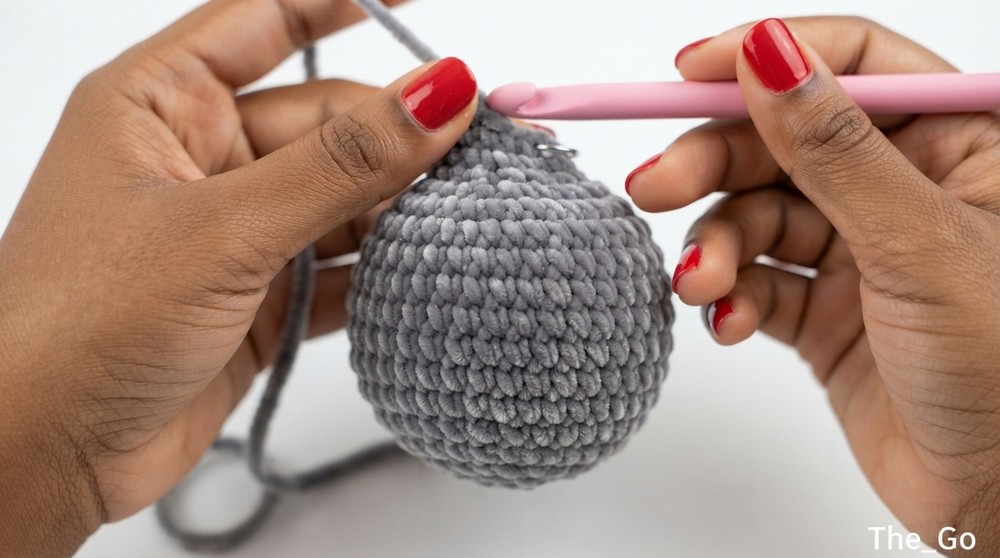
Rounds 8–14: SC in every stitch for 7 rounds. (42 sts)
-
Round 15: 5 SC, 1 Dec. Repeat 6 times. (36 sts)
-
Round 16: 4 SC, 1 Dec. Repeat 6 times. (30 sts)
-
Round 17: 3 SC, 1 Dec. Repeat 6 times. (24 sts). Begin stuffing the head.
-
Round 18: 2 SC, 1 Dec. Repeat 6 times. (18 sts). Add more stuffing.
-
Rounds 19–20: SC in every stitch for 2 rounds. (18 sts)
-
Round 21: 2 SC, 1 Inc. Repeat 6 times. (24 sts)
-
Round 22: 3 SC, 1 Inc. Repeat 6 times. (30 sts)
-
Round 23: 4 SC, 1 Inc. Repeat 6 times. (36 sts)
-
Round 24: 5 SC, 1 Inc. Repeat 6 times. (42 sts)
-
Round 25: 6 SC, 1 Inc. Repeat 6 times. (48 sts)
Partitioning the Body and Legs
-
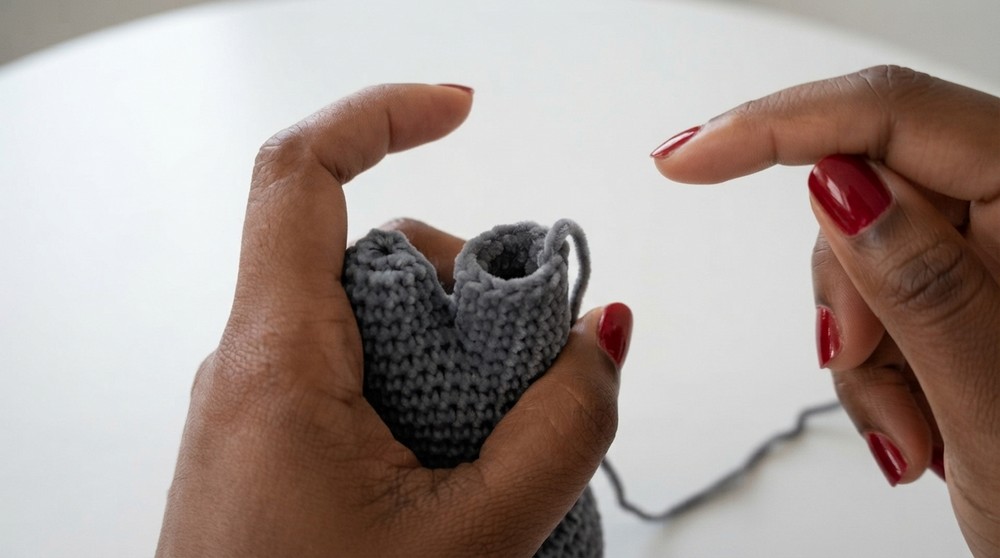
Round 26: Fold your work to locate the increase points on either side. Place markers to create two partitions of 10 stitches (for arms) and the remaining for the body. The goal is to isolate 14 stitches for each leg.
-
Rounds 26–32: Work SC around for 7 rounds on the body section (28 sts total).
-
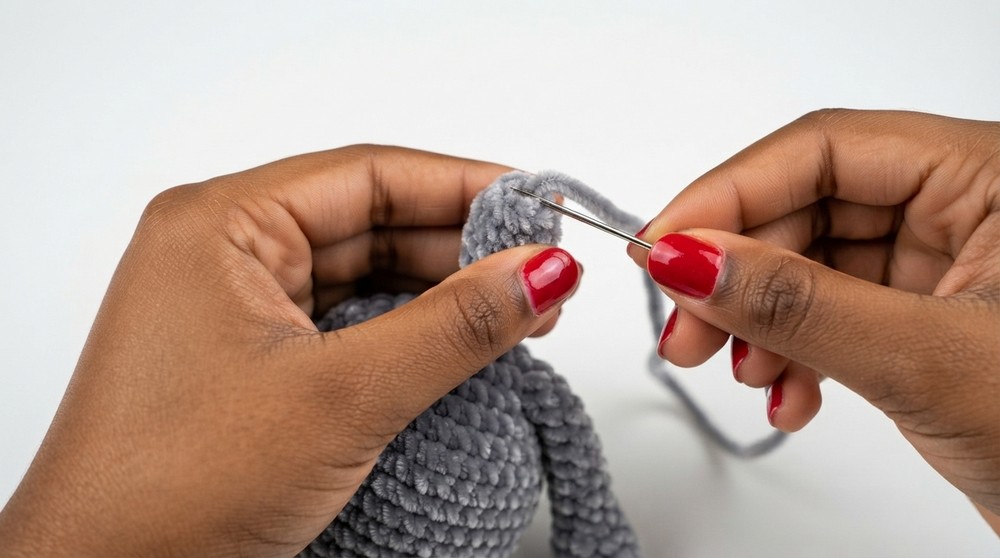
Legs: Split the 28 stitches into two sections of 14 stitches each. Work 5 rounds of SC for each leg section. Fasten off and sew the bottom hole shut using your yarn needle.
Arms (Make 2)
-
Round 1: Insert your hook into the arm partition (10 stitches). Join light blue yarn with Ch 1.
-
Rounds 1–7: Work 1 SC in each stitch around (10 sts per round). Fasten off. You may insert a small pipe cleaner or wire if you wish for posability, though this is optional.
Ears (Make 2)
-
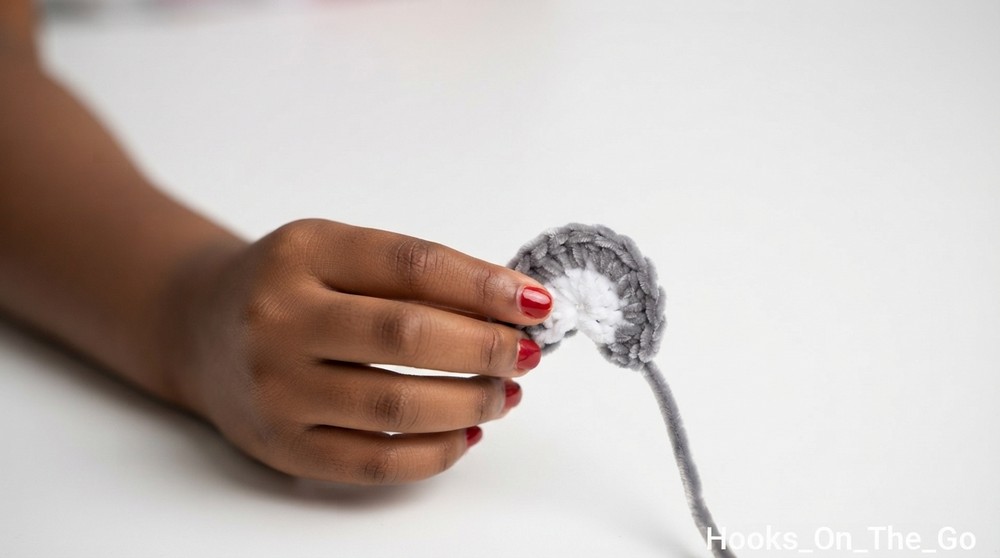
Round 1: Using white yarn, MR, 6 SC.
-
Round 2: Inc in every stitch. (12 sts).
-
Round 3: 1 SC, 1 Inc. Repeat around (18 sts).
-
Round 4: 2 SC, 1 Inc. Repeat around (24 sts).
-
Rounds 5–7: SC in every stitch (24 sts).
-
Round 8: 2 SC, 1 Dec. Repeat around (18 sts).
-
Round 9: 1 SC, 1 Dec. Repeat around (12 sts). Fasten off white.
-
For the gray ear: Repeat the above, then hold the white and gray pieces together. Join them by working Inc, 1 SC around the edge to connect the two layers.
Chest/Stomach Patch (White Yarn)
-
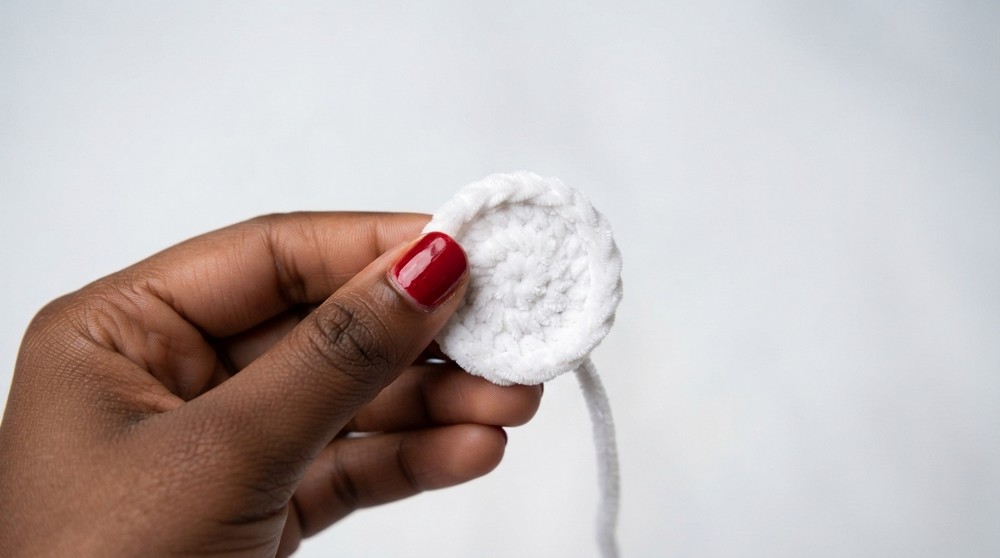
Round 1: MR, 6 SC.
-
Round 2: Inc in every stitch (12 sts).
-
Round 3: 1 SC, 1 Inc. Repeat around (18 sts).
-
Rounds 4–5: SC in every stitch (18 sts). Fasten off.
Nose
-
Round 1: MR, 6 SC.
-
Rounds 2–3: SC in every stitch. Fasten off.
Assembly & Finished Size
Assembly is the process where the character truly takes shape.
-
Stomach and Nose: Center the white chest patch and the small nose piece on the front of the body. Using a yarn needle and a matching yarn tail, whip stitch these pieces securely in place. Ensure they are centered horizontally to maintain the character's balance.
-
Ears: Attach the finished ears to the top sides of the head. Position them slightly forward or backward depending on the expression you prefer. Ensure they are aligned symmetrically.
-
Facial Features: Using black yarn, embroider the signature sleepy eyes. These are two downward-curving arcs. Secure the thread inside the head to keep the surface clean. You may add a small embroidered mouth to complete the Koya look.
-
Final Checks: Ensure all yarn ends are tucked securely into the body. Pat the plush gently to distribute the filling, ensuring it is firm but hugs nicely. The final result should be a cohesive, rounded plush that stands well on its own or sits securely.
Conclusion and ending words
By following this detailed pattern, you have successfully crafted an Amigurumi Koya. This project emphasizes the balance between structural integrity and the soft, sleepy charm that defines the character. Remember that practice is essential in the world of amigurumi; if your stitches are not perfectly uniform on your first attempt, do not be discouraged. Each character you create builds your technique, tension control, and artistic confidence. We hope this guide served you well and that your Koya brings a touch of BT21 joy to your space.