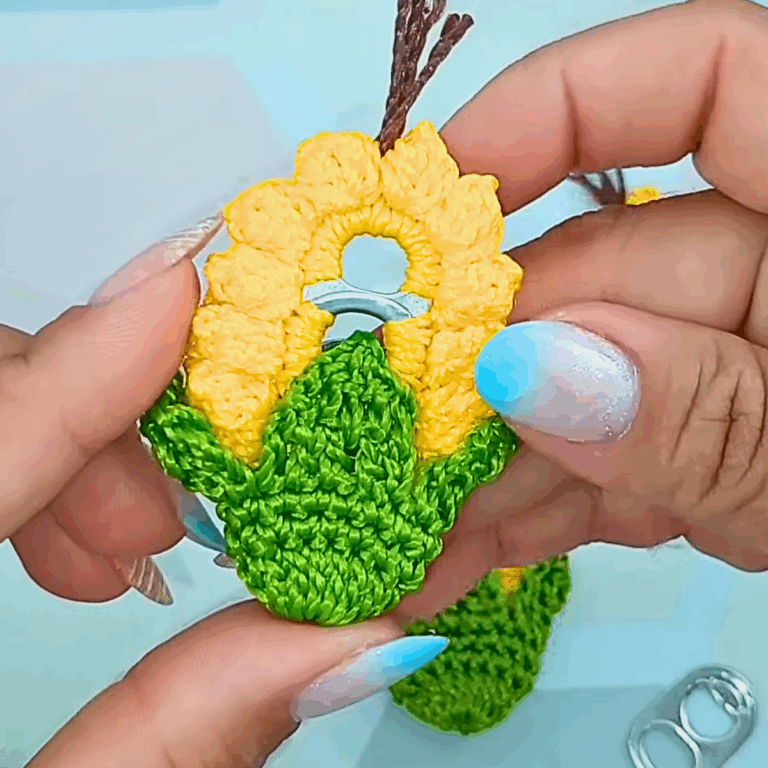
Crochet a Sweet Candy Corn Pumpkin – FREE Pattern for Cozy Fall Vibes
Spice up your fall decor with this unique Crochet Candy Corn Pumpkin pattern—easy, festive, and perfect for Halloween or autumn DIY projects!
Once upon a time, seasonal decorations were all about store-bought items, but the charm of handmade pieces is making a delightful comeback. The free Crochet Candy Corn Pumpkin Pattern combines the festive vibe of autumn with the iconic colors of Halloween, offering a fun and rewarding project for crochet lovers. These adorable pumpkins are versatile—they can brighten up your mantle, add charm to a Halloween party setup, or serve as thoughtful gifts for loved ones.
Transform Your Fall Decor with This FREE Candy Corn Pumpkin Crochet Pattern!
Crocheting these pumpkins not only brings joy but also enhances your skills as you experiment with color combinations and shaping techniques. The soft texture and cheerful design instantly make any space feel cozy and welcoming. Plus, they’re reusable year after year, making them eco-friendly decor alternatives. Whether you’re decorating your home or adding handmade touches to an event, these pumpkins are sure to capture attention and compliments.
This free pattern is easy to follow, making it suitable for beginners while still being engaging for experienced crocheters. All it takes is some yarn, a crochet hook, and your creativity to stitch your way into seasonal happiness. Turn simple materials into festive decor that celebrates autumn in the sweetest way possible!
Crochet Candy Corn Pumpkin Tutorial: Step-by-Step Guide
In this easy-to-follow tutorial, you’ll learn how to crochet an adorable candy corn-themed pumpkin. Ideal for Halloween or fall-themed decor, this is a creative project that combines the iconic candy corn colors with the charm of a handmade pumpkin. The tutor uses a freehand approach, making it a versatile project for both beginners and confident crocheters. Though no written pattern is provided, the video carefully demonstrates each step to ensure easy replication.
Step-by-Step Instructions
Materials You’ll Need:
- 5mm crochet hook
- Stitch marker
- Scissors
- 10mm safety eyes
- Black embroidery thread (or black yarn as a substitute)
- Threading needle
- Stuffing (e.g., pillow stuffing)
- Orange, yellow, and white yarn (preferably Red Heart Super Saver or similar)
-
Step 1: Start the Pumpkin Base (Yellow Section)
- Create a Magic Circle: Wrap yellow yarn around your fingers to form an “X,” pull through with the hook, and start crocheting.
- Round 1: Single crochet six stitches into the magic circle.
- Rounds 2-6: Use a combination of increases and single crochets to expand the base of your pumpkin. The progression includes:
- Round 2: Increase in every stitch (12 stitches total).
- Round 3: Alternate between one increase and one single crochet (18 stitches).
- Round 4: Alternate between one increase and two single crochets (24 stitches).
- Round 5-6: Continue increasing with extra single crochets in between.
- Add six rows of single crochet for the height of the yellow section.
Step 2: Transition to Orange Section
- Color Change: In your last yellow stitch, switch to orange yarn by finishing the stitch with orange yarn instead of yellow. Tie off the yellow and secure the color change.
- Crochet approximately 8 rounds of single crochet in orange. Make the section as tall as desired.
Step 3: Transition to White Section
-
- Similar to the previous step, color change to white yarn in the last stitch of the orange section.
- Crochet 2-3 rounds in single crochet with the white yarn. If you have more white yarn, you can extend this section for a taller pumpkin.
Step 4: Insert Eyes and Stuffing
- Insert Safety Eyes: Place the safety eyes on the orange section, ensuring they are evenly spaced and aligned.
- Add Stuffing: Fill the pumpkin with stuffing, leaving space in the center to allow for sewing later. Overstuff slightly for a firmer, rounded shape.
Step 5: Shape the Pumpkin
- Decreasing Rounds: Begin decreasing using invisible decreases around the edges until the pumpkin starts curving inward.
- Use a threading needle to pull yarn through the stitches in the top opening to close it.
- To create the characteristic pumpkin ridges, thread yarn through the top and bottom of the pumpkin using a needle. Pull tightly to create sections, mimicking pumpkin grooves. Repeat for all sides.
Special Features
- Candy Corn Theme: Combines the festive colors of candy corn with pumpkin shapes for fall decor.
- Customizable Height: You can modify the height by adding more rows in each colored section.
- Freehand Approach: Perfect for those who aren’t pattern-dependent and enjoy creative freedom.
Level of Difficulty
- Beginner-Friendly: While no written pattern is provided, the project is simple, with essential stitches like single crochet and magic circles.
- Customizable for Advanced Crocheters: Experienced crocheters can add their own variations or embellishments.
Tutor’s Suggestions
- Use lighter or pure white yarn for better contrast.
- Overstuff the pumpkin for a firmer shape.
Uses of the Candy Corn Pumpkin
- Holiday Decor: Perfect for Halloween or autumn displays at home.
- Gifting: Makes charming handmade gifts.
- Personalized Keepsakes: Add personalized details like embroidered names or messages.
Materials Tip
If you run out of white yarn, substitute with another light shade for a creative twist. The tutor also recommends using black yarn instead of embroidery thread for thicker mouth details.
Conclusion
This candy corn-themed pumpkin is a delightful and easy crochet project that adds a handmade festive touch to your seasonal decor. With its bright colors, it’s cheerful, creative, and functional, offering room for customization to suit your style. Whether for Halloween, Thanksgiving, or simply fall vibes, this pumpkin will surely bring smiles. Happy crocheting! 🎃


