
Free Crochet Apple Amigurumi Pattern to Make Smiles Appear
Add a bite of cuteness with Crochet Apple Amigurumi Pattern that turns soft yarn into cheerful, fruity charm perfect for gifts, décor, or play.
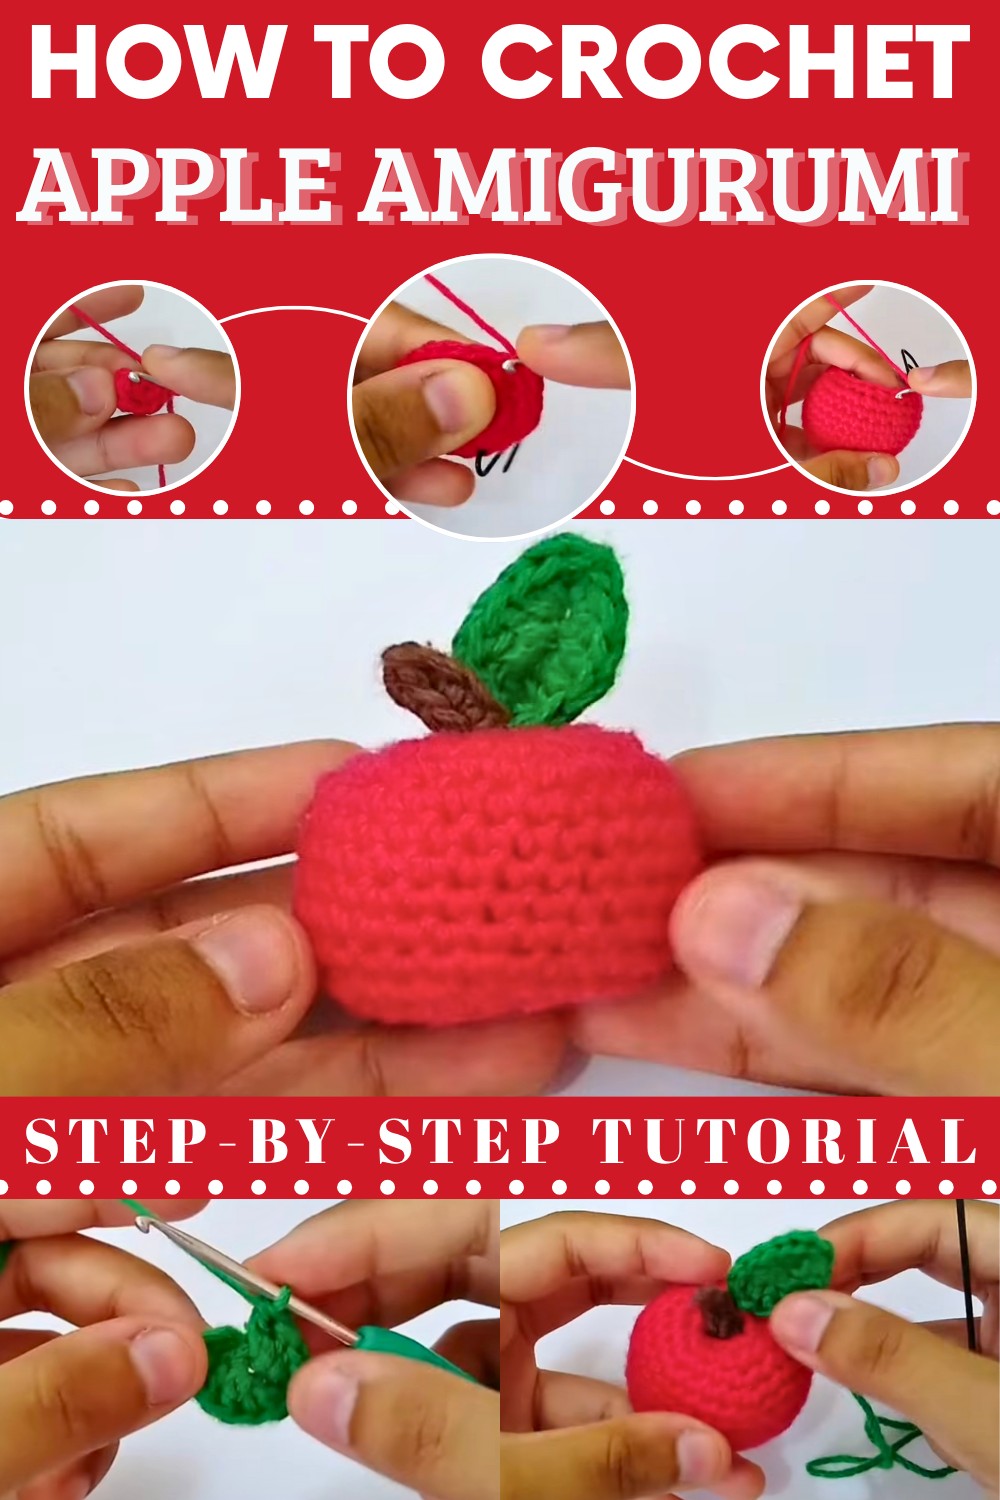
This tiny, cheerful fruit stays bright red and cozy forever, acting as a small handmade gem that is soft to the touch. Its plump, friendly shape instantly makes a desk or shelf feel more inviting, while the vibrant colors catch the eye of anyone passing by.
Bright Free Crochet Apple Amigurumi Pattern for Playroom Decor
You can easily clip this sweet treasure onto a bag to show off your personality or give it as a thoughtful surprise to a friend. The construction begins by forming a small circle that grows into a round base using a 2.5mm hook for neat, tight stitches.
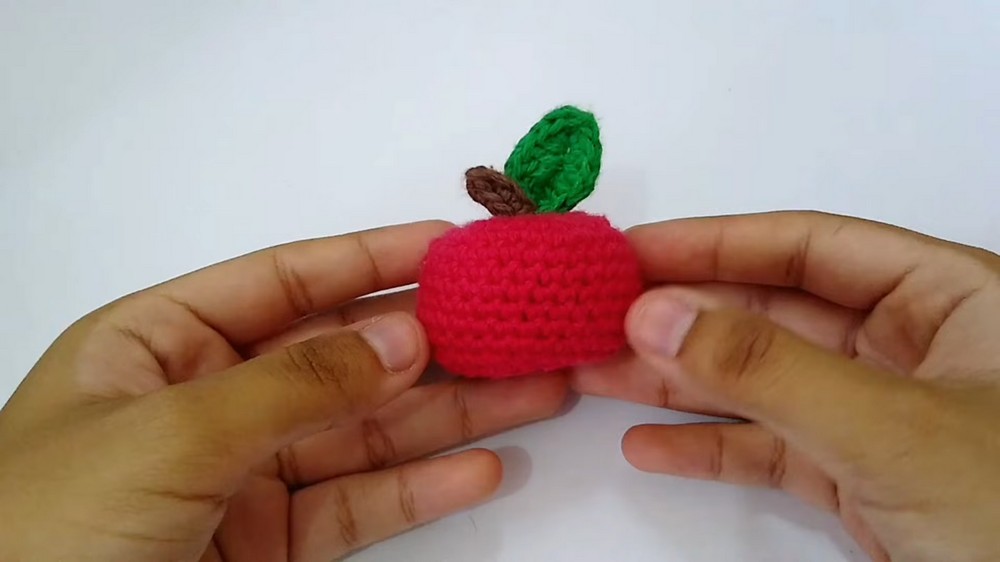
Materials
- Yarn: Cotton thread, colors: Red (apple), Green (leaf), Brown (twig)
- Thread recommends 2–3 mm hook size
- Crochet hook: 2.5 mm (or as recommended for your yarn)
- Stuffing: Silicone/polyester filling (fiberfill or pillow stuffing)
- Tapestry or wool needle
- Scissors
- Stitch marker or clip (optional)
Key Abbreviations (US Crochet Terminology)
| Abbreviation | Meaning |
|---|---|
| MR | Magic ring |
| ch | Chain |
| sl st | Slip stitch |
| sc | Single crochet |
| hdc | Half double crochet |
| dc | Double crochet |
| inc | Increase (2 sc in same stitch) |
| dec | Decrease (sc2tog) |
| st(s) | Stitch(es) |
| FO | Fasten off |
Special Notes
- Work in continuous rounds unless otherwise stated. Use a stitch marker to help keep track.
- Shape the apple after crocheting by threading through the middle with your tail yarn.
- Leaf and twig are sewn on after making the apple body.
Pattern
Apple Body
Using red cotton:
- MR, 6 sc in ring (6)
- Rnd 2: inc in each st around (12)
- Rnd 3: (sc, inc) around (18)
- Rnd 4: (sc, sc, inc) around (24)
- Rnd 5: (sc, sc, sc, inc) around (30)
6–11. Rnds 6–11: sc in each st around (30 per round, 6 rounds) - Rnd 12: (sc, sc, sc, dec) around (24)
- Rnd 13: (sc, sc, dec) around (18)

- Stuff firmly with fiberfill.
- Rnd 14: (sc, dec) around (12)
- Rnd 15: dec around (6)
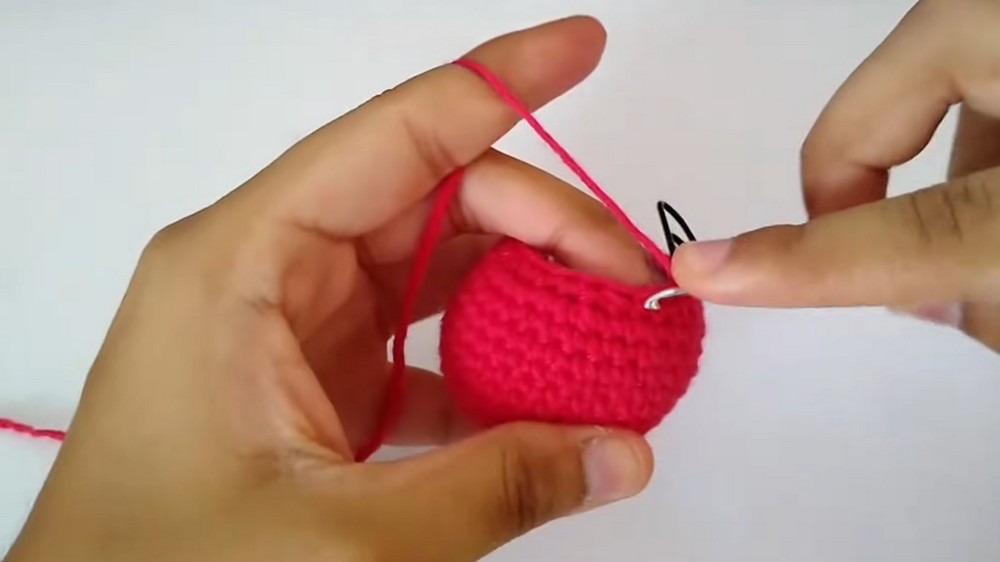
- Cut yarn, leave a very long tail for shaping.
- To shape: With needle, thread through the center, pulling gently from top to bottom several times to create a small indentation in both ends (“squashed” apple look).
Twig (Brown)
- Ch 6
- Skip first ch, sc in 2nd ch and each of next 4 ch (5 sc total)
- Cut yarn, leave a tail for sewing.
Leaf (Green)
- Ch 6
- Skip first 2 ch, in 3rd ch: dc
- Next ch: 2 dc
- Next ch: 2 hdc
- Next (last) ch: sc
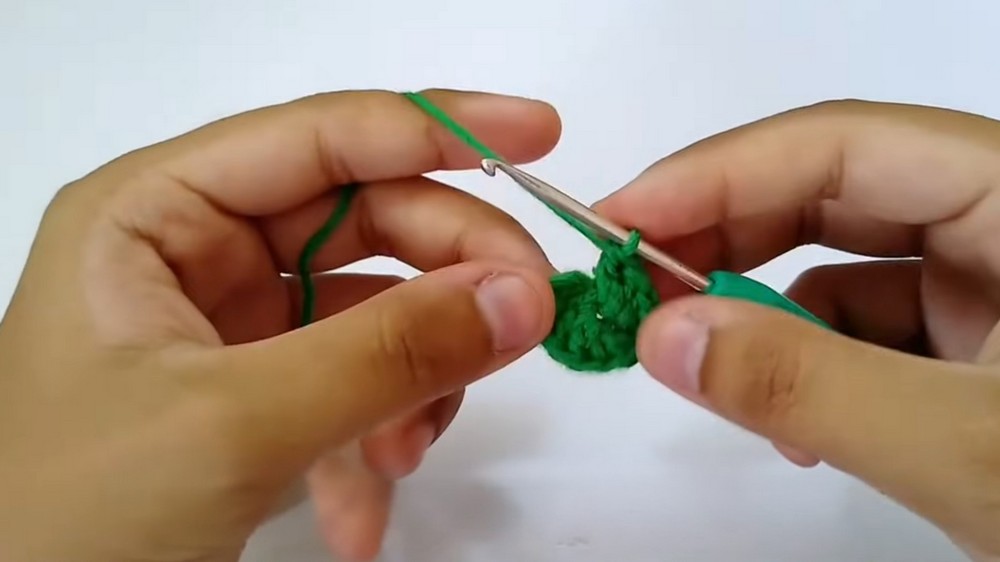
Turn (work along opposite side):
- Same st: hdc
- Next ch: 2 hdc
- Next ch: 2 dc
- Next ch: 2 dc
- Sl st in next st, cut a long tail for sewing.
Assembly
- Sew twig to the indentation on top of the apple using tapestry needle. Hide all thread ends inside.
- Sew leaf beside twig, shape as desired.
- Trim and hide all excess threads for a neat finish.

Conclusion
You have completed a lovely crocheted amigurumi apple, perfect as a small gift, decor item, or keychain. This small project utilizes simple shaping and basic sewing to create an adorable result.
Pattern Correction & Tips
- Correction: Always check your stitch counts; the leaf is worked in a single row with turns for shaping.
- Tip: Use a very long yarn tail for shaping the apple — it helps create a classic apple look. Sew the leaf and twig firmly for durability.
- If making as a toy for small children, ensure all attachments are secure and use embroidered or securely sewn decorations.