
Cozy Free Crochet Ghost Amigurumi Pattern for Fun and Smiles
Create spooky giggles with Crochet Ghost Amigurumi Pattern that turns yarn into tiny, floating spirits full of charm and playful mischief.
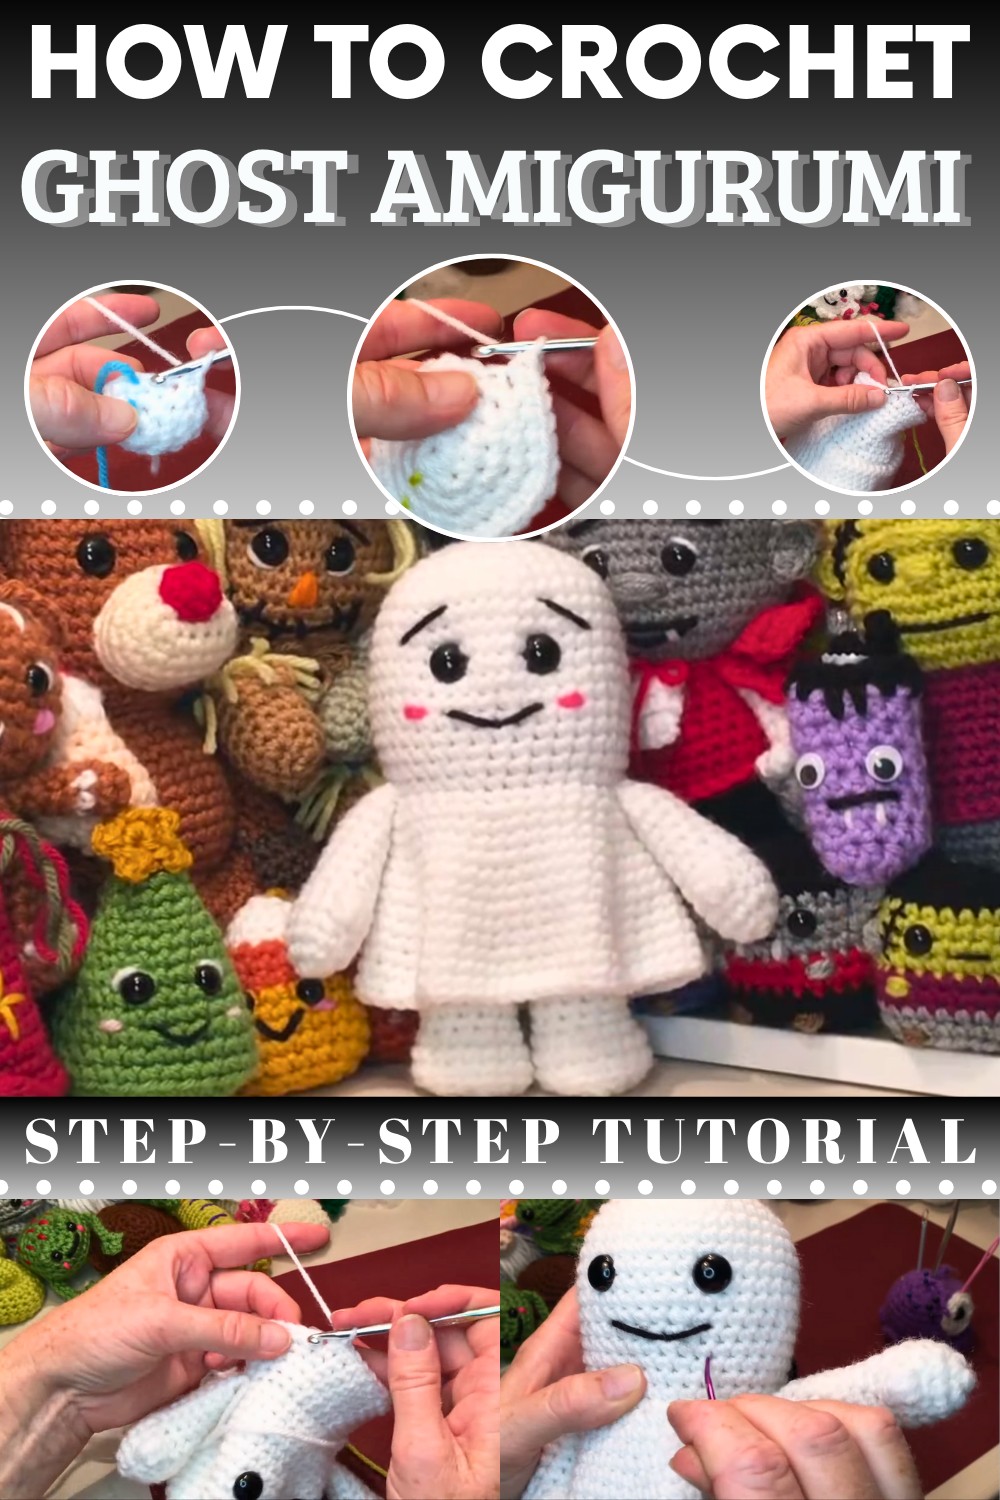
Handmade Free Crochet Ghost Amigurumi Pattern Full of Joyful Vibes
This crochet ghost amigurumi pattern is perfect for anyone looking to create something cute and spooky at the same time. Designed to be completely no-sew, it’s a beginner-friendly project where every part, from arms to legs, is crocheted seamlessly, saving you time and effort.
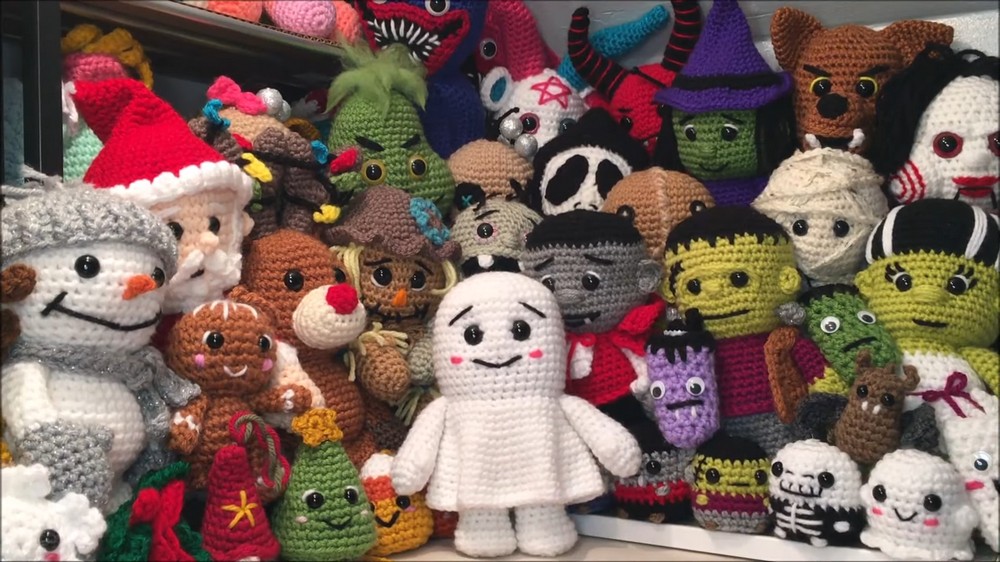
Its soft and flowy design adds a touch of whimsy, making it a great piece for seasonal décor or even year-round desk companions. Whether you’re a beginner or an experienced crocheter, this pattern is an enjoyable way to bring a little ghostly magic into your project.
Materials
- Yarn: Medium (worsted) weight yarn (#4), white for body, optional accent colors for shoes/pants/cheeks
- Hook: 4.25 mm crochet hook
- Stuffing: Polyester fiberfill
- Safety eyes: 14 mm (or embroider if for small children)
- Tapestry needle
- Stitch marker
- Scissors
- Scrap yarn/thread: for embroidering mouth, cheeks, eyebrows
Key Abbreviations (US Terms)
| Abbreviation | Meaning |
|---|---|
| MR | Magic ring |
| sc | Single crochet |
| inc | Increase (2 sc in the next st) |
| dec | Decrease (sc2tog) |
| FLO | Front loop only |
| BLO | Back loop only |
| sl st | Slip stitch |
| st(s) | Stitch(es) |
| FO | Fasten off |
Special Notes
- Work in continuous rounds unless otherwise stated.
- Use a stitch marker to keep track of rounds.
- For best shaping, stuff as you go.
- Color changes are optional for body/legs/shoes, as desired.
- This pattern is truly NO SEW except for the embroidered details.
Step by Step Pattern
Arms (Make 2)
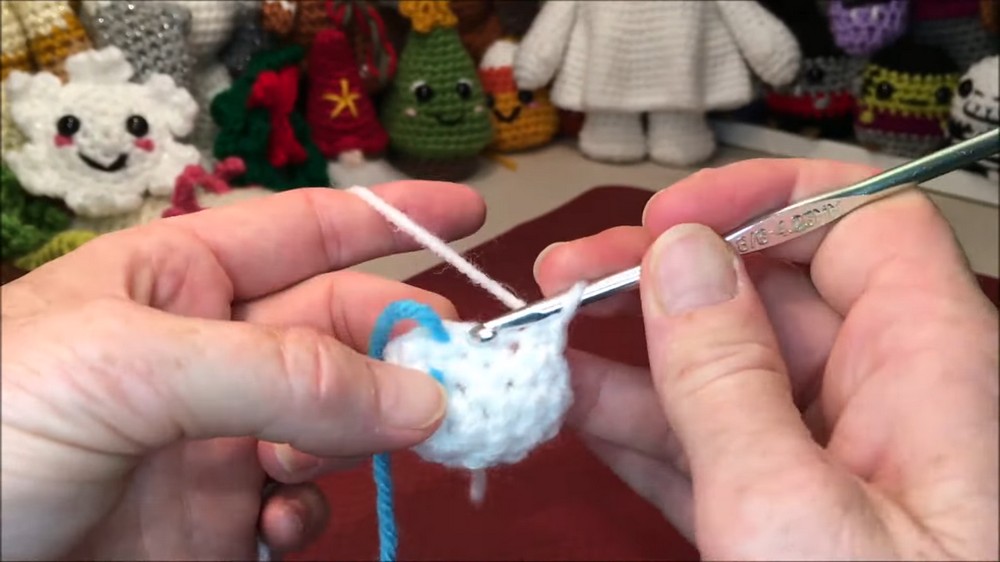
- MR, 6 sc into ring (6)
- Rnd 2: inc in each st around (12)
- Rnd 3: sc in each st around (12)
- Rnd 4: sc in each st around (12)
- Rnd 5: In first st: make a 3-dc cluster (see below), then sc in next 11 sts (12)
3-dc cluster instructions: Yarn over, insert into same st, yo and pull up, yo, pull through 2 loops (3 times), ending with 4 loops on hook, yo, pull through all. - Rnd 6: sc in next 2, dec, repeat around (9)
7.-12. Rnds 7-12: sc in each st around (9) - Rnd 13: sc in next 8 sts (8)
- This positions the thumbs evenly when attached!
- Stuff the hand firmly and the arm lightly.
- Flatten the arm, sc across both sides (4 sts) to close. FO, leave a tail.
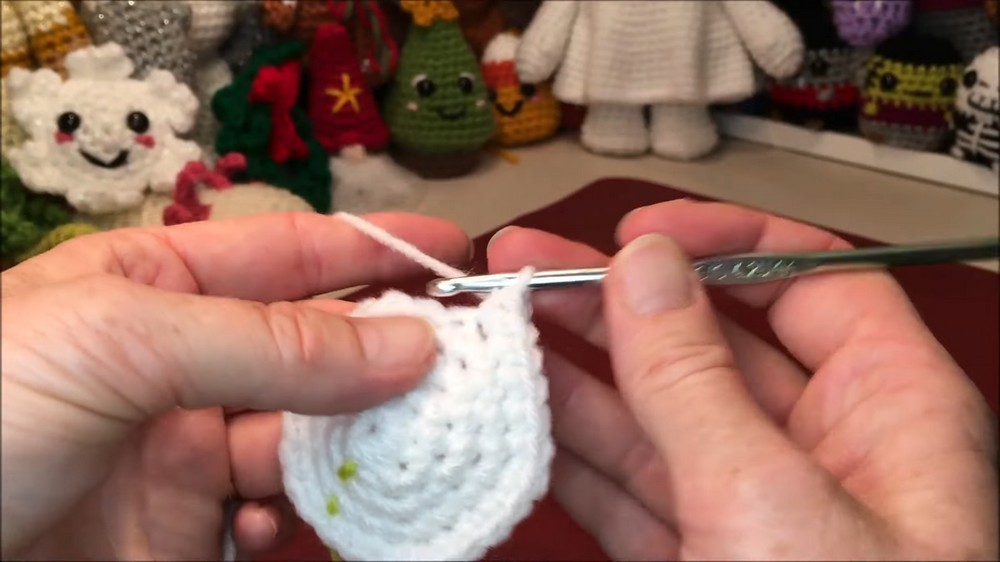
Head & Drape
Start at top of head (white yarn):
- MR, 8 sc (8)
- Rnd 2: (sc, inc) repeat around (12)
- Rnd 3: (sc, inc) repeat around (18)
- Rnd 4: (sc in next 2, inc) repeat around (24)
- Rnd 5: (sc in next 3, inc) repeat around (30)
- Rnd 6: (sc in next 4, inc) repeat around (36)
- Rnd 7: (sc in next 5, inc) repeat around (42)
8.–13. Rnds 8–13: sc in each st (42, 6 rounds) - Rnd 14: (sc in next 5, dec) repeat around (36)
15.–18. Rnds 15–18: sc in each st (36, 4 rounds)
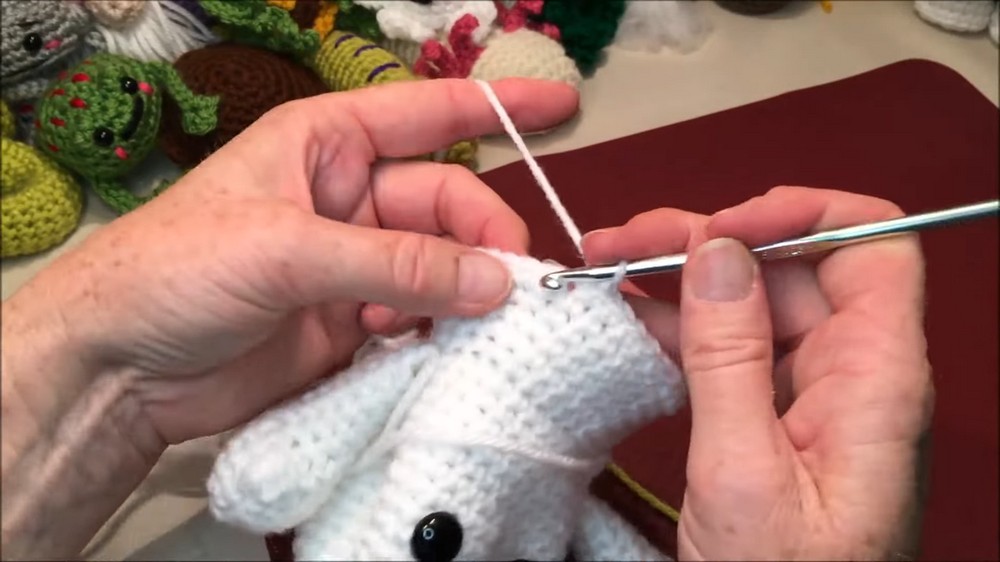
Attach Arms (Rnd 19)
- Work 7 sc, then hold the first arm to the side; sc through BOTH the arm and body in next 4 sts; sc next 14; repeat joining for the other arm (4 sts), then finish last 7 sc (36)
Skirt Drape
- Rnd 20: FLO, sc in each st around (36)
- This forms the “drape” ruffle. Leave BLO free for body.
- Rnd 21: (sc in next 5, inc) around (42)
22.–23. Rnds 22–23: sc in each st (42, 2 rounds) - Rnd 24: (sc in next 6, inc) around (48)
25.–26. Rnds 25–26: sc in each st (48, 2 rounds) - Rnd 27: (sc in next 7, inc) around (54)
28.–29. Rnds 28–29: sc in each st (54, 2 rounds) - Rnd 30: (sc in next 8, inc) around (60)
31.–32. Rnds 31–32: sc in each st (60, 2 rounds)- sl st and FO leaving a tail; weave in end under several bars to finish edge.
Face
- Insert safety eyes between Rounds 11 & 12 (use arm join as a center). Place eyes 7–8 stitches apart, or to your preference.
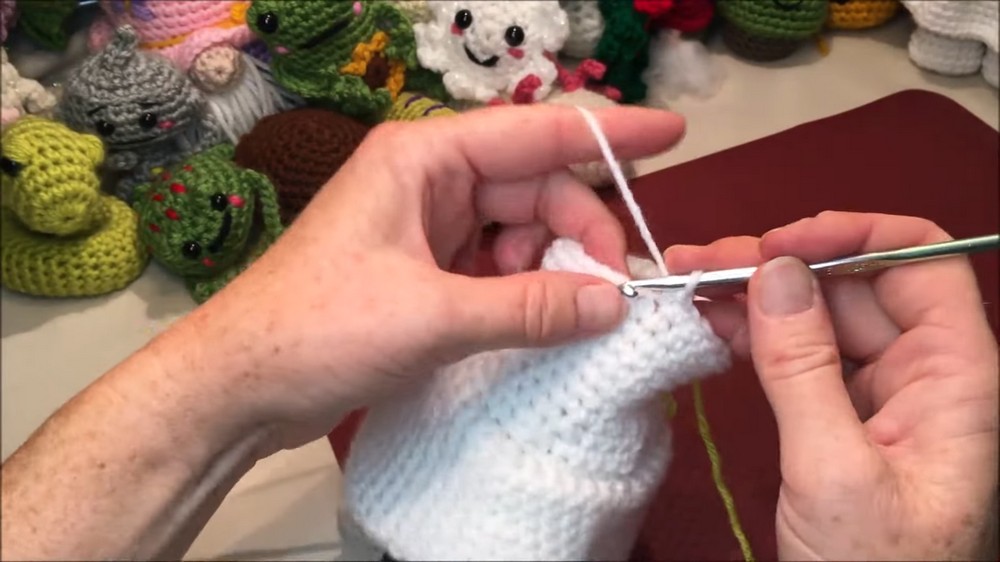
Body & Legs (worked into BLO left from Rnd 20)
- Join yarn in BLO at opening (after skirt drape).
- Row 1: sc in each BLO st (36)
- Row 2: (sc in next 4, dec) around (30)
- Row 3: (sc in next 3, dec) around (24)
- Stuff body and head as you go.
5.–11. Rows 4–11: sc in each st around (24, 8 rounds) - Optional: After row 6, change yarn for “pants”. After row 11, change yarn for “shoes”.
- Stuff body and head as you go.
Forming Legs
- Lay doll flat. Count/mark 12 sts across from one side seam to the other—front and back—so you have 12 sts front, 12 back for each leg.
- Mark leg gaps, ensuring symmetry.
First Leg
Work sc in 12 sts for 8 rounds (or to desired length). Afterward:
- Increase round: (sc, inc) around (18)
- Next 2 rounds: sc in all (18)
- BLO only: (sc, dec) around (12)
- Last round: dec x6 in BLO (6)
- *Sl st, FO, weave tail through to close foot, or leave a tail for slight shaping.
Second Leg
Join yarn at other leg opening, being careful to work from outside. Repeat as for first leg.
Assembly
- Close any gaps between legs using tails and a tapestry needle.
- Weave in all yarn ends.
- Hide and secure arm/leg ends as shown in pattern.
Facial Embroidery
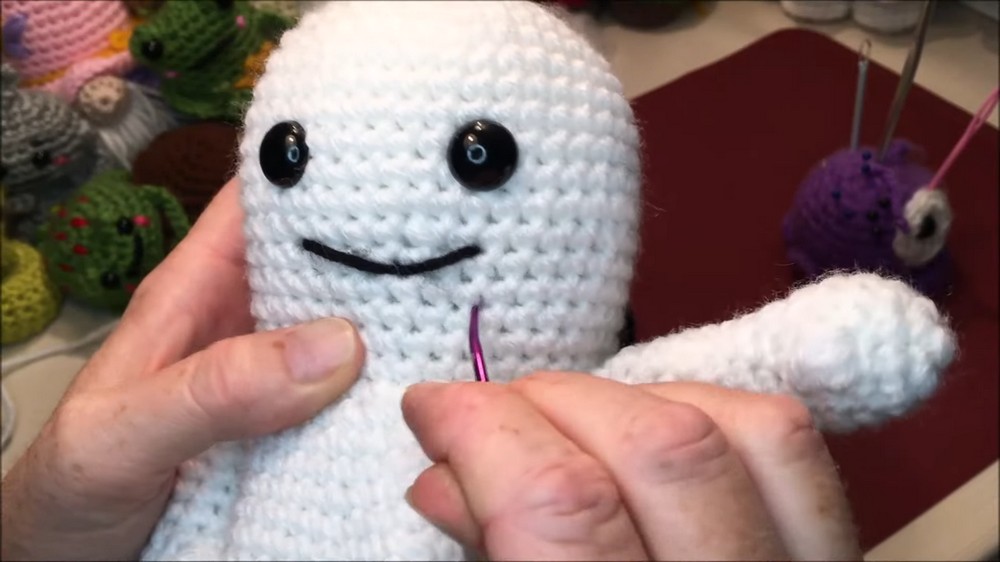
- Mouth: Embroider a smile using black yarn, 3 rounds below the eyes.
- Cheeks: Embroider/wrap a few stitches with pink yarn, one stitch offset from mouth corners.
- Eyebrows (optional): Embroider small slanting lines above eyes.
- Eye Placement Tweak: For an indent/nose bridge, run a thread around both eyes and gently tighten and tie inside head.
Conclusion
You now have a delightful no-sew ghost with playful arms and a swishy sheet! This Crochet Ghost Amigurumi Pattern is easy to embellish with different face/foot/pant colors for custom ghosts.
Pattern Correction & Tips
- Stuff body and limbs as you go for best shape.
- Use a dull tool to help tuck stuffing into arms/legs.
- Always work legs symmetrically; count carefully!
- Adjust skirt length by adding or subtracting even rounds before increasing any row.
- Embroider eyes for very young children.
- Tip: The no-sew technique means arms and legs are built in, saving time and ensuring durability for play.