
Cozy Crochet Easter Bunny Pattern Perfect for Easter Baskets
A cute little animal with long ears and a soft, round body is loved by many people, especially during the spring season. With the Crochet Easter Bunny pattern, you can make your own bunny quickly and easily. This bunny looks sweet and gentle, with a friendly face and bright colors you can choose yourself. You can use this bunny as a special gift for children, add it to an Easter basket, or place it around your home to make it feel happy and welcoming.
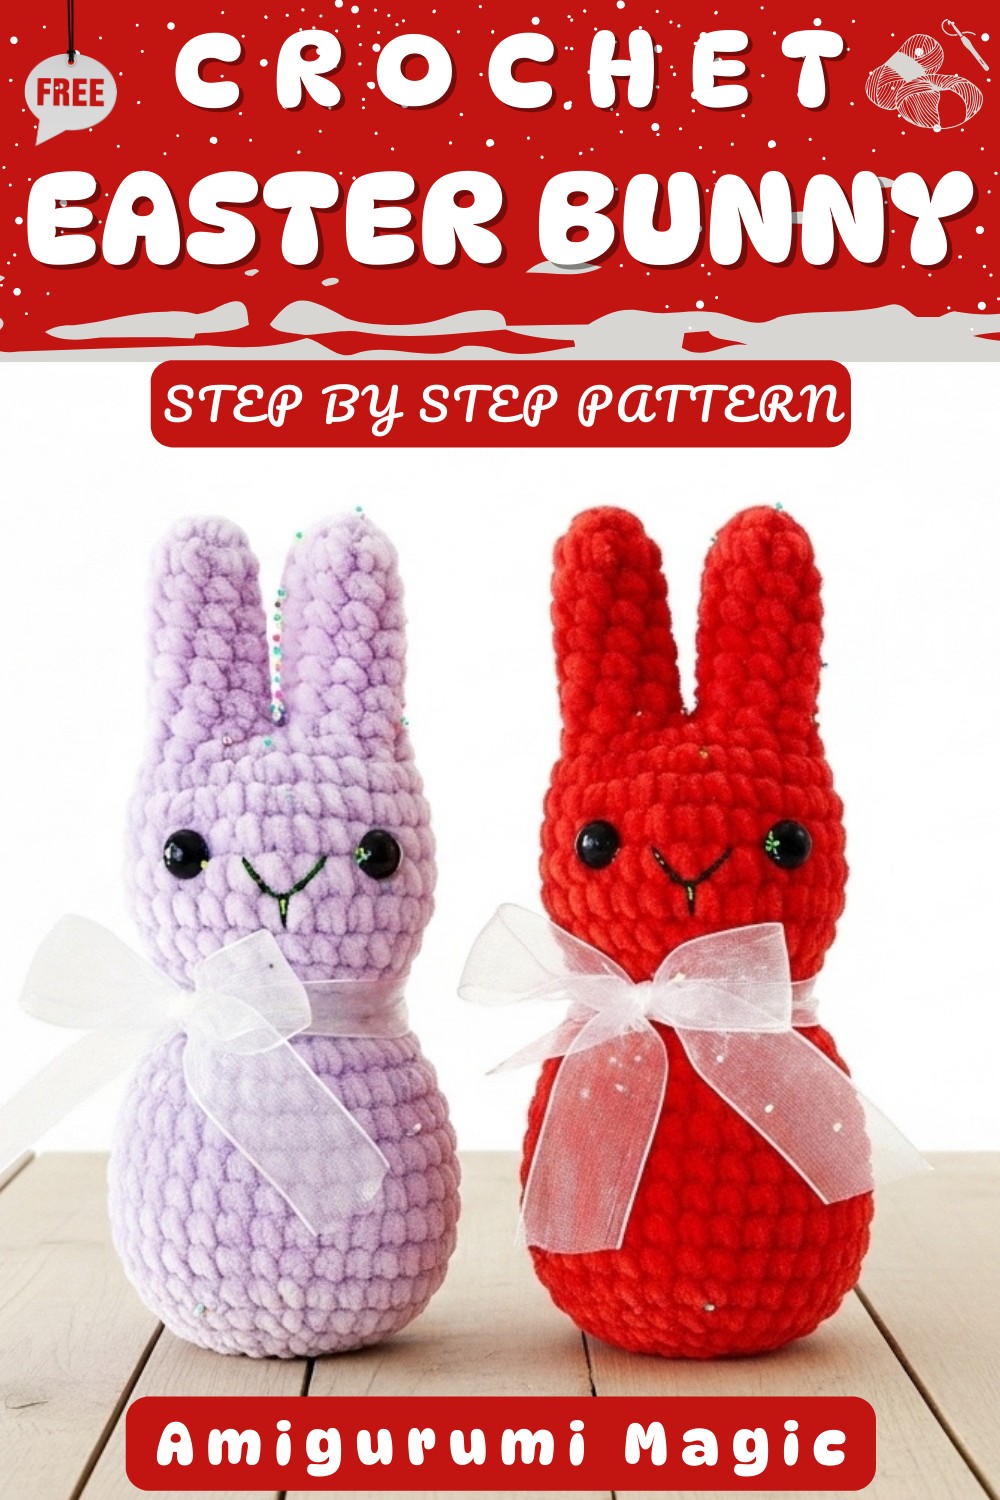
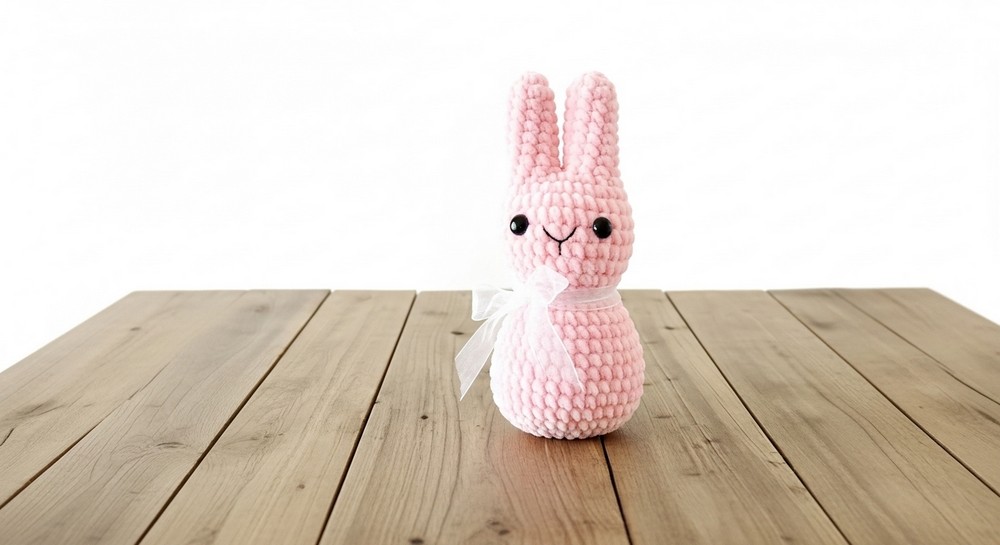
The bunny’s smooth shape, big ears, and soft body show real charm and make children smile. The pattern is easy to follow and does not need any sewing, so even a beginner can make this bunny. The best feature is that the head and body are made together, which makes everything simple and keeps your bunny strong and neat. Everyone will love having this little bunny friend.
Hop into festive charm with this Crochet Easter Bunny Pattern perfect for spring decor basket fillers that spread seasonal joy everywhere.
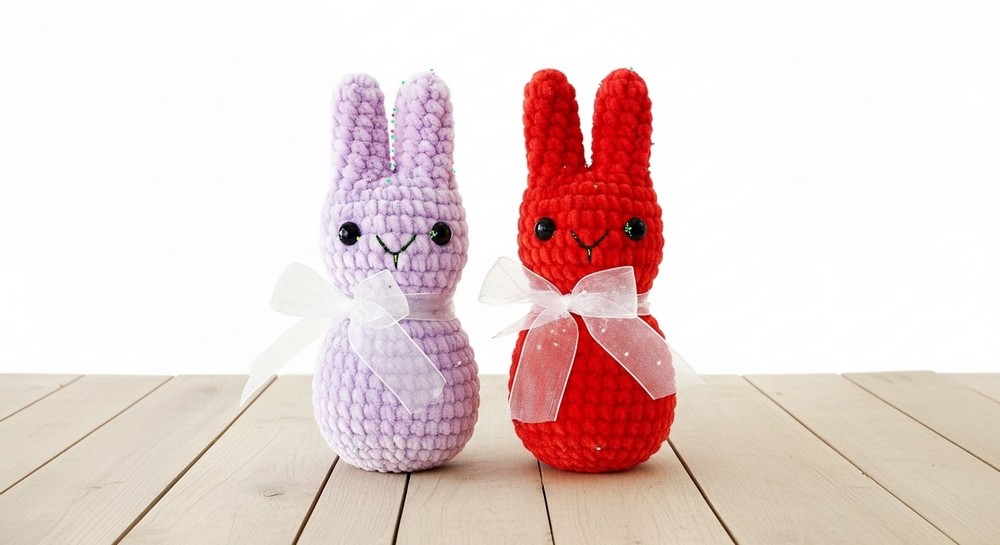
Fluffy Crochet Easter Bunny Pattern for Spring Fairs
Materials
- Yarn: Super bulky yarn (e.g., Premier Yarns Parfait Chunky)
- Recommended colors: Lilac, Red, or as desired
- Hook: 4.5mm crochet hook
- Eyes: 10mm safety eyes
- Nose/Mouth: 4 ply yarn in black or black embroidery floss
- Finishing: Scrap ribbon (for bow)
- Stuffing: Polyester fiberfill
- Notions:
- Stitch marker
- Yarn needle
- Scissors
Key Abbreviations (US Terms)
| Abbreviation | Meaning |
|---|---|
| ch | chain |
| sc | single crochet |
| inc | increase (2 sc in one st) |
| invdec | invisible decrease |
| sl st | slip stitch |
| st(s) | stitch(es) |
| [ ] | repeat instructions in brackets |
| ( ) | stitch count at end of round |
Key details
- Work continuously in a spiral. Use a removable stitch marker to track the first stitch of each round.
- Gauge is not crucial; use a hook that produces tight stitches to prevent stuffing from showing.
- The finished bunny measures approximately 7.25″ (18.5cm) tall. Size varies by yarn, hook, and tension.
Pattern Instructions
Bunny Ears (Make 2)
R1: Ch 2, 8 sc in second ch from hook (8)
R2–R7: Sc in each st around (8) (6 rounds)
- Fasten off the first ear and set aside.
- Repeat R1–R7 for the second ear. Do not fasten off second ear.
Joining the Ears and Forming the Head and Body
With the second ear still attached:
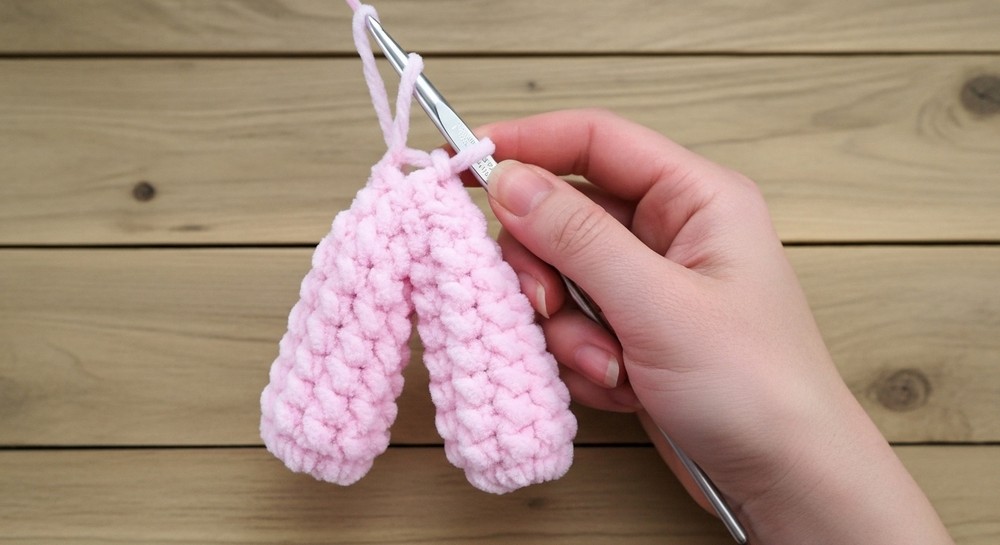
R8:
- Ch 1
- Join to the first ear with sc in first st of first ear
- [Sc] x7 in remaining 7 sts of first ear
- Sc into front loop of ch between ears
- [Sc] x8 around second ear
- Sc into back loop of the initial ch (18)
R9: Sc, inc, [2 sc, inc] x5, sc (24)
R10: [3 sc, inc] x6 (30)
R11–R15: Sc in each st around (30) (5 rounds)
R16: [3 sc, invdec] x6 (24)
R17: Sc, invdec, [2 sc, invdec] x5, sc (18)
R18: Inc in each st around (36)
- Insert safety eyes between rounds 12 & 13, approx. 6 sts apart.
- Begin stuffing and keep adding stuffing as you continue.
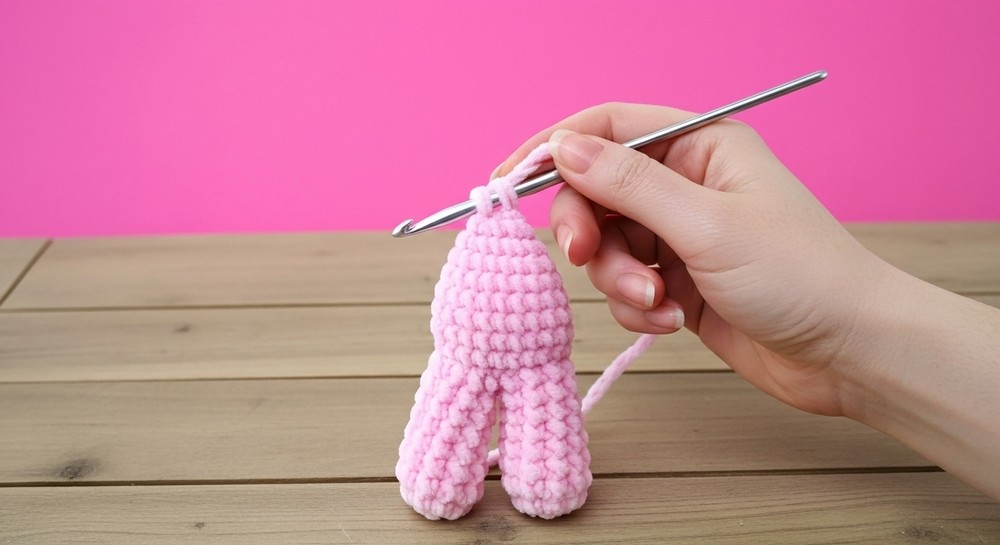
R19–R26: Sc in each st around (36) (8 rounds)
R27: 2 sc, invdec, [4 sc, invdec] x5, 2 sc (30)
R28: [3 sc, invdec] x6 (24)
R29: Sc, invdec, [2 sc, invdec] x5, sc (18)
R30: [Sc, invdec] x6 (12)
Note: If using finer yarn, complete one more decrease round:
[invdec] x6 (6)
Finish:
- Cut yarn, leave a tail, and pull through the last st.
- Thread tail through front loop only of each remaining st and pull to close.
- Weave in end inside bunny.
Finishing Touches
- Embroider nose and mouth:
- Use black embroidery floss or 4-ply yarn; make a ‘V’ shape over R13 for the nose and a small vertical line over R14 for the mouth.
- Tie ribbon in a bow around the bunny’s neck and trim ends.
Variation ideas
- Colors: Select pastel or bright colors for spring; use Pink or light Purple for classic look.
- Eyes: Use felt or embroidered eyes for children under three.
- Accessories: Add tiny fabric flowers, bows, buttons, or tiny carrots.
- Textured Fur: Try a boucle or faux fur yarn for unique texture.
Stitch correction
Pattern is correct as given. Ensure you maintain stitch count, especially during ear and body joins. If using thinner yarn, add an extra decrease round at the end.
Quick advice
Stuff as you go, especially once you pass the eye placement, to ensure even shaping. For a neater finish, always weave in ends securely inside the bunny.
Final thoughts
The Easter Crochet Bunny pattern creates an adorable, squishy bunny with a seamless head-to-body transition and joined ears—no tedious sewing required! Its soft texture, customizable colors, and charming ribbon accent make it a wonderful handmade Easter gift, festive decoration, or lovable toy.
