
Colorful Crochet Ice Cream Popsicle Pattern to Spark Delight
Scoop up playful fun with Crochet Ice Cream Popsicle Pattern, featuring vibrant colors, whimsical details, and a delightful handmade touch.
Warm summer days have long been associated with sweet treats and playful indulgence, and the cheerful sight of an ice cream popsicle instantly evokes nostalgia and delight. In crochet form, this classic treat transforms into a whimsical accessory or decorative accent, perfect for brightening spaces, personalizing bags, or gifting to those who appreciate playful, handmade charm. Its vibrant appearance and compact size make it both versatile and visually appealing.
Sweet Crochet Ice Cream Popsicle to Brighten Your Collection
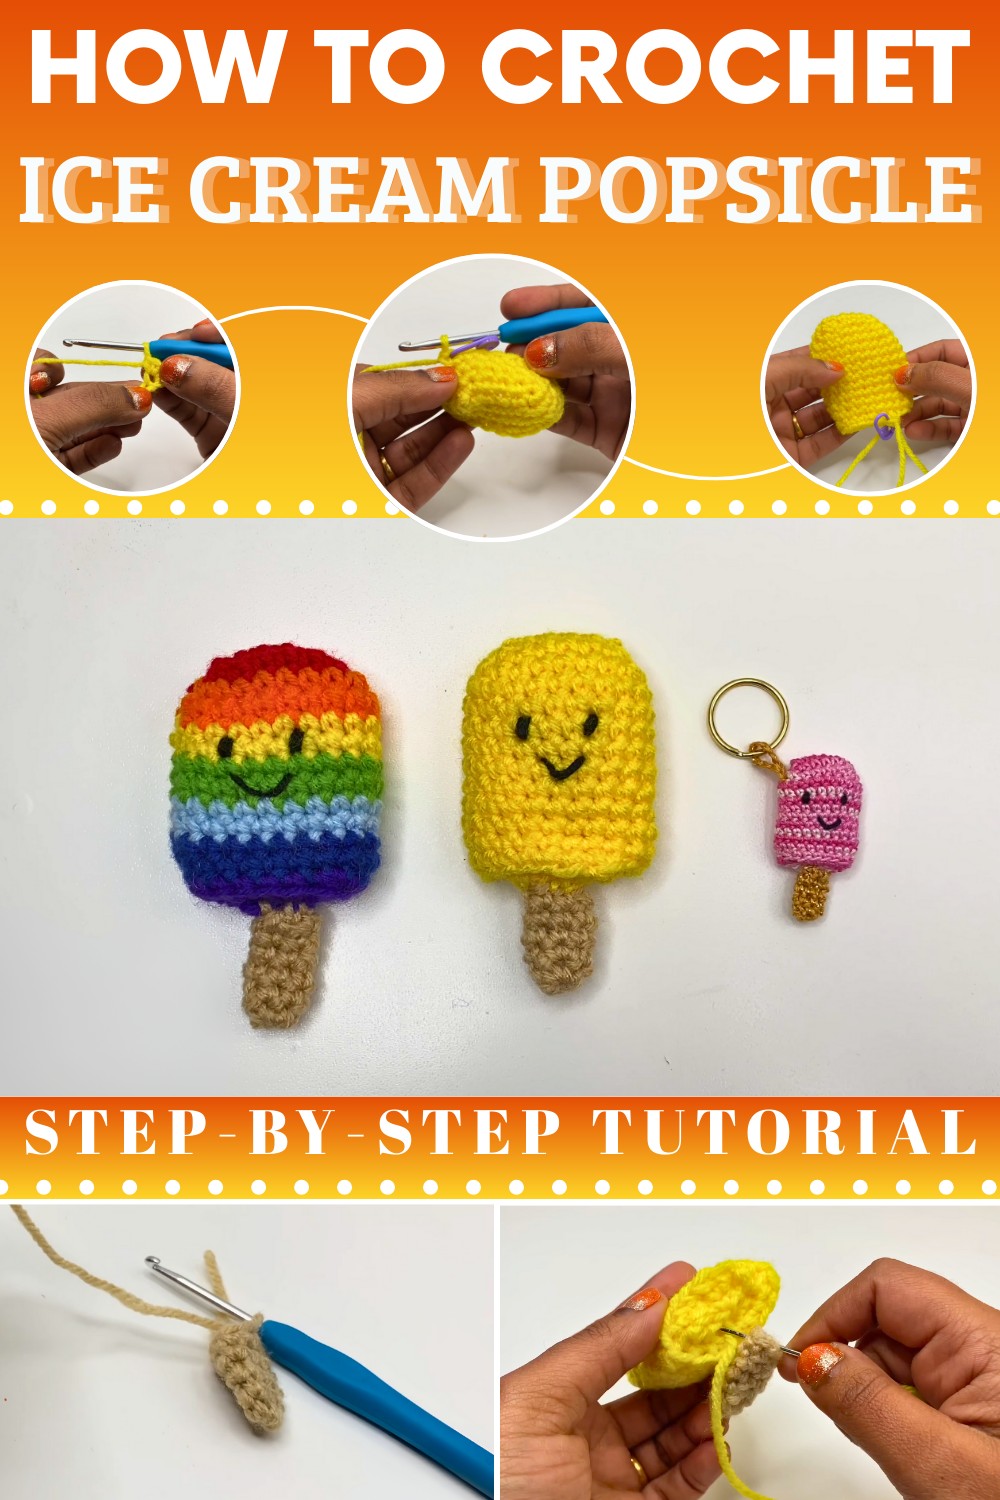
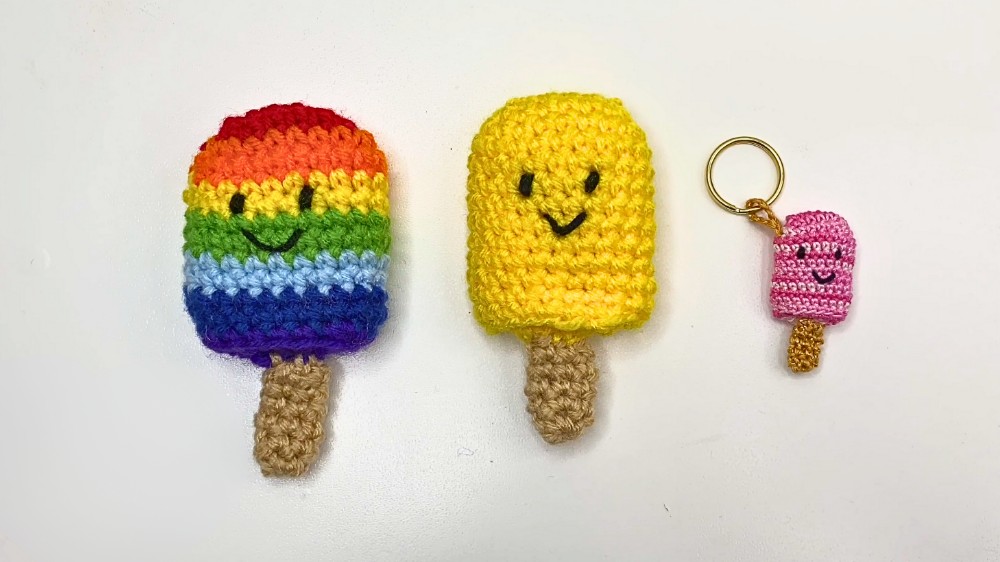
The process begins with forming the popsicle’s body, shaped through careful stitches to create a smooth, rounded top and a straight base. Midway, layers of color can be added to mimic different flavors or toppings, bringing depth and personality to the miniature treat. A small stick is attached at the bottom, completing the familiar silhouette and adding a touch of realism. Optional details, such as sprinkles, frosting effects, or contrasting trims, can enhance its visual appeal and individuality.
Lightweight, portable, and endlessly customizable, this crochet ice cream popsicle can be crocheted in classic shades, pastel tones, or bold, playful combinations. Beyond decoration, it serves as a charming keepsake, a cheerful keychain, or a unique gift, bringing sweetness, color, and handmade joy into everyday life with every stitch.
Materials Needed
To complete the ice cream popsicle crochet, the following materials are used:
- Yarn: Various colors to match your intended popsicle design.
- Crochet Hook: A 4mm crochet hook.
- Polyfill Stuffing: To fill the popsicle and give it shape.
- Scissors: For cutting yarn and finishing ends.
- Blunt-Tip Needle: For weaving in ends and attaching details.
- Stitch Markers: Optional, but useful for tracking stitches and rounds.
- Safety Eyes or Embroidery Thread: To create expressive facial features (optional).
Step-by-Step Instructions
Body of the Popsicle (Foundation)
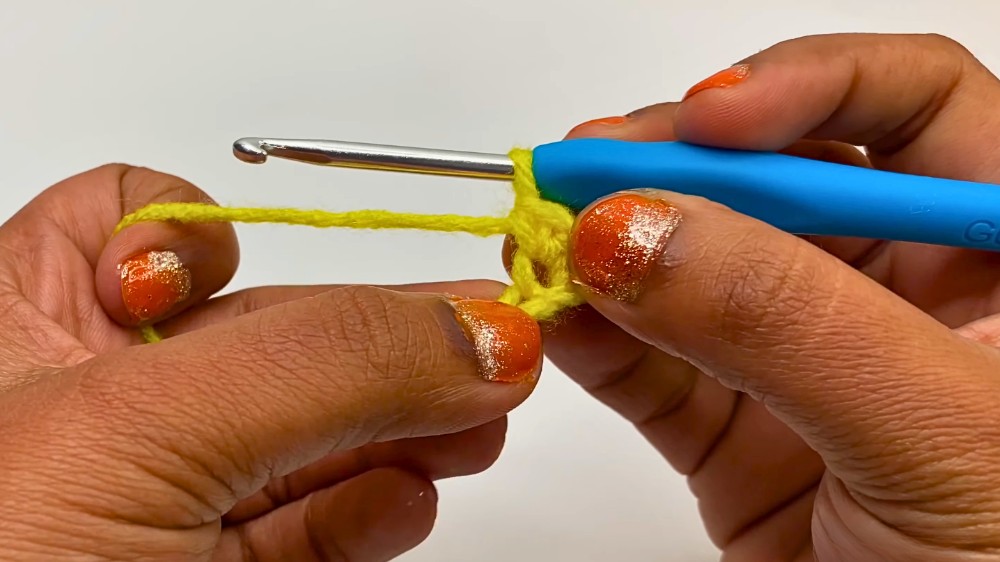
- Row 1 – Magic Ring:
- Start with a magic ring. Work six single crochets inside the ring, pull the yarn tight, and slip stitch to close the row.
- Row 2 – Increased Stitches:
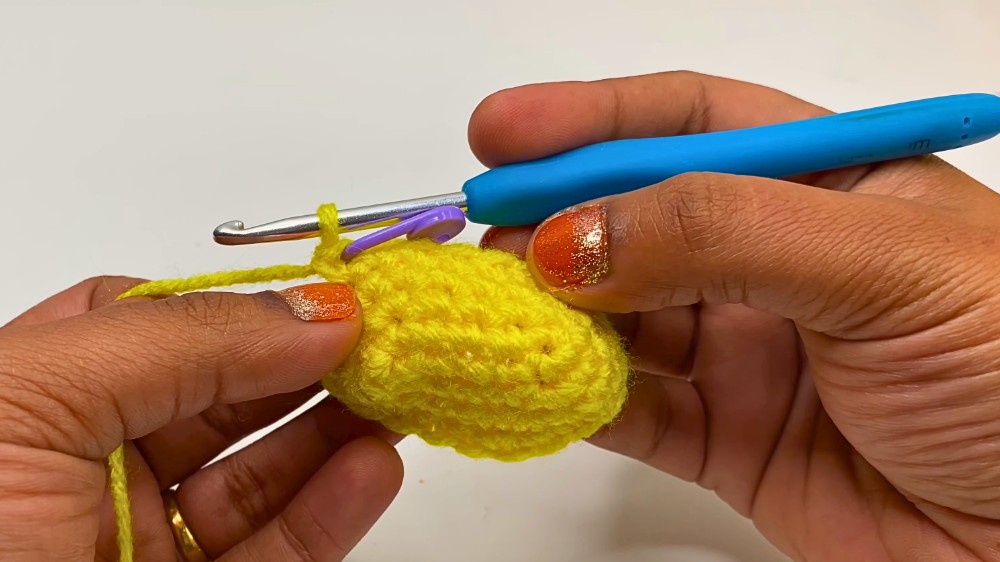
- Work two single crochets into each stitch for a total of 12 stitches. Use a stitch marker to keep track of rows if necessary.
- Building the Rounded Popsicle Shape (Rows 3–16):
- Alternate between regular single crochets and increases:
- On Row 3, crochet one single stitch into the first stitch and then two single crochets into the next stitch. Continue this sequence.
- Progressively add multiple regular single crochets between increases in subsequent rows.
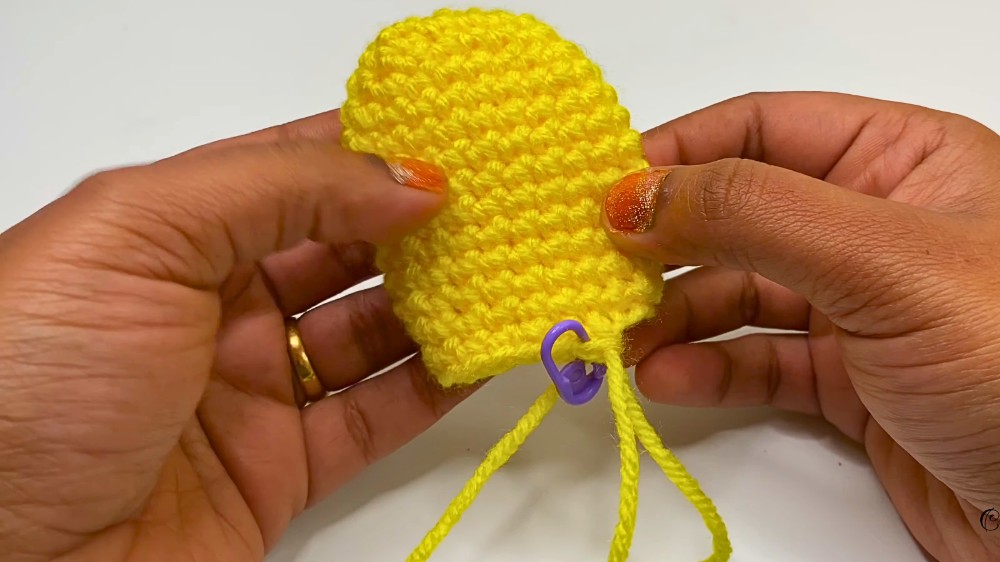
- By Row 16, you should have a consistent outline with a rounded popsicle shape.
- Alternate between regular single crochets and increases:
- Single Crochet Detailing:
- Continue working single crochets evenly in each stitch for several rows to build the height of the popsicle.
Adding Eyes and Expression
- Place optional safety eyes or embroider a face using thread and needle between designated rows.
- Attach safety eyes before stuffing the popsicle for ease.
- Use contrasting threads to embroider a smile or other facial features for added personality.
Closing and Shaping
- Decrease Stitches:
- Begin decreasing to close the top of the popsicle by crocheting two stitches together at regular intervals.
- Perform six consecutive decreases to narrow the shape.
- Add stuffing before the opening closes completely, ensuring the popsicle has a firm but fluffy shape.
Popsicle Stick Design
- Foundation Row:
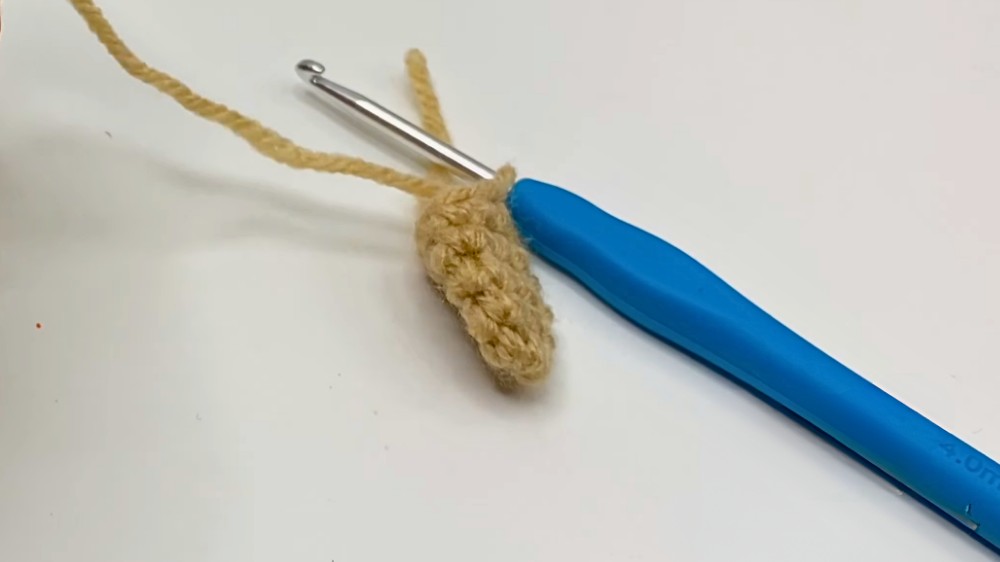
- Chain a base of stitches (about 17 chains).
- Crochet single crochets along the chain to form the popsicle stick.
- Attach Stick:
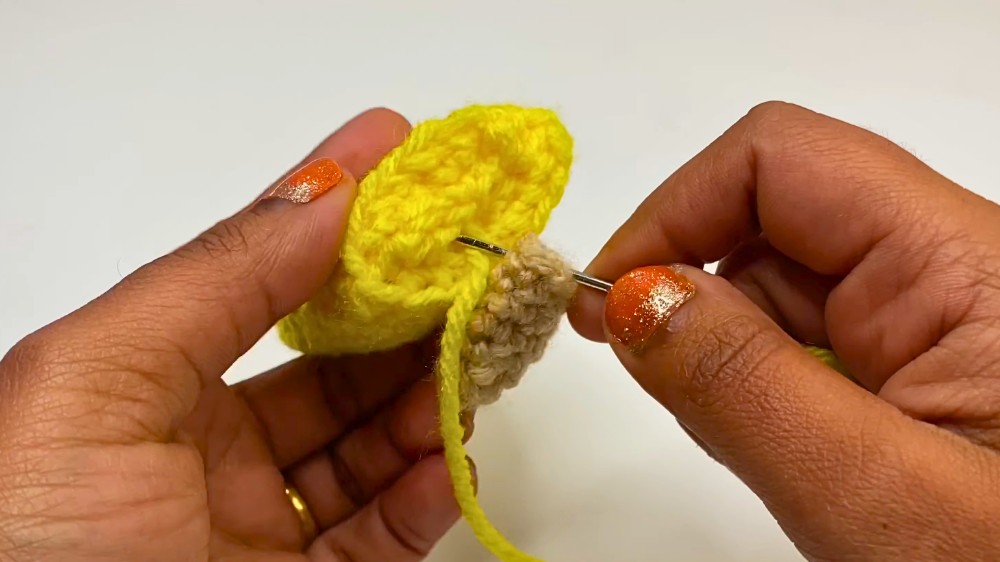
- Seam or stitch the stick securely to the bottom of the popsicle body for a neat finish.
Special Features
- Color Variations: The popsicle can be customized into different "flavors" by simply switching yarn colors.
- Expressive Details: Features like embroidered smiles and safety eyes give the popsicle a playful character.
- Compact and Fun Design: Its small, rounded shape makes it suitable for gifting or using as a decorative piece.
- Beginner-Friendly Techniques: Techniques such as the magic ring, single crochet, and simple decreases are tailored for learners or those refining their crochet skills.
Level of Difficulty
- Beginner to Intermediate: The single crochet and magic ring techniques are beginner-friendly, while shaping and attaching features may challenge newer crocheters slightly.
Tutor’s Suggestions
- Use stitch markers to keep track of rounds and avoid losing your place.
- Add stuffing gradually to prevent uneven filling, and distribute it evenly before closing up the project.
- Use high-quality yarn for vibrant colors and a polished look.
- Attach features like safety eyes before crocheting the final rows—it will allow easier handling.
Uses
- Decorative Item: Perfect to display in craft rooms, kitchens, or kids' spaces.
- Gift: A handmade popsicle charm makes a thoughtful gift for friends and family.
- Playful Accessory: Smaller versions can be made for keychains, bag charms, or ornaments.
Tip
When creating the facial features, consider using embroidery thread to avoid adding bulk to the front surface of the popsicle. For safety eyes, mark their placement with pins before attaching—this ensures symmetry.
Conclusion
The Crochet Ice Cream Popsicle is a fun and versatile project that allows crocheters to practice essential techniques while creating an adorable finished product. Crafty Crochet Castle’s pattern offers clear guidance to help crocheter of all skill levels succeed. Whether for gifting, decoration, or personal enjoyment, this charming popsicle design is a perfect example of creativity made tangible.