
Chubby Crochet Peep Plush Pattern with Extra-Squishy Charm
Hop into pastel cheer with this Free Crochet Peep Plush Pattern creating a soft spring buddy perfect for baskets, gifts, and happy displays.
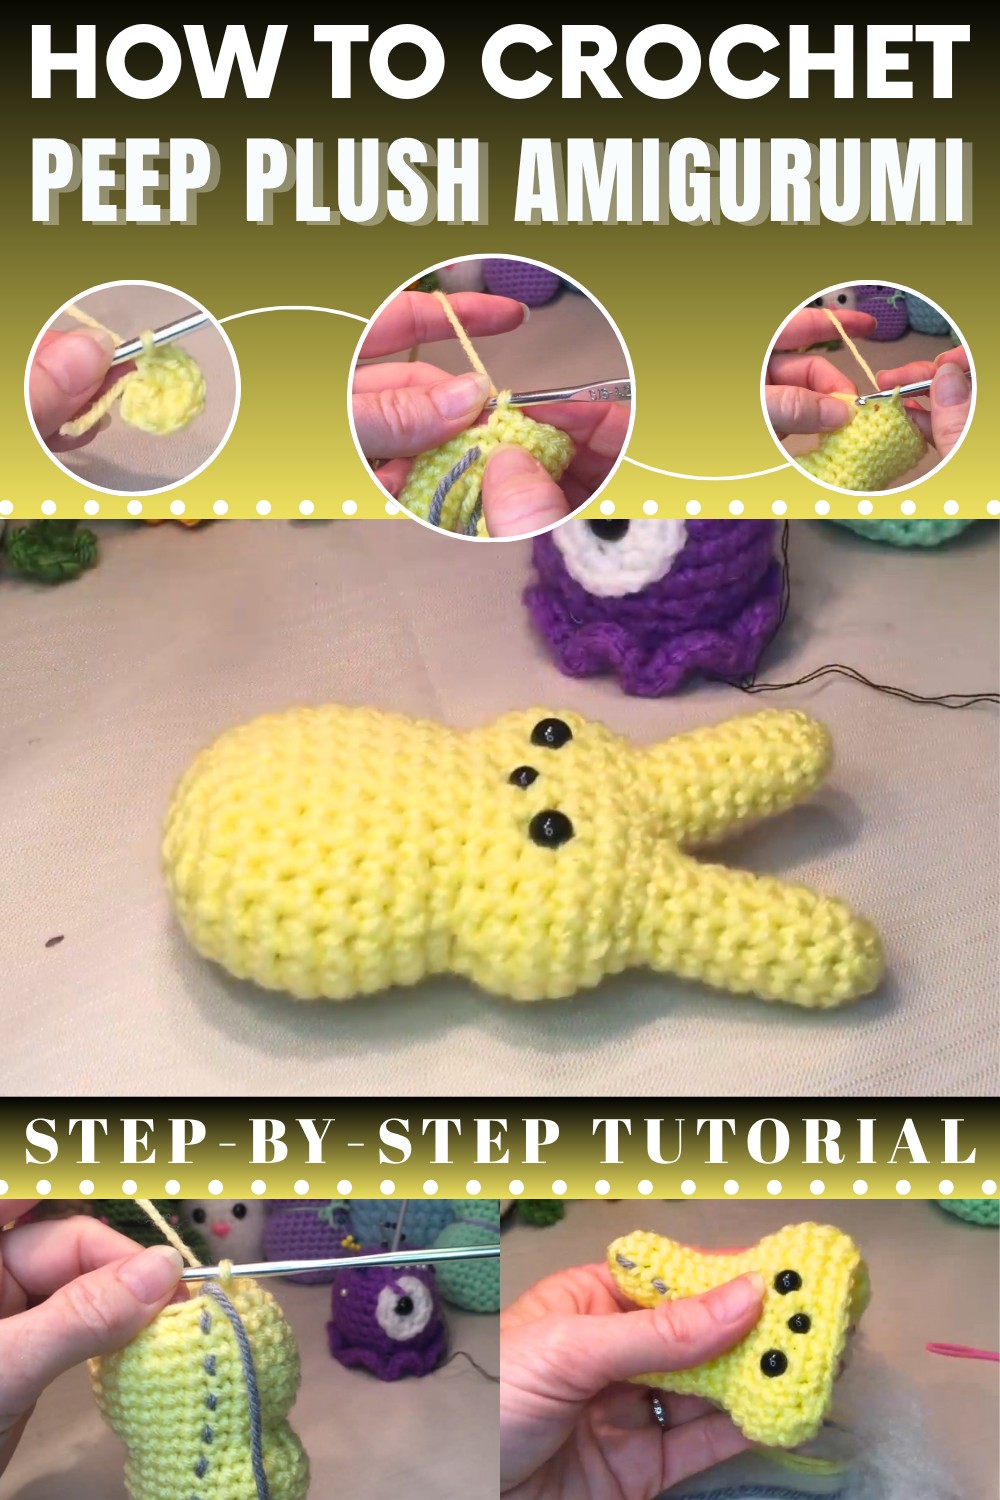
Pastel Crochet Peep Plush Pattern Perfect for Easter Decor
Handmade plush creations like this bring a gentle sense of joy and creativity to any crochet project. The Crochet Peep Plush Pattern showcases a smooth, rounded silhouette paired with a sweet, minimal design that feels soft and comforting at first glance. It works wonderfully as a seasonal decoration, a cuddly toy, or a heartfelt handmade gift that feels personal and meaningful. The pattern supports a relaxing crochet experience by using simple shaping and consistent stitches, making it suitable for building confidence while refining technique.

Its flexible structure allows for easy customization through pastel tones, yarn textures, or small embellishments, giving each plush its own charm. Beyond visual appeal, this project encourages mindful crocheting and stress relief, turning creative time into a soothing routine. The finished plush adds warmth to shelves, baskets, or gift boxes. With its gentle look, versatile uses, and comforting presence, this pattern remains a lovely choice for creating lasting handmade happiness.
Needed Items
For a small bunny:
-
Yarn: Number 4 medium weight yarn.
-
Hook: 4.25 mm crochet hook.
-
Safety Eyes: 8 mm size.
-
Safety Nose: 6 mm size.
For a larger bunny:
-
Yarn: Number 6 blanket yarn.
-
Hook: 5.5 mm crochet hook.
-
Safety Eyes: 12 mm size.
-
Safety Nose: 10 mm size.
Common materials for both:
-
Fiberfill stuffing.
-
Stitch markers.
-
Yarn needle and scissors.
Easy Step-by-Step Design
The Ears (Make Two)
-
Start: Make a loop and single crochet (sc) 8 times into it [03:07].
-
Rows 2-8: Crochet 8 sc in every round [04:05]. Tie off the first ear but keep the second one on your hook.

Connecting and The Head
-
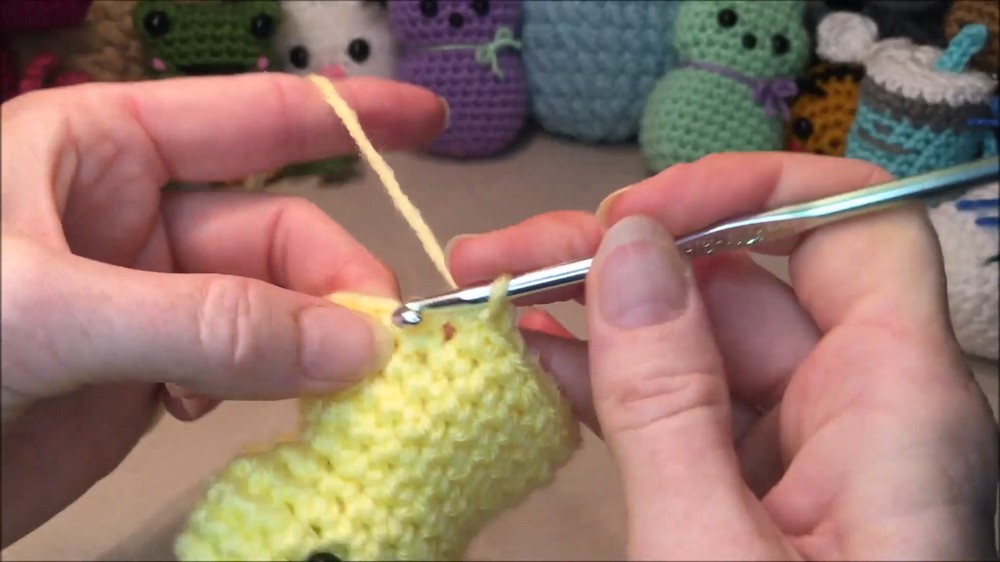
Row 9: Join the ears by crocheting 8 sc around the first ear and 8 sc around the second ear (16 total) [13:28].
-
Row 10: 3 sc, 2 increases, 6 sc, 2 increases, 3 sc (20 total) [15:49].
-
Row 11: 4 sc, 2 increases, 8 sc, 2 increases, 4 sc (24 total) [17:29].
-
Rows 12-13: 24 sc around [18:58].
-
Row 14: 5 sc, 2 decreases, 8 sc, 2 decreases, 3 sc [21:23].
-
Row 15: 4 sc, 2 decreases, 6 sc, 2 decreases, 2 sc [22:58].

Face and Body
-
Setup: Put eyes between rows 12 and 13 with 3 stitches apart. Place the nose one row below the eyes [24:54]. Stuff the ears and head.
-
Row 16: 4 sc, 2 increases, 6 sc, 2 increases, 2 sc [29:13].
-
Row 17: 5 sc, 2 increases, 8 sc, 2 increases, 3 sc [30:51].
-
Rows 18-22: 24 sc around for each row [32:08].
-
Row 23: (2 sc, 1 decrease) 6 times (18 total) [38:27].
-
Row 24: (1 sc, 1 decrease) 6 times (12 total) [42:56].
-
Row 25: 6 decreases to close [44:20].

Special Details
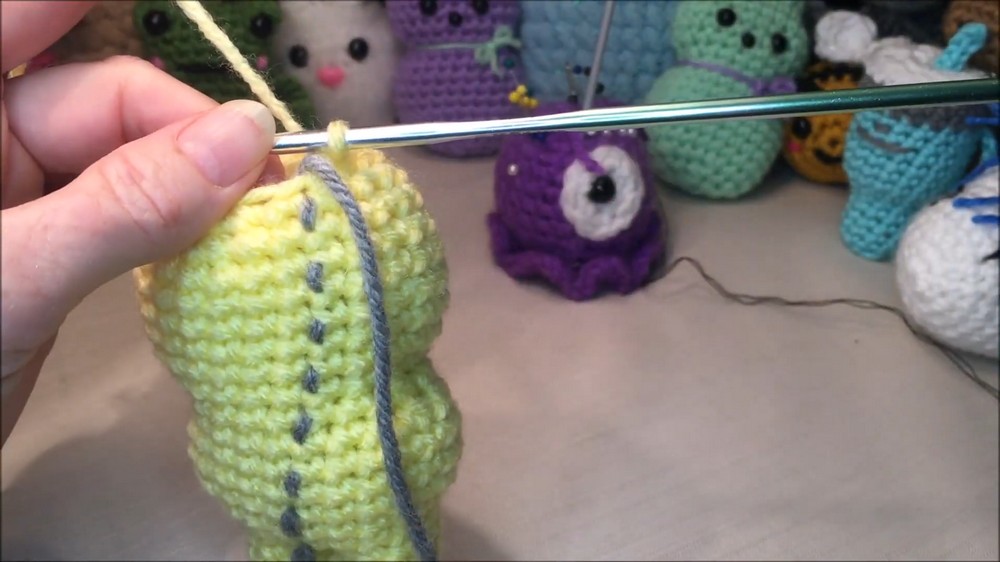
This bunny uses a "no-sew" method, meaning the ears and body connect as you work. You can choose to make a flat bottom by working in the back loops only for the final section, or keep it rounded like the original candy [42:32].
Skill Level
This is an easy to intermediate project. It is perfect for people who know basic stitches like single crochet, increases, and decreases but want to try shaping a 3D figure.
Teacher's Advice
The tutor suggests using the end of your scissors to push stuffing into the narrow tips of the ears [27:12]. She also mentions that pushing the stuffing to the sides helps create chubby cheeks and a flatter "peep" look [28:54].
Creative Uses
-
Fill an Easter basket with various colors.
-
Add a loop to the top to make a bag charm or ornament.
-
Use thick blanket yarn to make a soft pillow version.
Final Summary
Following these steps results in a delightful and soft bunny friend. It serves as a great gift or a seasonal decoration that brings a smile to anyone who sees it.
Useful Tip
Always count your stitches after the connection row between the ears. If your count is off by even one stitch, the increases for the cheeks will not line up correctly with the face [15:29].