
Cheeky Crochet Chicken Nugget Pattern Bringing Fast-Food Fun
Playful novelty stand out with this Crochet Chicken Nugget Pattern, shaping a quirky bite sized piece for gifts, displays, and decor fun art.
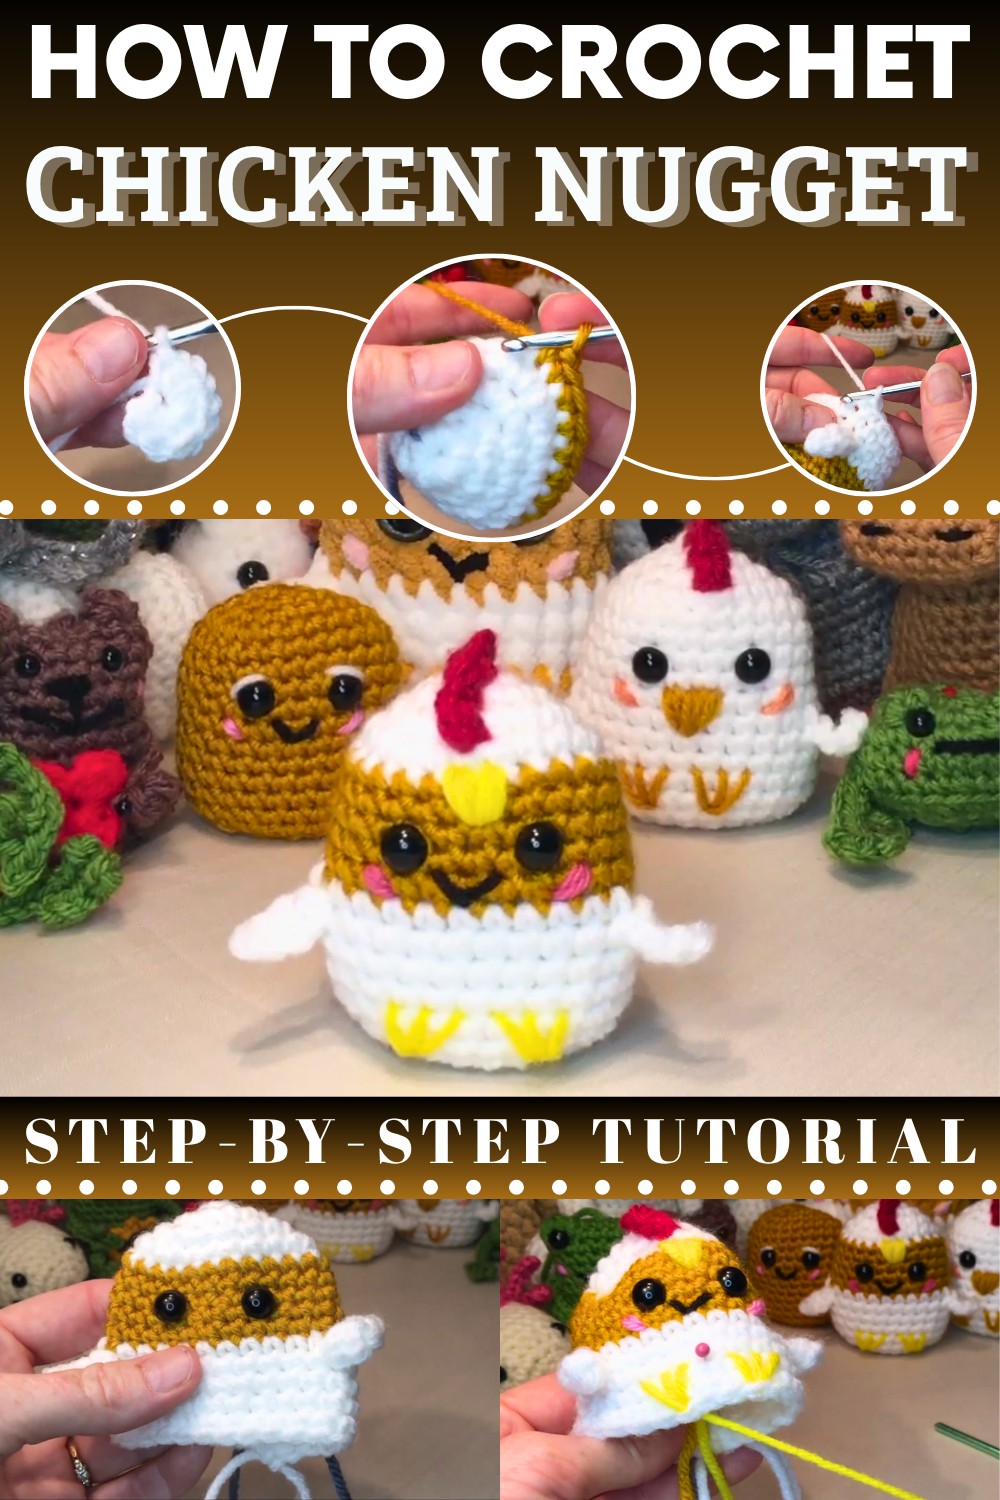
Golden Crochet Chicken Nugget Pattern Inspired by Snack Shapes
Making a cute food-inspired plush can be both fun and satisfying, and the Crochet Chicken Nugget pattern from the video shows exactly that with a simple and charming design. This little nugget figure comes together nicely using easy stitches, giving you a soft and cozy piece that’s great as a quirky decoration, desk buddy, keychain, or even a playful gift for someone who loves unique handmade goodies.
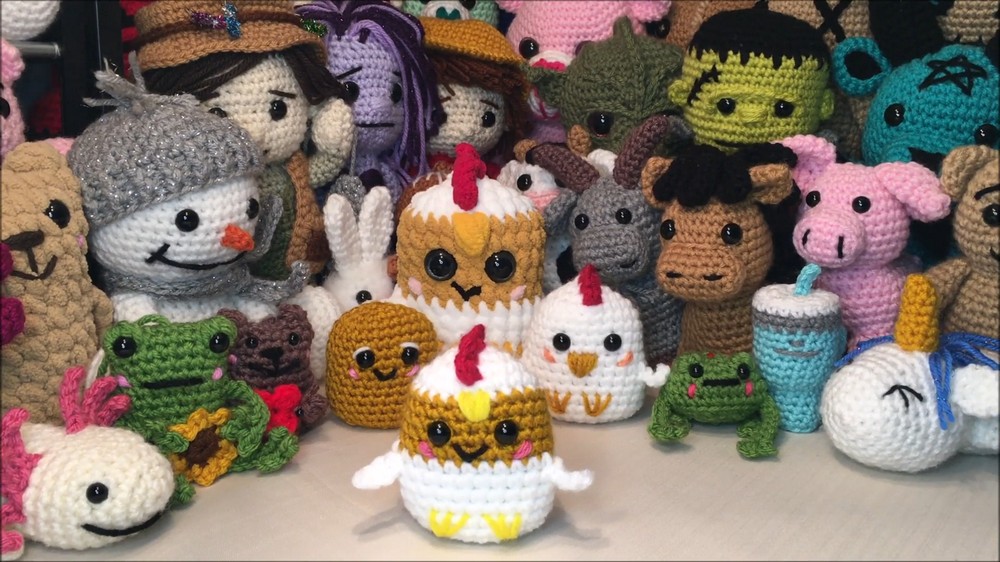
The friendly shape and plump look make it delightful to look at, and because the pattern uses basic techniques, it’s welcoming even if you’re just getting comfortable with amigurumi.

To start, you begin with a magic ring and work several rounds of single crochet stitches to form a solid, rounded body—this gives the nugget its plump, bite-sized shape.

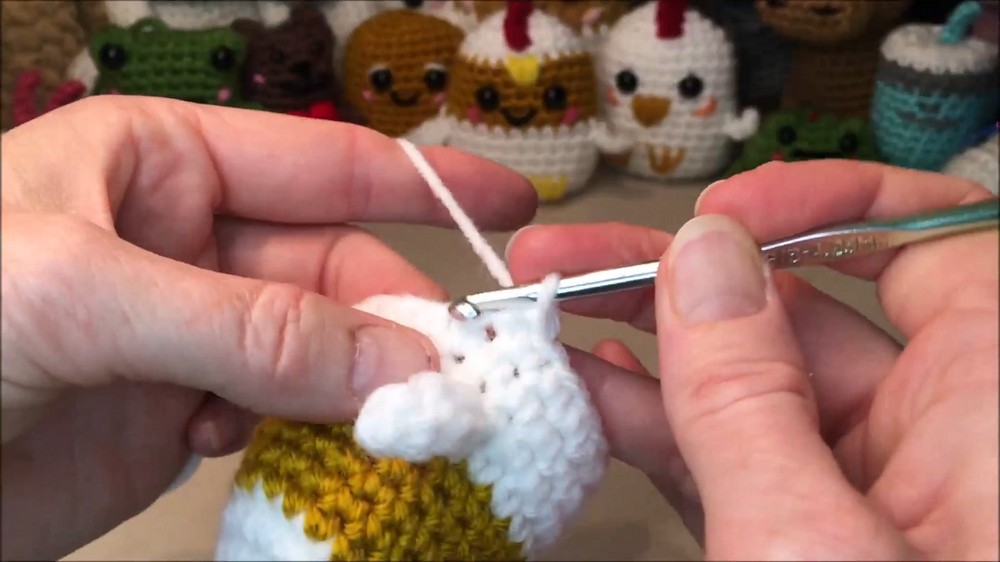
As you crochet, simple increases widen the piece and careful decreases help define the final profile.
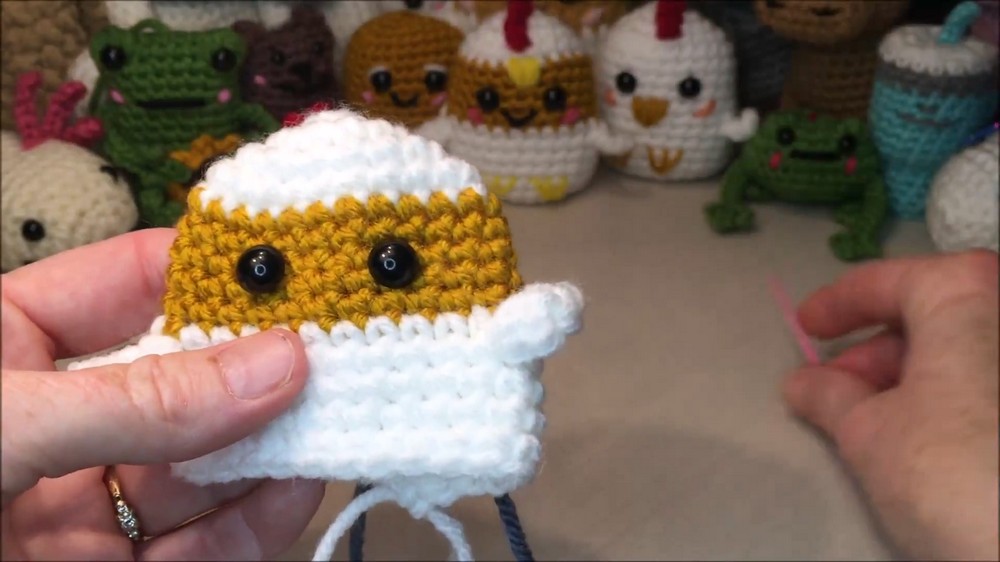
The tutorial shows how to keep your rows neat and how to add features like tiny eyes or accent details if you want to personalize your nugget.
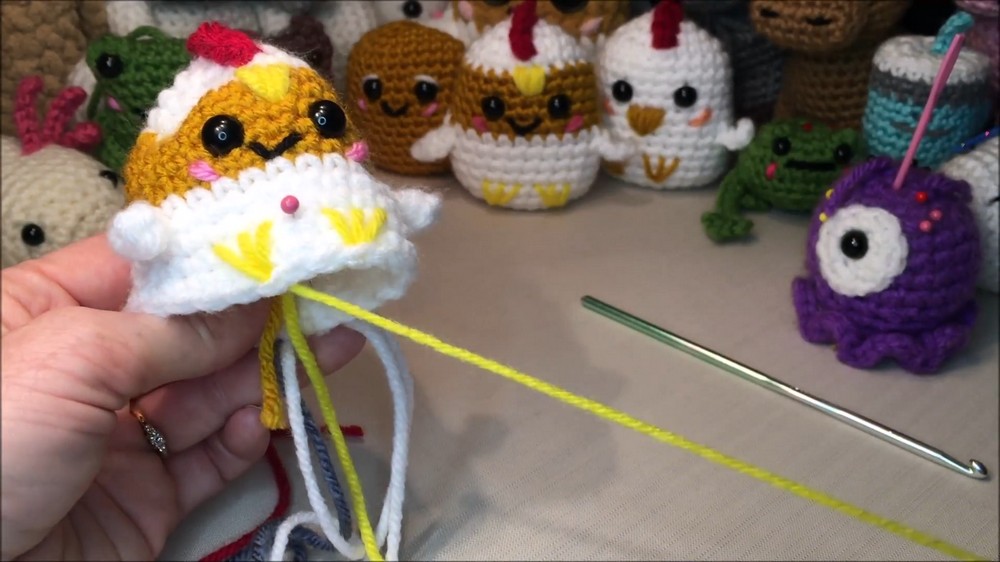
Stuffing is added partway through to keep the shape soft and balanced as you finish the top. Using the Chicken Nugget is a great way to practice basic stitches while ending up with a playful, adorable amigurumi that’s perfect for gifting, decorating, or showing off your yarn skills.
Materials Needed
The materials vary based on the size and style you choose to create:
- Yarn (varied weights):
- Small Nugget: #4 medium-weight yarn in chosen colors.
- Large Nugget: #6 Bernat Blanket Plush yarn for a fluffier nugget.
- Crochet Hooks:
- Small Nugget: 4.25 mm hook.
- Large Nugget: 5.5 mm hook.
- Safety Eyes:
- Small Nugget: 10 mm safety eyes.
- Large Nugget: 18 mm safety eyes (painted black on the back for a bold look).
- Stuffing: Polyester fiberfill for shaping the nugget.
- Scissors: For trimming yarn.
- Tapestry Needle: For weaving in ends and embroidering facial features.
- Optional Embroidery Yarn: Black yarn for the smile, pink for cheeks, and white for eye highlights.
Special Features
- Customizable Design:
- Make a "chicken nugget guy" in brown or white, or even plush yarn for a larger, softer nugget.
- Add unique embroidery (smile, cheeks, wings, comb) to match your theme or style.
- Crochet-Along Format:
- The tutor demonstrates every stitch, making it beginner-friendly while showing advanced techniques like invisible decreases.
- A visual pattern drops down for the first 30 seconds of each row, enhancing accessibility.
- Versatility:
- You can adjust the design for holidays, gifts, or cute keychains. From nuggets to chickens, this project is packed with creative opportunities.
Level of Difficulty
The project is beginner-friendly but also appeals to intermediates due to techniques like invisible decreases, shaping, and embroidery details. It’s perfect for crocheters wanting to practice seamless construction and creative enhancements.
Tutor’s Suggestions
- Use Stitch Markers: Keep track of rows and stitches for accuracy.
- Stuff Properly: Flatten the stuffing to keep the nugget wide and stable. Adjust shape while filling to match your vision.
- Experiment with Invisible Decreases: The tutor highlights how invisible decreases make stitches look cleaner compared to regular decreases. Practicing this technique improves the nugget’s finish.
- Secure Decorations: Tie embroidery elements loosely first and firm them up after shaping.
Uses
- Decorations: Use as adorable shelf displays, seasonal decorations, or accents on gift wrap.
- Gifts: These make excellent handmade presents for friends, children, or craft enthusiasts.
- Keychains or Bag Charms: Add an attachment through the top loop for a cute, portable nugget.
- Skill Practice: Hone single crochet, decreases, and embroidery techniques as part of a fun project.
Pro Tip
For larger plush nuggets, the tutor suggests painting the backs of safety eyes black to create a bold, polished look. You can coat them lightly with nail polish or acrylic paint—just ensure it dries fully before use.
Conclusion
This cozy tutorial allows you to create charming chicken nuggets or chickens, perfect for personalization and gifting. The crochet-along format ensures you’ll follow each step effectively, and the versatility of the project opens doors to countless creative possibilities. Grab your yarn, pick your nugget style, and get crocheting.
Step-by-Step Instructions
This video tutorial guides you step-by-step through making an adorable crochet "chicken nugget guy." The project is versatile, allowing you to create small or large nuggets, using various yarn types and colors for customization.