
Charming Free Crochet Strawberry Amigurumi Pattern for Accessories
Turn tiny yarn into sweet mini berries with this Free Crochet Strawberry Amigurumi Pattern, perfect for adding charm to keys, bags, or gifts.
Ever wondered how to make a tiny strawberry that feels almost real but is soft and cuddly? This pattern shows how to create a charming miniature strawberry with simple crochet techniques. Each piece emphasizes texture, shape, and tiny details such as seeds and leaves, producing a delightful accessory that captures the playful essence of this classic fruit.
How to Crochet Strawberry Amigurumi Pattern Step by Step
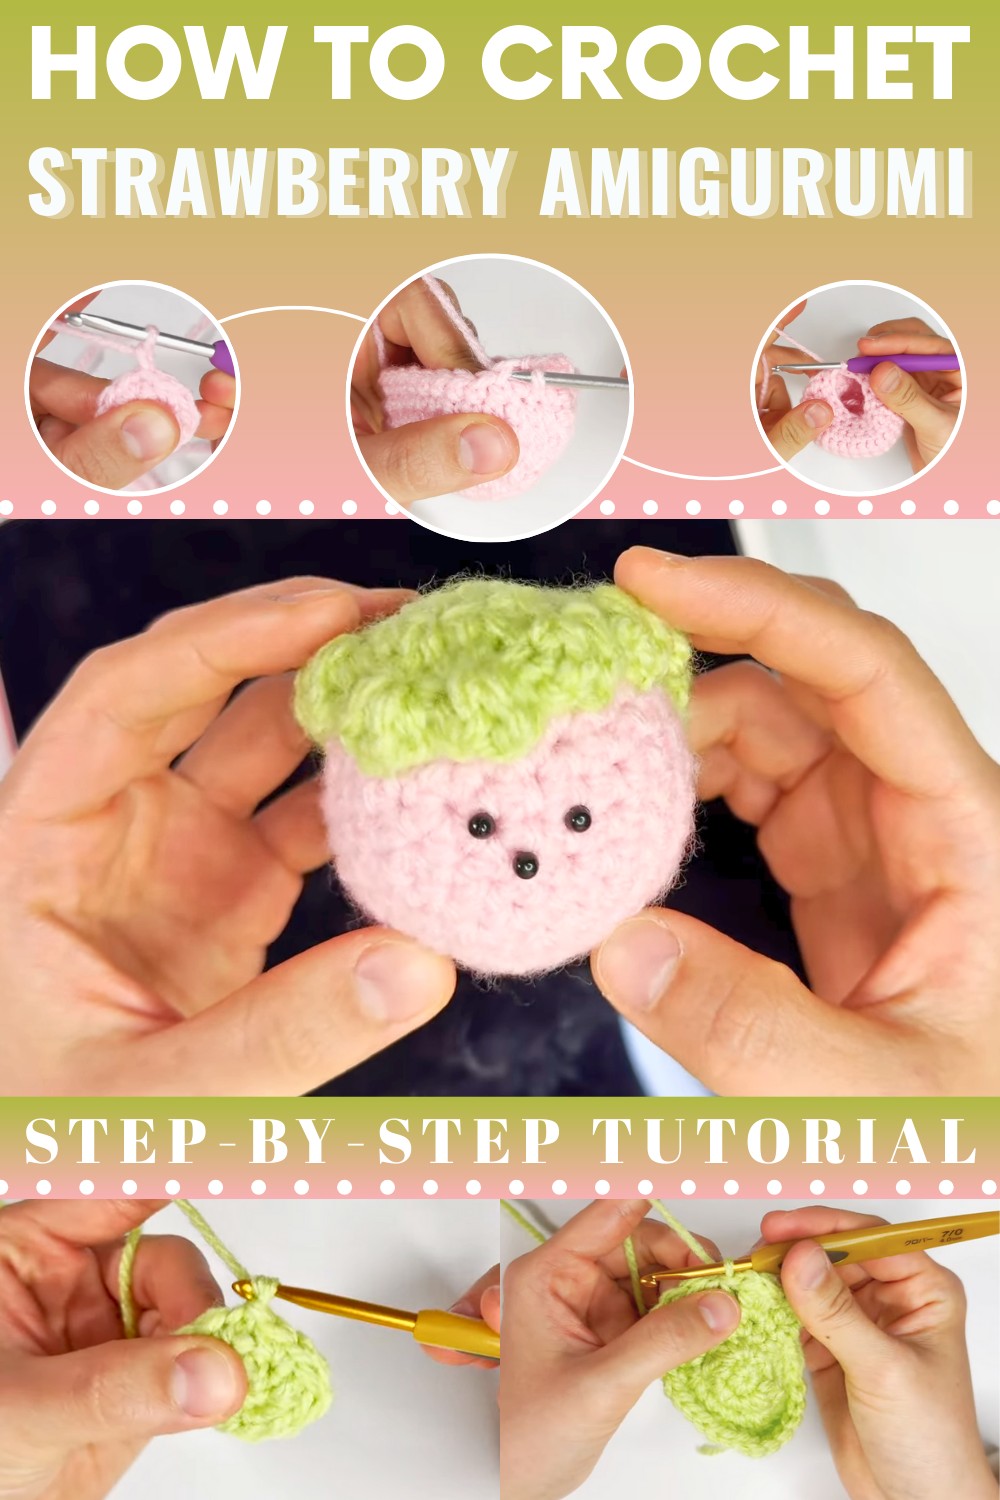
Beyond their cute appearance, these amigurumi strawberries highlight the care and detail in handmade creations. Each finished piece adds charm and a touch of whimsy to everyday items. Whether used to decorate a room, accessorize a bag, or shared as a thoughtful gift, this pattern celebrates crochet artistry while producing delightful, functional miniatures that brighten any setting.

The Crochet Strawberry Amigurumi Pattern provides clear, step-by-step instructions, making it suitable for beginners while still engaging for experienced crocheters. These mini strawberries are versatile, serving as keychains, ornaments, or decorative touches for bags and spaces. Their compact size and quick assembly make it easy to complete multiple pieces, perfect for gifts or personal collections.
Crochet Sakura Mochi Amigurumi Pattern
Materials
- Yarn:
- Main (mochi): Light pink (DK or worsted, e.g., Daiso Soft Pink)
- Leaf: Light green (matching weight)
- Crochet Hook: 3.5 mm to 4.0 mm (US E/4–G/6); used 6/0 for mochi, 6/5–7/0 for leaf for size variation
- Yarn Needle: For sewing
- Polyester Fiberfill: For stuffing
- Scissors
- Stitch Marker: Recommended for tracking rounds
- Craft glue (optional): To secure details if needed
Abbreviations (US Crochet Terms)
| Abbreviation | Meaning |
|---|---|
| MR | Magic Ring |
| sc | Single Crochet |
| inc | Increase (2 sc in same st) |
| dec | Decrease (sc 2 together) |
| dc | Double Crochet |
| sl st | Slip Stitch |
| ch | Chain |
| st(s) | Stitch(es) |
Notes & Tips
- Pattern is worked in rounds unless otherwise stated.
- Amigurumi is best with tight stitches; adjust hook size if needed for a firm fabric.
- Use a stitch marker to help keep track of the beginning of the round.
- Turning your piece and using the “wrong side” out before stuffing and closing will give the surface a unique textured, authentic look.
Pattern
Sakura Mochi (Pink Ball)
Round 1:
- In a MR, work 6 sc. (6)

Round 2:
- Inc in each st around (12)
- (2 sc in each st)
Round 3:
- (1 sc, inc) repeat around (18)
- (sc in next st, 2 sc in next st)x6
Round 4:
- (2 sc, inc) repeat around (24)
- (sc x2, 2 sc in next st)x6
Round 5:
- (3 sc, inc) repeat around (30)
- (sc x3, 2 sc in next st)x6
Rounds 6–8:
- Sc in each st around (30 for 3 rounds)

Decrease and Shape:
Round 9:
- (3 sc, dec) repeat around (24)
- (sc x3, sc2tog)x6
Round 10:
- (2 sc, dec) repeat around (18)
- (sc x2, sc2tog)x6
Round 11:
- Sc in each st around (18)
Round 12:
- (sc, dec) repeat around (12)
- (sc, sc2tog)x6

Stuff with fiberfill before the opening gets too small. If desired, turn the "wrong side" out for a more textured look before you finish closing.
Final round (optional for the ‘puffed’ look):
- (dec) repeat around (6)
- (sc2tog)x6
- Fasten off, leaving a long tail. Weave the tail through front loop of each remaining st and pull tight to close. Secure and weave in the end.
Leaf
Round 1:
- With green yarn, in an MR, work 6 sc (6).
- Join with a sl st.
Round 2:
- Ch 1. In each st:
- [2 sc, 2 dc, 2 sc] (across 6 st; makes a rounded leaf edge).
- You should have:
- 2 sc in first st
- 2 dc in next st
- 2 sc in next st
- Repeat for other side (mirror for symmetry):
- 2 sc, 2 dc, 2 sc
- Join with sl st to starting point.

Round 3:
- Ch 1, [sc, inc] pattern around to maintain symmetry and shape.
- For frills: Work [sc, ch 2, sc] in same st at outermost points, as desired.
- You can also increase with dc in every dc section to keep the edge wavy/frilly.
Round 4 (optional, to increase size and frilliness):
- Continue as established, working [2 sc, ch 2, 2 sc] into the outermost points for added ruffling.
- Fasten off, leaving a long tail for sewing.

Assembly
- Leaf Placement:
- Place the leaf over the pink mochi, arranging to your taste (the "wrong side" of the leaf up for extra texture, if preferred).
- Hide any seams or color changes with the leaf.
- Sew Leaf:
- Using the long tail and a yarn needle, sew the leaf along the edges or at the points where it contacts the mochi; do not pull too tightly or leave too loose—secure just enough for the desired look.
- Finishing:
- Hide all yarn tails inside the body.
- Optionally add a face or details with embroidery, safety eyes, or fabric glue.
Conclusion
You’ve created a sweet and realistic sakura mochi amigurumi. This project is perfect for gifts, desk ornaments, pincushions, or keychains. Adjust size and color for variations, and enjoy the unique look achieved by using the "wrong side" for the mochi body.
Pattern Corrections & Tips
- Use a stitch marker for accuracy.
- Stuff the body fully for a plump mochi, but don’t overstuff or the shape may distort.
- When closing, weave yarn only through front loops for a neat finish.
- Use a tapestry needle to shape and hide yarn ends securely inside.