
Charming Free Crochet Santa Clause Amigurumi for Holiday Decor
Celebrate the holidays with the Free Crochet Santa Clause Amigurumi Pattern, a charming handmade figure perfect for gifts, decor, and festive joy.
A joyful holiday figure can instantly brighten any space, bringing warmth and festive cheer with every stitch. The Free Crochet Santa Clause Amigurumi Pattern offers a fun and approachable way to craft this iconic character, making it an ideal addition to holiday decor, a charming gift, or a playful keepsake. This pattern features Santa’s classic red outfit, a fluffy white beard, rounded body, tiny booted feet, and a cozy hat, all carefully constructed to capture his cheerful essence.
Playful Free Crochet Santa Clause Amigurumi Pattern That Spreads Cheer
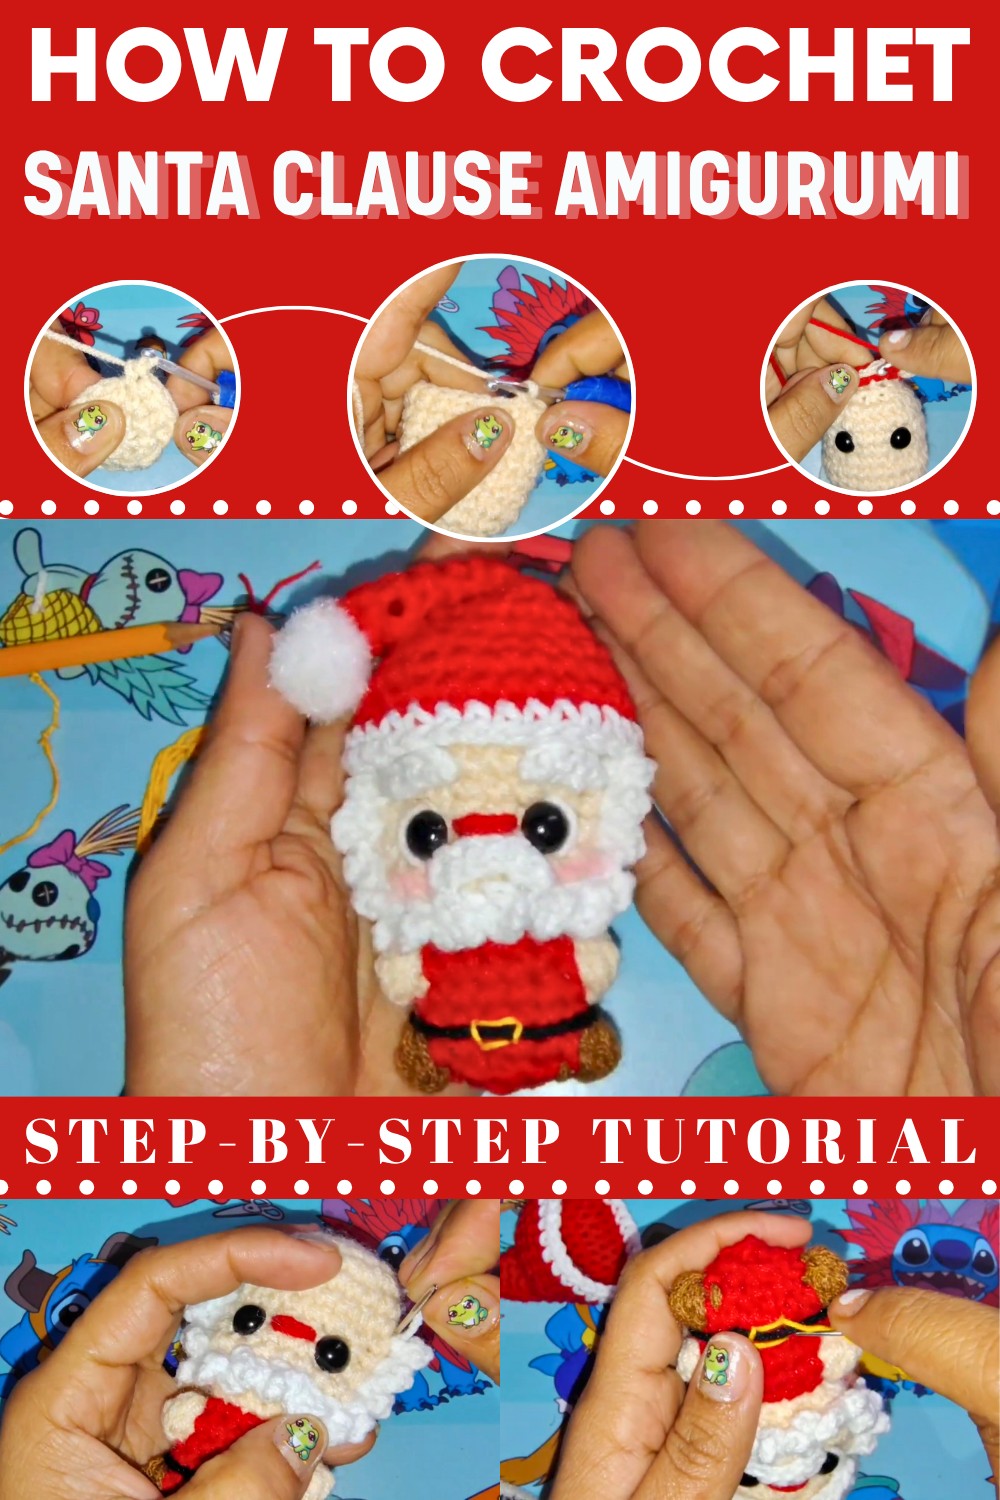
The general approach involves working each component separately: body, legs, arms, head, hat, and beard, then assembling them for a neat and well-defined finish.

Materials
- Yarn:
- Worsted/Aran or DK weight (or “chain stitch” for larger size)
- Skin color (beige or light peach)
- Red (body and hat)
- White (beard, hat trim, puff)
- Brown (feet)
- Yellow (buckle)
- Black (optional details, mouth)
- Worsted/Aran or DK weight (or “chain stitch” for larger size)
- Hook size:
- 3.0 mm for main pieces
- 1.75–2.0 mm for small details (optional, for mini version)
- Stuffing: Polyester fiberfill
- 9 mm safety eyes
- Yarn needle
- Stitch marker
- Scissors
- Silicone glue or fabric glue (for assembly, optional)
- Blush (optional: makeup or fabric paint)
Key Abbreviations (US Terms)
| Abbreviation | Meaning |
|---|---|
| MR | Magic ring |
| sc | Single crochet |
| inc | Increase (2 sc in 1 stitch) |
| dec | Decrease (sc2tog) |
| st(s) | Stitch(es) |
| sl st | Slip stitch |
| ch | Chain |
| FLO | Front loop only |
| FO | Fasten off |
Special stitches:
- Puff Stitch (Pineapple/Bobble/Popcorn for Arms/Feet):
Yarn over, insert hook, yarn over, pull through, repeat 4–5 times in the same stitch, then yarn over and pull through all loops. Ch 1 to secure.
Special Notes
- All rounds are worked in a spiral unless stated otherwise. Use a stitch marker for first stitch each round.
- Change color on last pull-through of previous stitch before color change.
- Stuff as you go; do not overstuff.
Pattern
HEAD
With skin color yarn:
- Rnd 1: MR, 5 sc (5)
- Rnd 2: Inc in each st around (5 inc) (10)
- Rnd 3: (sc, inc) around (15)
- Rnd 4: (2 sc, inc) around (20)
- Rnd 5: (3 sc, inc) around (25)
- Rnd 6–7: sc in each st (25, 2 rounds)
- Rnd 8: 6 sc, [dec, sc, dec, 3 sc] x2, 6 sc (21)
(or: 6 sc, dec, sc, dec, 3 sc, dec, sc, dec, 6 sc) - Rnd 9: sc in each st (21)
- Rnd 10: 6 sc, [inc, sc, inc, 3 sc] x2, 6 sc (25)
- Rnd 11: sc in each st (25)
- Rnd 12: (3 sc, dec) around (20)
- Rnd 13: 10 dec (10)
- Insert safety eyes: Between Rounds 3 and 4 from bottom, with 3 sts between them, centered.
- Stuff head firmly before closing

BODY
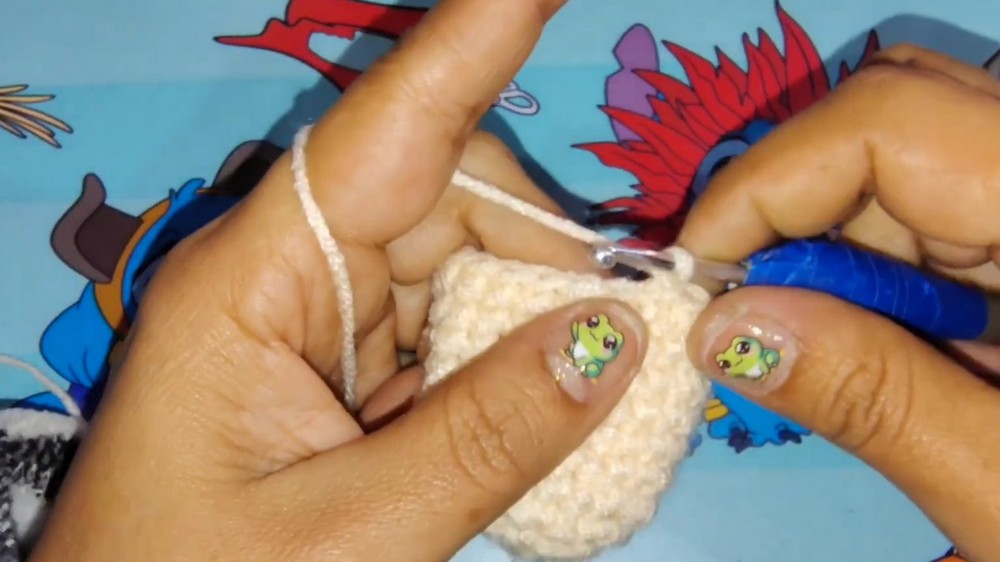
Change to red, work in FLO:
- Rnd 14: [sc, inc] around (15 FLO)
- Rnd 15: 4 sc in red, join skin color for “arm”, make puff st (5 loops), ch 1, change back to red,
6 sc in red, join skin color, puff st (5 loops), ch 1, change back to red, 3 sc.- You can cut off skin color after second arm.
- Rnd 16–17: sc in each st (15, 2 rounds in red)
FEET
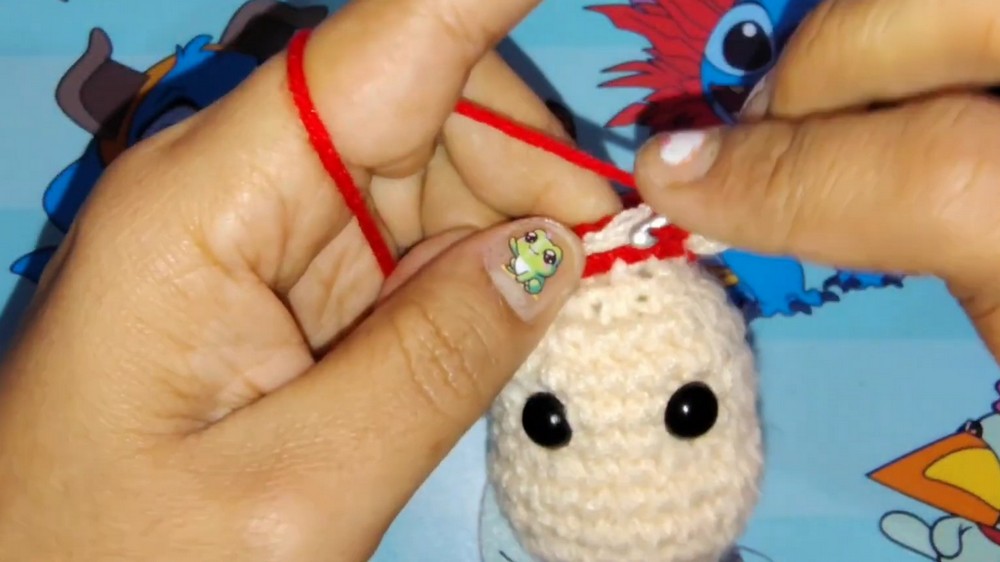
- Rnd 18: 4 sc in red, change to brown for “foot”, puff st (5 loops), ch 1, change back to red,
6 sc in red, change to brown for second foot, puff st (5 loops), ch 1, change back to red, 3 sc. - Turn the arms and legs outwards as you go.
LOWER BODY/CLOSURE
- Rnd 19: (sc, dec) around (10)
- Stuff body before final closing.
- Rnd 20: 5 dec (5)
- FO, leaving a strand for sewing or weaving closed with tapestry needle.
DETAILS
Belt
- With black (or brown) yarn, embroider (backstitch or surface slip stitch) a belt line around the body.
- Buckle: with yellow, embroider/surface stitch a small square at front and secure ends inside.

Nose
- With red or skin color, embroider a small horizontal bar between eyes (three stitches wide over rounds 3 and 4).
Cheeks (Optional)
- Add blush with makeup or fabric paint.
Hat
With red:
- Rnd 1: MR, 5 sc (5)
- Rnd 2: sc in each st (5)
- Rnd 3: (sc, inc) around (7)
- Rnd 4: sc in each st (7)
- Rnd 5: [(sc, inc) x3], sc (10)
- Rnd 6–8: sc in each st (10, 3 rounds)
- Rnd 9: inc in each st (20)
- Rnd 10: sc in each st (20)
- Rnd 11: (3 sc, inc) around (25)
- Rnd 12: sc in each st (25)
- Rnd 13: (4 sc, inc) around (30)
- Rnd 14: sc in each st (30)
- Rnd 15: Change to white, sc in each st (30)
- FO and leave a long end to sew to head. Test fit and position "tilted" so beard is visible.
- Glue or sew in place.
BEARD
With white yarn:
- Attach at the base of head (where nose is).
- Repeat until across face:
- Ch 3, sl st in next st along base.
- Continue all across “chin.”

MUSTACHE
- Ch 5 with white yarn.
- FO, sew/embroidery glue below nose.
EYEBROWS
- Ch 3 with brown/black.
- FO, sew above each eye.
HAT BALL
With white:
- MR, 5 sc, sl st to close, FO,
- Sew at tip of hat.
ASSEMBLY
- Embroider facial details and glue/sew hat to head.
- Attach beard, mustache, and hat ball as shown.
- Hide all ends inside.
- Optional: Add loop for hanging at tip of hat.
Conclusion
This Minuki Santa ornament will bring charm to your tree with a cute “head-and-body” division and whimsical details. Adjust colors, add blush, or size yarn up/down for a different look. Perfect for collections and gifts!
Pattern Corrections & Tips
- Before closing head or body, always stuff firmly for best shape.
- Always join new color on last yarn over of stitch before color is needed for neatest changes.
- If puff stitches are too tight, use a looser tension or a hook one size larger just for those stitches.
- For safety, sew all parts firmly if making as a toy.