
Cute Free Crochet Rabbit Amigurumi Pattern That Spruces Up Shelf
Hop into charm with this Free Crochet Rabbit Amigurumi Pattern, perfect for delightful décor, thoughtful gifts, and playful handmade fun.
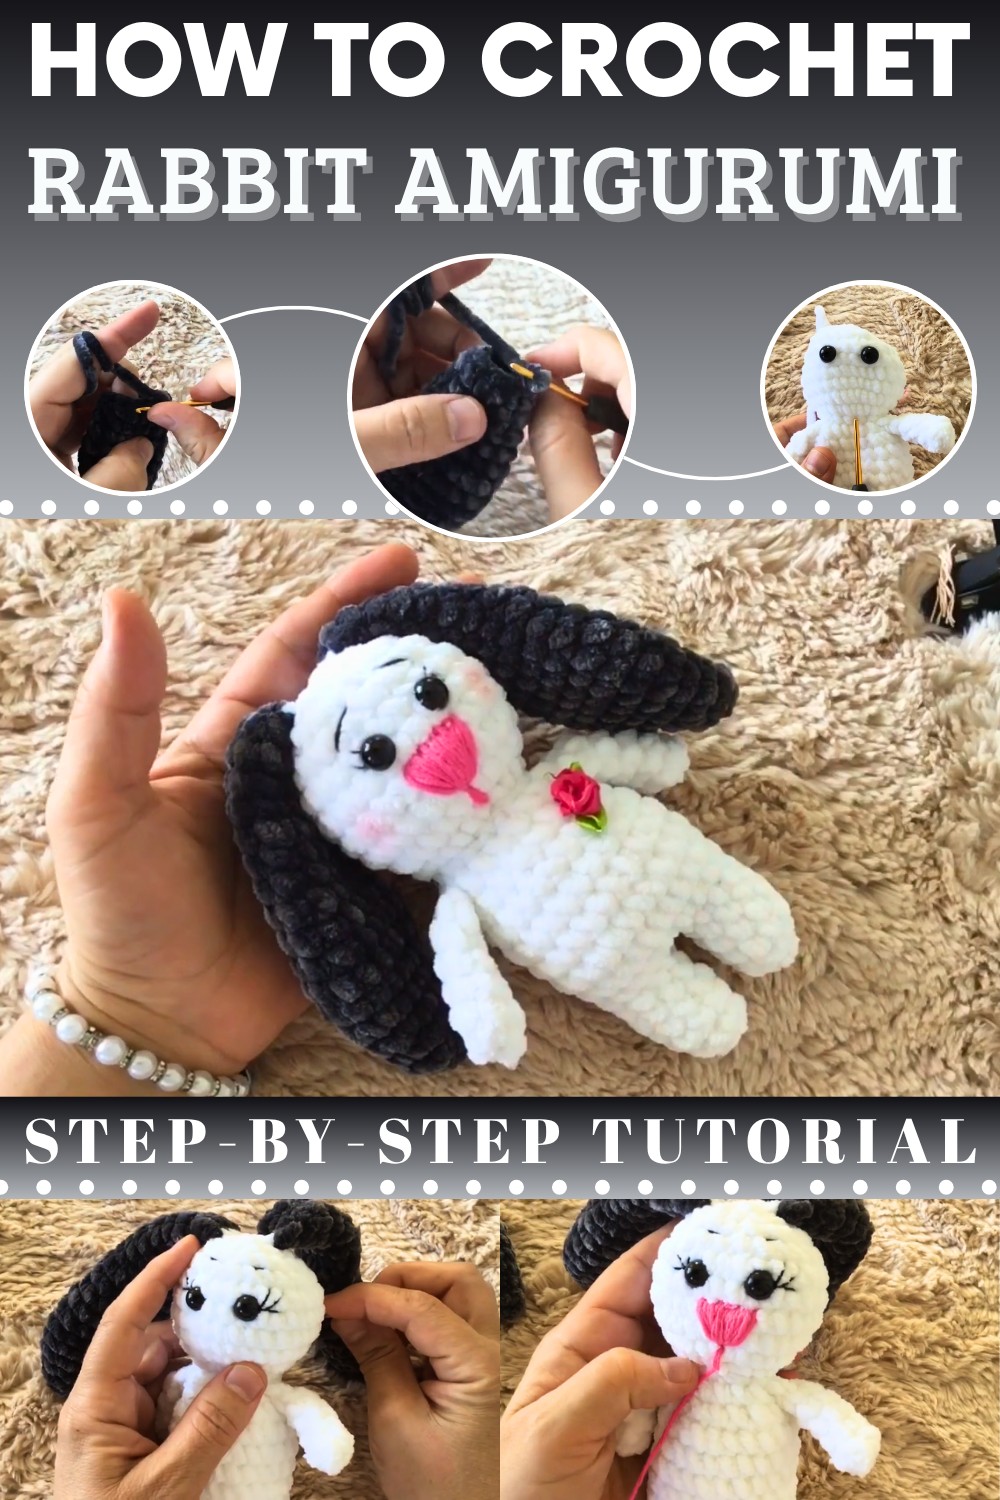
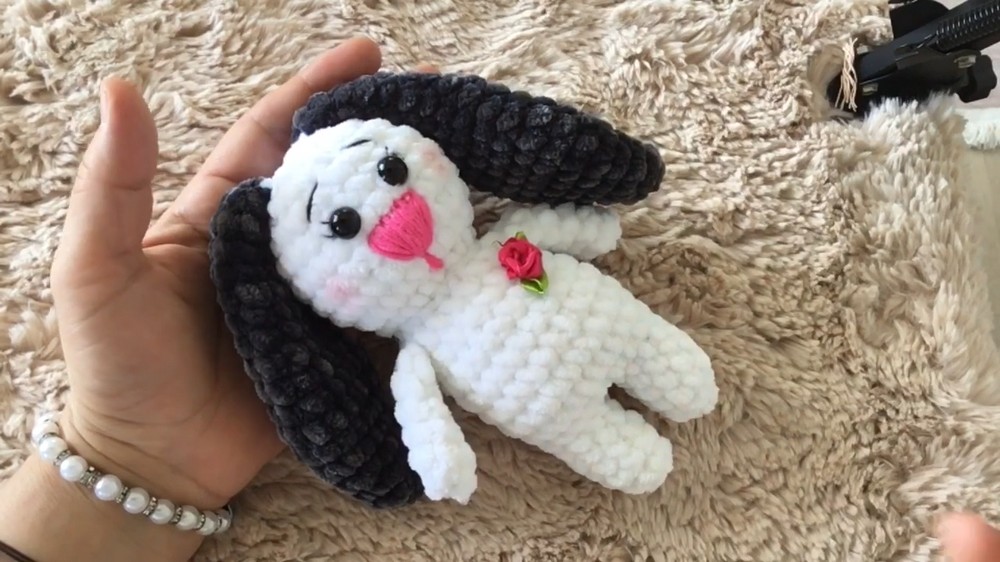
Adding a handmade touch to your home décor or gifting options is easy with the Free Crochet Rabbit Amigurumi Pattern. This adorable rabbit design combines intricate stitching with a soft, cuddly appearance, making it perfect for nursery decorations, thoughtful presents, or collectible displays. Its gentle curves, expressive features, proportionate limbs give it an irresistible charm that brightens any space.
How to Crochet Rabbit Amigurumi Pattern Kids Will Adore
Whimsical Fun with Every Stitch
This crochet rabbit is not just visually appealing, it’s lightweight, durable, and safe for children, offering hours of tactile enjoyment. Making your own amigurumi adds a playful twist to your crafting time while fostering patience, focus, and a satisfying sense of accomplishment. Plus, the pattern can be customized with different yarn colors or sizes to match your style or seasonal themes.
Crochet No-Sew Velvet Rabbit Amigurumi Pattern
Skill Level
Intermediate
Materials Needed
- Yarn:
- Medium velvet yarn (use any soft velvet yarn of medium thickness).
- Colors: A main color for the body and ears, and an optional contrasting color for details such as the tail and accents.
- Hook Size:
- Use a 2.5 mm crochet hook to maintain a tight and durable fabric.
- Alternatively, a 3.5 mm hook may be used for a slightly larger size.
- Eyes:
- 12 mm or 14 mm safety eyes (depending on your preference).
- Optional: You can embroider eyes with black thread instead of using safety eyes.
- Stuffing: Polyester fiberfill for the rabbit's body and legs.
- Tapestry Needle: For weaving in ends and sewing the tail.
- Stitch Marker: To mark the beginning of each round.
- Scissors: For cutting yarn.
- Optional: Pink blush for cheeks (can use light pink yarn for embroidery instead).
Key Abbreviations
- ch: Chain
- sc: Single Crochet
- inc: Increase (2 sc in the same stitch)
- dec: Decrease (combine 2 stitches into 1 stitch)
- sl st: Slip Stitch
- st(s): Stitch(es)
Special Notes
- Velvet Yarn Tips: Avoid using a magic ring when working with velvet yarn; it can loosen and deform the base structure. Instead, start with 2 ch and crochet into the second chain from the hook.
- Stuffing: Add stuffing as you progress, particularly for the head and legs. Keep the ears and arms unstuffed for a floppy appearance.
- Gauge: Tight stitches are crucial for durability and to prevent stuffing from showing, especially when using velvet yarn.
Pattern Instructions
Ears (Make 2)
- Start with 2 ch: Skip the first chain and crochet 6 sc into the second chain. (6 sts)
- Round 2: (sc in 1 st, inc) repeat 3 times. (9 sts)
- Round 3: (sc in 2 sts, inc) repeat 3 times. (12 sts)
- Round 4: (sc in 3 sts, inc) repeat 3 times. (15 sts)
- Round 5: (sc in 4 sts, inc) repeat 3 times. (18 sts)
- Rounds 6–8: 1 sc in each stitch. (18 sts per round)
- Round 9: (sc in 4 sts, dec) repeat 3 times. (15 sts)
- Rounds 10–11: 1 sc in each stitch. (15 sts per round)
- Round 12: (sc in 3 sts, dec) repeat 3 times. (12 sts)
- Round 13: 1 sc in each stitch. (12 sts)
- Round 14: (sc in 2 sts, dec) repeat 3 times. (9 sts)
- Rounds 15–16: 1 sc in each stitch. (9 sts per round)
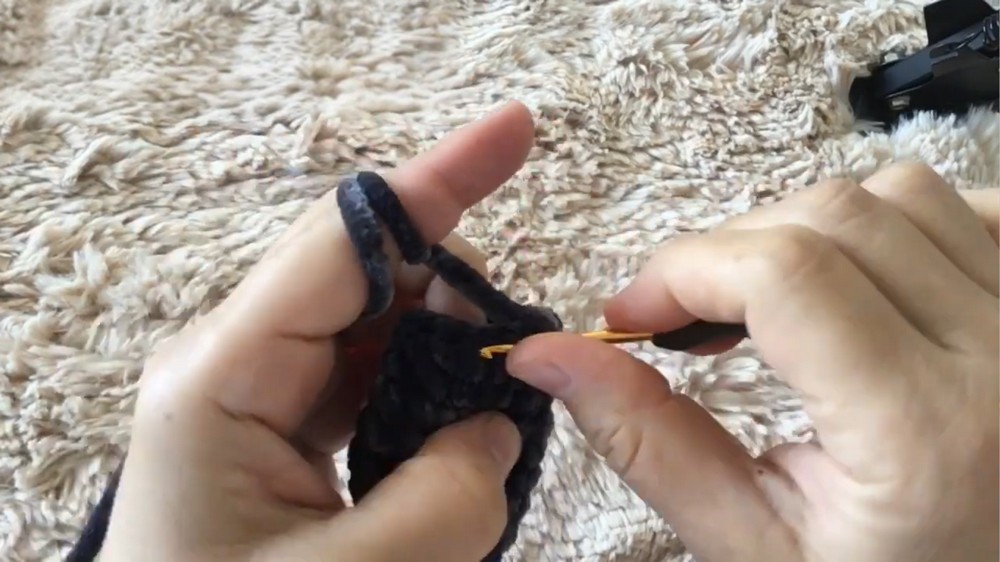

Fasten off, leaving a long tail for assembly with the head. Do not stuff the ears.
Arms (Make 2)
- Start with 2 ch: Skip the first chain and crochet 6 sc into the second chain. (6 sts)
- Rounds 2–6: 1 sc in each stitch (6 sts per round).
Fasten off. Do not stuff the arms. Fold the arm flat and sc across both sides to close. Leave a long tail for attaching to the body.
Legs (Make 2)
- Start with 2 ch: Skip the first chain and crochet 6 sc into the second chain. (6 sts)
- Round 2: (sc in 1 st, inc) repeat 3 times. (9 sts)
- Rounds 3–5: 1 sc in each stitch. (9 sts per round)
- Fasten off the first leg. Leave the second leg on the hook to continue working into the body.
Body and Head (One Piece)
- Joining Legs (Body begins): After crocheting the second leg, chain 2 and join to the first leg. Work as follows:
- Crochet 9 sc around the first leg.
- Crochet 2 sc into the chain space.
- Crochet 9 sc around the second leg.
- Crochet 2 sc into the other side of the chain space.
- (22 sts total).
- Rounds 2–6: 1 sc in each stitch. (22 sts per round)
- Round 7: (sc in 2 sts, dec) repeat 5 times. (18 sts)
- Attach Arms: Insert one arm during the round while decreasing stitches. Use 3 sc for each arm or adjust placement as necessary. (18 sts)
- Round 8: (sc in 1 st, dec) repeat 6 times. (12 sts)
The Head Begins:
6. Round 9: Work 2 sc in each stitch (inc around). (24 sts)
- Round 10: (sc in 3 sts, inc) repeat 6 times. (30 sts)
- Rounds 11–14: 1 sc in each stitch (30 sts per round).
- Round 15: (sc in 4 sts, dec) repeat 6 times. (24 sts)
- Attach Ears: Attach both ears symmetrically during this round, with 3 sc for each ear. Use the long tail from the ear to secure if necessary.
- Round 16: (sc in 2 sts, dec) repeat 6 times. (18 sts)
- Round 17: (sc in 1 st, dec) repeat 6 times. (12 sts)
Stuff the head and body before the stitches become too tight.
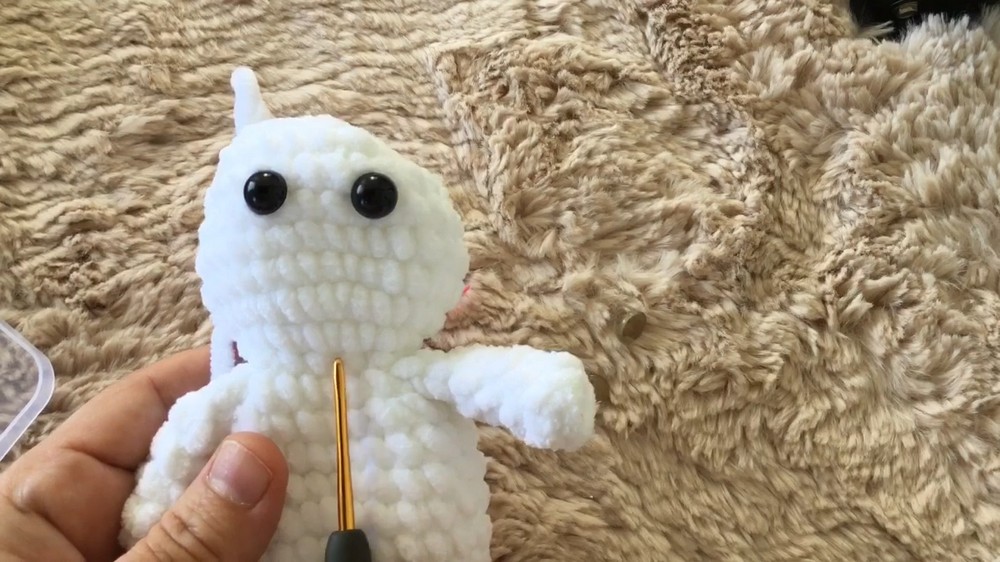
- Round 18: (dec) repeat 6 times. (6 sts)
- Fasten off and sew the remaining hole shut with a tapestry needle. Weave in the end.
Tail
- Start with 2 ch: Crochet 6 sc into the second chain. (6 sts)
- Round 2: (sc in 1 st, inc) repeat 3 times. (9 sts)
- Round 3: (sc in 2 sts, inc) repeat 3 times. (12 sts)
- Round 4: 1 sc in each stitch. (12 sts)
- Round 5: (sc in 1 st, dec) repeat 3 times. (9 sts)
Fasten off and sew the tail onto the back of the body.
Finishing the Features
Face
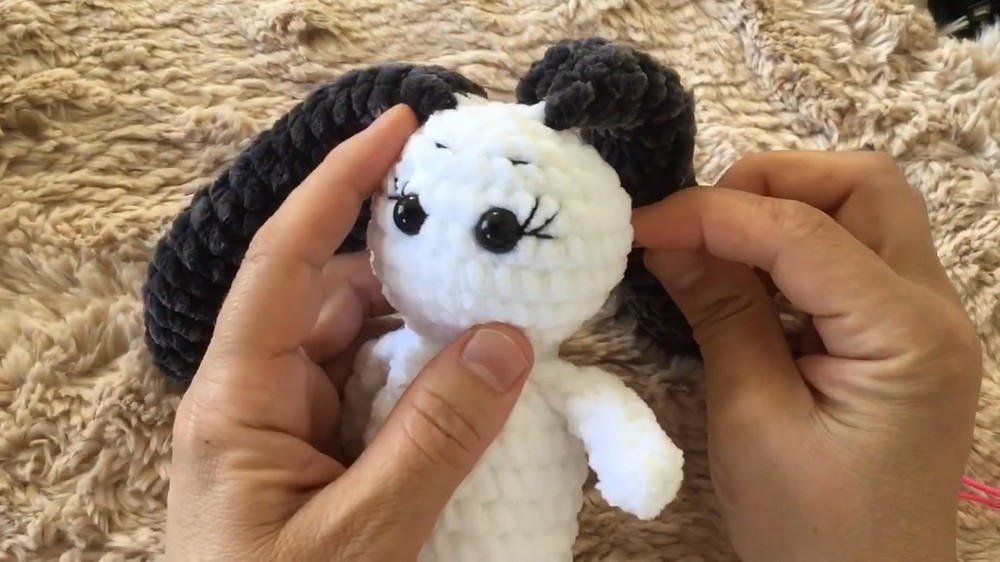
- Eyes: Place the safety eyes symmetrically between Rounds 11–12 of the head. Leave 6–8 sts of space between the eyes.
- Mouth and Nose: Use black yarn to embroider a simple triangle-shaped nose and a small line for the mouth. Adjust size based on preference.
- Optional Blush: Apply gentle pink blush to the cheeks for a lively effect.

Final Words
Congratulations on completing your no-sew velvet rabbit! This delightful project is versatile and fun and can be customized by altering colors, adding bows, or using different accessories.
Tips to Maintain the Project
- Care: Hand wash or machine wash on a gentle cycle. Allow the toy to air dry.
- Tightness: Ensure tight stitches when using velvet yarn to prevent stuffing from poking through.
- Customization: Experiment with different yarns or embellishments for a personal touch.