
Charming crochet elephant pattern for tiny decorative delights
A cute and soft elephant made with love adds a special charm to any space, bringing a smile to anyone who sees it. This crochet elephant pattern is full of beauty, from its floppy ears to its tiny trunk, making it a delightful addition to your home. Perfect for decorating a nursery, a child’s room, or even a cozy corner, it brings warmth and personality to any setting. It also makes a wonderful gift for a baby shower, birthday, or special occasion, leaving a lasting impression with its unique and thoughtful design.
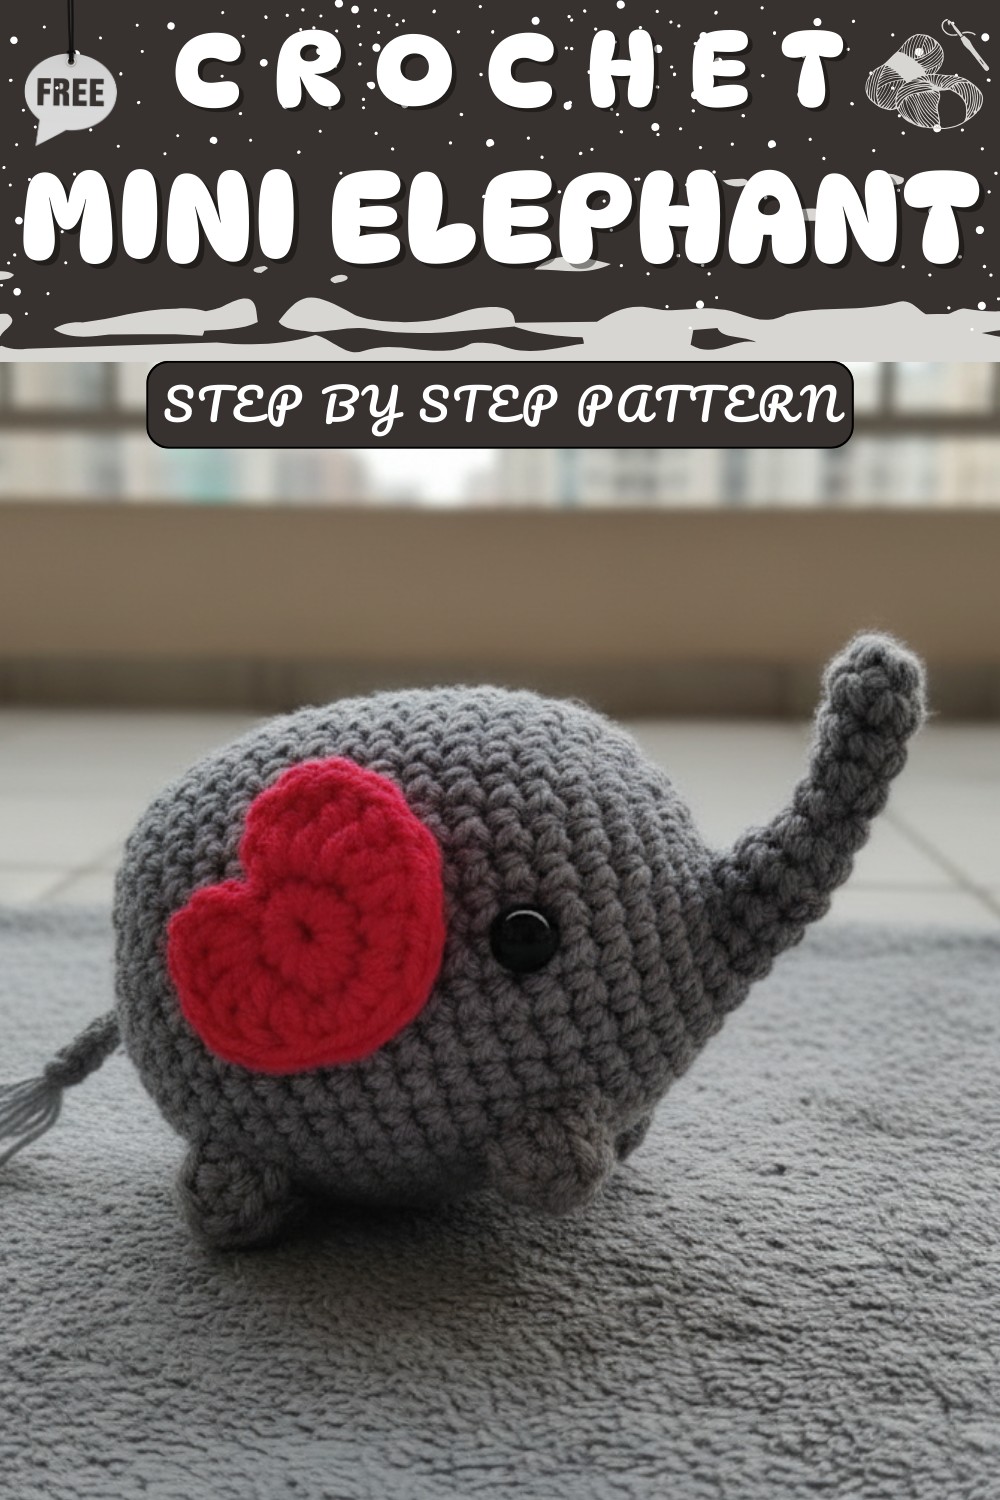
With endless possibilities in colors and sizes, it can match any style or mood, making it a true treasure. Whether used as a cuddly toy, an eye-catching decoration, or a keepsake, this elephant spreads joy and adds a heartwarming touch wherever it is displayed.
Enjoy the charm and whimsy with this Free Crochet Elephant Pattern that forms a delightful piece full of character that brightens any space.

Magical crochet elephant pattern for Nursery decor
Materials:
Ensure you have the following materials ready to craft this delightful elephant:
- Worsted weight acrylic yarn in Grey and Red & aqua blue.
- 3.5 mm crochet hook.
- Polyester fiber fill stuffing for shaping.
- 8 mm safety eyes.
- Tapestry needle for sewing parts and weaving in ends.
- Optional: Stitch markers to keep track of rounds or any color variations you might want to add.

Key Abbreviations:
These are the crochet terms and abbreviations used throughout the pattern:
- R = Round/Row
- Ch = Chain
- St(s) = Stitch(es)
- Sc = Single crochet
- Hdc = Half double crochet
- Dc = Double crochet
- Trc = Triple/Treble crochet
- Inc = Increase (2 sc in one stitch)
- Dec = Decrease (sc 2 stitches together)
- Sl st = Slip stitch
- [ ] x = Repeat instructions within brackets x times
- (...) = Total number of stitches at the end of the round
Pattern Instructions
Head and Body:
- Using lavender yarn:
- R1: 6 sc in a magic ring. (6 sts)
- R2–R5: Sc in each st. (6 sts each round)
- Begin enlarging the trunk:
- R6: [Sc in the next st, inc] x3. (9 sts)
- R7–R8: Sc in each st. (9 sts each round)
- R9: Sc in the next 3 sts, 2 sc in the next 3 sts, Sc in the last 3 sts. (12 sts)
- R10: Sc in the next 3 sts, 2 sc in the next 6 sts, Sc in the last 3 sts. (18 sts)
- R11: Sc in the next 6 sts, 2 sc in the next 6 sts, Sc in the last 6 sts. (24 sts)
- Stuff the trunk lightly to give form:
- R12: [Sc in the next 3 sts, inc] x6. (30 sts)
- R13: [Sc in the next 4 sts, inc] x6. (36 sts)
- R14–R25: Sc in each st. (36 sts each round)
- Insert 8 mm safety eyes between R15 and R16 with 17 stitches apart for proper spacing.
- Begin decreasing for the body shape:
- R26: [Sc in the next 4 sts, dec] x6. (30 sts)
- R27: [Sc in the next 3 sts, dec] x6. (24 sts)
- R28: [Sc in the next 2 sts, dec] x6. (18 sts)
- R29: [Sc in the next st, dec] x6. (12 sts)
- Firmly stuff the head and body:
- R30: Dec in each st. (6 sts)
- Sew the ends closed using the tapestry needle.
Legs (Make 4):
- Using Grey yarn:
- R1: 5 sc in a magic ring. (5 sts)
- F/O leaving a long tail for sewing.
Ears (Make 2):
- Using aqua blue or Red yarn:
- R1: 9 sc in a magic ring and sl st to first sc.
- Create the ear shape:
- R2: Ch 3, 2 trc in the same st, 2 dc in next st, hdc in next, sc in next, (sc, dc, sc) in next st, sc in next, hdc in next, 2 dc in next st, (2 trc, ch 3) and sl st into the last stitch.
- F/O leaving a long tail for sewing.
Tail:
- Using Grey yarn, take two strands together:
- Leaving a little yarn at the start for sewing, Ch 7.
- F/O by cutting off the excess yarn, leaving a small tail end.
- Split the tail end with a tapestry needle to create a fringe effect.
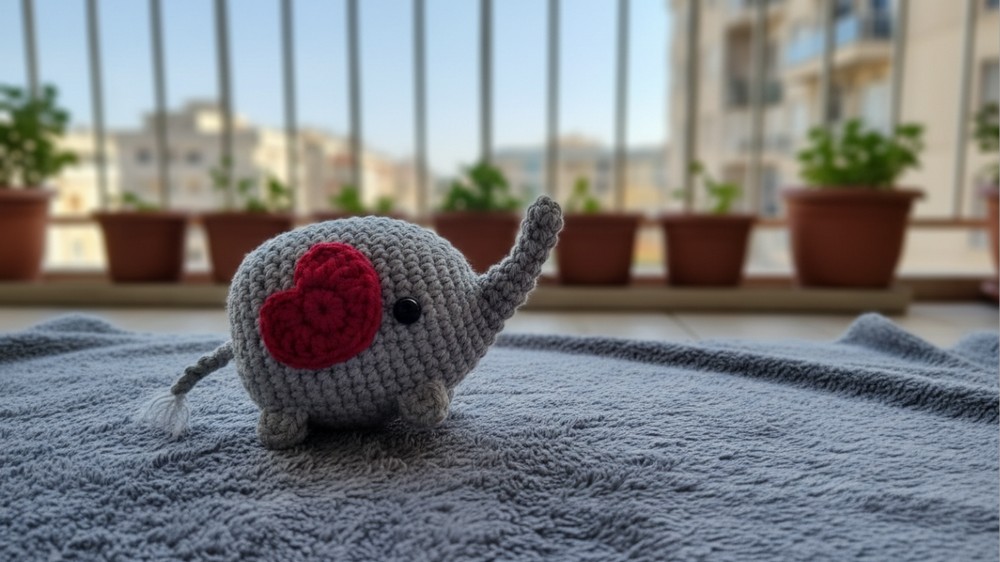
Assembling Instructions:
- Attach the legs to the body:
- Place the forelegs 5 stitches down from the eyes.
- Position the hindlegs 6 stitches away from the forelegs.
- Sew on the ears:
- Attach each ear one stitch away from the sides of the eyes for a balanced look.
- Finally, attach the tail:
- Securely sew it at the back of the body to complete the elephant.
Customization Ideas:
- Color Variations: Swap colors for whimsical or themed elephants, such as using pastels or varied aquas for a dreamy effect.
- Detail Addition: Embroider a small smile or add blush by lightly coloring the cheeks.
- Textural Touches: Crochet a decorative blanket over the elephant's back using different patterns or leftover yarn.
Special Notes:
- Even Stuffing: Ensure fiberfill is evenly distributed to avoid lumps and maintain a balanced form.
- Safety Precaution: If giving to children, especially under 3, ensure that eyes are securely fastened, or replace safety eyes with embroidered features.

Conclusion:
Congratulations on completing your elephant amigurumi! This cuddly creature is perfect as a unique decor piece or a memorable gift. Enjoy the creativity and fun that comes with crafting your very own handmade elephant.
Pattern Corrections & Tips:
- Correction: Double-check that all rounds have the correct stitch count before moving to the next section to avoid mismatches.
- Tips:
- Use a stitch marker or scrap yarn to easily track the beginning of your rounds, especially in areas with increases and decreases.
- If you're struggling with getting perfect rounds, use stitch markers after each round's first stitch to hold your place.
