
Charming Free Crochet Blueberry Pattern to Brighten Your Day
Bloom delightful charm with this crochet blueberry pattern, perfect for keychains, or fun projects that bring a playful touch to your collection.
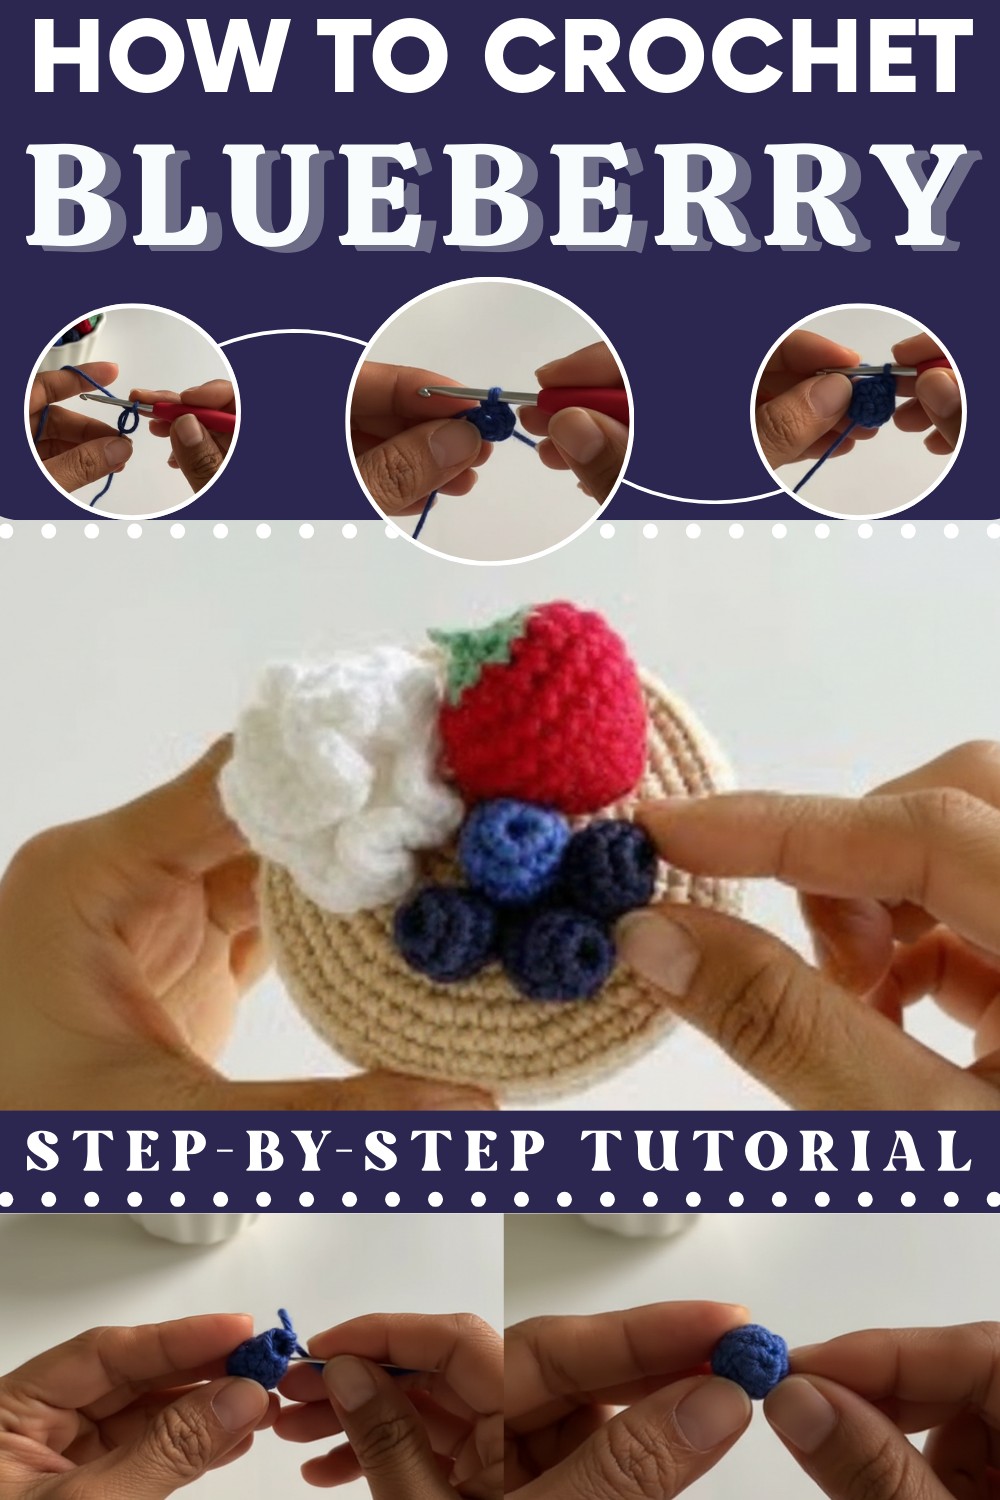
Few things are as satisfying as crocheting tiny, lifelike pieces that are both charming and practical. A Free Crochet Blueberry Pattern offers a wonderful way to craft a realistic berry with plenty of uses. This crochet blueberry is great for home décor, as a playful keychain, or even for pretend food sets for kids.
Easy Free Crochet Blueberry Pattern That Everyone Will Love
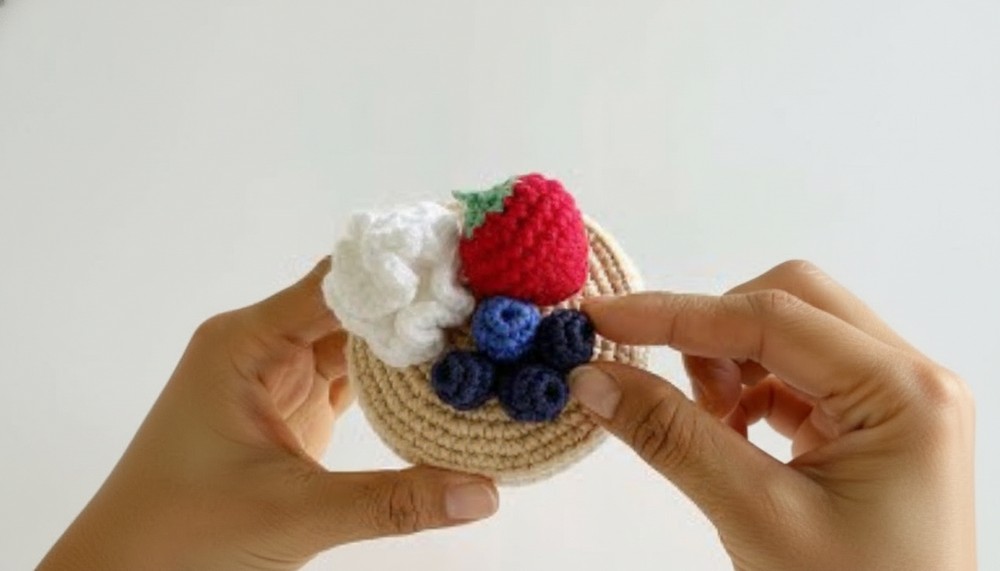
Its small size and simple design make it beginner-friendly, while still being enjoyable for experienced crocheters. You can experiment with different shades of blue or purple to capture the look of a fresh blueberry. Perfect for projects like garlands or table decorations, this tiny berry is a versatile addition to your collection. It’s a thoughtful gift or a fun element for personal creations.
Crochet Pattern for Blueberry by Little Sloops Shop
Difficulty Level
Beginner-Friendly: The blueberry is crafted entirely with simple stitches like the magic circle, single crochet, and invisible decrease. It’s an ideal project for beginners looking for a short and easy project to master small shapes.
Special Features
- No Stuffing Required: Use the yarn tails to stuff the blueberry.
- Quick to Complete: You can make a whole bowl of blueberries in an hour.
- Compact Design: Great for decorations, giveaways, or creative setups like fruit bowls.
- Beginner Tips: The tutor provides clear insights and mentions stitch markers for tracking progress, ideal for first-time crocheters.
Materials Needed
- Yarn: Medium weight #4 yarn (Hobby Lobby’s "I Love This Cotton" in Dark Denim #306 is used in the tutorial, but any dark blue yarn — acrylic or cotton — works).
- Hook Size: E (3.5 mm).
- Scissors.
- Yarn Needle.
Step-by-Step Crochet Pattern
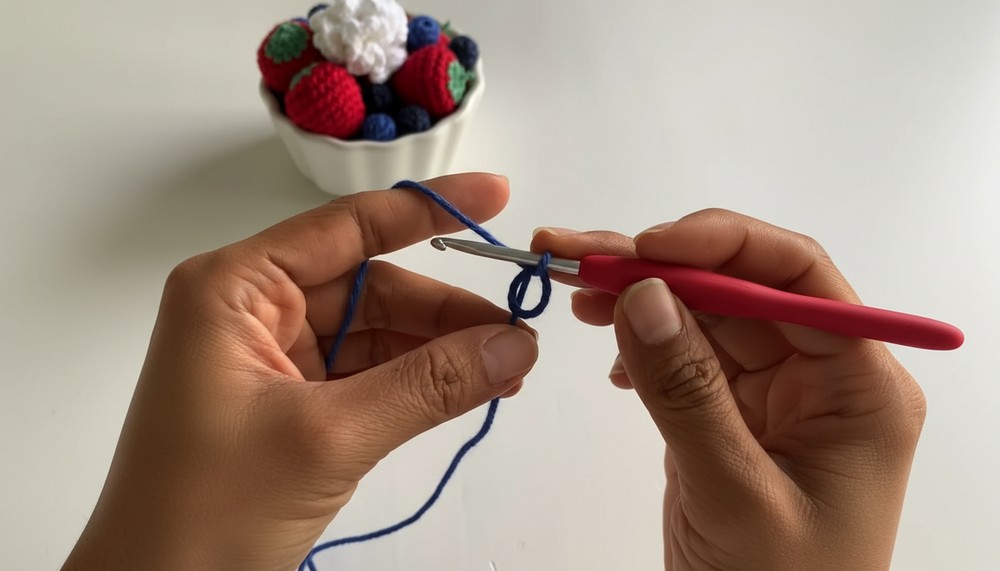
Step 1: Magic Circle
- Grab the starting tail with one hand and the working yarn about 1.5 inches apart with your other hand.
- Create a loop and insert your hook into the loop.
- Pull the working yarn through the loop to form the magic circle.
- Keep the circle slightly open at one end to create the flower end of the blueberry.
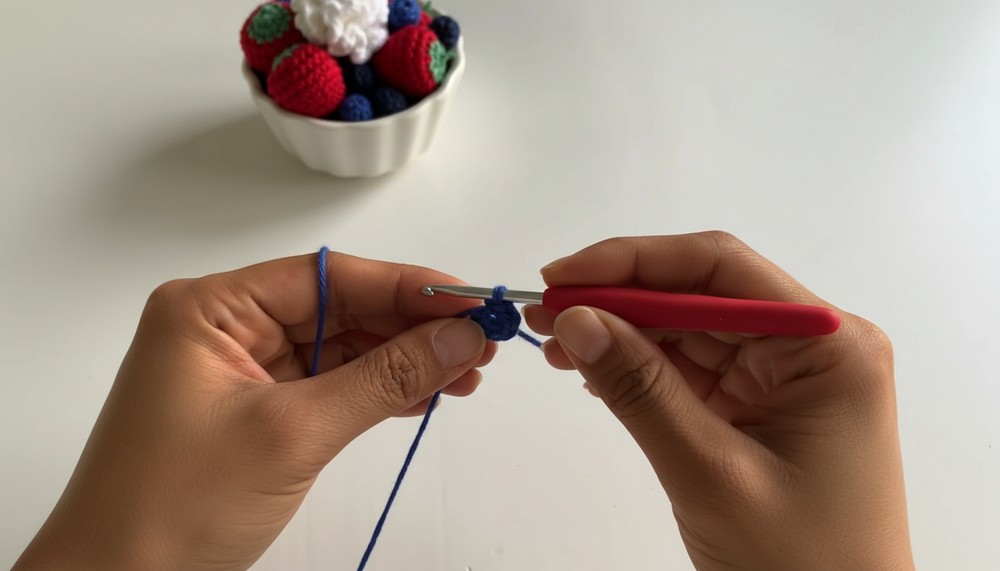
Step 2: Round 1 - Single Crochets into Magic Circle
- Chain 1 and make 5 single crochets into the magic circle.
- Count: one, two, three, four, five.
- Slightly tighten the magic circle by pulling the starting tail, leaving it only partially closed at this stage.
Step 3: Round 2 - Increase
- Insert your hook into the first stitch from the previous round to begin.
- Make 2 single crochets into each stitch from Round 1.
- This creates 10 single crochet stitches in total.
- Count: First increase, second increase, third increase, fourth increase, fifth increase (2 sc in each). Ensure your right side is facing out as you work.
Step 4: Round 3 - Single Crochet in Each Stitch
- Make 1 single crochet into each stitch from the previous round.
- Total: 10 single crochet stitches.
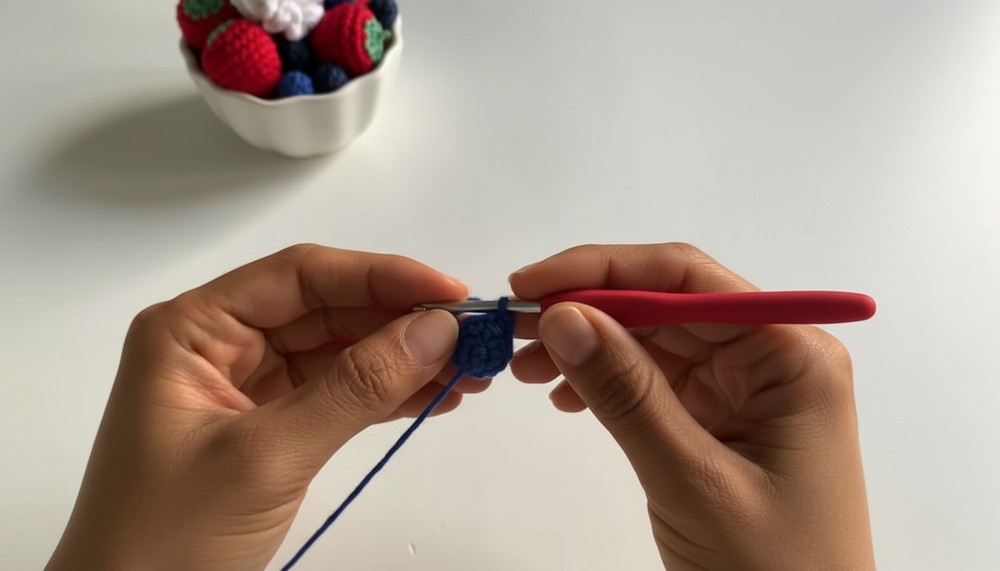
Step 5: Round 4 - Invisible Decrease
- Begin a series of 5 decreases. Each invisible decrease is done by working into the front two loops only of two stitches:
- Insert the hook into the first front loop and then into the second front loop.
- Yarn over, pull through two loops, yarn over again, and pull through the remaining two loops.
- Repeat this process to decrease every pair of stitches into one, leaving a total of 5 stitches in Round 4.
- Weave the starting tail into the half of the blueberry for better placement.
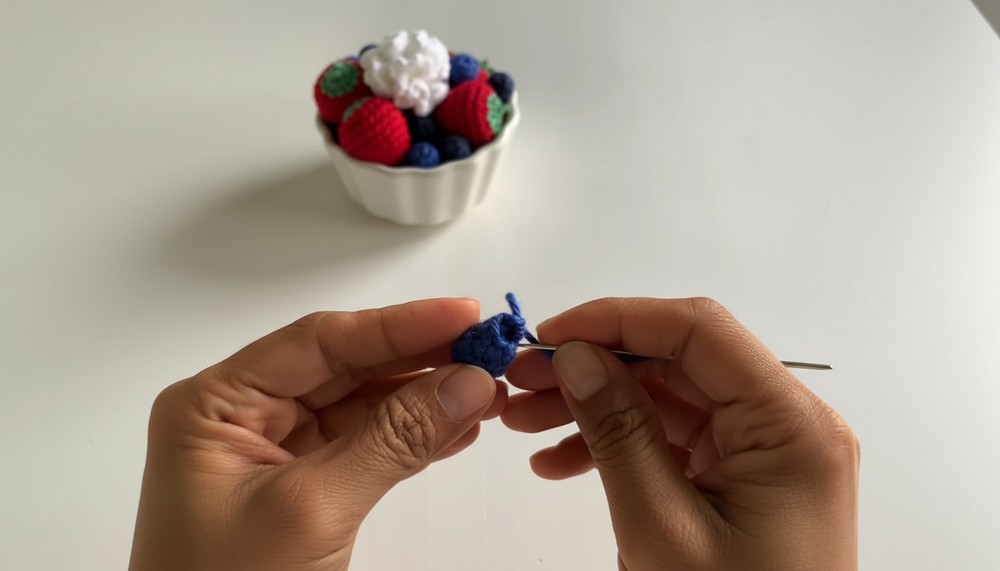
Step 6: Closing the Blueberry
- Cut the working yarn, leaving a tail approximately 4–5 inches long.
- Thread the yarn into a yarn needle.
- Weave the yarn through each front loop of the stitches in Round 4 (five loops total).
- Pull tightly to close the hole completely.
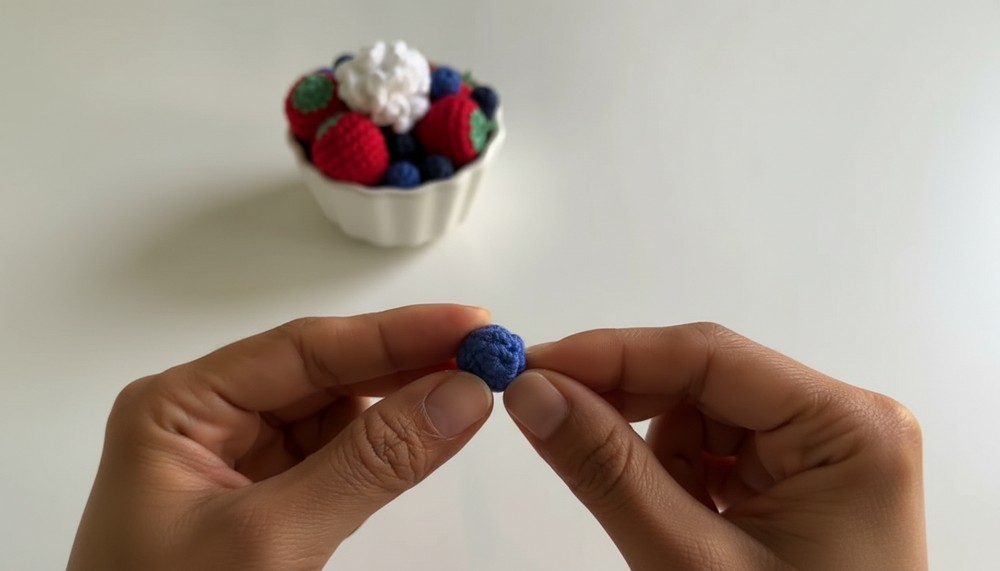
Step 7: Finishing Touches
- Use the same yarn needle to insert the tail into the center of the closed end and thread outward through a nearby stitch.
- Trim excess yarn or tuck it back into the blueberry, shaping it into a neat sphere using your fingers. The starting and ending tails serve as stuffing, eliminating the need for separate stuffing materials.
Tutor’s Suggestions
- Use a Stitch Marker: If you're a beginner, use a stitch marker to track the first stitch of each round since this project is small and spirals upward.
- Roll to Shape: After completing the blueberry, roll it gently in your fingers for a perfectly rounded shape.
Uses
- Fruit Bowl Decoration: Combine with crochet strawberries and whipped cream for a charming fruit set.
- Gifts or Table Decor: Add blueberries to creative craft projects for gifting or party setups.
- Beginner Practice: Perfect for mastering small stitches and shaping techniques.
Tip for Success
To maintain a neat and rounded shape, avoid pulling the starting tail excessively until you're ready to finish the project. Always work carefully with your decreases to ensure the blueberry doesn’t warp or lose its spherical form.
Conclusion
Little Sloops Shop’s crochet blueberry pattern is simple, quick, and adorable. With minimal materials and simple stitches, you can easily make a bowl of blueberries in under an hour. This project is an excellent choice for beginners and seasoned crocheters alike. Pair it with other crochet fruits or toppings to create stunning decorations.