
Beginner Friendly Crochet Amigurumi Turtle Free Pattern With Simple Stitches
Bring ocean charm to your desk with this Crochet Amigurumi Turtle Free Pattern and enjoy a little sea friend with a colorful shell.
This small toy fits comfortably in your hand, measuring about 4 to 6 inches long. The Crochet Amigurumi Turtle design by Teje con GanchiBol Todo crochet. has a soft, rounded shape that looks gentle and inviting. Its compact size makes it easy to place on a desk, a shelf, or even carry around as a little companion.
Little Crochet Amigurumi Turtle Free Pattern With A Colorful Shell
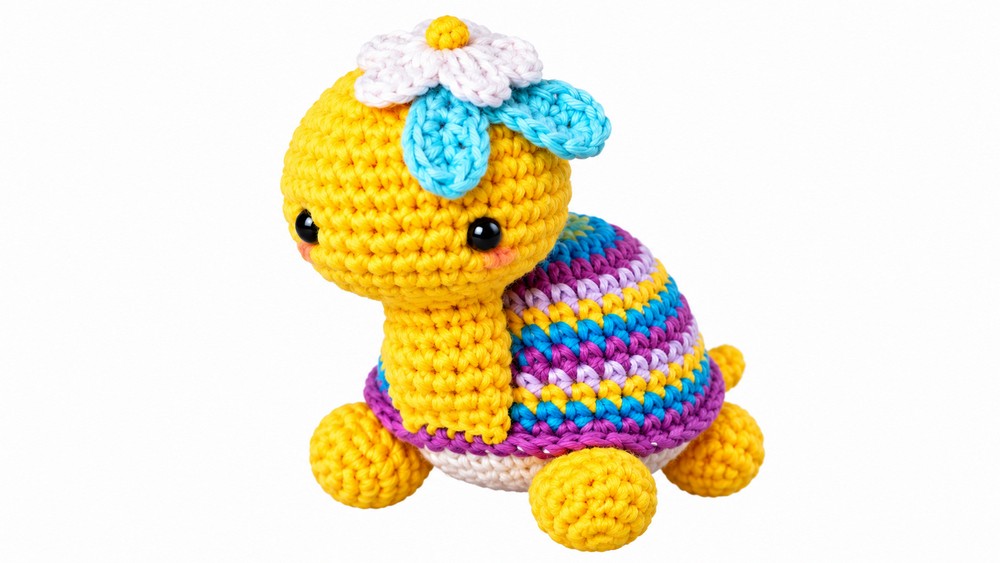
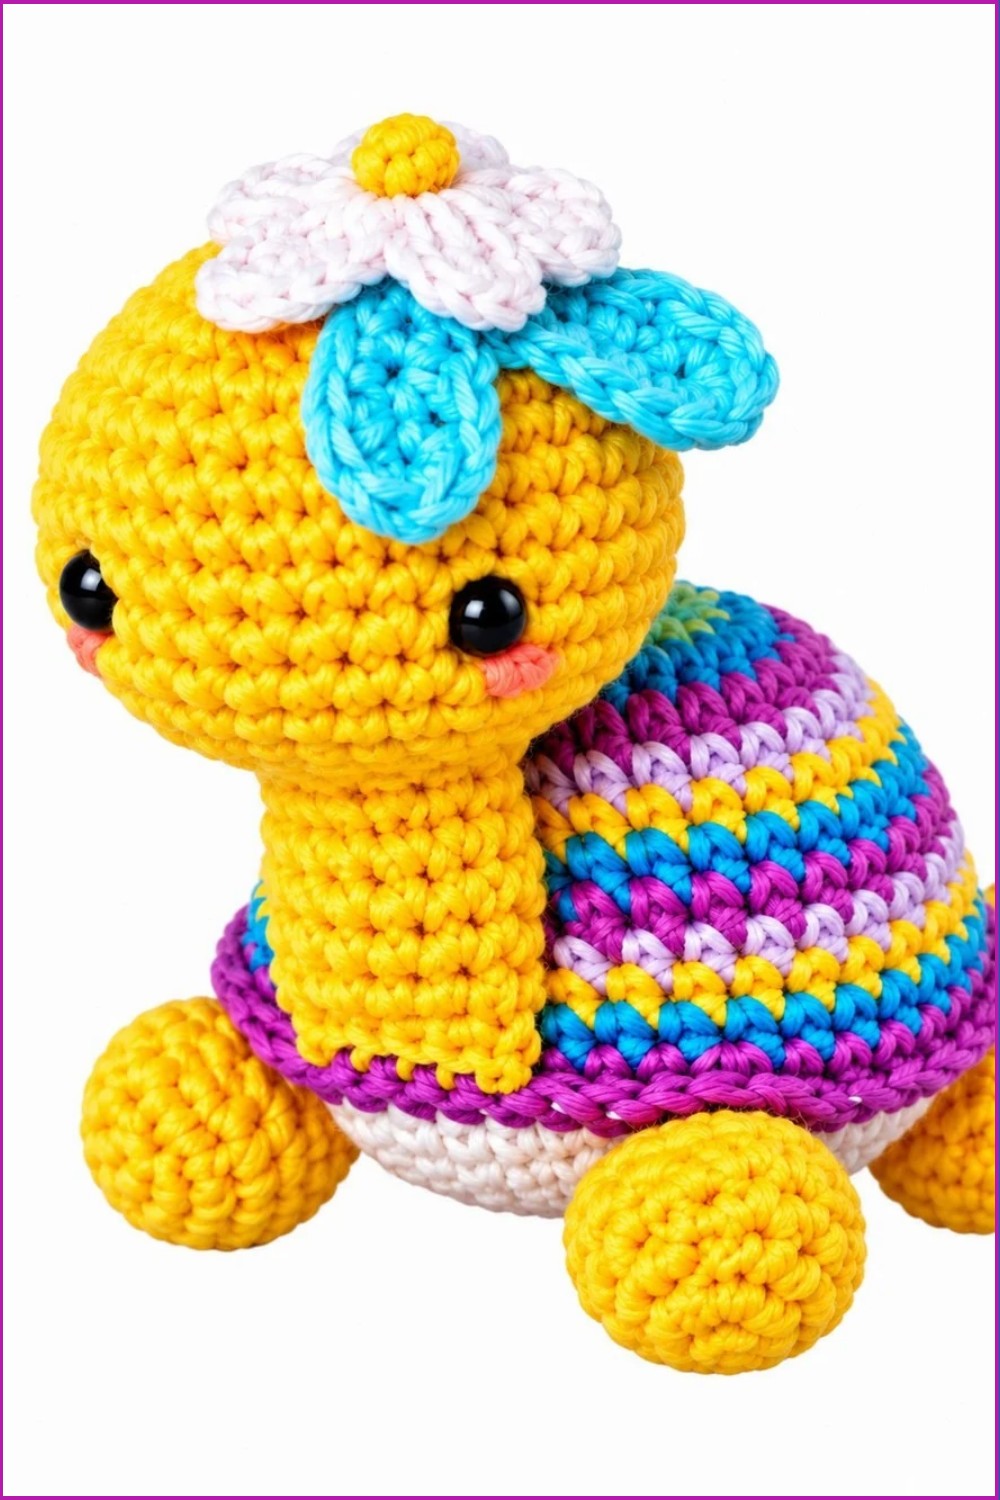
The turtle’s shell stands out with simple color sections or stripes. These colors can contrast nicely, giving the shell a warm and cozy feel. The head is round with a slightly pointed nose, while the legs are short and stubby, placed so the turtle seems steady and calm. Small eyes made from buttons or sewn stitches add a touch of personality, giving the turtle a friendly and kind expression.
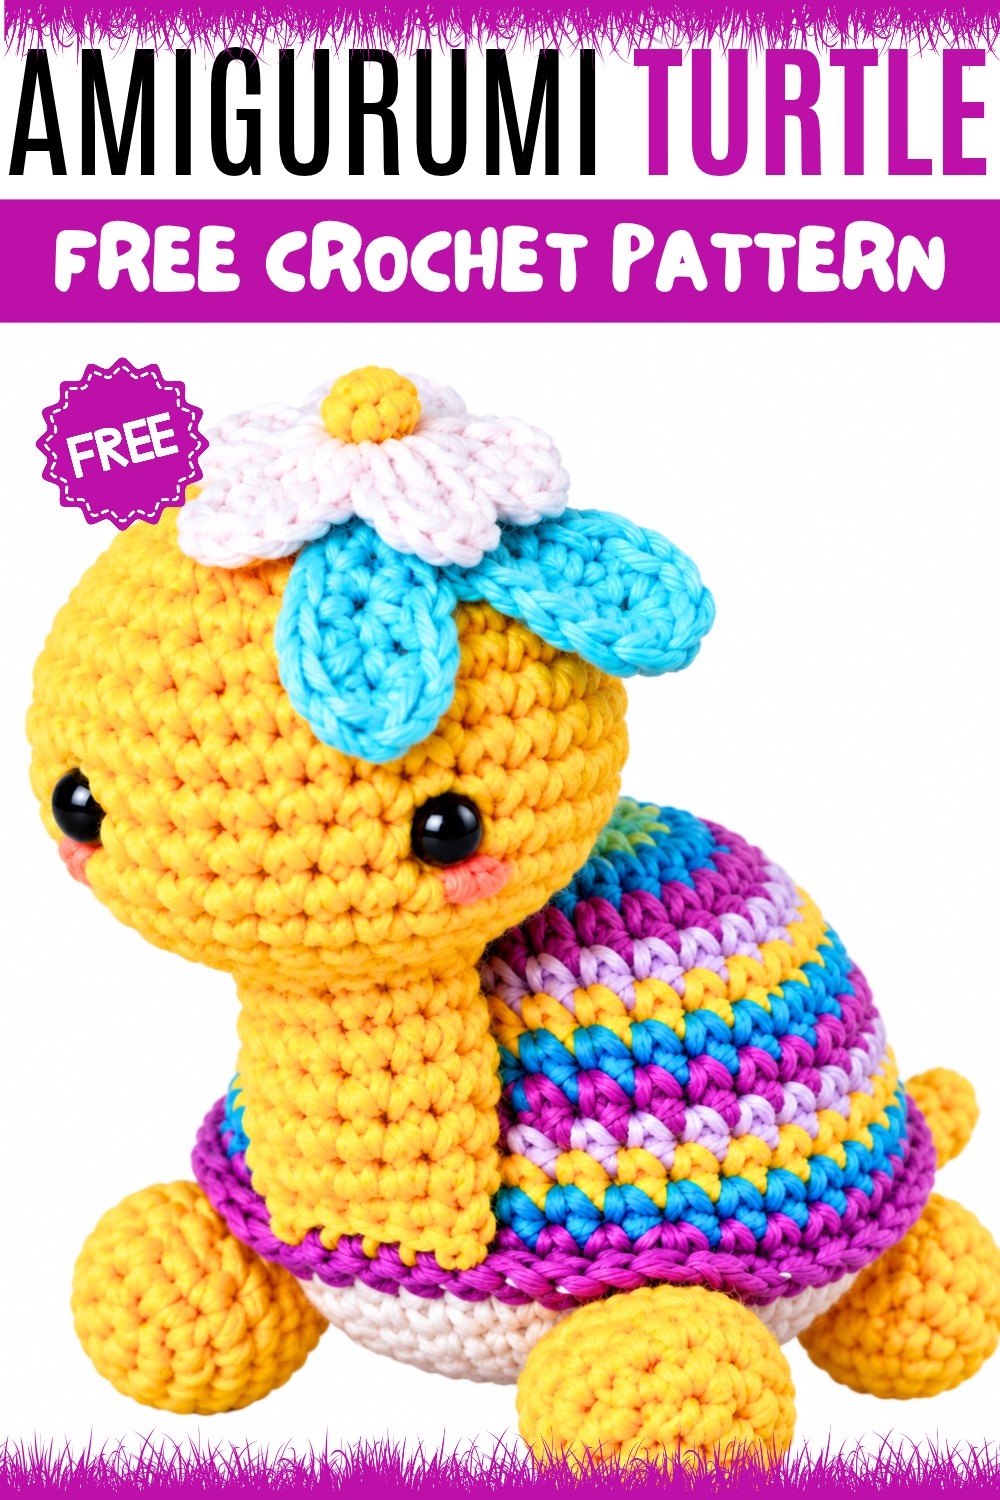
In short, the crochet amigurumi turtle is a simple and sweet project. It brings a little warmth and charm to any space. Whether placed as decoration or given as a small gift, this little turtle is sure to bring smiles with its soft shape and kind face
About the Pattern
This amigurumi turtle pattern offers a detailed and stepwise approach to crocheting an adorable turtle, suitable for both beginners and intermediate crocheters. The construction focuses on iconic amigurumi techniques, such as working in the round, making increases and decreases, and careful assembly. Each section—head, belly, feet, tail, and shell—has been developed to ensure a realistic and charming result, with precise stitch counts and placement for elements like eyes and limbs. The finishing steps focus on optimal placement, stuffing, and seaming for a unified look.
Key Pattern Details
- The turtle is crafted in separate pieces: head and neck, belly, feet, tail (optional), and shell.
- Each part is crocheted in the round, minimizing seams and providing a smooth, professional finish.
- Standard increases and decreases create the rounded shapes typical in amigurumi.
- The pattern allows for customization, such as including a tail or adding decorative details like a flower.
- Careful instructions are provided for the placement of the eyes, ensuring symmetry and expressiveness.
- Assembly is performed with single crochet stitches and careful sewing for strong, neat joins.
Important Notes
- Always count your stitches at the end of each round for accuracy.
- Stuff each piece gently but firmly for a well-shaped turtle.
- Eye placement is specified; use safety eyes or embroidery as preferred.
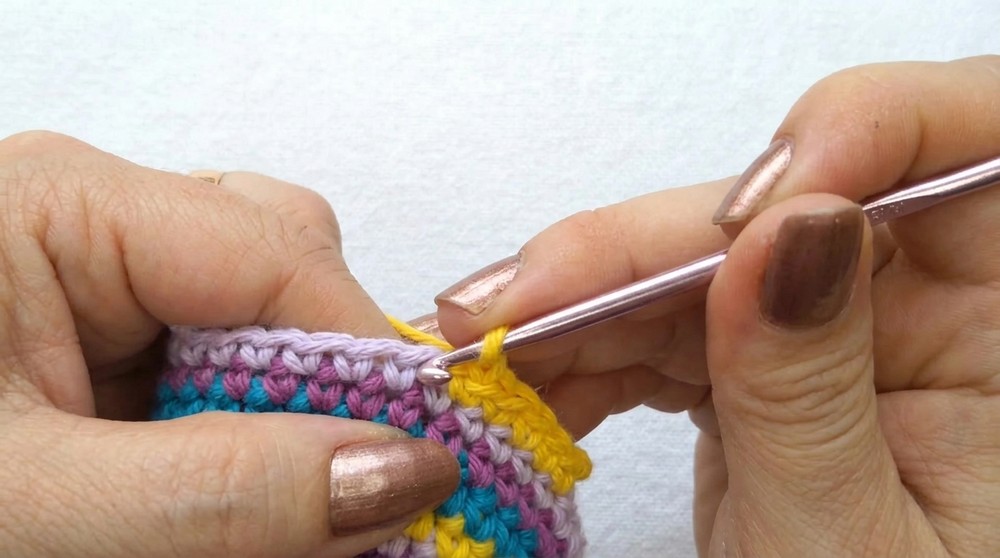
- Color changes for the shell avoid spiral seams for a cleaner appearance.
- Assembly should be done with matching yarn and neat stitches.
Difficulty Level
This pattern is suited for ambitious beginners and intermediate crocheters who are comfortable working in the round, making increases and decreases, and basic sewing techniques for assembly.
Supplies Needed
- Worsted weight yarn in two main colors (shell and body)
- Safety eyes (recommend 6–8 mm) or embroidery floss
- Crochet hook size appropriate for yarn (usually 2.5–3.5 mm)
- Stitch markers
- Polyfill stuffing
- Yarn needle for assembly
- Scissors
Size & Measurements
The finished turtle will measure approximately 10–15 cm in length, depending on the yarn and hook used, and the tension. Each piece is sized to ensure proportionate limbs, head, and shell.
Gauge & Stitch Details
Gauge is not critical for amigurumi as pieces are stuffed. Aim for tight stitches with no visible gaps. For worsted weight yarn and a 3 mm hook, the recommended gauge is around 22 sc x 24 rows per 10 cm. Adjust hook size if necessary to achieve dense fabric.
Crochet Abbreviations
- sc: single crochet
- inc: increase (2 sc in one stitch)
- dec: decrease (single crochet two stitches together)
- st(s): stitch(es)
- rnd(s): round(s)
- MR: magic ring
Special Stitch Guide
- Magic Ring (MR): Make a loop, crochet into it, pull to close.
- Increase (inc): Work two single crochets into the same stitch.
- Decrease (dec): Single crochet two stitches together.
Complete Crochet Pattern
Head and Neck
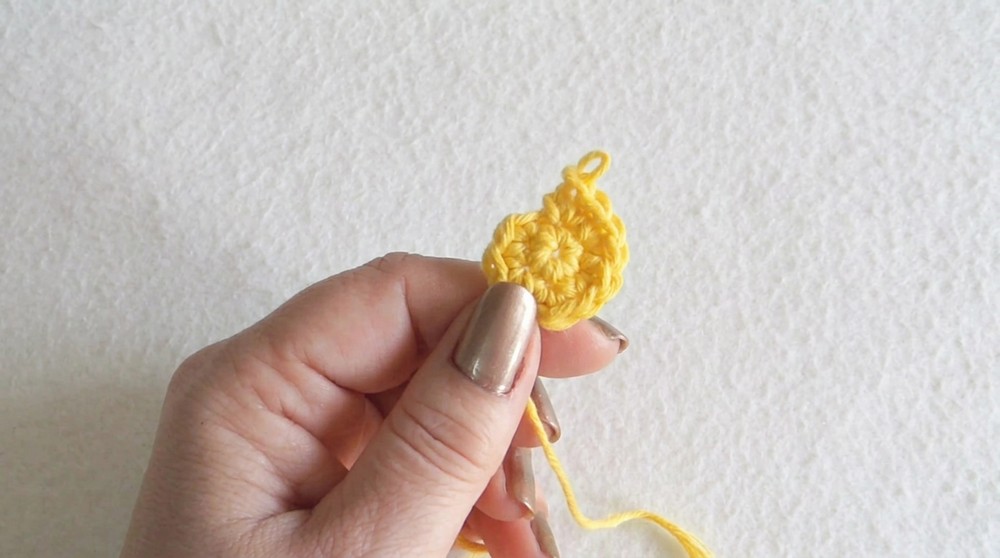
- Round 1: Magic ring with 6 sc.
- Round 2: 6 inc (12 sts).
- Round 3: 1 sc, 1 inc repeat around (18 sts).
- Round 4: 2 sc, 1 inc repeat around (24 sts).
- Round 5: 3 sc, 1 inc repeat around (30 sts).
- Round 6: 4 sc, 1 inc repeat around (36 sts).
- Rounds 7–12: Work even, 36 sc in each round.
- Round 13: 4 sc, 1 dec repeat around (30 sts).
- Round 14: 3 sc, 1 dec repeat around (24 sts).
- Eyes Placement: Insert safety eyes between rounds 10 and 11, with 7 stitches between them.
- Round 15: 2 sc, 1 dec repeat around (18 sts).
- Round 16: 1 sc, 1 dec repeat around (12 sts).
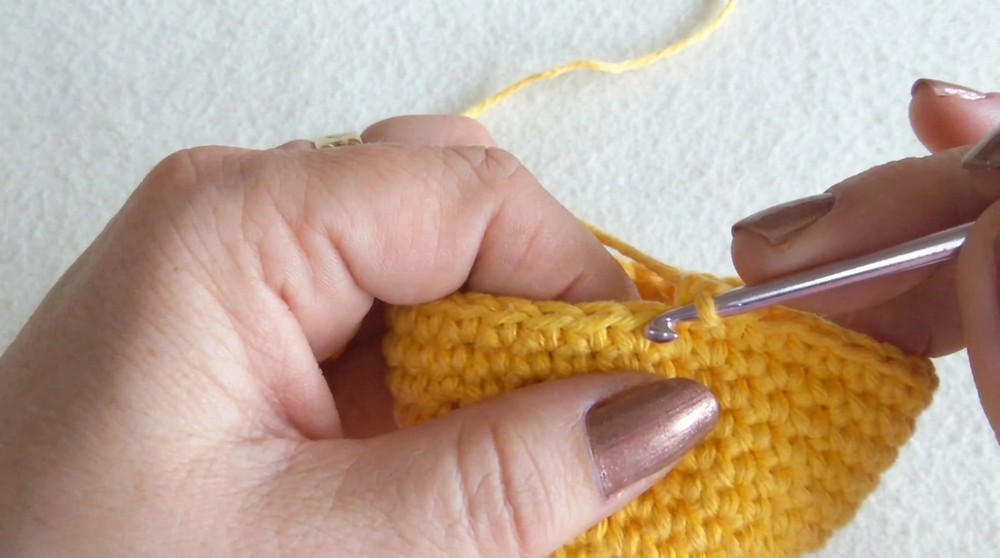
- Rounds 17–22: Work even, 12 sc each round. Stuff the neck, then close by crocheting through both sides.
Belly
- Round 1: MR with 6 sc.
- Round 2: 6 inc (12 sts).
- Round 3: 1 sc, 1 inc repeat around (18 sts).
- Round 4: 2 sc, 1 inc repeat around (24 sts).
- Round 5: 3 sc, 1 inc repeat around (30 sts).
- Round 6: 4 sc, 1 inc repeat around (36 sts).
- Round 7: 5 sc, 1 inc repeat around (42 sts).
- Round 8: 6 sc, 1 inc repeat around (48 sts).
Feet (Make 4)
- Round 1: MR with 6 sc.
- Round 2: 6 inc (12 sts).
- Round 3: Work even, 12 sc.
- Round 4: Work even, 12 sc.
- Round 5: 4 sc, 1 dec repeat around (10 sts).
- Round 6: 3 sc, 1 dec repeat around (8 sts).
- Round 7: 2 sc, 1 dec repeat around (6 sts).
Tail (Optional)
- Round 1: MR with 6 sc.
- Round 2: 1 sc, 1 inc repeat around (9 sts).
- Round 3: Work even, 9 sc.
- Round 4: Work even, 9 sc.
- Round 5: 1 sc, 1 dec repeat around (6 sts).
- Round 6: Work even, 6 sc.
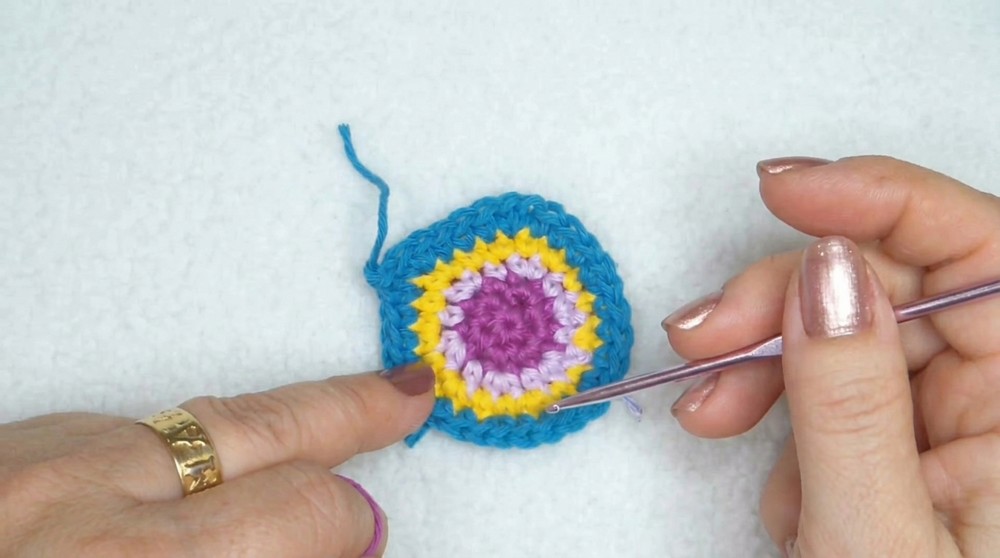
Shell (Caparazón)
- Round 1: MR with 6 sc.
- Round 2: 6 inc (12 sts).
- Round 3: 1 sc, 1 inc repeat around (18 sts).
- Round 4: 2 sc, 1 inc repeat around (24 sts).
- Round 5: 3 sc, 1 inc repeat around (30 sts).
- Round 6: 4 sc, 1 inc repeat around (36 sts).
- Round 7: 5 sc, 1 inc repeat around (42 sts).
- Round 8: 6 sc, 1 inc repeat around (48 sts).
- Rounds 9–14: Continue to work increases and change colors each row to avoid a spiral seam, ending with 48 sts by Round 14.
Joining & Final Size
Stuff all pieces firmly. Sew the shell to the belly using single crochet stitches around the edge, leaving an opening for stuffing. Finish stuffing, then close completely. Attach the head securely, ensuring optimal placement. Sew the feet evenly spaced on the belly. Add the tail if desired. Embellish with a flower if preferred. The final turtle is 10–15 cm long, with a pleasing shape and stable form.
Final Words
This pattern has been structured for clear stepwise execution, following classic amigurumi methods. Each section is designed for balance and charm, yielding a delightful turtle suited for display or gifting. The methodology prioritizes sturdy, neat joins and proportional features, resulting in a lasting and beautiful amigurumi figure.