
Beautiful Free Crochet T-Shirt Yarn Bag Pattern That Fits Any Outfit
Easily make a stylish and durable accessory with this Free Crochet T-Shirt Yarn Bag Pattern, guiding you to create a beautiful and eco-friendly bag.
There’s something satisfying about making a handmade bag that’s both stylish and useful. One of my favorite recent projects is a cozy, durable tote made from thick, stretchy yarn that feels just right in your hands. The Free Crochet T-Shirt Yarn Bag Pattern offers a wonderful way to create a trendy and eco-friendly bag that you can use for shopping, errands, or just carrying your essentials. If you’re looking for a project that combines fashion and function, this pattern is a must-try.
Crochet T-Shirt Yarn Bag Free Pattern to Add Handmade Style
This crochet bag is not only beautiful but also very strong and stretchy, thanks to the thick texture of t-shirt yarn. It has a roomy, rounded shape that can hold groceries, books, or even beach essentials. The stitches create an interesting pattern that looks modern and casual, while the soft but firm texture gives it a comfortable feel to hold. The handles are wide and sturdy, making it easy to carry heavier items without strain. Whether you want a reusable shopping bag or a stylish everyday carryall, this bag ticks all the boxes.
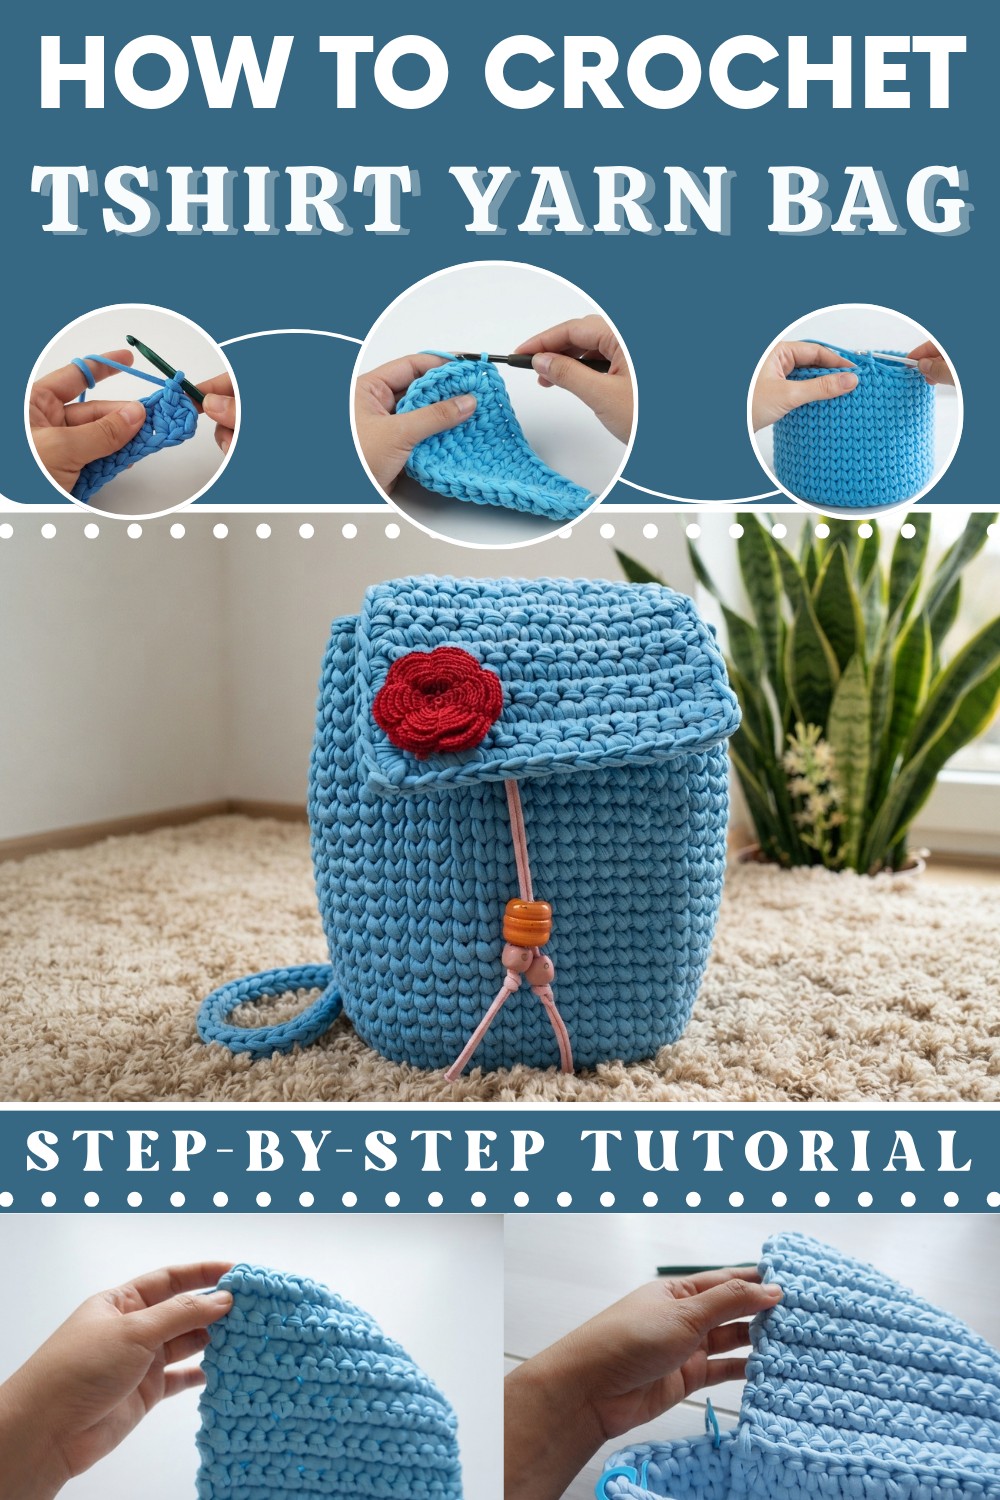
This project is great for beginners and those who know the basics of crochet. It mainly uses simple stitches like single crochet to build the bag in rounds, which helps create a nice even shape. Plus, working with chunky t-shirt yarn makes the project go faster than usual. The instructions are clear and easy to follow, so you can finish your bag in no time and feel proud of your practical creation.
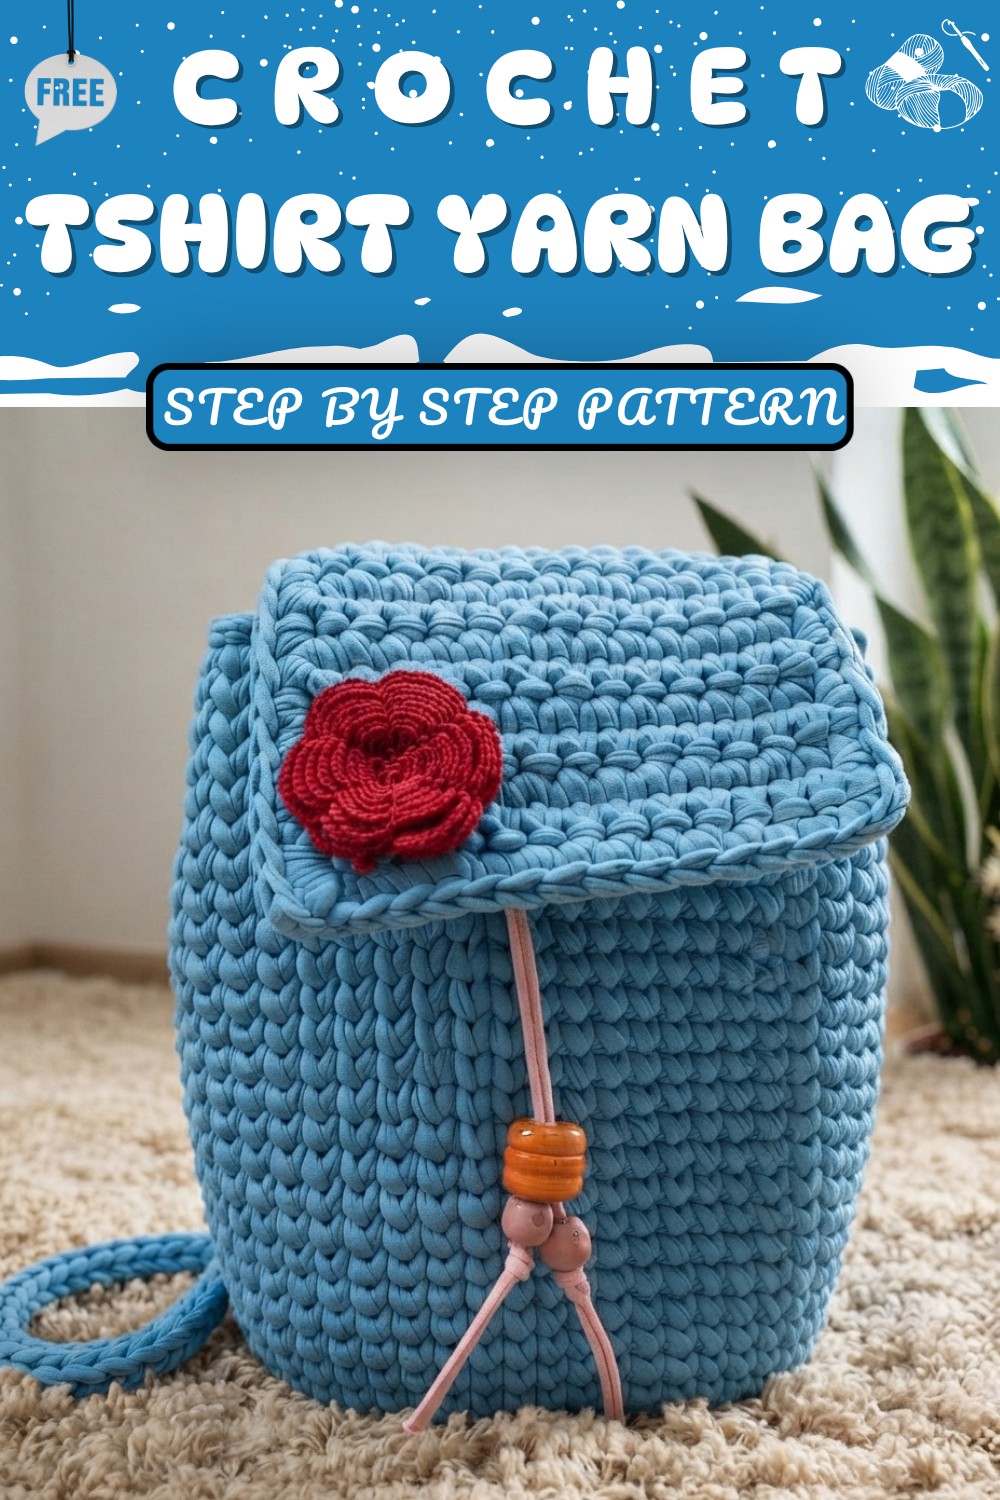
This free crochet t-shirt yarn bag makes a wonderful gift for friends or family who love handmade items with a purpose. It’s also a fantastic addition to your own collection, perfect for adding style and sustainability to your daily routine. If you’re looking for a fun, useful project that’s simple to make and looks great, this pattern is the perfect fit. Give it a try and enjoy craocheing a bag you’ll love to use every day.
Free Crochet Mini Hat Pattern
Pattern Notes
- This pattern is worked mostly in single crochet (sc).
- Increases are placed evenly to keep the shape round.
- Stitch markers are used to mark rounds and important points.
- The project can be customized in color and size by adjusting yarn and rounds.
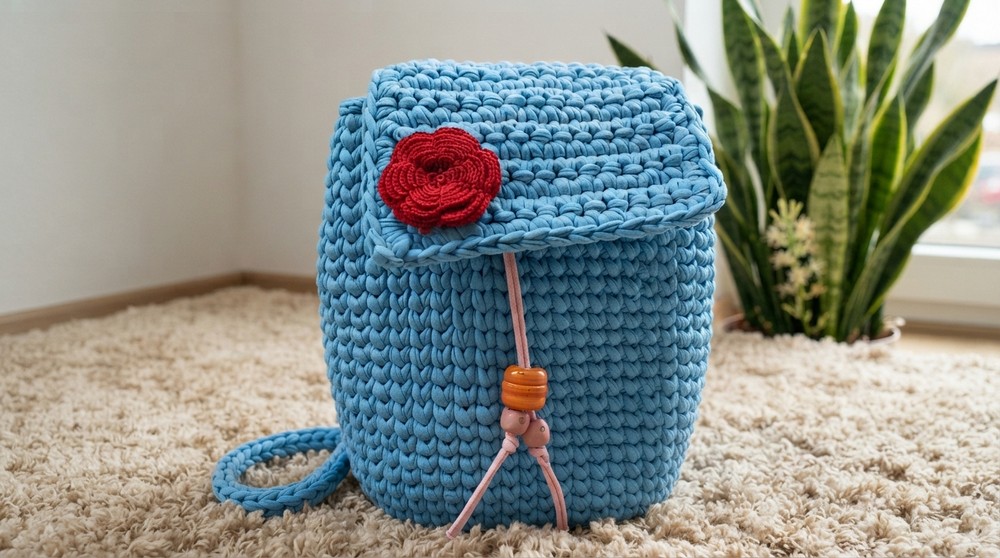
Skill Level
Beginner to Intermediate – basic knowledge of crochet stitches like chain (ch), single crochet (sc), slip stitch (sl st), and increases is helpful.
Measurements / Sizing
- The mini hat creates a small round item suitable for dolls, decorations, or accessory bags.
- Final size can be adjusted by adding or reducing rounds.
- Bag height shown: 25 rounds (~50 stitches around).
Gauge
- Gauge is flexible since the project’s size can be modified by rounds.
- Main stitch: single crochet worked in rounds with increases.
Stitch Abbreviations
- ch = chain
- sc = single crochet
- sl st = slip stitch
- inc = increase (2 sc in same stitch)
Special Stitches
- Increase (inc): 2 single crochets in one stitch
- Working in the front loop only (for edging or shaping)
Materials
- T-shirt yarn (any color)
- 7 mm crochet hook
- Scissors
- Needle
- Magnet (for clasp)
- 2 lobster keyrings
- 3 keyrings
- Optional: beads, lining material, extra yarn or floral applique for decoration
The Pattern Itself
Bag Base and Body
- Foundation Chain:
Ch 10. - Row 1:
Starting in the 2nd ch from hook, sc in next 8 sts.
In last ch (the end), work 3 sc (for turning). - Now, continue to work along the other side of the foundation chain:
Sc in next 7 sts.
In the last st (which is the start of your row), work 2 sc (increase). (This creates an oval.) - Join with sl st to the 1st sc. Place stitch marker here (if using).
You will now work in rounds:
Round 2:
- Ch 1.
- 2 sc (inc) in the first st (center of the curve).
- Sc in next 7 sts.
- [2 sc in next st] 3 times (for the curve/turn).
- Sc in next 7 sts.
- [2 sc in next st] twice (for curve/turn).
- Join with sl st to where the stitch marker is. Ch 1. Move up the stitch marker.

Round 3:
- Repeat the increase pattern:
- In first st (corner), inc (2 sc in same st).
- In next st, sc.
- Repeat [inc, sc] along the ends (3 sets).
- Along the long sides, sc in the next 7 sts both times.
- Continue in this way:
- Increase at the corners/sides
- Sc along the straight edges.
- Join with sl st, ch 1, and move stitch marker up.
Round 4:
- Corners: [inc, sc in next 2 sts] three times for each curve.
- Sides: sc in the 7 sts.
- Repeat around, join with sl st, ch 1. Move marker.
Rounds 5 & 6:
- Continue with this increase pattern, increasing the number of single crochets between increases by 1 each round. (So [inc, sc in next 3], [inc, sc in next 4], etc.)
- Always sc in the straight sides (7 sts).
- After round 6, you should have an oval base.
Bag Sides
Round 7:
Turn work so right side faces out.
- Slip stitch in each st around (to form a firm base edge).
Round 8:
Turn work so working in the opposite direction.
- Ch 1, place stitch marker.
- Sc in front loop only (FLO) in each stitch around. Join.

Now, continue working even in rounds for the bag's height:
Rounds 9–24 (or until desired height):
- Sc in each st around, joining with a sl st at end of each round, ch 1 and move up stitch marker.
Optional: For the sample bag, work until you have 24-25 rounds total.
Marking the Flap and Sides
- Count and mark stitches for the flap:
- Count 10 sts from left side, place a marker.
- Repeat on the other side for symmetry (should have ~15 sts remaining for the flap).
- You’ll have 10 sts on the left, 10 on the right, 15 for the flap in the center.

Bag Flap (Cover)
Work back and forth in rows across the central 15 FLO stitches:
- Join yarn in first marked st for flap.
- Ch 1, sc in next 15 sts (FLO).
- Turn.

Repeat:
- Work even (sc in each st) for ~14 rows, or until flap covers the bag opening as you like.
Edging
- Single crochet evenly around the flap and bag opening.
- In every corner, put 2-3 sc in the same st to help it curve.
- Work down the side of the flap, across the bag opening, and up the other side of the flap.
- At the tip/corners, work 2-3 sc in one st as needed for a smooth edge.
- Slip stitch to join. Fasten off and weave in ends.

Closure and Decoration
- Magnet Closure:
Sew or glue a magnet on the inside of the flap and the matching point on the bag front. - Drawstring/Bead Closure:
- Cut a strand of t-shirt yarn.
- Weave or lace through the top of the bag to gather; add beads if desired.
- Add Keyrings/Strap:
- Attach 3 keyrings and 2 lobster clasps as desired to the sides for a strap.
- Add a crochet cord or a chain for the actual bag strap, attaching it through the keyrings/lobster clasps.
- Decoration:
- Crochet or sew on a flower, or other applique if you like.
- Optionally, crochet or sew a lining inside from fabric/yarn.
Finishing
- Weave in all ends.
- Assemble strap and attach.
- Add any additional decorations, linings, or beads as designed.
- Enjoy your new t-shirt yarn bag!
Assembly & Finished Size
- Fold and sew sides to shape the bag.
- Attach keyrings and straps securely.
- Magnet clasp added for easy closure.
- Finished size adjustable by rounds, approximately fitting small dolls or used as a small pouch.
Summary
This mini hat is a fun and easy crochet project perfect for beginners and experienced crocheters alike. It uses t-shirt yarn and simple stitches to create a sturdy and charming small hat that can also be adapted into a cute bag with added features like a strap, magnet clasp, and keyrings. The pattern works in rounds with gradual increases and finishing touches, making it both functional and decorative