
Baby Fox Crochet: Free Pattern + Helpful Tips
Delight little ones quickly with free crochet baby fox pattern that's featuring soft textures and adorable details perfect for cuddly companions or decor.
Woodland animals make some of the most charming friends you can crochet, and a sweet little fox is a classic favorite for any nursery. If you want to make an adorable, huggable pal, this Free Crochet Baby Fox Pattern is the perfect project to start. It guides you in creating a timeless, cuddly toy that is sure to be loved by anyone lucky enough to receive it. It’s a wonderful way to crochet a bit of forest magic.
Baby Fox Amigurumi Crochet: Free Beginner Pattern

This little fox is designed to be extra cute and soft. It has a round, chubby body just right for snuggling, with short little legs and classic pointy ears. The lovely design, shared by the creator at Cute Crochet, captures all the best details, from its fluffy white-tipped tail to its sweet white muzzle. Instead of hard plastic eyes, its face has simple, sleepy embroidered features, which makes this toy perfectly safe for even the youngest babies to hold and love. The bright orange color makes it cheerful and fun.
This sweet fox tucked into a baby shower gift basket or sitting on a shelf in a woodland-themed nursery. It’s more than just a toy; it’s a special, handmade keepsake that a child can treasure as they grow. Because it’s so gentle and friendly-looking, it makes a wonderful first friend for a little one. Creating something with your own hands that brings so much comfort and joy is one of the best feelings, and this adorable fox is a project full of heart.
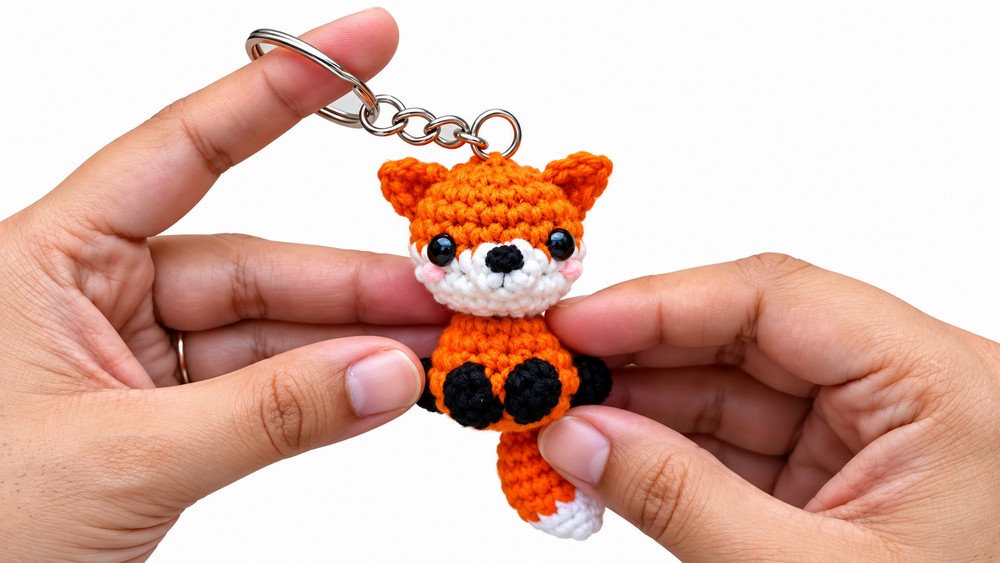
Baby Fox Amigurumi Crochet Pattern Using 4-ply Yarn and 3mm Hook
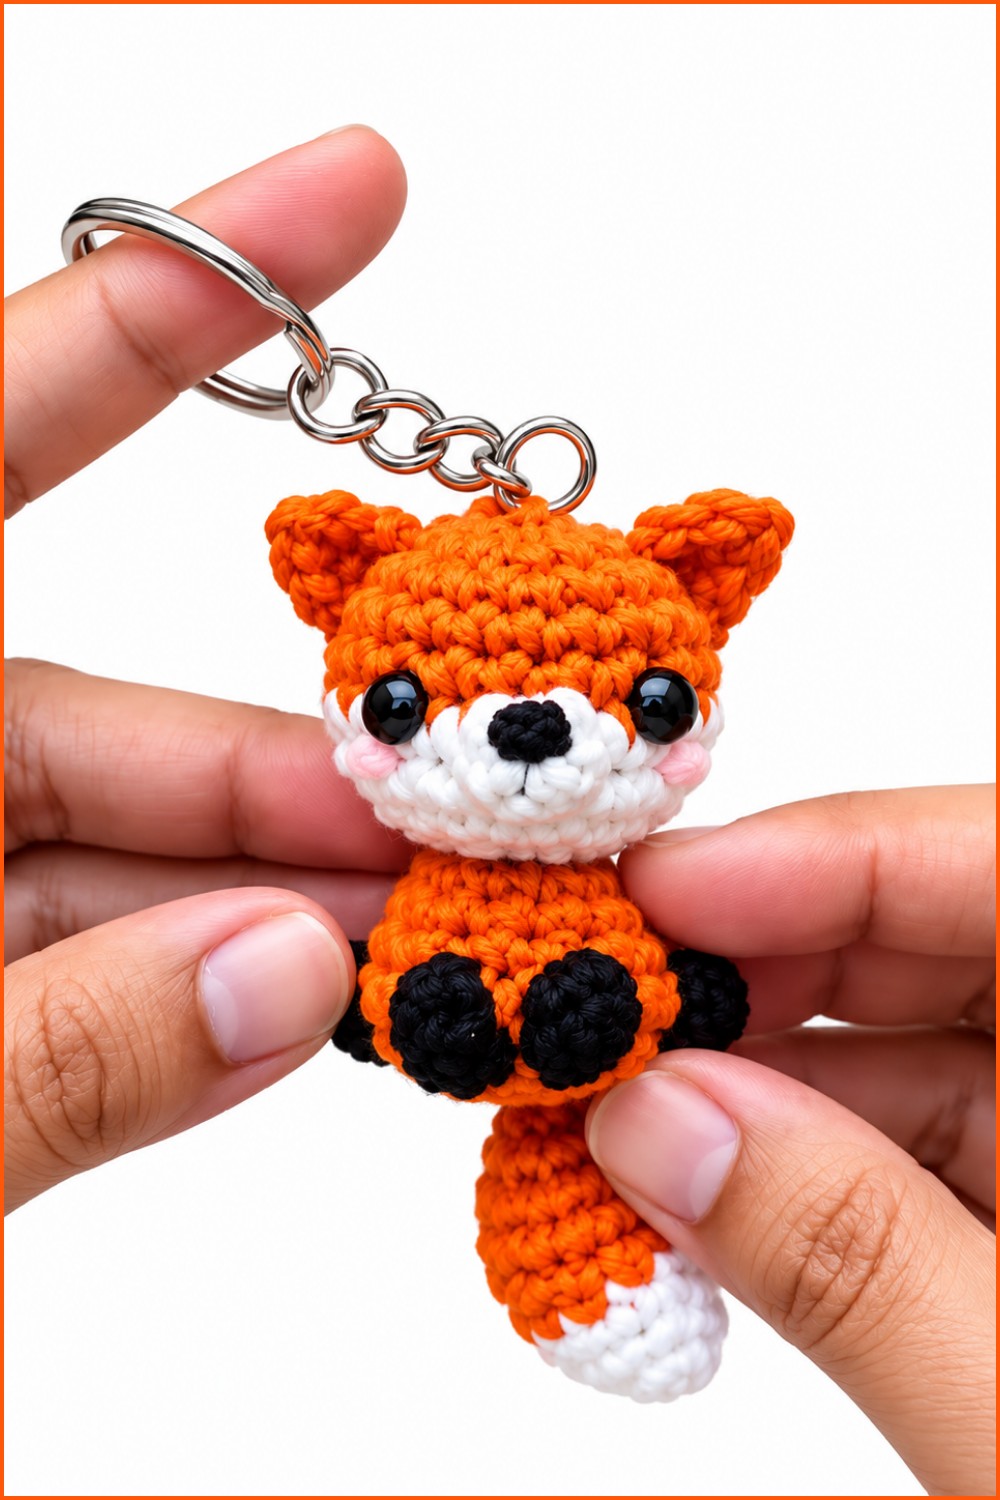
This delightful Baby Fox Amigurumi is a beginner-friendly, no-sew crochet project that captures the charm of a playful woodland creature. Crafted with vibrant orange, off-white, black, and touches of pink yarn, this pattern guides you meticulously from the head to the tail, finishing with sweet embroidered details and easy assembly—ideal for any skill level and perfect for gift-making or decoration.
Pattern Highlights
- No-sew design: All parts are either crocheted directly or attached with simple jump rings, avoiding complicated assembly.
- Textured bobble stitches: Provide definition to features such as the snout and body spots.
- Color changes: Use of off-white and black accents against a classic orange base for authentic fox coloring.
- Simple ear construction: Made directly onto the head with chains and single crochets.
- Compact size: Suitable for use as a keychain or tabletop ornament.
Notes
- Maintain consistent tension to keep the amigurumi firm yet soft.
- Use stitch markers to track rounds if needed.
- Color changes are worked seamlessly to avoid gaps or holes.
- Bobble stitches add dimension but should be crocheted carefully to maintain stitch count.
- Secure jump rings adequately when attaching the tail for durability.
- Embroidery details require a yarn needle and steady hand; a light touch with blush enhances cuteness.
Skill Level
Suitable for beginner to early intermediate crocheters who are familiar with:
- Magic ring (magic circle) foundation.
- Single crochet (sc), increases (inc), and decreases (dec).
- Color changes within rounds.
- Making bobble stitches.
- Basic crochet finishing techniques, including embroidery and attaching parts with jump rings.
Materials
- Four-ply yarn in the following colors:
- Orange (main body)
- Off-white (face and tail tip)
- Black (eye spots and nose)
- Pink (optional for blush)
- 3 mm crochet hook.
- Yarn needle.
- Stitch marker.
- Scissors.
- Four 4 mm safety eyes.
- Fiberfill stuffing.
- Blank keychain and small jump rings.
Measurements / Sizing (Optional)
- Finished Baby Fox measures approximately 8–10 cm tall depending on yarn and tension.
- Compact design ideal for keychains or small decorative items.
Gauge and Stitch Pattern
- Gauge is not critical for amigurumi, but consistent tension ensures clean shaping.
- Mostly worked in single crochet (sc) stitches with occasional bobbles for texture.
- Rounds are worked continuously or joined as per preference.
Stitch Abbreviations
- ch = chain
- sc = single crochet
- inc = increase (2 sc in one stitch)
- dec = decrease (crochet 2 stitches together)
- bobble = bobble stitch (cluster forming a puff stitch)
- FLO = front loop only
- MR = magic ring or circle
Special Stitches
- Bobble stitch: Typically made by partially completing several double crochets and joining at the top to create a raised bump, giving the snout and body spots a textured look.
The Crochet Pattern
Head (Color: Orange then Off-White)
Round 1:
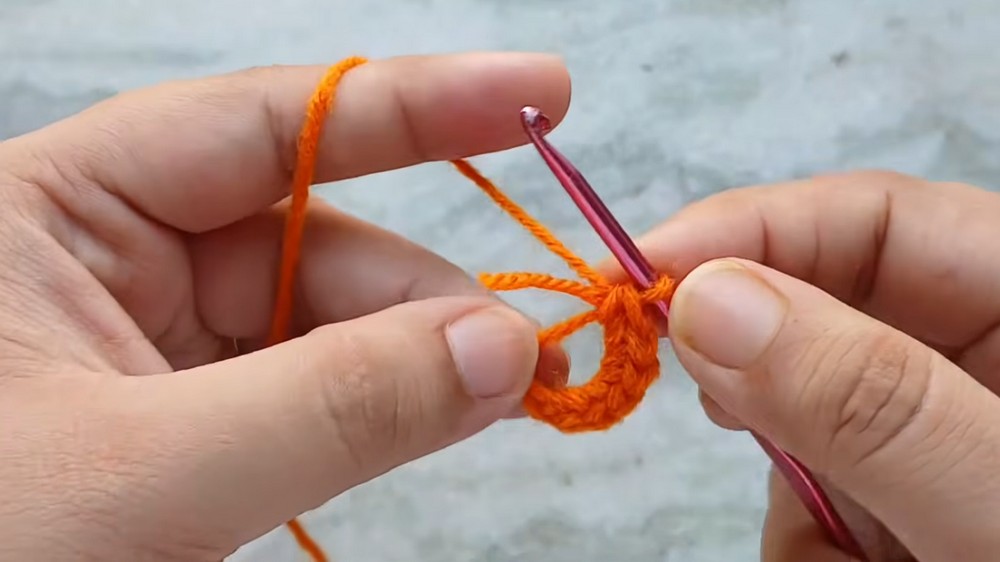
- Begin with a magic circle.
- Work 6 sc into the ring. (6 stitches)
Round 2:
- Increase in every stitch: inc in each st around. (12 stitches)
Round 3:
- sc 1, inc repeat 6 times. (18 stitches)
Rounds 4 & 5:
- Work 18 sc in each round evenly.
Round 6 (Change to Off-White):
- Work 8 sc, then 1 bobble stitch, then 9 sc. (18 stitches)
Round 7:
- Work 18 sc evenly.
Round 8:
- sc 1, dec repeat 6 times. (12 stitches)
Round 9:
- Decrease in each stitch around with dec in each st. (6 stitches)
Body (Change back to Orange)
Round 10 (FLO):
- Working in front loops only, increase in each stitch: inc in each st. (12 stitches)
Round 11:
- Work 12 sc evenly.
Round 12:
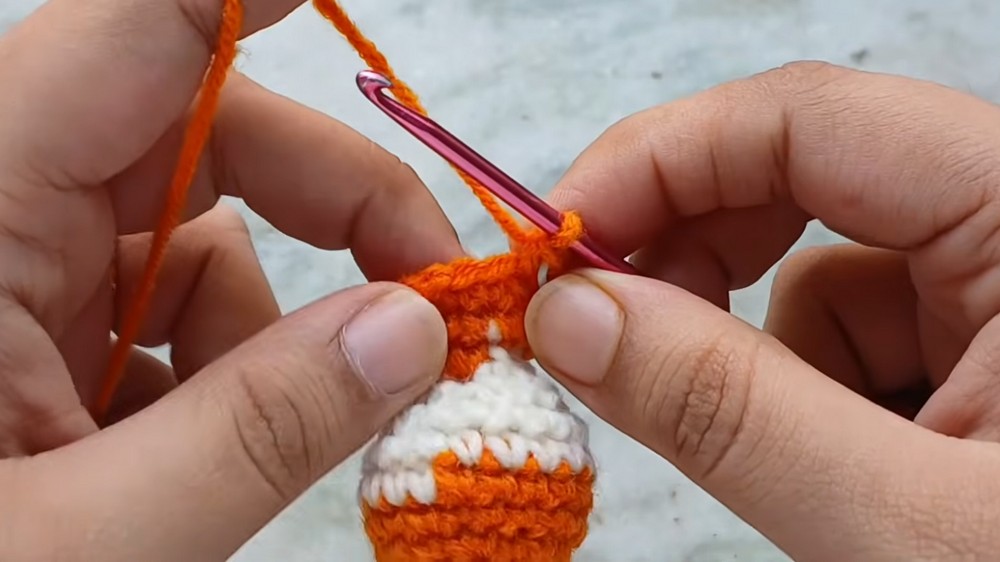
- sc 1, inc repeat 6 times. (18 stitches)
Round 13:
- Work 5 sc, 1 black bobble stitch, 3 orange sc, 1 black bobble, 1 orange sc, 1 black bobble, 3 orange sc, 1 black bobble, 2 orange sc. Total 18 stitches.
Round 14:
- sc 1, dec repeat 6 times. (12 stitches)
Round 15:
- Decrease in each stitch: dec in each st. (6 stitches)
Tail (Start with Off-White then change to Orange)
Round 1:
- Begin with a magic circle.
- Work 6 sc into ring. (6 stitches)
Round 2:
- sc 1, inc repeat 3 times. (9 stitches)
Round 3 (Change to Orange):
- 2 sc, inc repeat 3 times. (12 stitches)
Rounds 4 & 5:
- Work 12 sc evenly.
Round 6:
- 2 sc, dec repeat 3 times. (9 stitches)
Round 7:
- sc 1, dec repeat 3 times. (6 stitches)
Finishing Touches and Accessories
Embroidery:
- Use black yarn to stitch a small triangle nose centered on the off-white bobble area of the head.
- Optionally, apply subtle blush with pink yarn or fabric-safe pastels to the cheeks for added cuteness.
Ears:
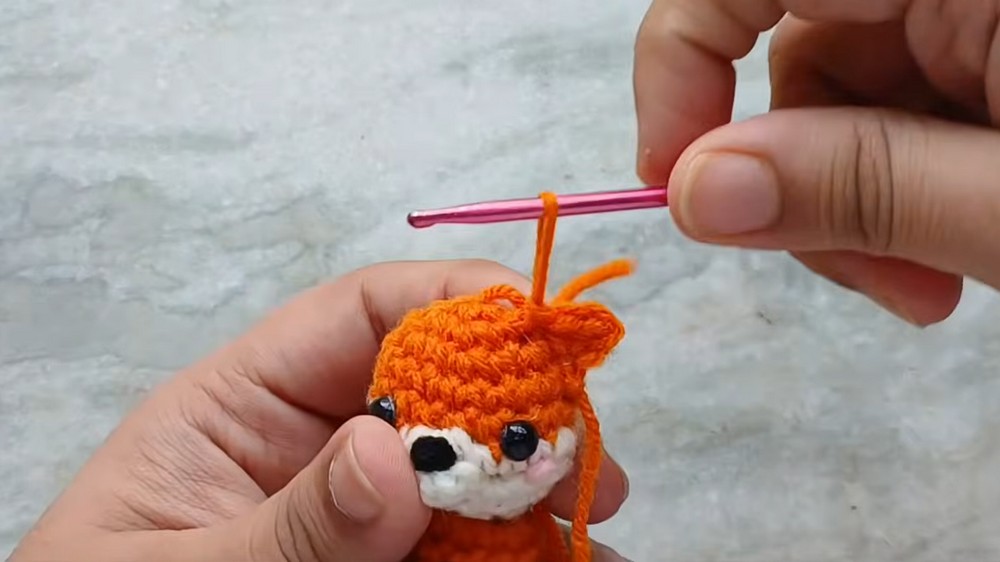
- Attach orange yarn directly onto the head where ears are desired.
- Chain 3 stitches, then work back down the chain with single crochet stitches to shape the ear. Repeat on both sides.
Assembly:
- Stuff all parts firmly but not overly tight to maintain softness.
- Attach the safety eyes just above the snout area.
- Use small jump rings to attach the tail to the lower end of the body, allowing it movement.
- Attach the blank keychain securely through the top of the head or designated yarn loops for portable charm.
Assembly & Finished Size
After completing the crochet sections and embroidery, assemble by:
- Securing the safety eyes and embroidering the nose and blush.
- Affixing ears on the head by stitching or crocheting in place.
- Attaching the tail with a jump ring to the body’s base.
- Connecting the keychain to the head or upper body loops.
The finished Baby Fox amigurumi measures approximately 8 to 10 centimeters tall and serves as a delightful ornament, keychain, or gift item.
Conclusion
Crafting this Baby Fox amigurumi melds beginner-friendly crochet techniques with charming details like bobble stitches and subtle embroidery for personality. The straightforward, no-sew assembly makes it accessible to newcomers while still rewarding for experienced crocheters seeking a quick, cute project. With its compact size and vivid coloring, this amigurumi fox not only brightens your crafting repertoire but also makes an ideal keepsake or heartfelt present.