
Free Octopus Crochet Pattern Inspired by the Sea
Playful tentacles define the Free Crochet Octopus Pattern, guiding a friendly sea figure ideal for gifts, nurseries, and decor displays.
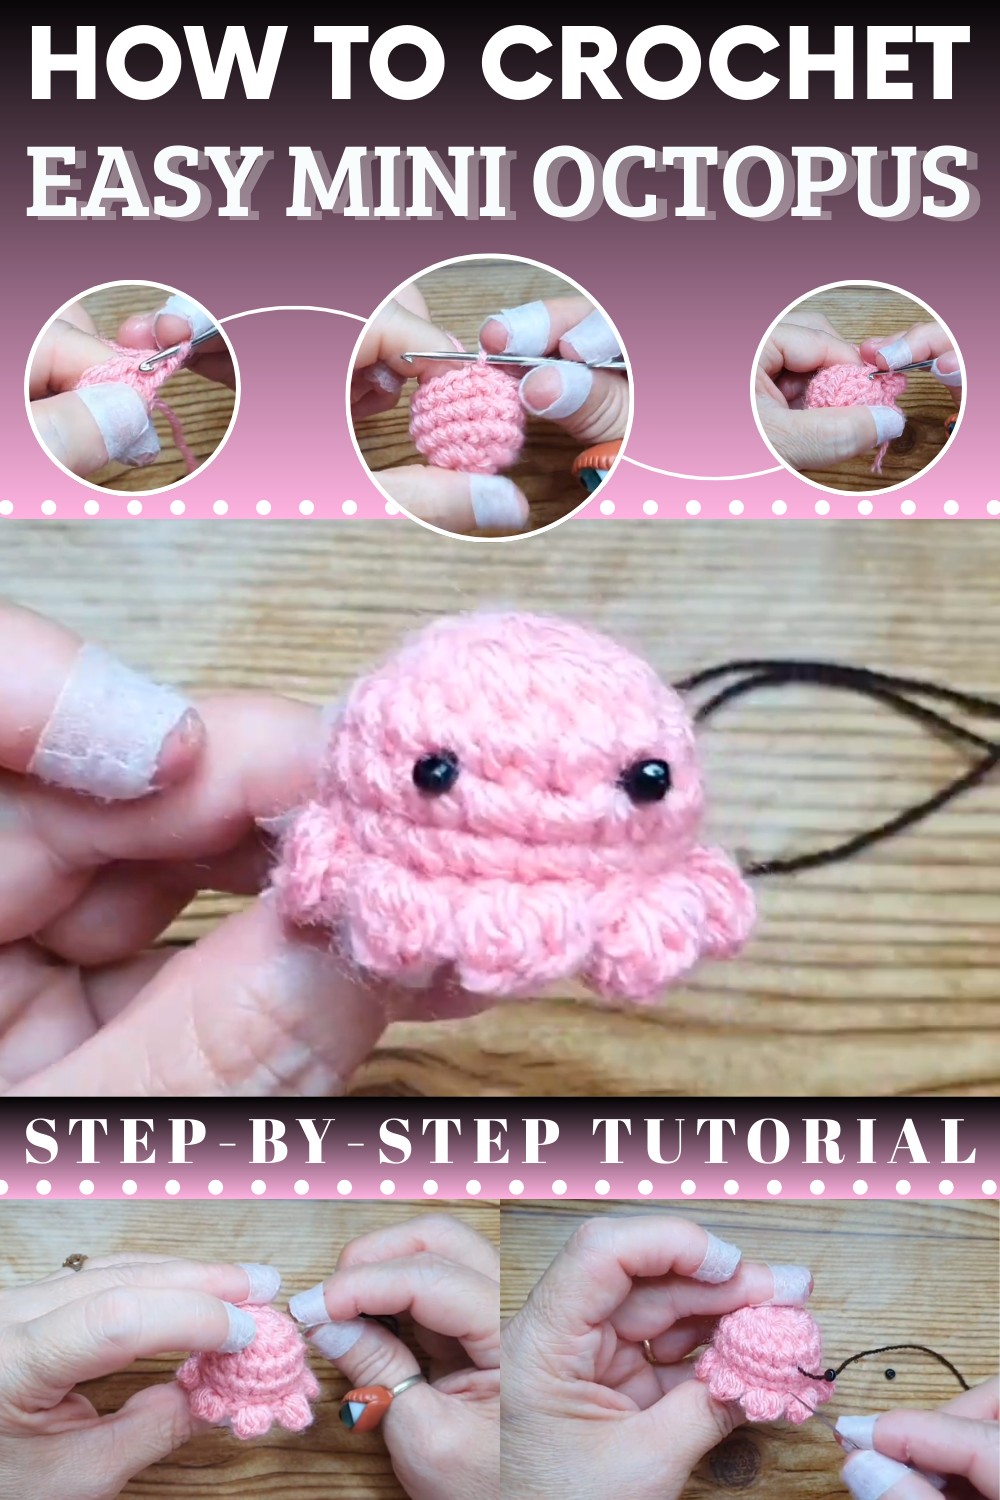
Deep-Sea Crochet Octopus Pattern With Nautical Flair
Brighten a child’s world or add marine charm to your room with the Crochet Octopus pattern, a project that transforms soft yarn into a lovable eight-legged companion. These delightful creatures are famous for their spiraled tentacles, which provide a comforting tactile experience often used to soothe infants or as playful sensory toys. Beyond being simple toys, they serve as unique handmade gifts that can be customized in endless color combinations to match any nursery theme.
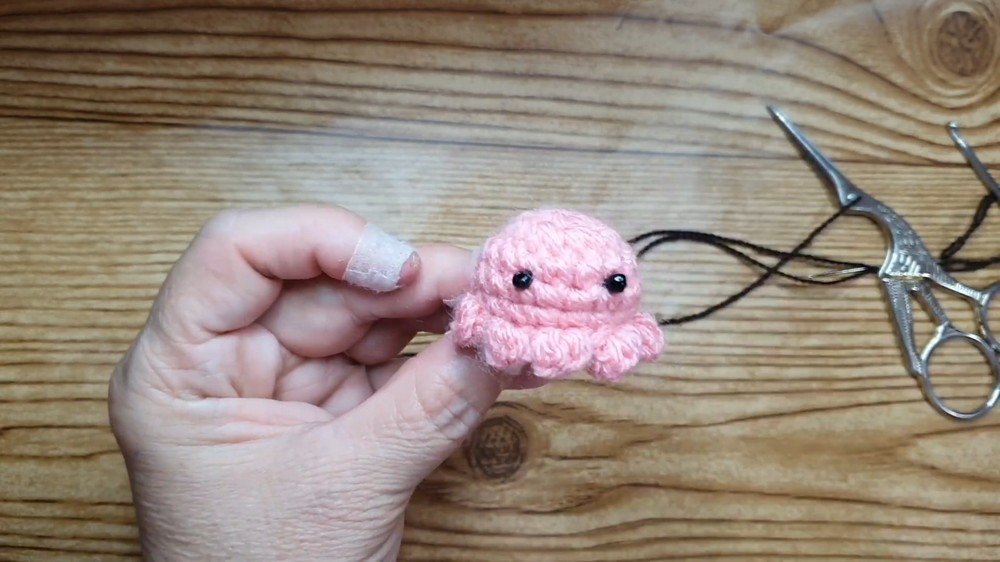
Crochet Pattern: Woven Octopus
Finished Size
Approximately 4–5 inches (10–12 cm) tall, depending on yarn weight and hook size.
Materials
- Yarn:
- Main Body: Thick yarn of your choice (Category 4 or 5 weighted recommended). Bright, solid colors are ideal for playful octopuses.
- Tentacles: Same yarn as body or complementary color.
- Hook: 2.7 mm crochet hook (or a size based on your yarn's requirements).
- Bead Eyes: Two small beads for Octopus eyes (~5 mm across) or safety eyes for added durability.
- Needles:
- Darning needle for sewing and hiding yarn ends.
- Beading/embroidery needle for attaching bead eyes.
- Stuffing: Polyester fiberfill for stuffing the head and body.
- Scissors: For precision cutting of threads and yarn ends.
Gauge
No strict gauge required. Aim for tight stitches to avoid gaps (typical for amigurumi). Suggested measurements:
- 8 sc = ~2 inches with thick yarn and a 2.7 mm hook.
Skill Level
Intermediate — requires familiarity with:
- Magic Circle (MR)
- Single Crochet (sc)
- Slip Stitch (sl st)
- Increases (inc)
- Decreases (dec)
- Back Loop Only (BLO stitching in finishing decreases)
- Basic sewing for embroidery and attaching bead embellishments
Customization Ideas
- Personalize Colors: Use gradients, stripes, or variegated yarn for a unique octopus.
- Eye Embellishments: Mix beads, safety eyes, or embroidered eyes for different expressions.
- Tentacle Flair: Use multiple colors or vary lengths for whimsical tentacles.
- Accessories: Add bows, small hats, or crocheted crowns to make the octopus extra special.
Step-by-Step Instructions
Body
Step 1: Magic Circle & Base
- Row 1: Form a magic circle (MR). Work 8 sc into the ring. Tighten. [8 sts]
- Row 2: Inc in every stitch (2 sc per stitch). [16 sts]
- Row 3: Work 1 sc in each stitch. [16 sts]
- Rows 4–6: Continue with 16 sc per row, using sl st to join each round. [16 sts per row]

Step 2: Shaping with Decreases
- Row 7: Switch to Back Loop Only (BLO). (1 sc, 1 dec) repeat. [8 sts]
- Row 8: Continue (1 sc, 1 dec) repeat. [8 sts]
- On the last stitch of Row 8, leave the thread long for sewing.

Step 3: Fill and Close
- Stuff the octopus body firmly using polyester fiberfill.
- Use a yarn needle to stitch the final hole closed. Work whip stitches through the back loops of the last row until secured. Pull tightly, weave the end through the body, and trim.
Tentacles
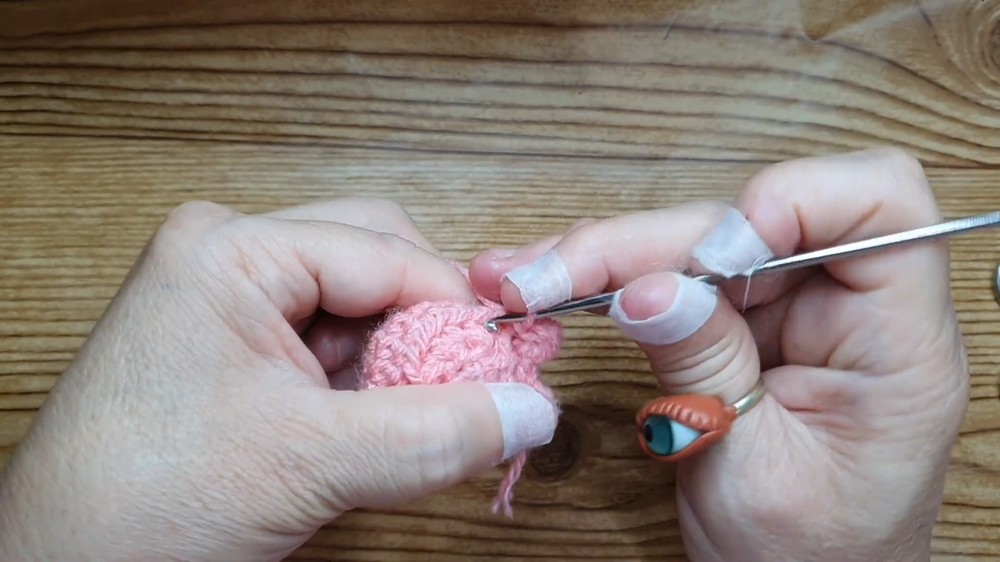
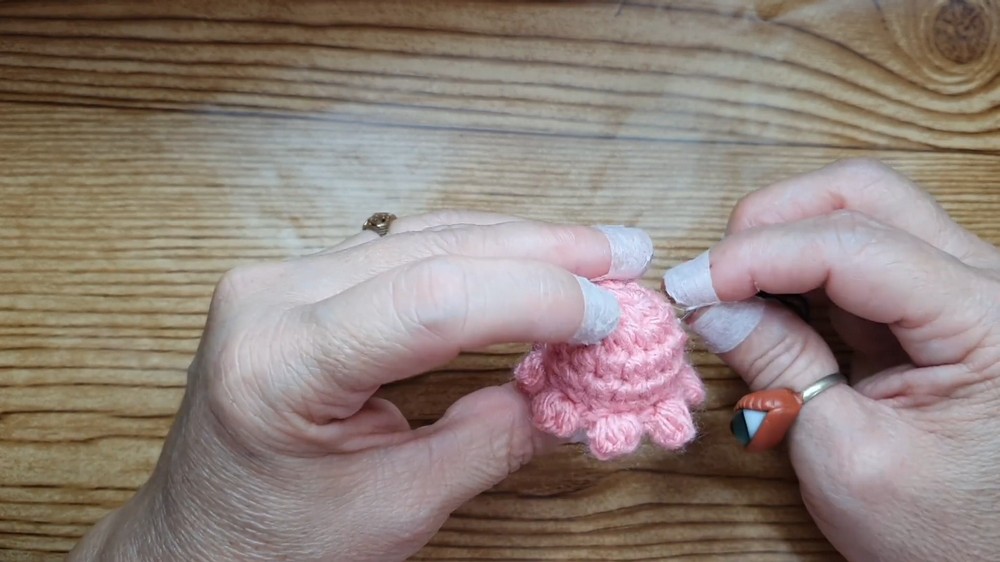
- Attach yarn to the base edge of the body with a slip stitch.
- Work alternating stitches for each tentacle:
- (1 sl st, 2 half-double crochets, sl st) in the same stitch.
- Move to the next stitch and repeat to create tentacles all around the base of the octopus.
- Finish with slip stitches for cleaner transitions between tentacles.
Eyes
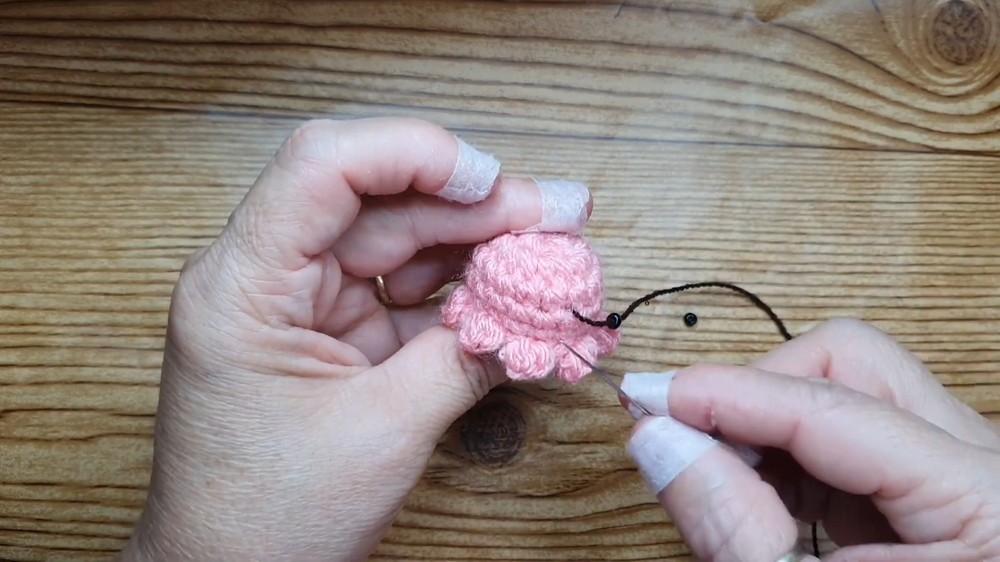
- Thread a beading needle with contrasting color thread. Attach bead eyes.
- Decide the positioning: Place the beads around the third row from the top of the head, 3 stitches apart.
- Stitch the beads securely in place. Pass the thread back through the body to secure the ends.
Finishing
- Hide all loose ends inside the body using a needle.
- Check the tentacle spacing to ensure they are evenly distributed.
- Make final adjustments to stuffing as needed.
Conclusion
Congratulations! You’ve completed your woven octopus. It’s a versatile project that makes for a delightful toy, home decor item, or even a car charm. Its whimsical design can be customized with varying colors, embellishments, and expressions.
Special Techniques
- Back Loop Only (BLO): During decreases, working into the back loop creates a cleaner, rounded bottom.
- Whip Stitch: Use this stitch to securely close the octopus body.
Tips for Success
- Consistency: Ensure even tension throughout to keep the body smooth and the tentacles defined.
- Safety Eyes Alternative: If working for young children, substitute bead eyes with embroidered ones for safety.
- Stuffing: Avoid overstuffing to maintain the shape and keep the stitches tight.
Final Remarks
Your woven octopus will charm everyone with its adorable finish and soft appeal. It’s easy to modify for personal designs, including adding accessories or adjusting sizes.