
Aesthetic Crochet Baby Yoda Pattern with Cute Vibes
Produce a galactic legend with this crochet baby yoda pattern that provides straightforward guidance for lovable green space creature.
Deep within the emerald folds of handmade art, a galactic friend comes to life through simple stitches, bringing a sense of calm and wonder to your home. By using a Crochet Baby Yoda Pattern, you turn soft green yarn into a famous icon that looks both cute and stylish.
Soft Crochet Baby Yoda Pattern Everyone Loves
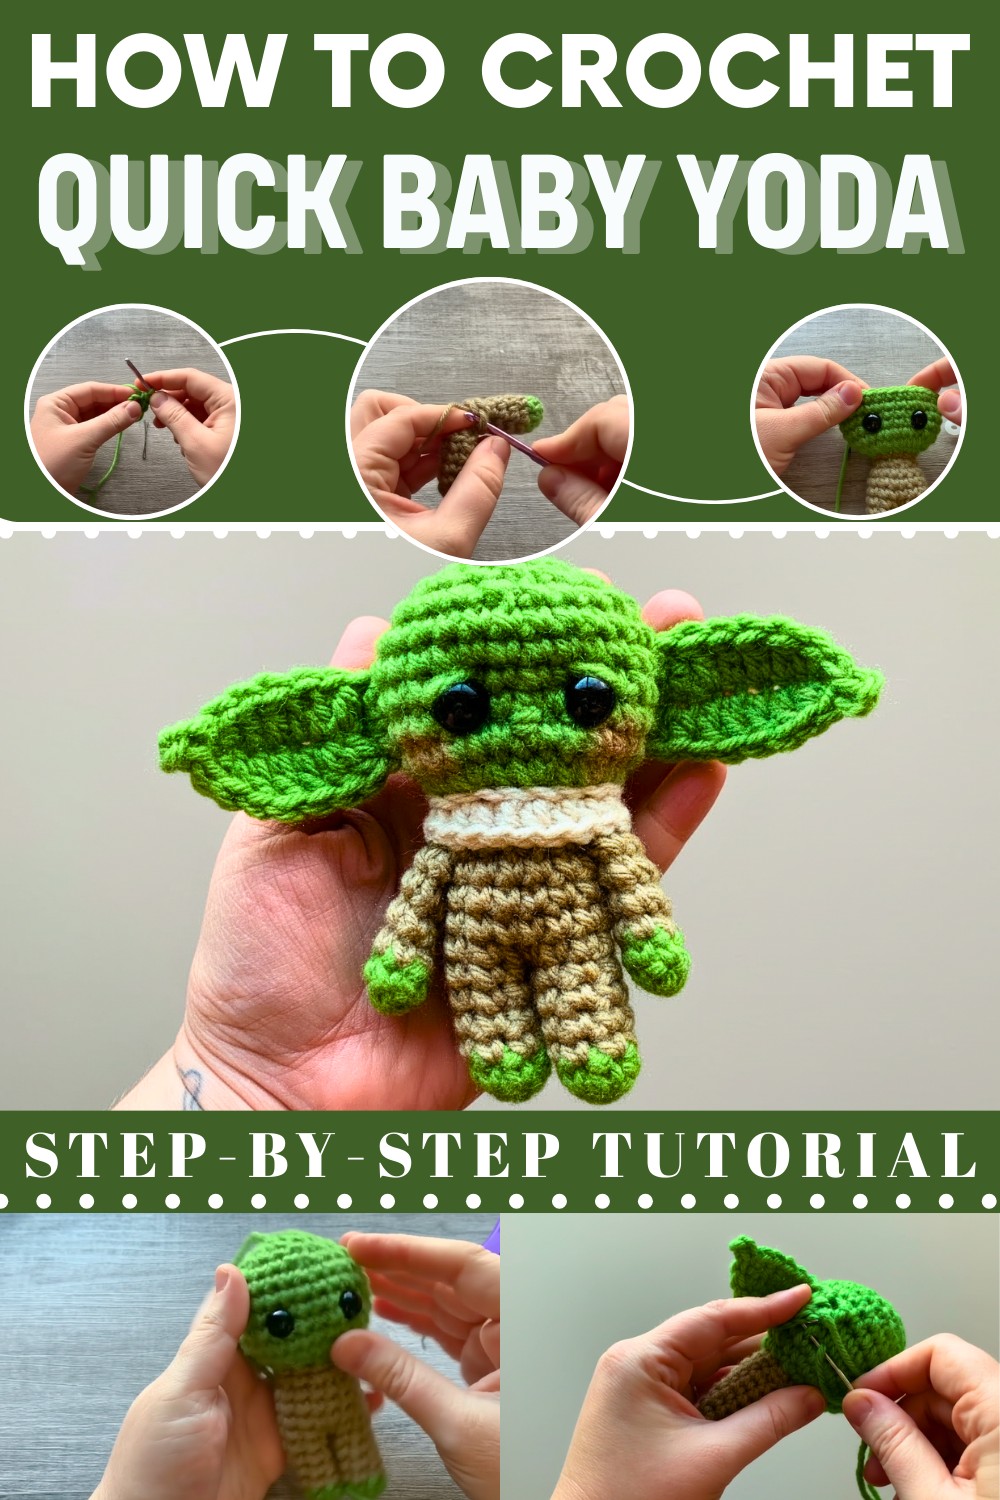
This lovely creation works perfectly as a decoration for a desk or a cozy companion for a child, mixing movie magic with the warmth of a handmade gift. The best part of this design is the big, expressive ears and the textured robe, which make the finished toy look high-quality and very huggable.
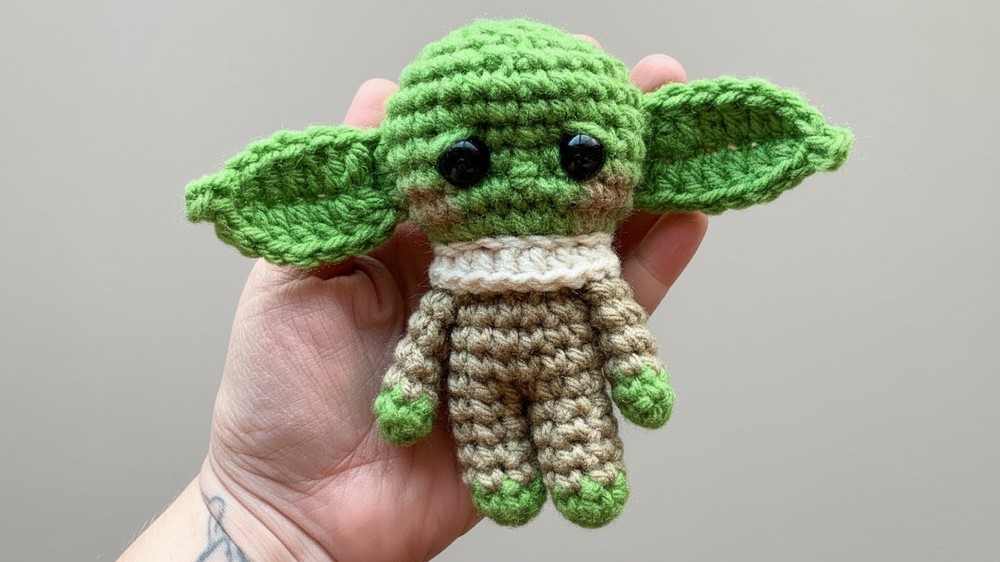
A major benefit is that it is eco-friendly and much more special than a store-bought plastic toy. Following a Crochet Baby Yoda Pattern helps you create a professional-looking treasure that lasts for years. This mix of simple fun and careful detail makes it a wonderful project for anyone who loves to create.
Step-by-Step Guide to Crocheting Baby Yoda
Materials Needed
To crochet Baby Yoda, you'll need the following items:
- 4mm Crochet Hook
- Caron One Pound Yarn in the following colors:
- Light tan
- Dark taupe/tan
- Green
- Polyfill Stuffing to shape the doll.
- 10mm Safety Eyes for Baby Yoda’s adorable expression.
- Scissors to cut yarn edges.
- Tapestry Needle for sewing pieces together and securing stitches.
- Stitch Markers to track rounds clearly.
- Blush and Makeup Brush for adding rosy cheeks.
Crochet Steps
1. Legs
- Begin with green yarn:
- Create a Magic Circle, then crochet 7 single crochets (SC) into it.
- Pull the tail to close the circle and add a stitch marker to the first stitch of the round.
- Work 7 SCs into each stitch across for 6 rounds.
- Before finishing Round 2, change color to light tan yarn for Baby Yoda’s trousers.
- Secure the color change knot but avoid pulling it too tightly.
- Complete 4 more rounds in tan yarn, totaling 6 rounds for the leg.
- Stuff each leg lightly with polyfill, avoiding overstuffing so that it remains pliable.
- Finish off each leg:
- Slip stitch into the first stitch of the next round, cut the yarn, and pull through to secure.
- Insert the remaining yarn tail into the leg for a clean finish.

2. Joining the Legs
- Position both legs front-facing.
- Insert the hook through the top stitch of both legs to join them with a single crochet.
- Work 15 single crochets around both legs combined, ensuring they are evenly spaced.
- Add a stitch marker to the first stitch for tracking.
- Work 3 more rounds of 15 SCs to form the torso.
- Before advancing, lightly stuff both legs and the base of the torso with polyfill for support.

3. Body and Head
- Reduce the stitches in Round 11 to begin shaping:
- Pattern: 1 SC followed by a decrease (2 stitches together).
- Total for this round: 10 SCs.
- Add more polyfill to the legs and torso.
- Begin the head at Round 12:
- Switch to green yarn and crochet 20 stitches by doubling each stitch from the torso round (2 SC in every stitch).
- Continue increasing in Round 13:
- Pattern: 1 SC followed by an increase (2 SC in one stitch). Total for this round: 30 SCs.
- Crochet evenly for 5 rounds of 30 SC, rounding out the head shape.
- Insert 10mm safety eyes:
- Place them between Rounds 15–19, leaving about 4 stitches of space between the eyes and centering them.
- Secure the backs of the safety eyes before continuing.
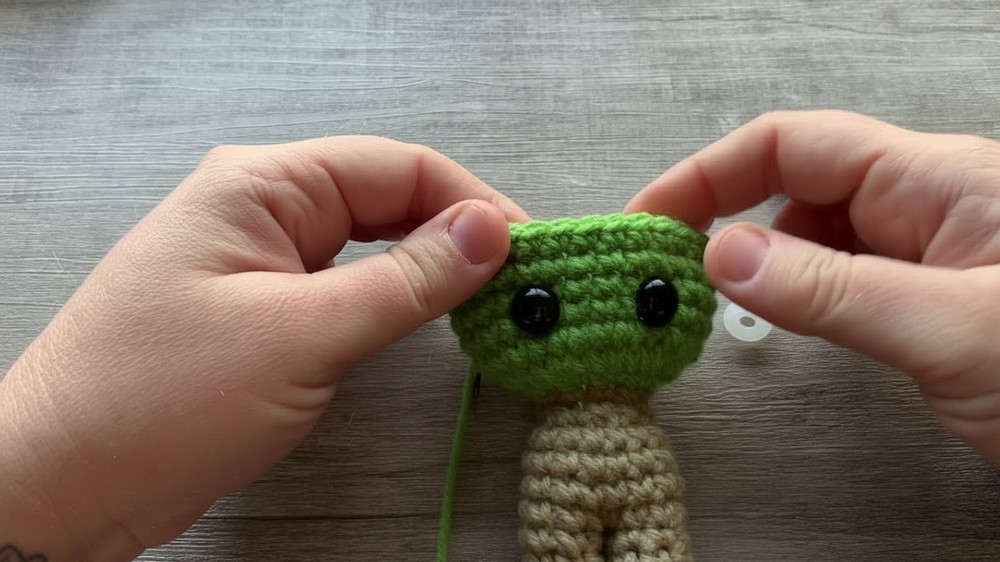
4. Head Shaping (Decreasing Rounds)
- Reduce the stitch count progressively:
- Round 20: SC in the first 3 stitches, decrease over the next. Continue around (total: 24 SCs).
- Round 21: SC in the first 2 stitches, decrease over the next (total: 18 SCs).
- Round 22: SC in the first stitch, decrease over the next (total: 12 SCs).
- Last round: Decrease evenly (total: 6 SCs).
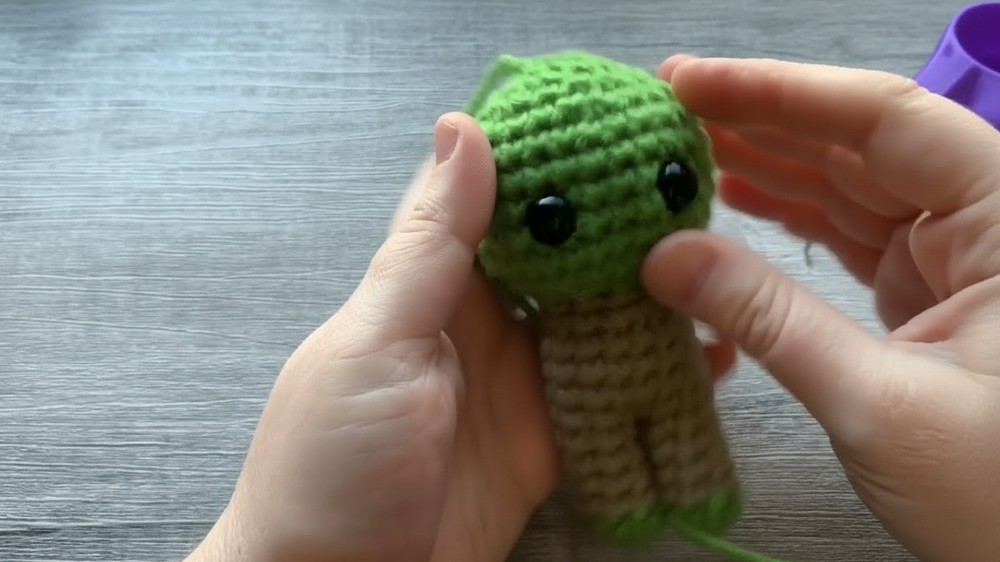
- Stuff the head securely but avoid overstuffing, which could distort the safety eyes or stitches.
- Close the gap with a tapestry needle:
- Weave the yarn through the front loops of stitches in the last round, then pull tightly to close the hole.
- Shape the safety eyes further by pulling them inward slightly with the yarn and needle to create indentations.
5. Ears
- Pattern: Chain 9 using green yarn.
- Work the following across the chain:
- SC into the second chain from the hook.
- HDC into the next chain.
- DC into the next 4 chains.
- HDC into the next.
- SC into the last.
- Turn the work and add detail:
- Chain 2, slip stitch into the last stitch of the previous row to create a sharper curve at the end.
- Work the other side of the chain to form a round ear:
- Repeat the sequence above along the opposite side of the chain, working in front loops.
- Leave a long tail for sewing.
- Sew both ears onto the head:
- Position each ear about 5 rows behind the safety eyes using whip stitches.
6. Arms

- Start with green yarn and crochet 6 SC into a Magic Circle.
- Work evenly for 2 rounds, then switch color to tan yarn and complete 4 additional rounds.
- Flatten the arm by folding it and crochet through the width with 2 SC stitches.
- Sew the arms onto the sides of the body, aligning them with the edges of the head.
7. Collar and Blush
- Collar: Chain 20 in tan yarn and work a row of HDC stitches.
- Sew it onto the neck, securing it in the back with whip stitches.
- Add blush beneath the eyes using a makeup brush to give Baby Yoda rosy cheeks.
Special Features
- Adorable Character Design: Inspired by the universally loved Baby Yoda from The Mandalorian.
- Detailed Face Sculpting: Includes indentations for the eyes and a tiny embroidered nose.
- Intermediate Complexity: The combination of shaping, color changes, and assembly makes it fun yet challenging.
Level of Difficulty
This pattern is intermediate. It assumes familiarity with Magic Circles, single crochet, increasing/decreasing, and assembling crochet pieces.
Tutor’s Suggestions
- Keep your rounds organized: Use a stitch marker to stay accurate with counts.
- Take your time with color changes: Secure knots tightly but not too snug to avoid distorting the stitches.
- Watch for symmetry: When attaching the ears, arms, and eyes, take extra care to keep everything evenly positioned.
- Be mindful with stuffing: Stuff progressively to prevent overstuffing or lumps in the body.
Uses
- Gifts: Perfect personalized gift for Star Wars fans or children.
- Home Décor: Makes a charming addition to shelves and desks.
- Hobby Collection: A must-have for amigurumi enthusiasts.
Tip
Cut longer tails for sewing. Always leave a generous yarn tail when fastening off parts to avoid running out while stitching pieces to the body.
Conclusion
This Baby Yoda crochet pattern lets you create a detailed and adorable doll, complete with tiny ears, arms, and a crocheted collar. With thoughtful step-by-step instructions, you will confidently shape the body, head, and embellishments while learning intermediate crochet techniques.