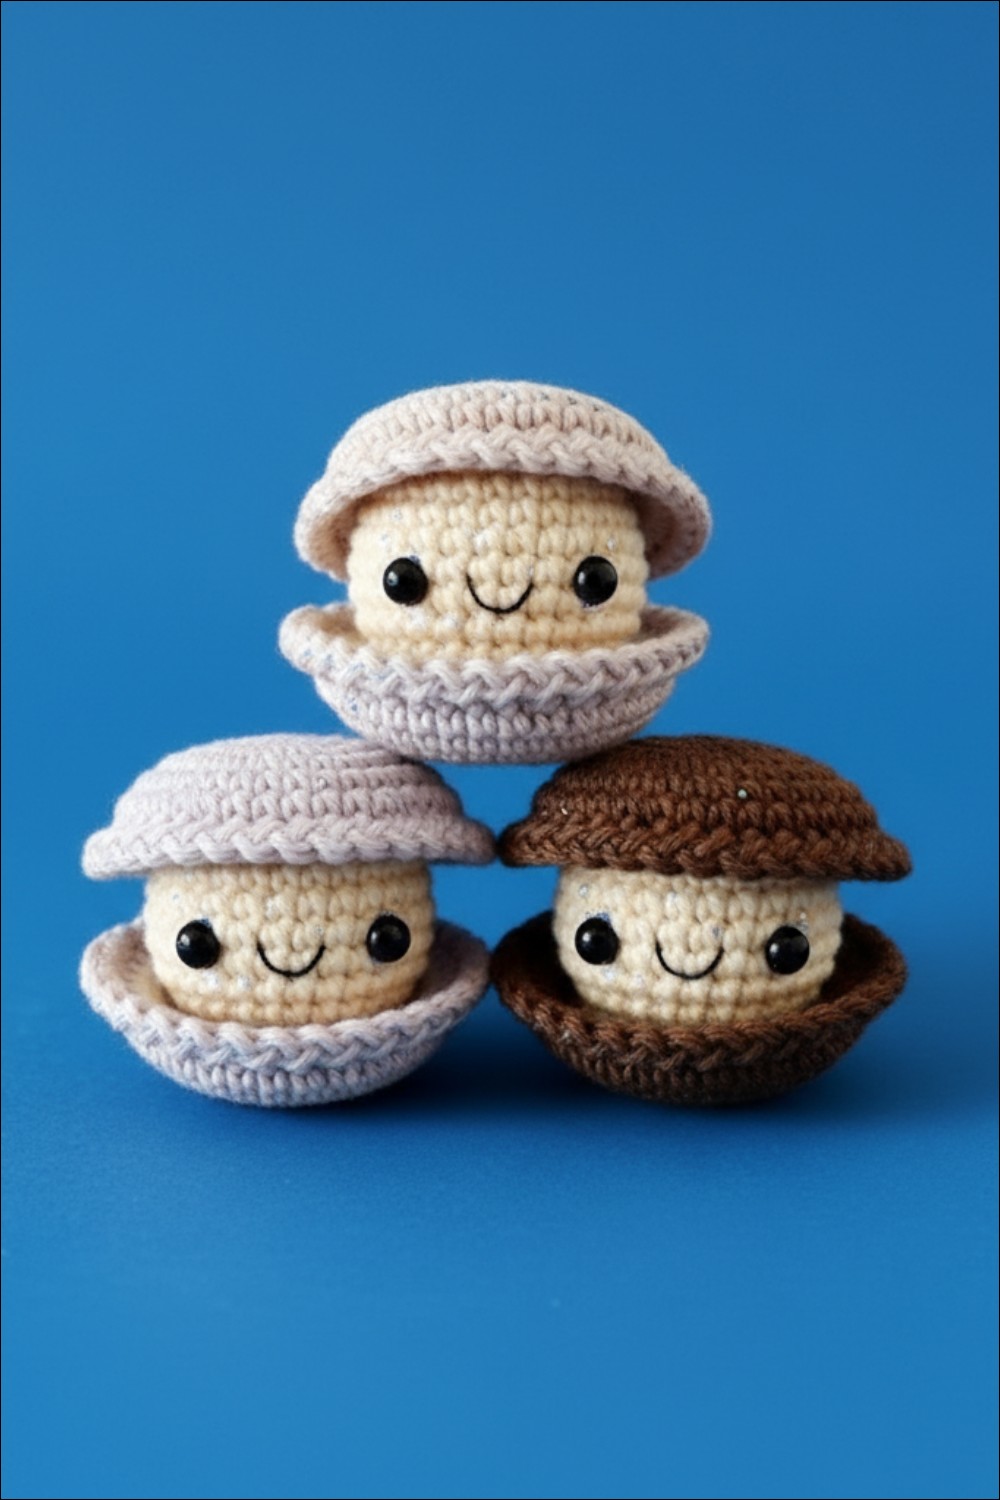
Adorable Crochet No-Sew Clam Pattern Perfect for Beach Decor
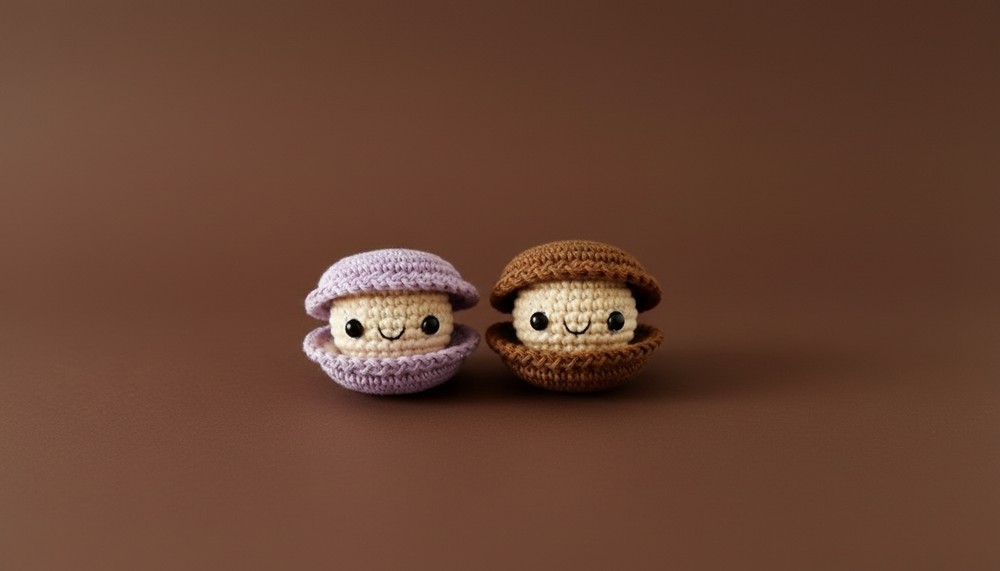
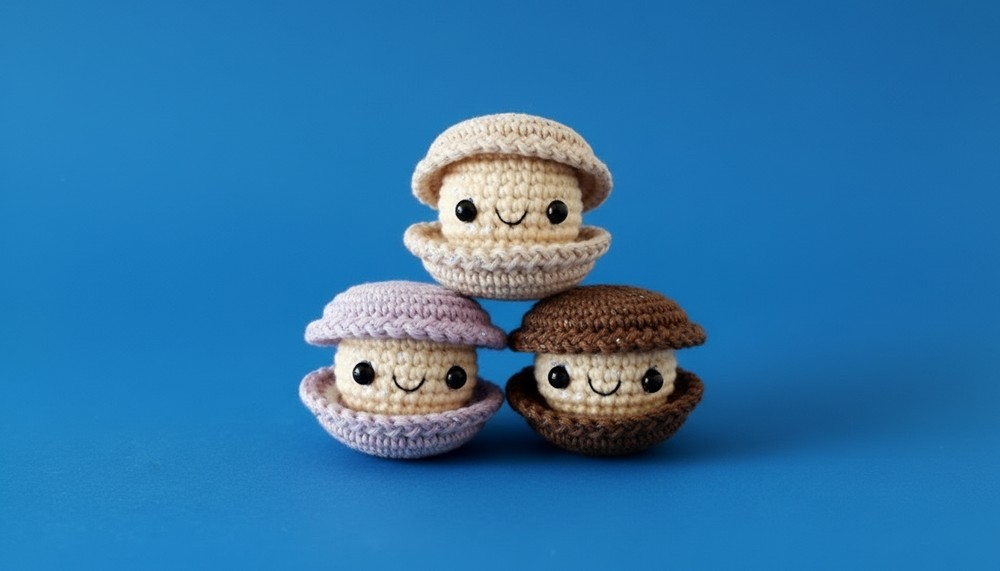
A small, friendly sea shell can be made simply by following a special guide called the Crochet No-Sew Clam pattern. This pattern lets you crochet a cute clam and shell without using a needle and thread to stitch pieces together. With soft yarn and easy steps, the finished clam comes out as a cheerful, smooth shell with a happy face, small enough to sit in your hand. You can use this creation as a playful toy, a charming gift, or a colorful decoration for your home—especially in a beach or sea-themed room.
Its most important feature is that it is no-sew, so you only need to crochet and connect the parts as you make them, saving you time and frustration. This makes it special and easy for anyone, even beginners, to try. The crochet no-sew clam brings beauty, color, and fun wherever you display it.
Dive into seaside fun with this Crochet No Sew Clam Pattern perfect for ocean themed projects cute toys or playful accents full of detail.
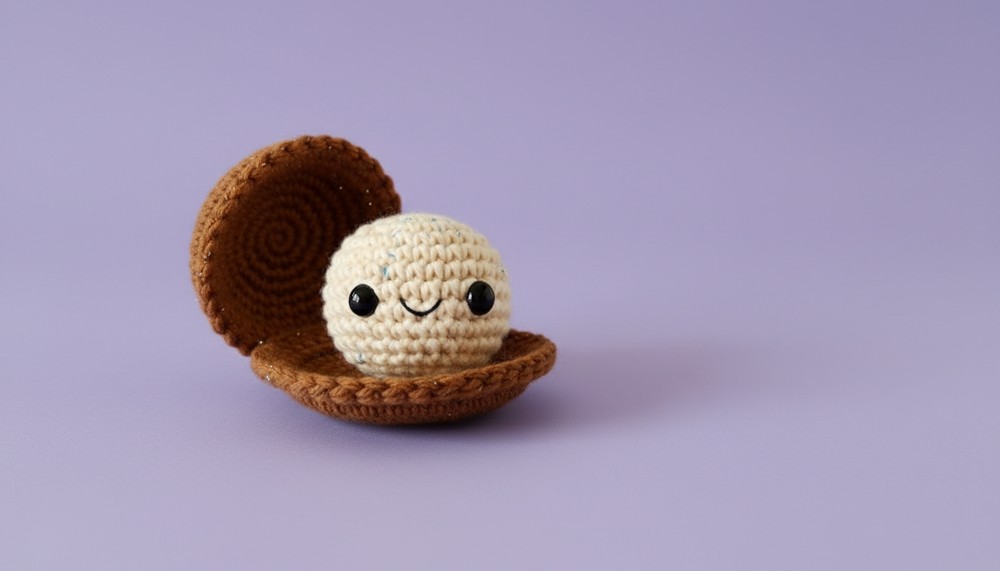
Fun Crochet No-Sew Clam Pattern No Assembly Needed
Materials
- Yarn: DK weight cotton yarn
- Brown (e.g., Paintbox Yarns Cotton DK in Taupe or Vintage Pink) for shells
- Off-white (e.g., Light Caramel) for the clam's body
- Hook: 2.5mm crochet hook (or size needed for tight stitches)
- Eyes: 6mm safety eyes
- Other Supplies:
- Black embroidery floss (mouth)
- Polyester fiberfill (stuffing)
- Stitch marker (recommended for marking rounds)
- Yarn needle
- Scissors
Abbreviations (US Terms)
| Abbreviation | Description |
|---|---|
| ch | chain |
| sc | single crochet |
| inc | increase (2 sc in one st) |
| invdec | invisible decrease |
| sl st | slip stitch |
| st/s | stitch/es |
| [ ] | repeat instructions |
| ( ) | stitch count at end of round |
Important points
- Work in continuous spirals unless otherwise noted.
- Use a stitch marker to mark the first stitch of each round.
- Ensure your stitches are tight to prevent stuffing from showing through.
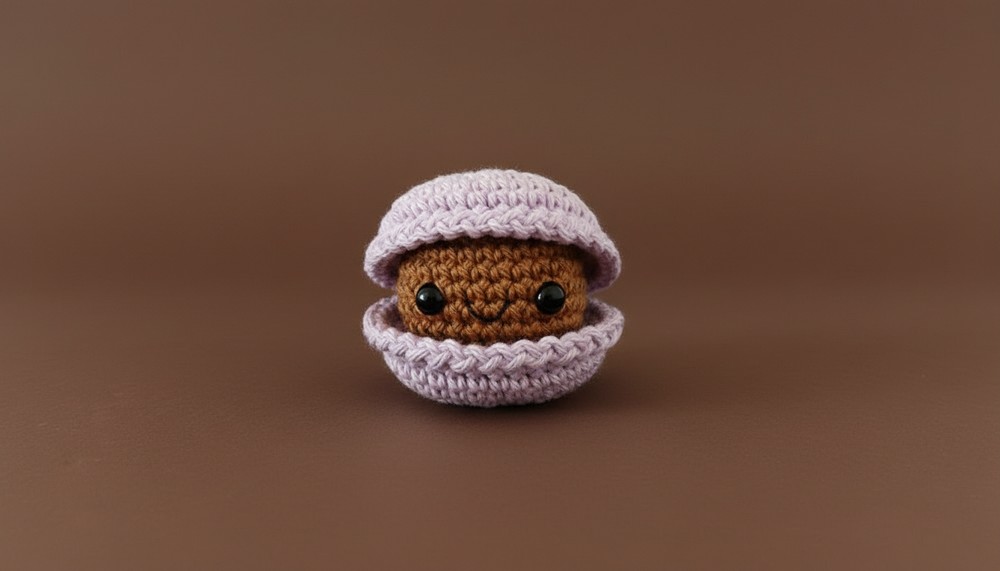
Pattern Instructions
Shell (Make 2, Brown)
- R1: 6 sc in magic ring (6)
- R2: [inc] 6 times (12)
- R3: [sc, inc] 6 times (18)
- R4: sc, inc, [2 sc, inc] 5 times, sc (24)
- R5: [3 sc, inc] 6 times (30)
- R6: 2 sc, inc, [4 sc, inc] 5 times, 2 sc (36)
- R7–R8: sc in each st around (36) (2 rounds)
Joining the Shell Pieces
First Shell (Set Aside after Step 10)
- Place one inner shell inside one outer shell, wrong sides facing each other.
- R9: Join both pieces with 1 sc in each st around (36).
- R10: [sl st, ch 1] 29 times, sl st in next st, leave remaining 6 sts unworked.
- Fasten off and set aside.
Second Shell (Do Not Fasten Off After R9)
- Repeat R1–R9 of the outer shell, joining to the remaining inner shell as before.
- Do not fasten off.
- Place the prepared shell (with edging from R10) on top of the second piece, inner sides facing inward.
- Align the unworked stitches. With yarn in the corner:
- Starting in the last sl st from R10, sl st through the back loops only of the next 8 sts; the last sl st is into the first sl st from R10—this forms the hinge.
- Working through both loops of the bottom piece only: [sl st, ch 1] 28 times, sl st in first sl st of the hinge.
- Ch 1 (do not tighten), fasten off invisibly, and weave in ends.
Clam Body (Off-White)
- R1: 6 sc in magic ring (6)
- R2: [inc] 6 times (12)
- R3: [sc, inc] 6 times (18)
- R4: sc, inc, [2 sc, inc] 5 times, sc (24)
- R5: [3 sc, inc] 6 times (30)
- R6–R10: sc in each st around (30) (5 rounds)
- R11: [3 sc, invdec] 6 times (24)Insert safety eyes between R8 and R9, 5 sts apart.
- R12: sc, invdec, [2 sc, invdec] 5 times, sc (18)
- Begin stuffing and continue as you go.
- R13: [sc, invdec] 6 times (12)
- R14: [invdec] 6 times (6)
Cut yarn, leaving a tail. Pull through last stitch, weave tapestry needle through front loops of final round, and pull to close. Hide end.
Use black embroidery floss to sew a small mouth centered between the eyes over R9.
Assembly
- Place the finished clam body gently inside the shell.
Modification suggestions
- Colorful Yarn: Use variegated or sparkly thread for a fantasy clam.
- Embellishments: Add embroidered details or beads for pearls.
- Larger/Smaller Clams: Use thicker/thinner yarn and adjust hook size.
- Faces: Embroider different facial expressions.
Helpful hint
- Use a locking stitch marker for clarity, as this is a spiral pattern.
- Ensure shell pieces are fully aligned when joining for neat, even edges.
- Place stuffing carefully; overstuffing may distort the shell.
Pattern adjustment
No corrections are necessary for this pattern. However, check each round’s stitch count to avoid mistakes, especially during shell joining and hinge assembly.
Closing remarks
This charming no-sew clam pattern encourages creativity and skill for intermediate and advanced crocheters. The finished clam is perfect as a whimsical decoration, gift, or playful toy. Adjust colors and details for a personalized touch, and enjoy the process of creating this unique amigurumi clam!
Pin this post for later