
Adorable Free Crochet Hello Kitty Frog Pattern for Small Décor
Delight in charm with the Free Crochet Hello Kitty Frog Pattern, a playful and fun project that adds personality to keychains, bags, or décor.
Few characters have managed to hold such timeless appeal as Hello Kitty, a symbol of simplicity and joy that transcends age and culture. Adding a delightful twist to her iconic look, the Hello Kitty Frog crochet creation blends nostalgia with playful charm, making it an irresistible project for any crochet enthusiast. Far from being just another decorative item, this handmade treasure brings warmth, personality, and the unmistakable satisfaction of weaving something meaningful with your own hands.
Whimsical Crochet Hello Kitty Frog Pattern for Accessories
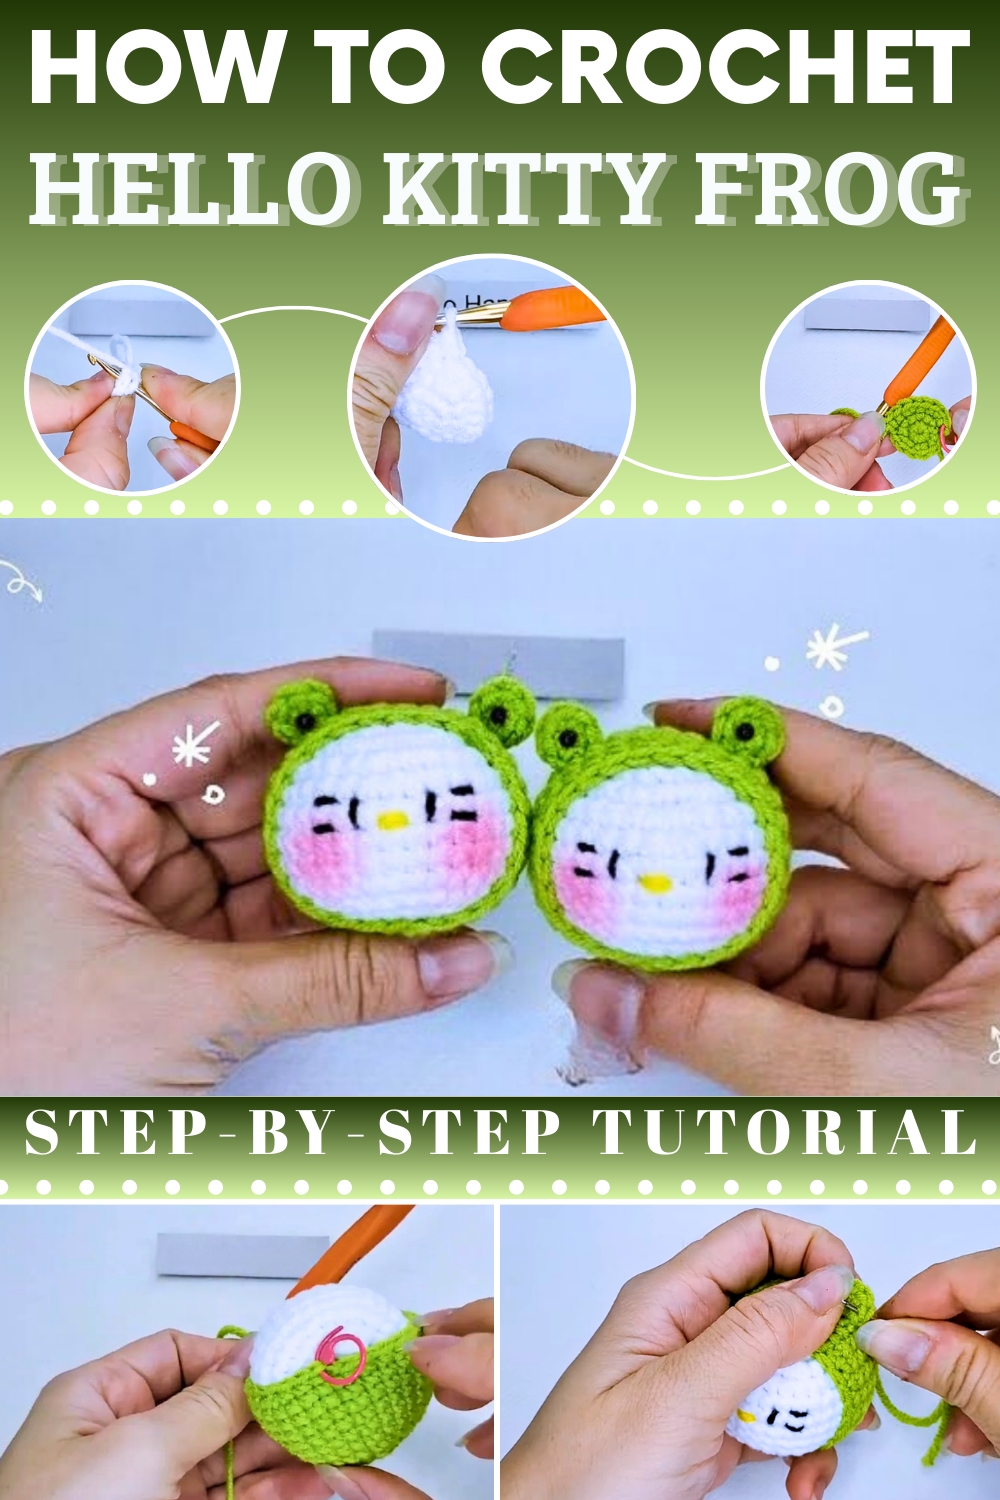
Its versatility makes it a thoughtful gift, a collectible piece, or a simple yet heartwarming addition to any space. Beyond its aesthetic value, this crochet creation is an opportunity to unwind, focus, and immerse yourself in a rewarding project. Whether displayed proudly on a shelf, handed down as a thoughtful gift, or added to a personal collection, this Hello Kitty Frog with hatis more than just a project, it's a celebration of creativity, nostalgia, and the joy of bringing something beautiful to life.

FREE Crochet Hello Kitty Frog Pattern
Skill Level
Intermediate to Advanced – Due to the small details, surface crochet, and assembly required.
Finished Size
- Approx. 12–15 cm (4.7–5.9 inches) depending on yarn choice and tension.
Materials Needed
- Yarn
- White yarn (Hello Kitty’s body and head)
- Green yarn (Frog hat)
- Yellow yarn (For Hello Kitty’s nose)
- Black yarn (For whiskers and mouth embroidery)
- Pink yarn (Cheek enhancements, optional)
- Crochet Hook
- 2.0 mm hook (or hook that matches your yarn weight for tight stitches).
- Safety eyes
- Black eyes around 7–9 mm diameter.
- Stuffing
- Polyester fiberfill to stuff the body, head, and hat firmly.
- Sewing tools
- Tapestry needle (for sewing pieces together and embroidery).
- Glue
- Optional for securing frog hat details (eyes and embellishments).
- Scissors
Key Abbreviations
- MR – Magic Ring
- sc – Single Crochet
- inc – Increase (2 sc in one stitch)
- dec – Invisible Decrease (crochet 2 sc together)
- ch – Chain
- st – Stitch
- sl st – Slip Stitch
Special Notes
- Continuous rounds: Work in spiral rounds unless stated otherwise. Use a stitch marker to mark the first stitch of each round.
- Gauge: Not critical but ensure tight stitches to prevent stuffing from showing through.
- Assembly tip: Use sewing for attaching smaller details like whiskers or frog eyes rather than solely relying on glue for longevity.
Pattern Instructions
1. HELLO KITTY’S HEAD
Yarn Color: White
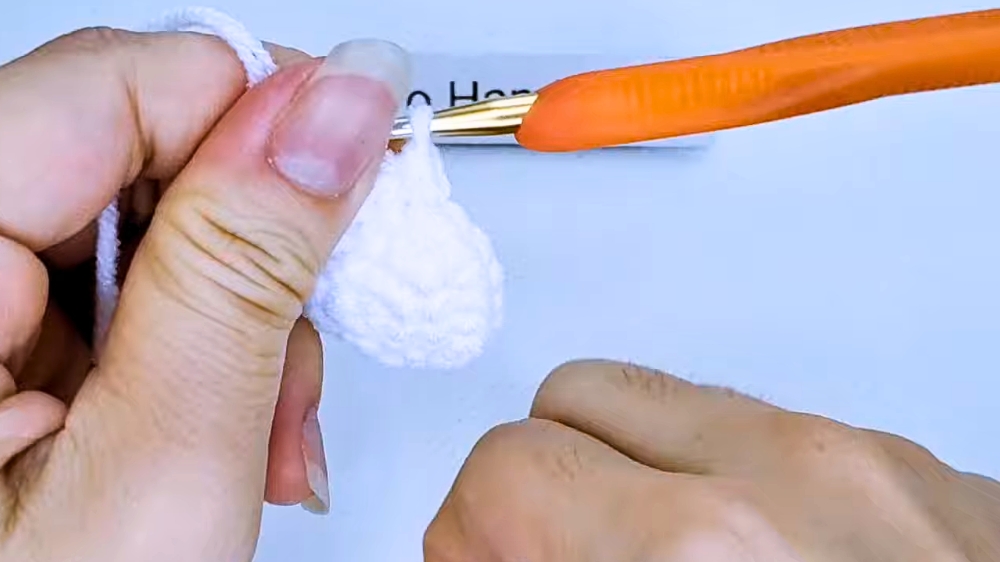
- Magic Ring (MR):
- Round 1: 6 sc into MR. Pull tight and sl st into first sc to join. (6 stitches)
- Round 2: Inc in each st around (2 sc into each stitch). (12 stitches)
- Round 3: (1 sc, inc) repeat around. (18 stitches)
- Round 4: (1 sc, 1 inc, 1 sc) repeat around. (24 stitches)
- Round 5: (3 sc, inc) repeat around. (30 stitches)
- Rounds 6–10: Sc in each st around. (30 stitches per round)
- Shaping:
- Round 11: (3 sc, 1 dec) repeat around. (24 stitches)
- Round 12: (1 sc, dec, 1 sc) repeat around. (18 stitches)
- Round 13: (1 sc, dec) repeat around. (12 stitches)
- Finish:
- Stuff the head firmly with polyester fiberfill. Close the remaining opening tightly:
- Use tapestry needle to weave through the front loops of each stitch. Pull tight to close the circle.
- Stuff the head firmly with polyester fiberfill. Close the remaining opening tightly:

2. FROG HAT
Yarn Color: Green
- Base:
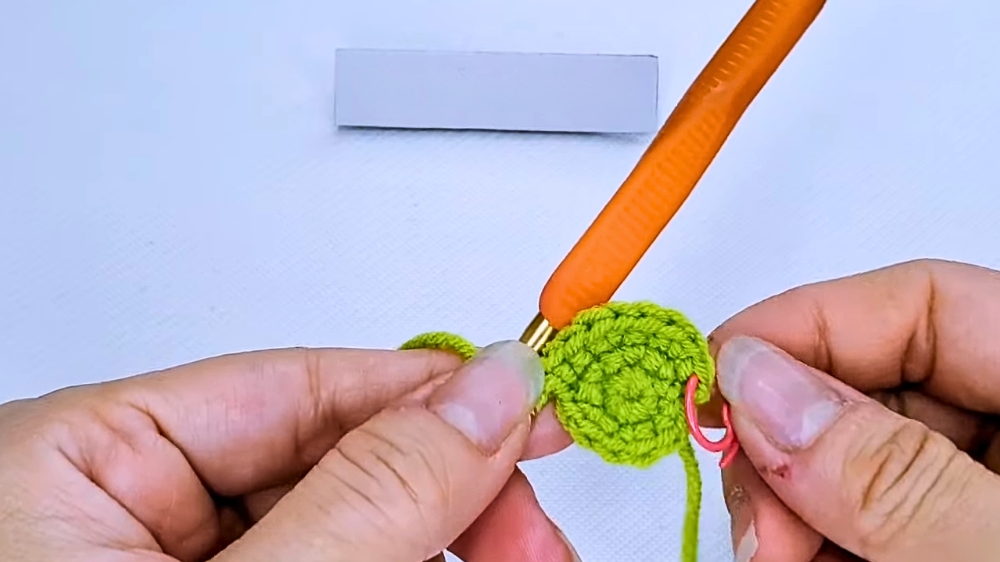
- Round 1: MR, 6 sc in the ring. (6 stitches)
- Round 2: Inc in each st around. (12 stitches)
- Round 3: (1 sc, 1 inc) repeat around. (18 stitches)
- Round 4: (2 sc, 1 inc) repeat around. (24 stitches)
- Height of the Hat:
- Rounds 5–11: Sc in each st around. (30 stitches each round)
- Stuff the hat lightly before closing.
- Closing:
- Round 12: (3 sc, 1 dec) repeat around. (24 stitches)
- Leave a long tail for sewing.
3. FROG’S EARS (Make 2)
Yarn Color: Green
- Eye Base:
- Round 1: MR, 6 sc into MR. (6 stitches)
- Round 2: Inc in each st around. (12 stitches)
- Finish:
- Leave a long tail for sewing.
- Black Centers:
- Attach safety eyes to the center of each crochet eye. You can also glue small black felt circles for the pupil if desired.

4. HELLO KITTY’S FACIAL DETAILS
- Whiskers:
- Using black yarn, embroider three whiskers on each side.
- Position them between rounds 5 and 12.
- Nose:
- Use yellow yarn to embroider the nose between the eyes. The nose should be centered horizontally.
- Cheeks (Optional):
- With pink yarn, embroider two small blush spots slightly below and to the sides of the eyes.
5. ASSEMBLY
- Attach the Frog Hat:
- Place the green hat securely on Hello Kitty’s head. Adjust its placement so it balances well. Use sewing or light glue to keep it in place.
- Attach Frog’s Eyes:
- Position the frog’s crochet eyes on the hat. Place them on rows 3–4 diagonally so they appear "bulgy." Secure them with sewing or glue.
- Final Touches:
- Add decorative details like pink dots onto the frog hat (optional).

Conclusion
Congratulations on completing your Baby Hello Kitty Wearing Frog Hat amigurumi! This unique and imaginative design adds personality and whimsical charm to your crochet collection. The detailed facial features and frog hat make this piece extra adorable while demonstrating your precise craftsmanship.
Pattern Corrections
There were no major flaws or corrections identified while converting the transcription into the crochet pattern. However, if running into issues with shaping the hat or head, ensure to use stitch markers to keep rounds consistent.
Tips for Success
- Emphasize Tight Stitches: Tight stitches help maintain the structure of amigurumi and prevent stuffing from showing. Adjust your hook size if stitches appear loose.
- Safety Eyes: Ensure eyes are firmly secured, especially if gifting this project to children. Use glue or felt alternatives for added safety.
- Finish Details Last: Complete the sewing of the hat and frog eyes once you're satisfied with the overall look of Hello Kitty’s face