
Adorable Crochet Bunny Amigurumi Pattern Everyone Loves
Charming details shine as this Free Crochet Bunny Amigurumi Pattern brings easy steps, soft textures, and a lovable look for gifts and decor.

Hoppy Crochet Bunny Amigurumi Pattern Full of Spring Charm
A sweet and playful look makes this Crochet Bunny Amigurumi Pattern a favorite for decorative accents and thoughtful gifts. Its rounded shape and upright ears give the bunny a cheerful personality that blends well with nursery themes, shelf displays, or seasonal arrangements. The pattern follows a clear flow, helping maintain neat stitches and smooth shaping from start to finish. A small, manageable size allows easy handling while also supporting long-lasting form and stability.
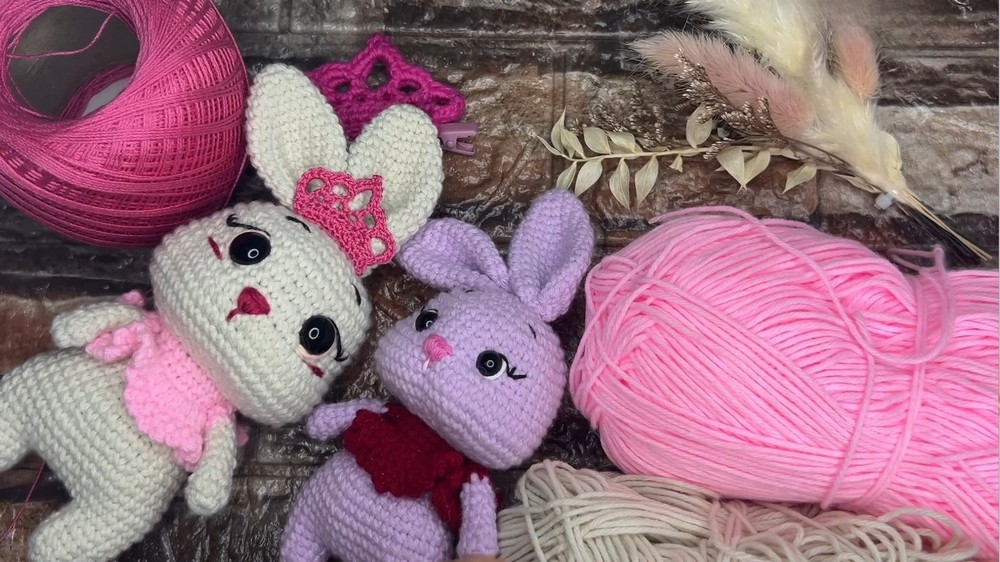
Color choices remain flexible, making it simple to match personal style or special occasions without altering the design. The process promotes relaxation and steady focus, offering an enjoyable rhythm that feels rewarding as the bunny takes shape. Once finished, the overall appearance feels polished and inviting, with balanced details that enhance its charm. This pattern delivers both visual appeal and practical enjoyment, resulting in a lovable piece that suits all ages and experience levels.
Step-by-Step Details
Head
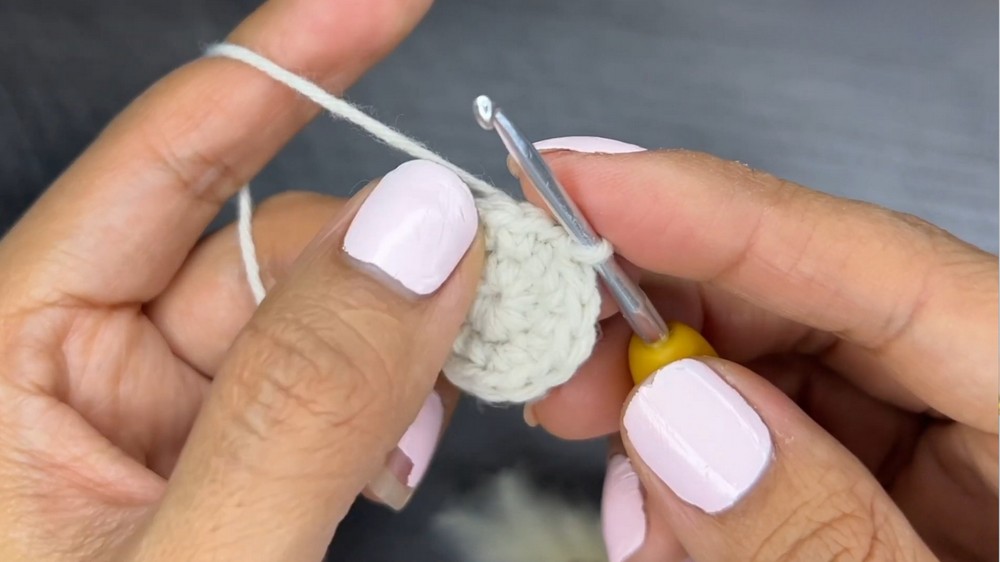
- Begin with a magic ring. Inside the ring, crochet 8 single crochets and pull the yarn to close it.
- For Round 2, crochet 8 increases (2 single crochets per stitch). You’ll have 16 stitches.
- In Round 3, follow a sequence of 1 single crochet and 1 increase, repeating 8 times (24 stitches).
- For Round 4, alternate 2 single crochets and 1 increase for a total of 32 stitches.
- Continue following sequences like 3 single crochets and 1 increase in subsequent rounds until reaching 40 stitches by Round 6.
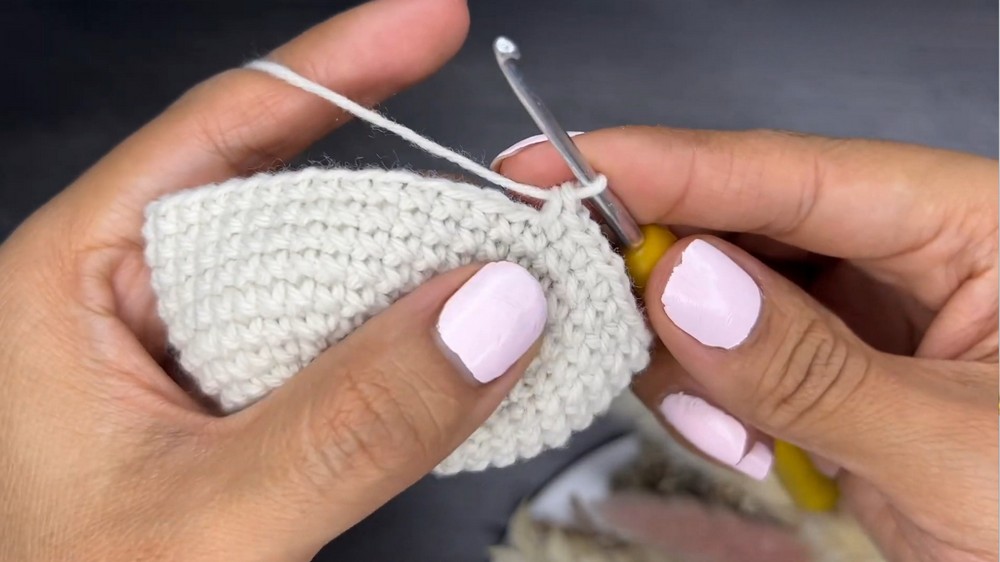
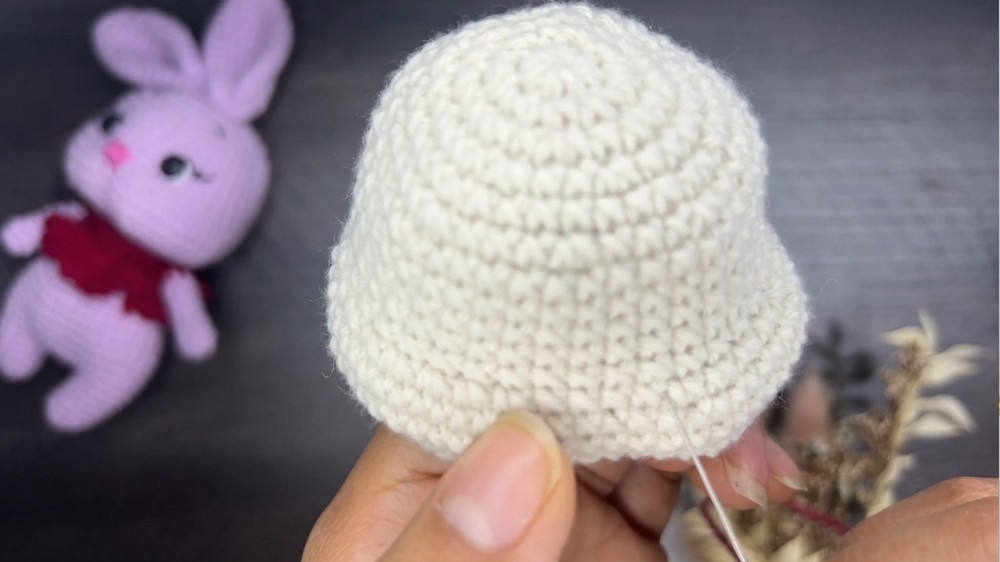
- Between Round 7 and Round 11, crochet 40 single stitches in each round to build the head’s structure.
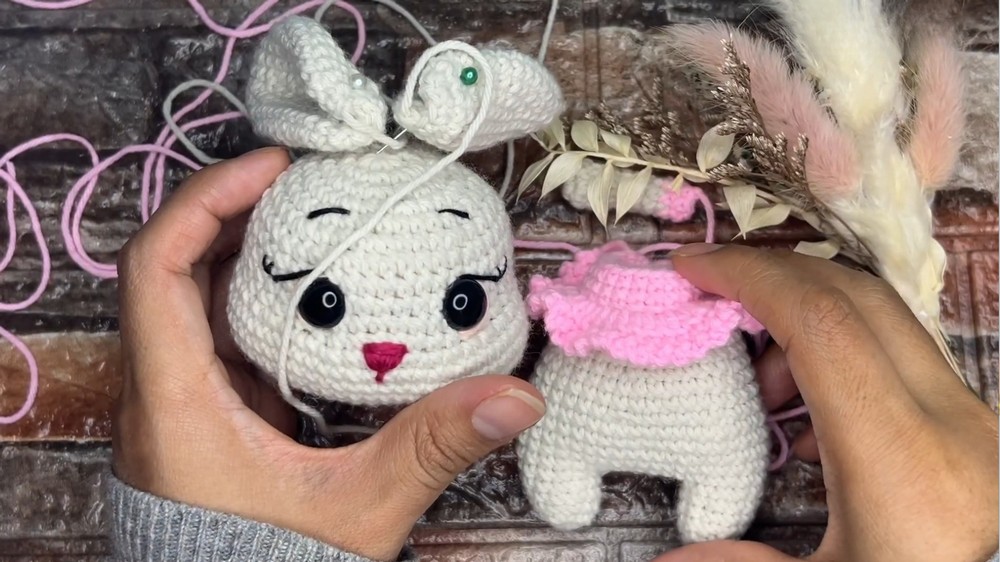
- For the face (Rounds 12–19), strategically increase and decrease stitches to form cheeks and the nose area. Add safety eyes at specific points to bring Rafaela’s face to life.
Eyes and Nose
- Position the eyes strategically on Round 9. Embroider the nose in the center of the increases from earlier rounds. Use the provided directions to sink the eyes into the face for a dynamic expression. The tutor suggests adding eyelashes for extra charm.
Body
- Crochet the legs separately, starting with a magic ring. Build them through increases and single crochets until reaching rounds where you join them together using chains.
- After connecting the legs, work upwards to form the cylindrical shape of the bunny’s body.
- The tutorial explains color changes for the dress, where you’ll transition to a new shade and crochet the frills of the dress by picking up front loops from earlier rounds.

Arms and Ears
- Arms: Begin with a magic ring, following sequences of increases and decreases. Add matching-color sleeves to align with the dress.
- Ears: Fold crochet pieces to create Rafaela’s floppy ears. Sew them to the head, adjusting tension for proper placement.
Final Assembly
Attach the limbs to the body and position the ears symmetrically. Adjust placement to ensure the bunny looks polished and cohesive. Add accessories like the mini crown to complete the lovely design.
Special Features
- The bunny Rafaela has unique features such as charming cheek details, large expressive safety eyes, embroidered eyelashes for personality, and a ruffled mini dress made with a color change technique.
- The design includes clear attention to detail, making this amigurumi project stand out.
Difficulty Level
The tutorial is beginner-friendly but requires attention to counting stitches and following patterns for increases and decreases. The level of difficulty is suitable for crochet enthusiasts with basic knowledge of amigurumi techniques.
Tutor’s Suggestions
- Use 2 mm yarn and a 2.5 mm crochet hook for optimal results.
- Adjust thread and hook thickness to create different sizes of Rafaela.
- Incorporate small safety eyes for petite designs or larger eyes for more expressive features. Experiment to find your preferred look.
- For finer results, ensure stitches are consistently tightened. This creates a firm structure, especially for the head and cheeks.
Uses and Materials
- Uses: Rafaela is great for gifting, home decor, or as a keepsake. It’s perfect for birthdays, holidays, or even nursery decorations.
- Materials:
- Yarn: 2 mm thickness (adjust for desired size).
- Hook: 2.5 mm crochet hook.
- Eyes: 10 mm safety eyes.
- Filling: Silicone cotton.
- Embroidery thread for facial details.
Pro Tip
When attaching the bunny’s head, limbs, and ears, adjust your sewing tension carefully. This helps keep the bunny’s proportions balanced and prevents loose or uneven assembly.
Conclusion
This step-by-step tutorial allows you to bring bunny Rafaela to life with playful creativity and precision. Follow the detailed instructions to craft a delightful amigurumi bunny. Whether you’re making it as a gift, a keepsake, or simply for fun, Rafaela will always spread joy with her flirty expression and tiny crown.