
Adorable Free Crochet Amigurumi Cactus for Giftable Keepsakes
Bring quirky charm to your space with this Crochet Amigurumi Cactus Pattern, featuring playful details, vibrant style, and handmade appeal.
The art of crochet has the power to transform simple threads into something extraordinary, and the amigurumi cactus is a shining example of this creativity in action. With its endearing charm and simple construction, this miniature, no-maintenance plant combines craftsmanship with practicality. Whether placed on a windowsill to brighten a room, perched on a desk as a cheerful companion, or given as a thoughtful handmade gift, this cute crochet cactus brings life to any space without the hassle of care. Its significance goes beyond just aesthetics; it speaks to the joy of crocheting something decorative yet meaningful with your own hands.
Free Crochet Amigurumi Cactus with Playful Charm

For the finishing touch, the cactus can be nestled into a crocheted brown base that imitates soil and placed in a decorative pot. Optional embellishments like a crocheted flower can bring added personality to the final design.
The amigurumi cactus is more than just a fun project; it’s a wonderful way to combine simplicity with purpose. As a decor item or heartfelt gift, it’s brimming with charm, a small reminder of how even the tiniest creations can have a big impact. With every stitch, the project offers both satisfaction and beauty, leaving behind a sense of accomplishment and a piece to cherish for years to come.
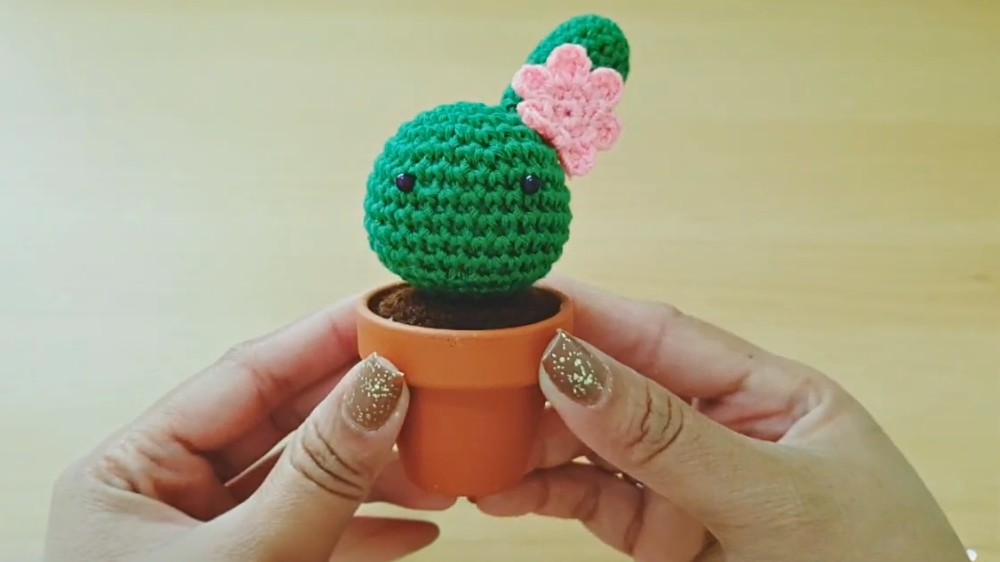
Free Crochet Amigurumi Cactus Pattern
Materials
- Yarn:
- Green cotton or acrylic yarn (main cactus)
- Brown acrylic or polyacrylic yarn (pot/base)
- Optional: Yarn in other colors for flowers/decorations
- Hook: 3.5 mm crochet hook
- Stuffing: Polyester fiberfill (toy stuffing)
- Tapestry/Embroidery Needle: For sewing parts and weaving ends
- Stitch Marker or Safety Pin
- Small Pot: For display (optional)
- Scissors
Key Abbreviations (US Terms)
| Abbreviation | Meaning |
|---|---|
| MR | Magic Ring (adjustable ring) |
| ch | Chain |
| sc | Single Crochet |
| inc | Increase (2 sc in same st) |
| dec | Decrease (sc2tog) |
| sl st | Slip Stitch |
| st(s) | Stitch(es) |
| FO | Fasten Off |
Special Notes
- The cactus is made in continuous rounds (do not join, work in spirals).
- Always place a stitch marker at the beginning or end of each round.
- To keep your cactus smooth, keep your tension firm and even.
- Customize: You can easily change size by adjusting yarn or hook.
Pattern
Main Cactus Body (Large Cactus)
With green yarn:
Round 1: Make a MR, ch 1, 6 sc into ring. (6)
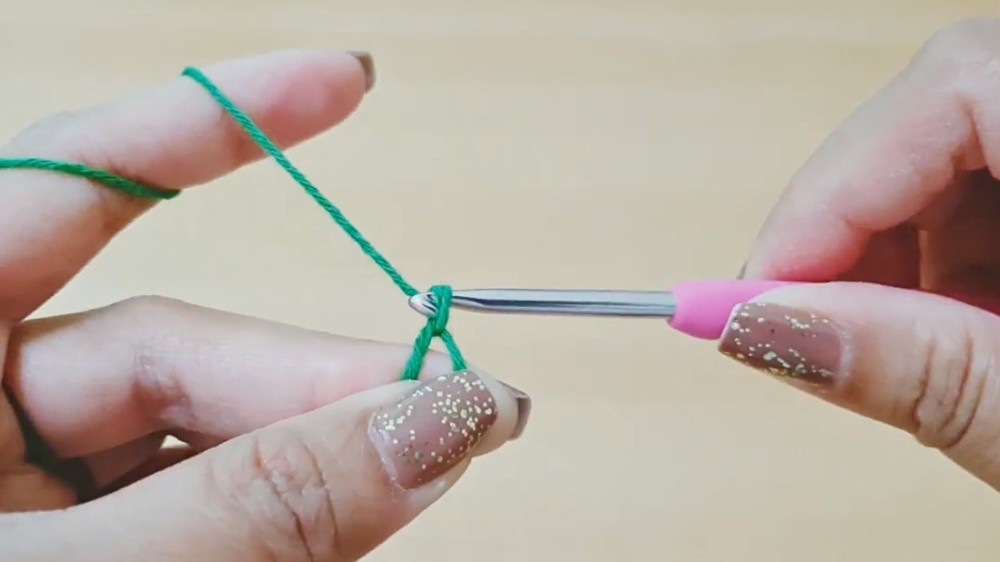
Round 2: Inc in each st around. (12)
Round 3: (Sc in next st, inc in next st) around. (18)
Round 4: (Sc in each of next 2 sts, inc in next st) around. (24)
Round 5: (Sc in each of next 3 sts, inc in next st) around. (30)
Rounds 6–10: Sc in each st around. (30 sts each round, 5 rounds)
Round 11: (Sc in next 3 sts, dec) around. (24)
Round 12: (Sc in next 2 sts, dec) around. (18)
Stuff cactus here with fiberfill.
Round 13: (Sc in next st, dec) around. (12)

Round 14: Dec around. (6)
Finishing:
Ch 1, cut yarn, and close the hole with the yarn needle by weaving through the remaining 6 front loops and pulling tight. Hide the yarn tail.
Cactus Arm/Side (Medium Size) – OPTIONAL
With green yarn:
Round 1: MR, 6 sc into ring. (6)
Round 2: Inc in each st around. (12)
Rounds 3–10 (or 8): Sc in each st around. (12; 8–10 rounds for desired length)
Stuff lightly.
Sl st to next st, ch 1, fasten off, and leave a tail for sewing.
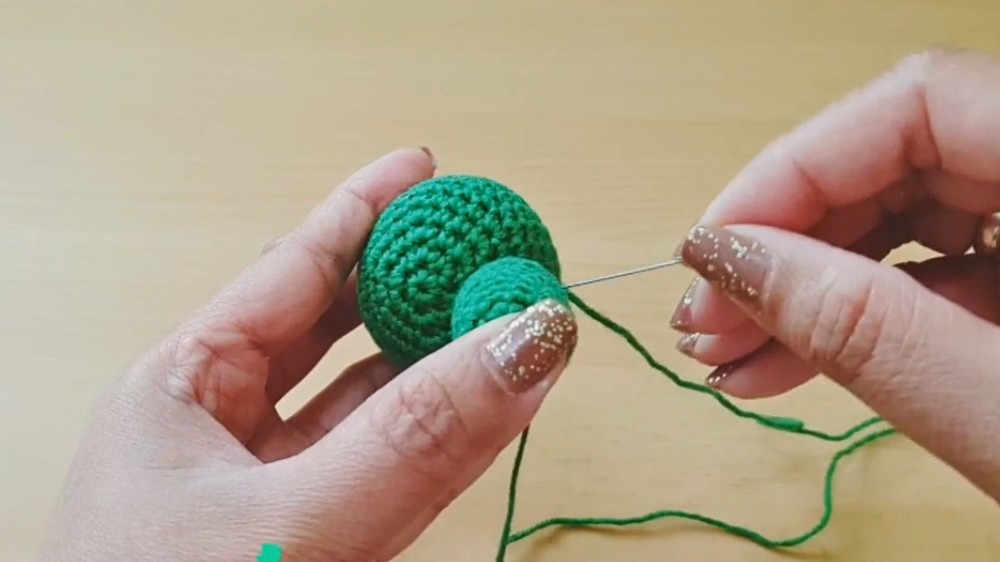
Small Cactus Arm/Side (Optional)
With green yarn:
Round 1: MR, 6 sc in ring. (6)
Round 2: Inc in each st around. (12)
Round 3: (Sc in next st, inc) around. (18)
Round 4: (Sc in next 2 sts, inc) around. (24)
Rounds 5–8: Sc in each st around. (24)
This creates a slightly different look, adjust round/number as desired for mini arms.
Pot/Base
With brown yarn:
Work in rounds or rows to cover a pot, or make a flat base. (A simple method):
- MR, 6 sc in ring.
- Inc in each st around (12)
- (Sc in next st, inc) around (18)
- (Sc in next 2 sts, inc) around (24)
- Continue increasing as necessary to match the opening of your pot, or work several rounds in sc to form a disc.
FO, leave a long tail to sew to cactus body if you wish to attach permanently.
Optional Flower
(Add on top or side, follow another simple amigurumi flower tutorial if needed.)
Finishing & Assembly
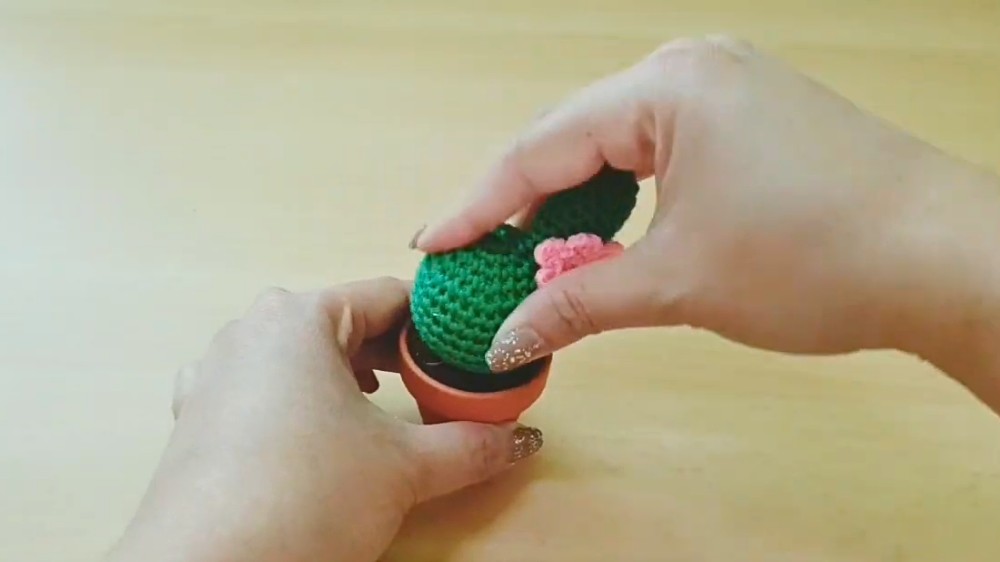
- Sew or glue cactus body into the small pot, or attach brown base at bottom to close.
- Sew cactus arms to the sides at desired angle/position.
- Attach a crochet flower if desired.
- Hide all yarn ends inside cactus with tapestry needle.

Conclusion
Your amigurumi cactus is finished! This project is suitable for beginners and makes a great decorative piece or gift. The size can easily be adjusted by adding or reducing rounds or by using different yarn/hook sizes.
Pattern Corrections & Tips
- Correction: Adjust your number of straight rounds or arm size for your desired look.
- Tip: Stuff firmly but not overfilled, to keep the shape neat; sew all pieces securely so the cactus holds up to handling.
- Tip: For a “cleaner” decrease, use invisible decrease (insert hook in front loops only) in closing rounds.