
Adorable Crochet Basket for Doll Pattern Perfect for Playtime
Spark playful charm with this Free Crochet Basket for Doll Pattern, perfect to assemble, embellish, and brighten your doll’s little world.
A miniature doll basket brings charm and practicality to any space, offering a stylish way to store tiny toys, accessories, or decorative items. Its sturdy and neat construction gives it a polished look while ensuring it holds its shape well. The pattern combines simple stitches with thoughtful design, making it accessible to anyone looking to create a beautiful, functional piece.
Easy Crochet Basket for Doll Pattern to Gift or Display
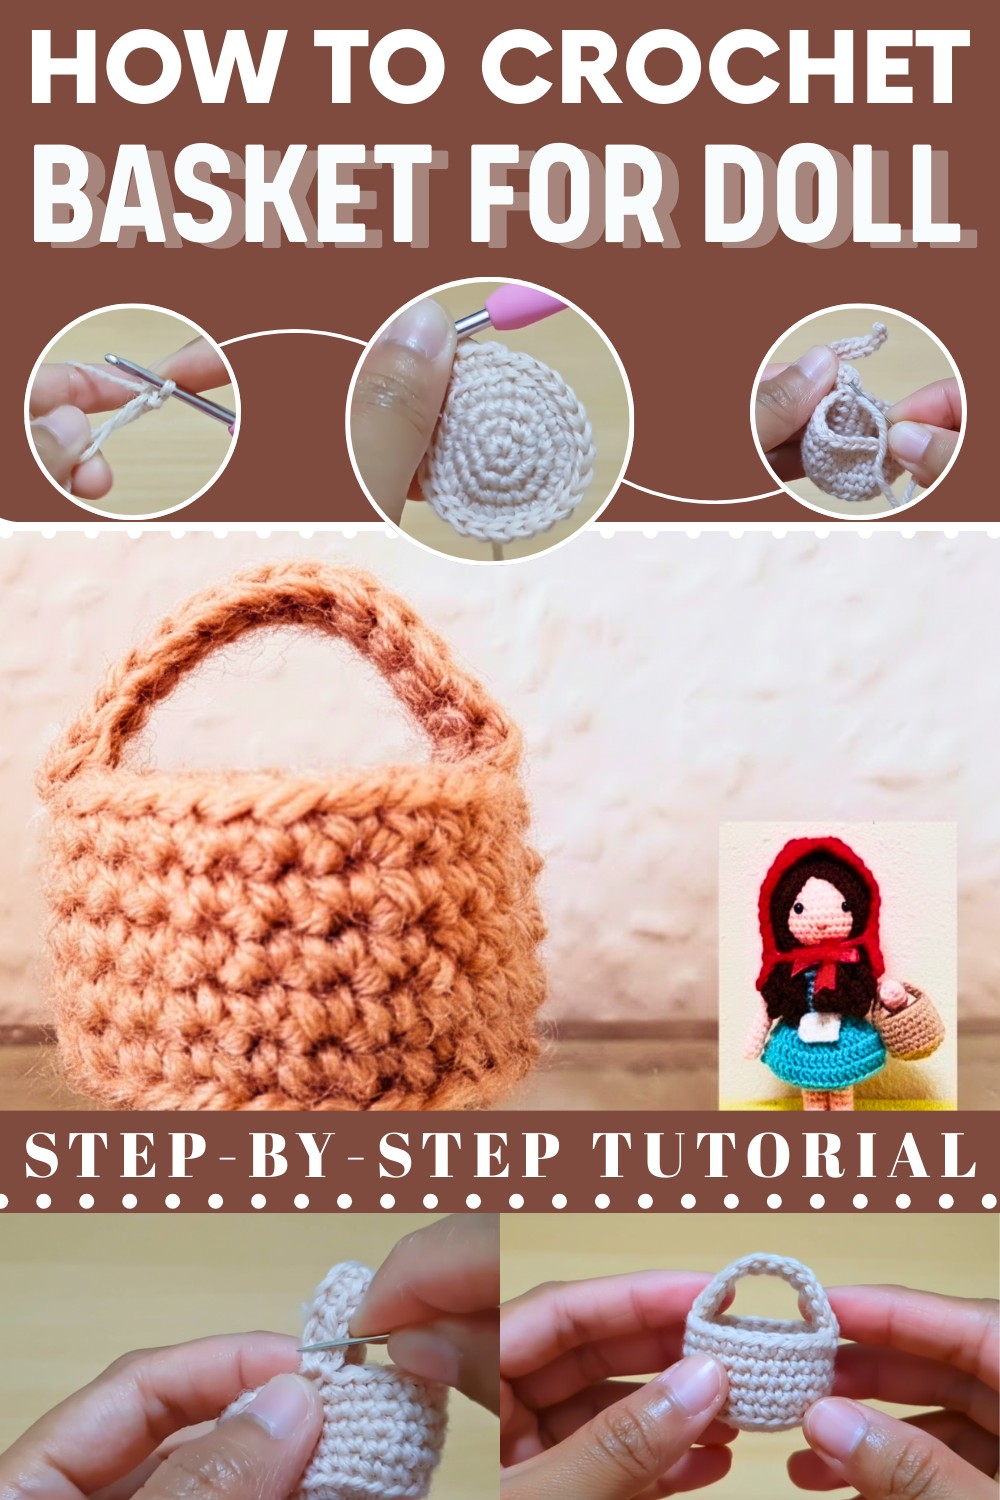
Working on this project encourages focus, patience, and creativity as yarn gradually transforms into a useful and attractive item. The basket can be customized with different colors, textures, and sizes, allowing each piece to reflect personal style. Lightweight and versatile, it fits perfectly on shelves, tables, or inside dollhouses, enhancing both play areas and display spaces.
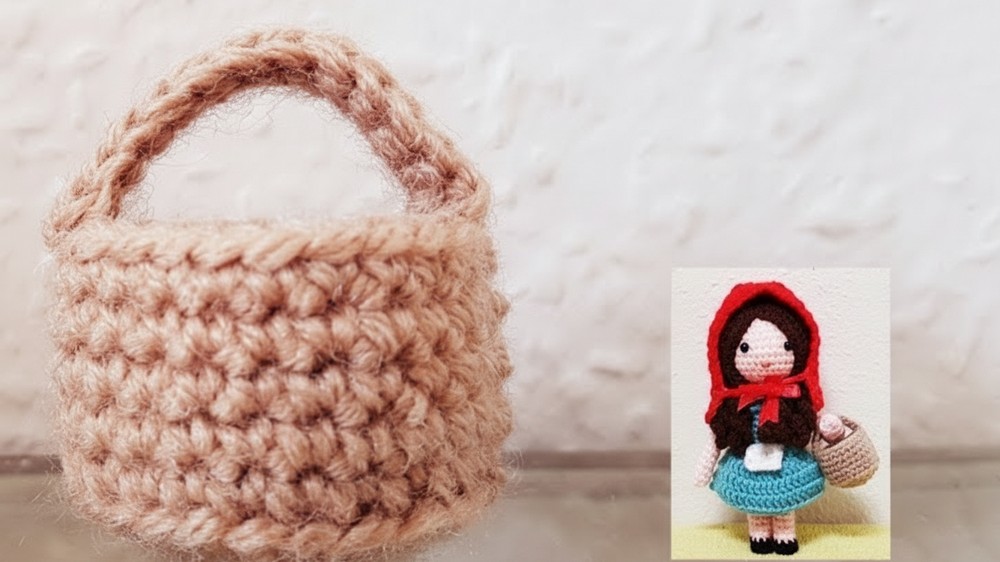
Beyond its practical uses, making this basket provides a relaxing and rewarding experience, leaving a sense of accomplishment and a charming addition that adds warmth and personality wherever it is placed.
Step-by-Step Instructions
Materials Needed
- Very light brown acrylic yarn (cotton yarn is also an option).
- Sewing needle.
- Scissors.
- 3mm crochet hook.
Step 1: Create the Base
- Make a magic ring and chain 1 to secure it. (The chain of 1 does not count as a stitch.)
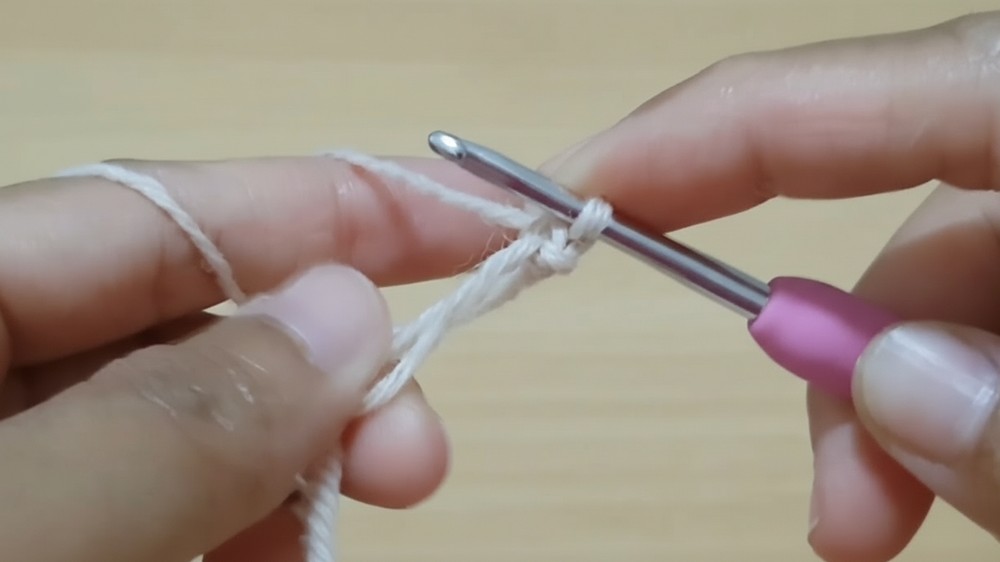
- Round 1: Crochet 6 single crochets (sc) inside the magic ring. Pull the tail tightly to close the center and then make a slip stitch into the first stitch to complete the round.
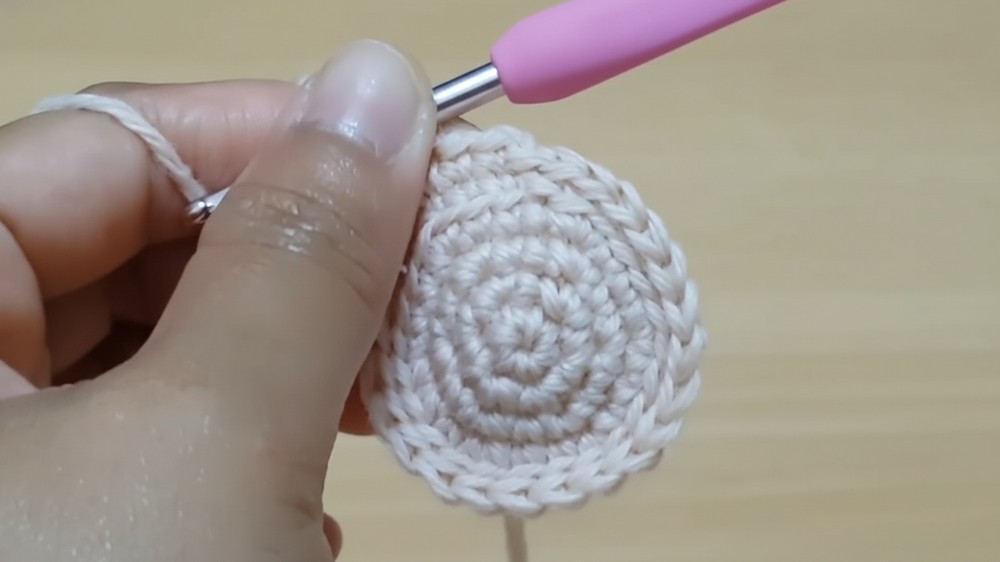
- Round 2: Chain one (not included in the stitch count), then make an increase (2 single crochets in the same stitch) in every stitch around. You should end this round with 12 single crochets. Slip stitch into the first stitch to close the round.
- Round 3: Chain one, make 1 single crochet in the first stitch and 1 increase in the next stitch. Repeat this pattern around the round to end with 18 single crochets. Close the round with a slip stitch in the first stitch.
- Round 4: Chain one, make 1 single crochet in the first two stitches followed by 1 increase in the third stitch. Repeat this pattern around to end with 24 single crochets. Slip stitch into the first stitch to complete the round.
Step 2: Build the Basket Walls
- Round 5: Chain one and make single crochets all around, inserting your hook into the back loop only to create the base edge of the basket. Continue until the round ends with 24 single crochets, then slip stitch into the first stitch.
- Rounds 6 to 9: Chain one at the start of each round and make single crochets around the basket. Repeat this process for four rounds, working in both loops this time. After the completion of each round, slip stitch into the first stitch.
3: Create the Basket Handle
- Chain 13 stitches to form the handle.
- Starting from the second chain from the hook, make single crochets for a total of 12. Chain one and fasten off.
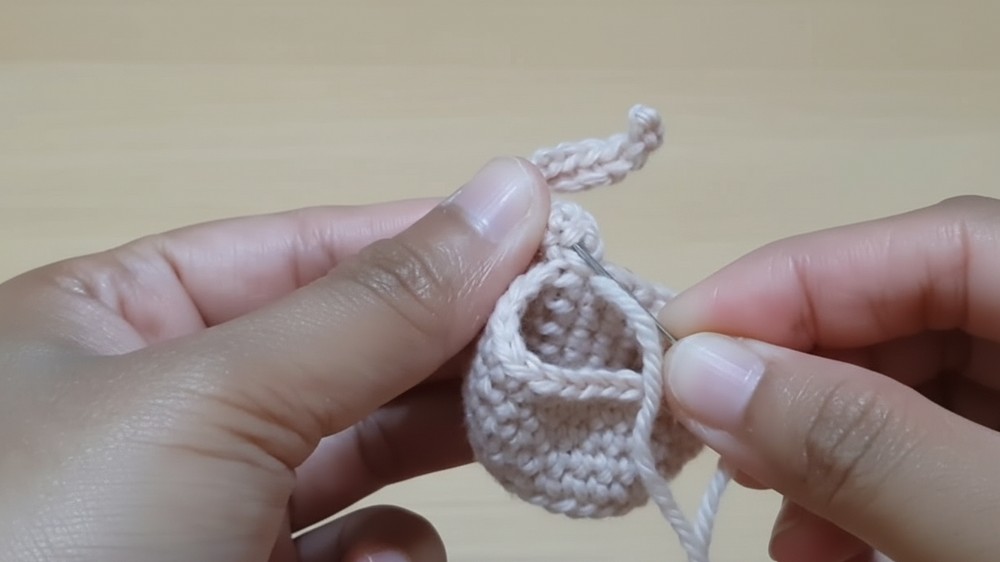
- Secure the basket handle by stitching it onto the sides of the basket:
-
- Attach one end of the handle to the basket body by sewing it to the starting stitch.
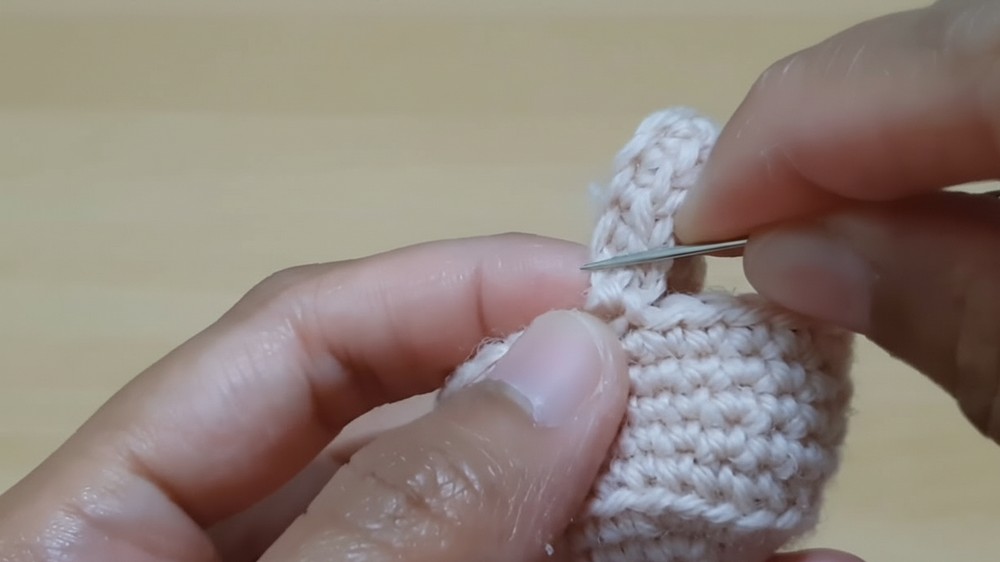
- Count 13 stitches across the basket (this will evenly space the handle) and attach the other end of the handle. Secure these firmly with a needle and trim the excess yarn.
Finishing Touches
- Turn the basket inside out to sew and hide any excess yarn or tails. Trim any leftover threads to clean up the inside.
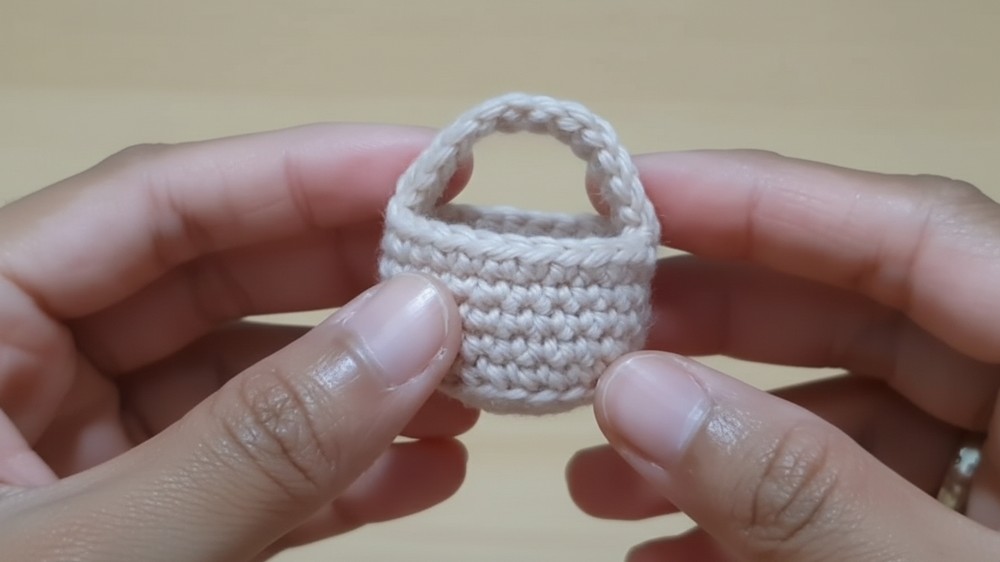
- Flip the basket back to the correct side. The basket is now complete and ready for use as an adorable accessory for your Little Red Riding Hood doll!
Special Features
- Customizable Design: The basket can be easily adjusted in size or color. You can use different yarn colors or types (e.g., cotton or acrylic).
- Back Loop Technique: The tutorial incorporates the back loop crochet method to create a flat base with defined basket walls.
- Simple and Compact: This project is straightforward and quick to finish, making it a great choice for beginners or experienced crocheters who want a fast and satisfying project.
Level of Difficulty
This project is beginner-friendly but also enjoyable for intermediate crocheters. It uses basic crochet techniques such as the magic ring, single crochet, increases, decreases, and working in back loops, making it accessible for anyone familiar with these stitches.
Tutor's Suggestions
- Chain 1 at the Start of Each Round: While this doesn't count as a stitch, it’s crucial for maintaining the structure of the basket.
- Pay Attention to Counting: Correctly count your stitches as increasing or decreasing errors can quickly change the shape of the basket.
- Use a Stitch Marker: This will help you keep track of the first stitch in each round to avoid confusion.
- Felt-Free to Customize: Use cotton yarn for a stiffer structure or experiment with colors to suit your doll or home décor.
Uses
- Doll Accessory: The basket pairs perfectly with a Little Red Riding Hood or other doll.
- Decorative Item: Use it as a small basket for trinkets or as part of a decorative setup.
- Gift Add-on: A thoughtful handmade add-on for custom gifts.
Pro Tip
To create a pristine and polished look, turn the basket to its wrong side before hiding excess yarn or stitches after sewing the handle. This step ensures a neat and clean interior, which enhances the overall attention to detail in your finished basket.
Conclusion
This pattern walks you through the process of crocheting a cute and practical basket for a Little Red Riding Hood doll. With simple techniques and clear instructions, this project is a fantastic way to enhance your crocheting skills or make a quick and personalized craft. Whether you follow the exact design or add your own creative twist, the result will be an adorable, handmade piece perfect for gifting or decorating.