
Mini Free Crochet Teddy Bear Keychain Pattern to Carry Everywhere
Highlight cute charm with this Free Crochet Teddy Bear Keychain Pattern, perfect to assemble, and add cheerful details to your keys.
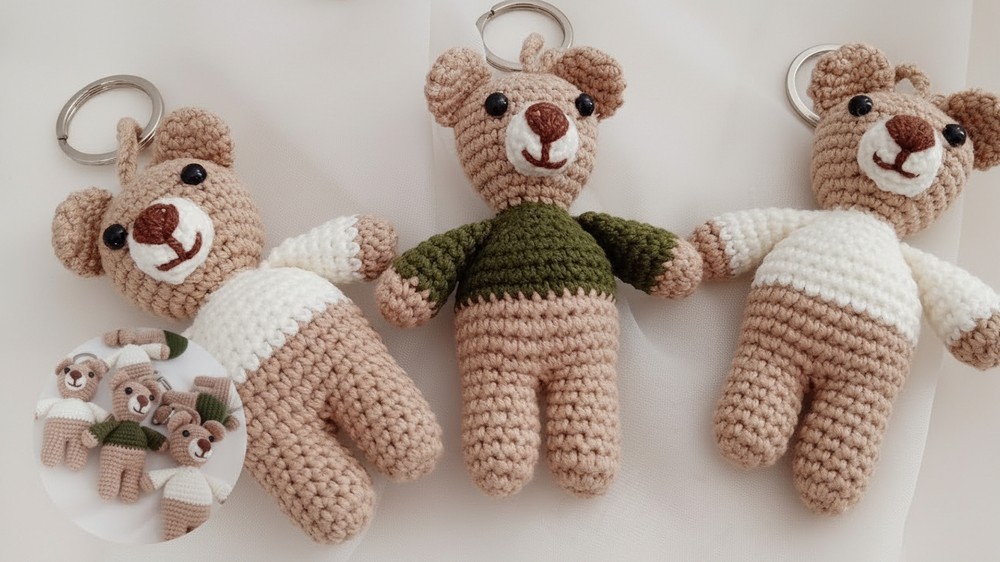
This adorable teddy bear instantly adds a playful and handmade charm to everyday items like keys, backpacks, or purses. Using the Crochet Teddy Bear Keychain pattern, you can create a small, soft, and rounded figure that captures the timeless appeal of a classic teddy bear. It also works beautifully as a thoughtful gift or decorative charm, adding personality and warmth to any accessory.
Crochet Teddy Bear Keychain Pattern for Pocket-Sized Charm
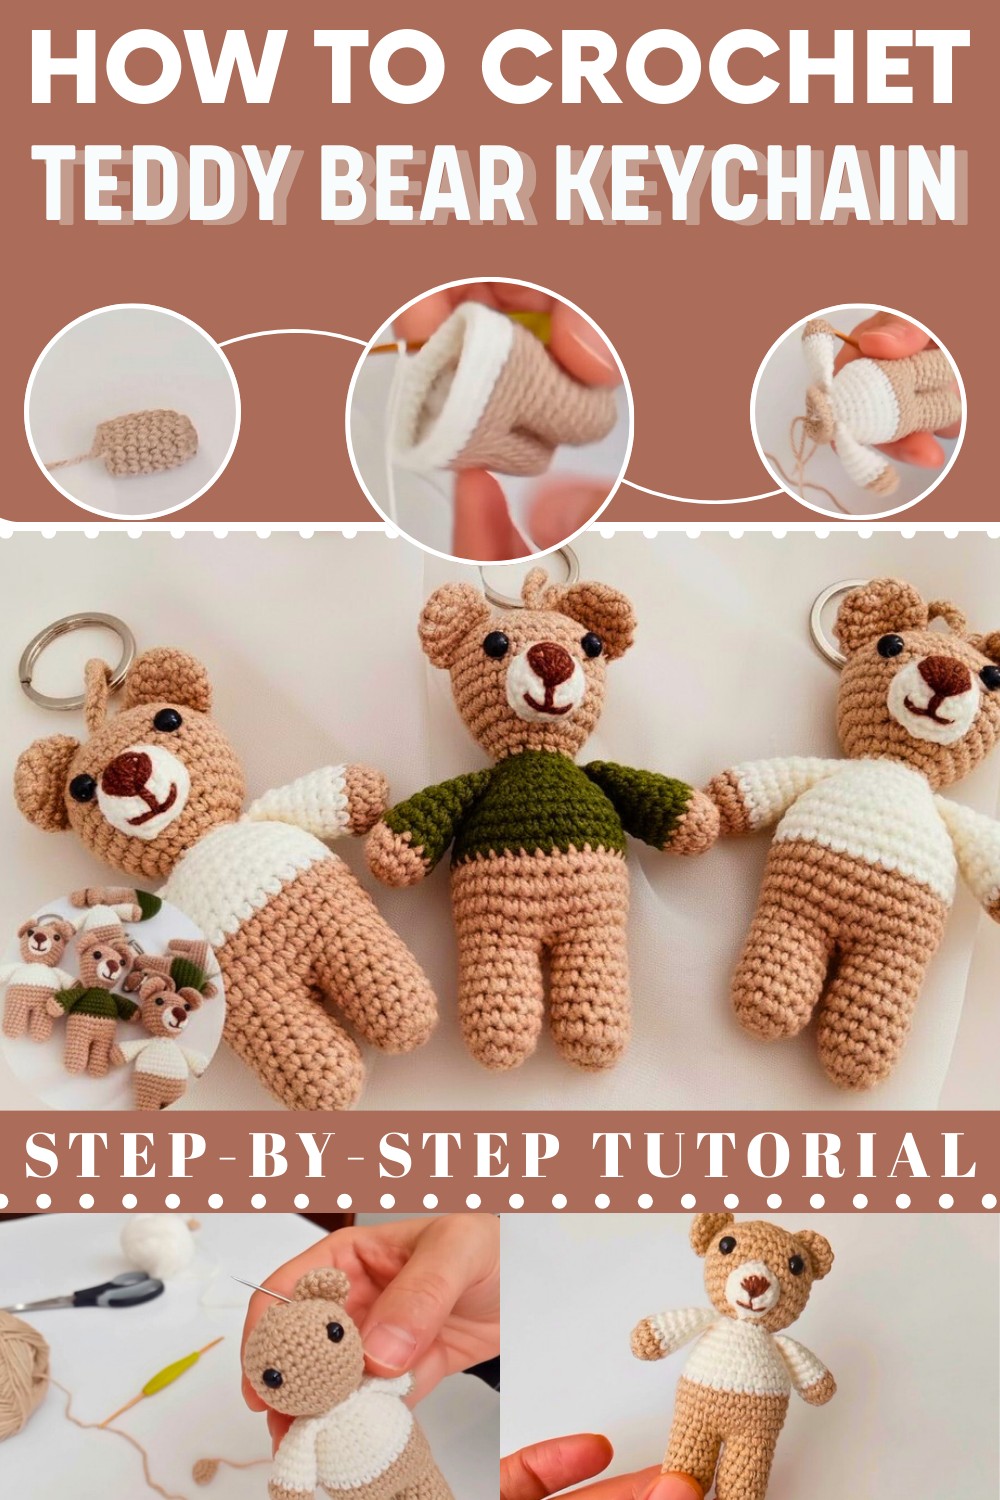
Making this teddy bear with the Crochet Teddy Bear Keychain pattern also provides practical benefits. It improves stitch tension, hand coordination, and confidence in shaping techniques. This project turns simple materials into a charming, handcrafted accessory that is delightful to make and enjoy.
Materials Needed
- Yarn:
- Body color: Milky brown (Alize Cotton Gold or equivalent cotton-blend yarn).
- Sweater color: Cream.
- Nose/Mouth: White yarn.
- Facial features: Thin black embroidery thread or yarn.
- Hook Size: 2.5mm or 3mm (adjust based on your tension).
- Stuffing: Polyfill for filling the head, arms, legs, and body.
- Safety Eyes: Two 6mm safety eyes (or embroidered eyes for a softer texture).
- Needle: Tapestry needle for weaving in ends and embroidery.
- Sewing Pins: For positioning features accurately when assembling.
- Scissors: For trimming excess yarn.
- Keychain Ring/Attachment: To convert your bear into a practical keychain.
Gauge
Gauge is not critical for this project, but aim for tight stitches to ensure that the stuffing does not show through.
Customization Ideas
- Colors: Customize the bear’s body, sweater, and nose for various color themes (e.g., pastel, monochrome).
- Expressions: Change facial details by adjusting the placement of the nose or using embroidered eyes for a softer finish.
- Accessories: Add items such as a bow tie, scarf, or miniature backpack.
Finished Size
The completed teddy bear keychain will be approximately 3-4 inches tall, depending on your yarn, hook size, and tension.
Special Techniques Used
- Magic Ring: Creates a closed starting point for circular crochet pieces.
- Single Crochet (sc): The basic foundation stitch for amigurumi.
- Increase: Two single crochets in one stitch, used for shaping.
- Decrease: Invisible decreases to reduce stitch count neatly.
- Slip Stitch: Seamlessly joins rounds or pieces.
- Embroidery: Used for detailed facial features like mouth and eyebrows.
- Assembly: Precise sewing to attach limbs, ears, and facial features securely.
Pattern Instructions
Step 1: Legs (Make 2)
- Round 1: Create a magic ring and secure it with a chain. Work 6 sc into the magic ring. (6 sts)
- Round 2: Work 2 sc into each stitch around (increase) to make 12 sts.
- Rounds 3–8: Work 1 sc in each stitch around. (12 sts per round)
- Finish off the first leg and make the second leg following the same steps.

Step 2: Join the Legs
- Joining: Use a slip stitch to connect the two legs directly, ensuring no chain in between to avoid gaps.
- Round 1: Work 24 sc around the joined legs evenly.
- Use a stitch marker to note your starting point.

Step 3: Body
- Round 2: Work [3 sc, increase] around until you reach 30 sc.
- Rounds 3–5: Work 1 sc in each stitch for 3 rounds (steady rows).
- Color Change: Switch to the sweater color (cream). Continue working 3 rows without increasing or decreasing. (30 sts per round)
Shaping & Assembly
- Round 6: Work [3 sc, decrease] around until you decrease to 24 sts.
- Round 7: Work 1 sc in each stitch (steady row) without increasing or decreasing. (24 sts)
- Round 8: Work [2 sc, decrease] around until you reduce to 18 sts.
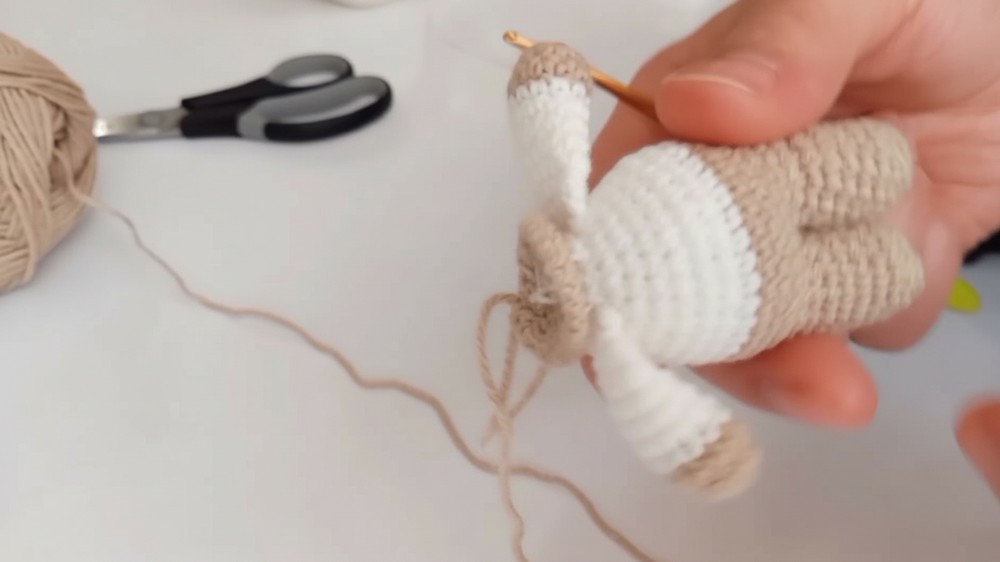
- Attach Arms: Use 4 sc to join each arm to the body evenly, with 5 sc spaces between each arm attachment.
Step 4: Head
- Round 1: Begin with a magic ring and work 6 sc into the ring.
- Round 2: Work 2 sc into each stitch (increase) to make 12 sts.
- Round 3: Work [2 sc, increase] around until you have 18 sts.
- Round 4: Work [3 sc, increase] around until you have 24 sts.
- Rounds 5–10: Work 1 sc in each stitch without increasing or decreasing.
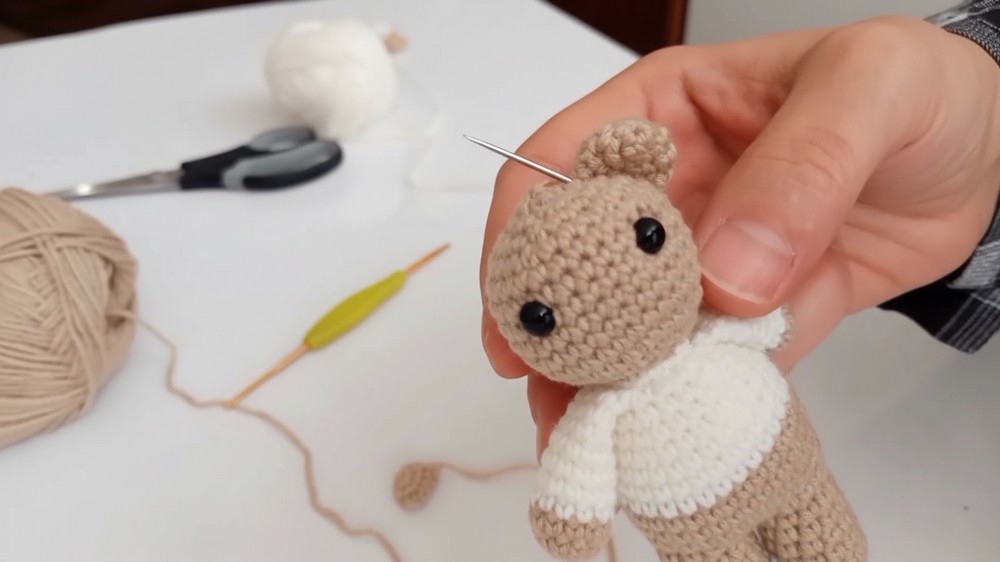
- Attach Eyes: Place the safety eyes evenly within the rows (usually between rows 6–7).
Shaping
- Round 11: Work [3 sc, decrease] around until you have 18 sts.
- Round 12: Work [2 sc, decrease] around until you reduce to 12 sts.
- Stuff Head Firmly: Fill the head tightly with polyfill before closing.
- Final Round: Decrease all around until you reduce to 6 sts. Use a tapestry needle to close the remaining opening.
Step 5: Ears (Make 2)
- Round 1: Create a magic ring and work 6 sc into the ring.
- Round 2: Work 2 sc into each stitch (increase) to make 12 sts.
- Round 3: Work 1 sc in each stitch evenly (steady row). (12 sts)
- Flatten: Fold the ear in half and join with single crochet stitches along the edge.
- Leave Tail: Leave a long tail for sewing. Attach ears symmetrically to the bear's head.
Step 6: Nose
- Round 1: Create a magic ring. Work 6 sc inside the ring.
- Round 2: Work 2 sc into each stitch to make 12 sts.
- Round 3: Work 1 sc in each stitch evenly (steady row).
- Embroider facial features such as the triangular nose and simple smiling mouth beneath the nose.
Finishing Assembly
- Attach Features: Place the nose symmetrically between the eyes using the long tail. Sew ears securely.
- Stuff & Close: Ensure the bear is firmly stuffed. Sew all openings closed neatly.
- Keychain Attachment: Use strong thread or yarn to securely attach the bear to the ring or chain.

Final Words
Your cute teddy bear keychain is now complete! The bear features its carefully detailed limbs, head, and adorable facial features. This easy-to-follow pattern makes it a fun project for both beginners and experienced crocheters looking for quick results.
Tips to Maintain the Pattern
- Stuffing: Avoid overstuffing limbs to maintain the shape.
- Embroidery: Practice facial features on a scrap before working on your bear to ensure proper placement.
- Assembly Precision: Use pins to test feature placement before sewing.
- Customization: Experiment with yarn textures, colors, and accessories for a personalized look.