
Playful Free Crochet Octopus Amigurumi Pattern for Kids & Babies
Enjoy a charming guide with this Crochet Octopus Amigurumi Pattern for cute toys, quick results, beginner friendly simple and gifting joy.
This charming amigurumi design brings life and warmth to any space, whether as a playful decoration, a cozy desk companion, or a thoughtful handmade gift. Its rounded body and delicate tentacles showcase intricate craftsmanship, making each piece visually appealing and satisfying to complete. The Crochet Octopus Amigurumi Pattern balances simplicity with detail, allowing crocheters of all skill levels to enjoy the process while achieving professional-looking results.
Adorable Free Crochet Octopus Amigurumi Pattern Everyone Is Making
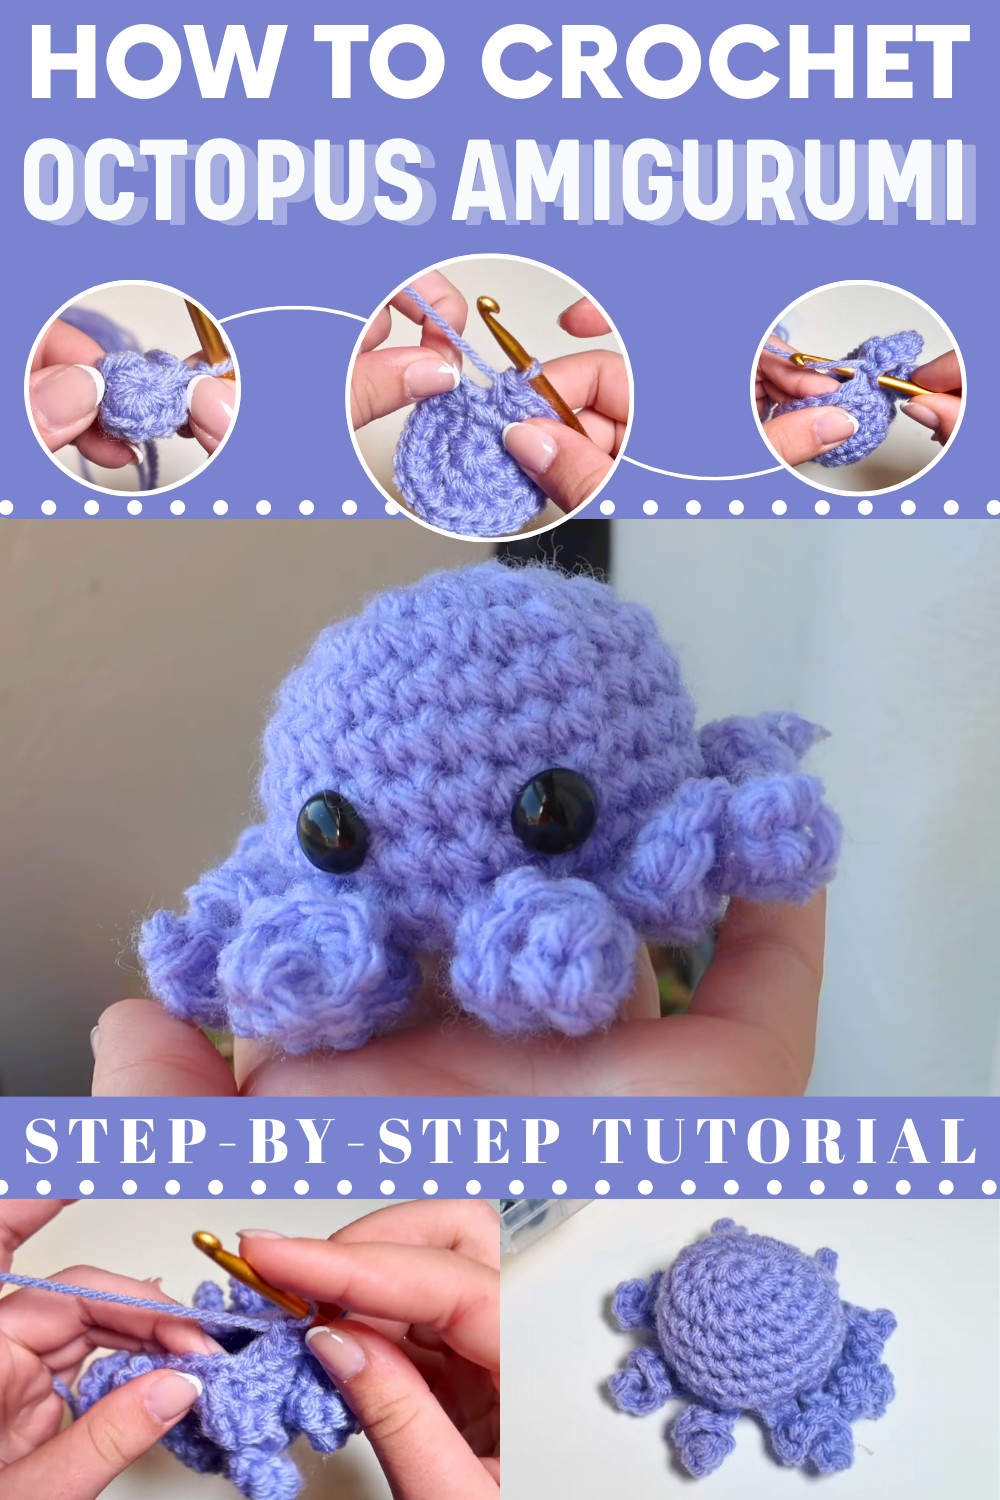
Working on it encourages mindfulness, patience, and creativity, turning every stitch into a relaxing, rewarding activity. The design also offers versatility, as color choices and yarn textures can personalize the piece, giving it a unique character.
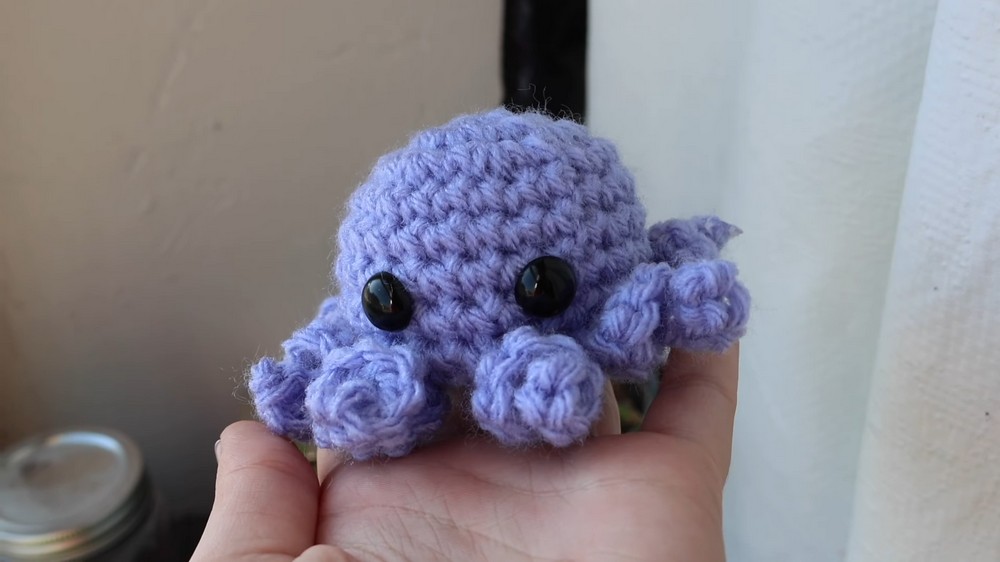
Lightweight and portable, it can brighten shelves, nurseries, or workspaces, adding charm without taking up much space. Beyond its aesthetic appeal, this project promotes a sense of accomplishment and joy, making it a delightful way to combine creativity, functionality, and handmade elegance.
Introduction
In this delightful video tutorial by Maddie, viewers learn how to crochet a tiny and adorable no-sew octopus. Maddie walks beginners and experienced crocheters through creating this charming project step by step. With its straightforward design, this crochet octopus is quick to make (only about an hour!) and features playful tentacles and customizable details. Perfect for gifts, decorations, or simply as a fun craft project, this video offers a stress-free and enjoyable crocheting experience.
Step-by-Step Details
Materials Needed
- Yarn: Medium-weight acrylic yarn (Maddie also recommends alternative yarn types like plush yarn if desired).
- Hook Size: 5 mm crochet hook (adjust the hook size to suit your yarn).
- Eyes: Plastic eyes (can be glued on) or alternative options like buttons, yarn, or safety eyes.
- Stuffing: Use fiberfill, yarn scraps, or pillow stuffing to stuff the octopus.
- Tools:
- Yarn needle for weaving ends and sewing closed the bottom.
- Scissors.
- Hot glue gun if attaching plastic eyes.
Step 1: Create a Magic Ring
- Start by crafting a magic ring: twist the yarn to form a loop, hold it around two fingers, and use your hook to pull the long strand of yarn through.
- Yarn over to create a chain and form the adjustable loop for the magic ring.
- Note: Maddie offers a link to a more detailed tutorial on making a magic ring for beginners, as it can be tricky at first.
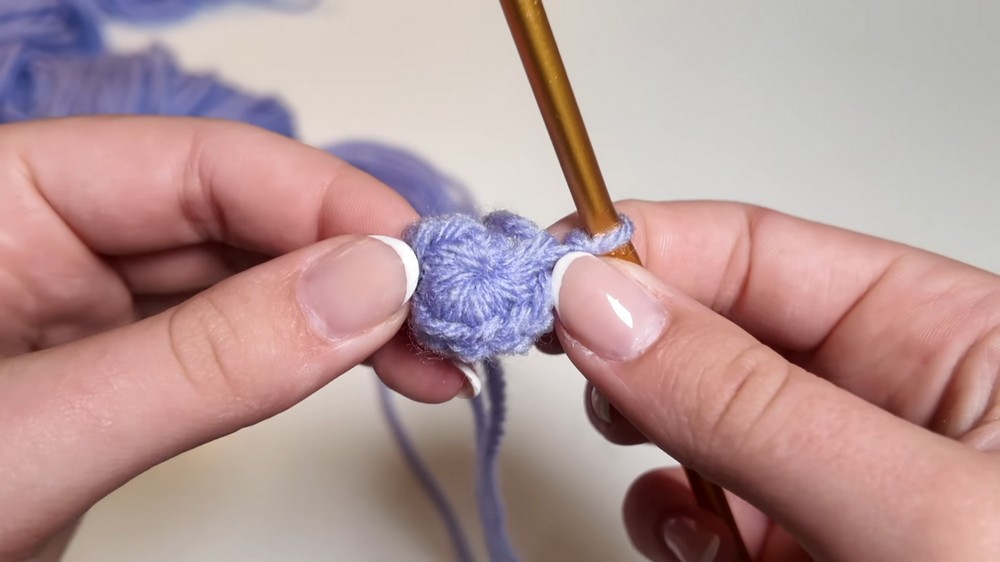
Step 2: Crochet the Foundation (Row 1)
- Make 8 single crochets inside the magic ring.
- Pull the tail of the yarn to tighten the magic ring, closing the circle.
- Join the round with a slip stitch in the first single crochet.
3: Build Rounds 2 and 3 (Increasing the Head)
- Row 2: Work 2 single crochets in each stitch, doubling the stitch count (16 stitches total).
- Row 3: Work the pattern: 2 single crochets in the first stitch, 1 single crochet in the next stitch, repeating all around (24 stitches total).
- Finish each row with a slip stitch to keep the rounds secure.
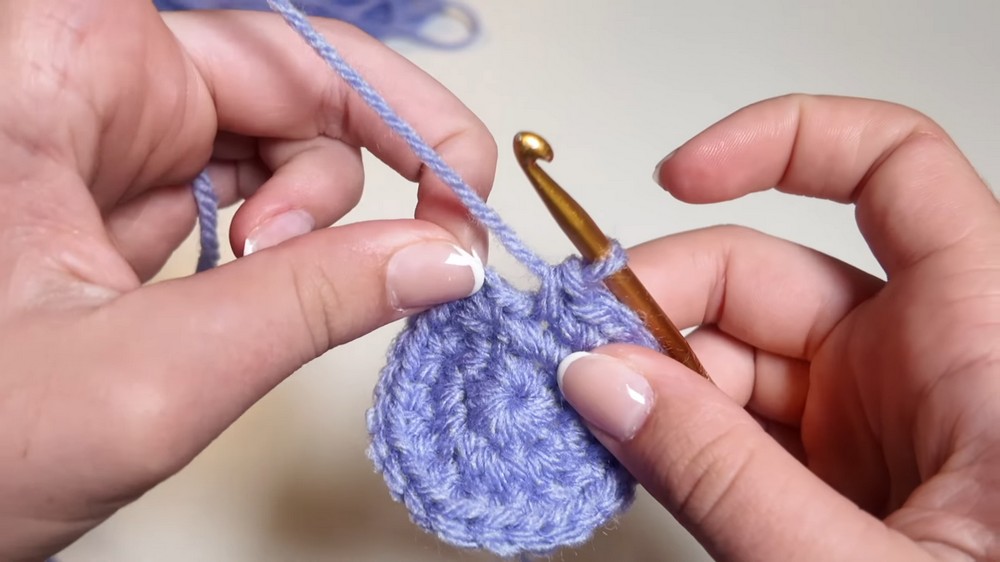
4: Crochet Rows 4 to 7 (Building the Body)
- Work 1 single crochet into each stitch around for rows 4 to 7.
- The head of the octopus will begin to form and slightly curl upward.
- Turn the work outward to ensure the "inside" of the octopus is correctly oriented.
5: Create the Tentacles (Row 8)
- In the first stitch, work 1 single crochet, then chain 8 stitches.
- Go down the chain: work 2 single crochets in each chain starting from the second chain from the hook.
- Secure the tentacle by making 1 single crochet in the next three stitches after the chain.
- Repeat the process: make a chain of 8, crochet down, and leave 3 stitches between each tentacle.
- Continue this pattern all the way around to form 8 tentacles.
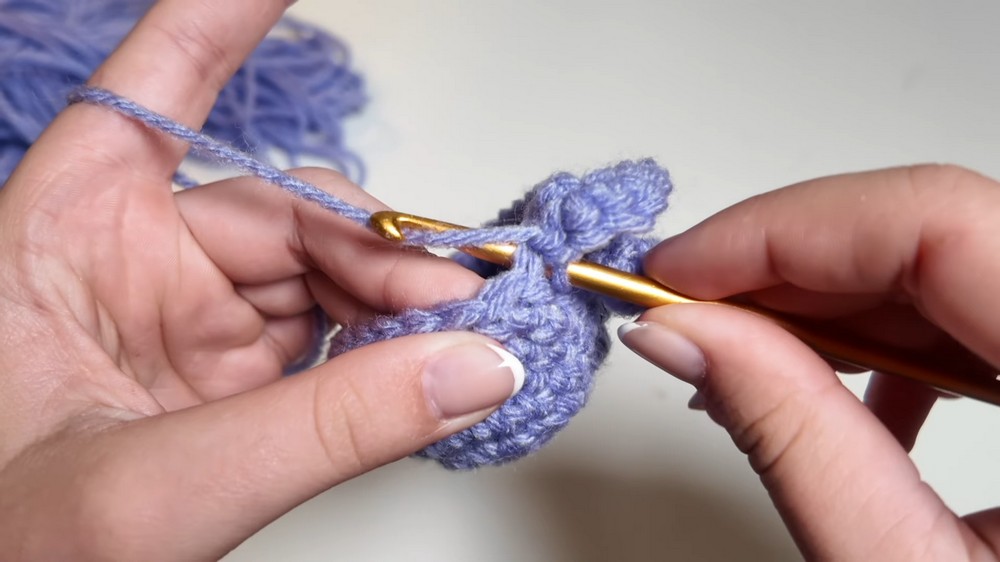
6: Start Closing the Octopus (Row 9)
- Work decreases to reduce the stitches:
- Make 1 single crochet in the first stitch, then use the next two stitches to form a decrease (combine two stitches into one).
- Repeat the pattern of single crochet, decrease all around.
- Adjust and work carefully around the tentacles, moving them out of the way while decreasing the head.
7: Final Closing (Row 10)
- Perform continuous decrease stitches to close the opening at the bottom.
- Chain 1, fasten off, and cut the yarn, leaving a long tail for sewing.
8: Stuff and Finish
- Use stuffing to fill the octopus.
- Seam the opening by weaving the tail of yarn through the remaining stitches.
- Gently pull the tail tight to close the opening completely, then secure the tail and hide it within the body.
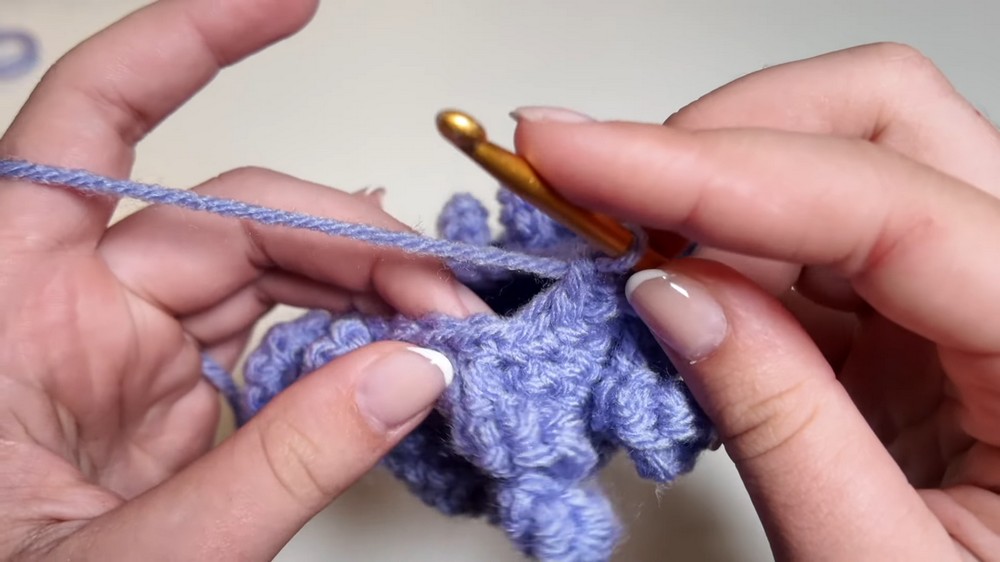
9: Add Eyes
- Use a glue gun to attach plastic eyes, ensuring proper placement. Alternatively, sew eyes with buttons or yarn.
- Customize the look by adjusting the size, placement, or type of eye materials.
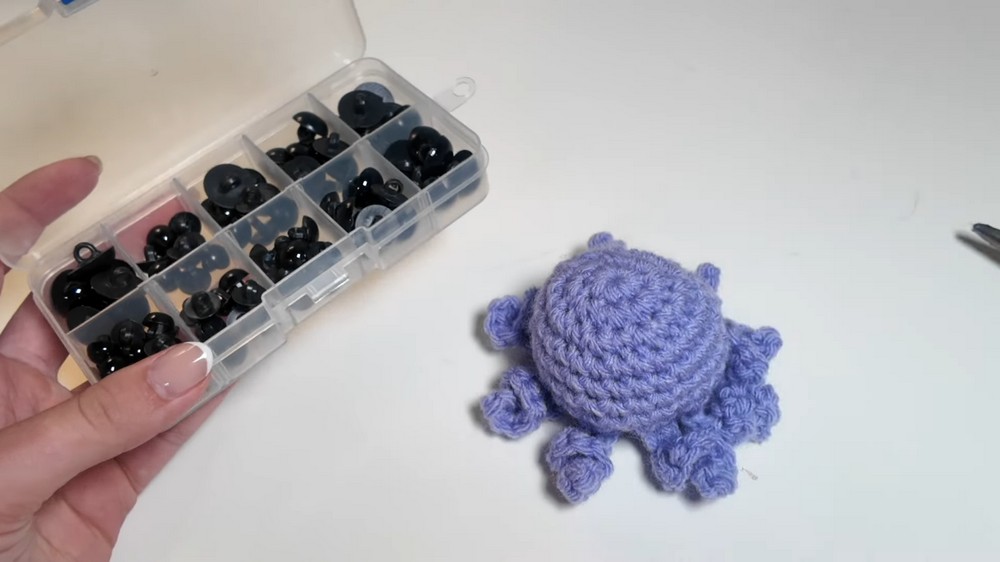
Special Features
- No-Sew Design: Aside from closing the bottom, there’s no need to sew separate parts together, making the process much simpler!
- Quick Craft: This project can be completed in about an hour, perfect for whipping up multiple items.
- Customizable: Use different yarn textures, weights, and colors to personalize each octopus, or even experiment with embellishments like beads or embroidery.
- Beginner-Friendly: Straightforward stitches and repetition make this a great project for new crocheters.
- Adorable Tentacles: The curly tentacles form naturally with the stitch pattern, giving it a fun, playful look.
Level of Difficulty
The project is beginner-friendly, but there is one moderately challenging row (Row 9) where decreases need to be performed around the tentacles. Maddie provides slow and clear instructions, making it achievable with a little patience.
Tutor’s Suggestions
- Be Patient with the Magic Ring: For beginners, the magic ring can be tricky, but practice will make it easier. Maddie links an additional tutorial for this technique.
- Use the Proper Hook Size: Pair your hook size with your yarn weight to maintain shape and texture.
- Align the Eyes Carefully: Before gluing, test the placement of the eyes to ensure they look balanced.
- Take Your Time with Stuffing: Maddie recommends personalizing the softness and carefully closing to ensure a rounded shape.
Uses and Applications
- Gifts: Great for birthdays, holiday presents, or baby showers.
- Decorations: Perfect for a playful ambiance in a bedroom, office, or nursery.
- Stress Toy: The soft, rounded shape can serve as a cute stress-relief toy.
- Customization: Make themed octopuses (e.g., holiday designs) or matching sets in different sizes using various yarn weights.
Tip
To avoid frustration when working with the magic ring or decreasing stitches, take your time and focus on your tension. Loose tension makes the project more manageable, especially for beginners.
Conclusion
Pattern for crocheting a no-sew octopus is both fun and practical, offering crocheters a quick and rewarding project. The octopus's whimsical design, tiny tentacles, and customizable features make it an exciting addition to any crafting repertoire. With clear guidance and a little creativity, you can make an adorable little octopus in no time.