
Irresistible Crochet Christmas Elf Pattern That Spreads Cheer
Stitch festive cheer with this Free Crochet Christmas Elf Pattern that's perfect to personalize and adorn your holiday décor with charm.
This festive figure adds a joyful and cozy touch to your holiday decorations, making it perfect for hanging on a Christmas tree, using as a cheerful gift topper, or placing on shelves to spread seasonal cheer. Using the Crochet Christmas Elf pattern lets you create a tiny helper with a pointed hat, little shoes, and bright colors that bring personality and charm to any space.
Must-Make Crochet Christmas Elf Pattern for Holiday Fun
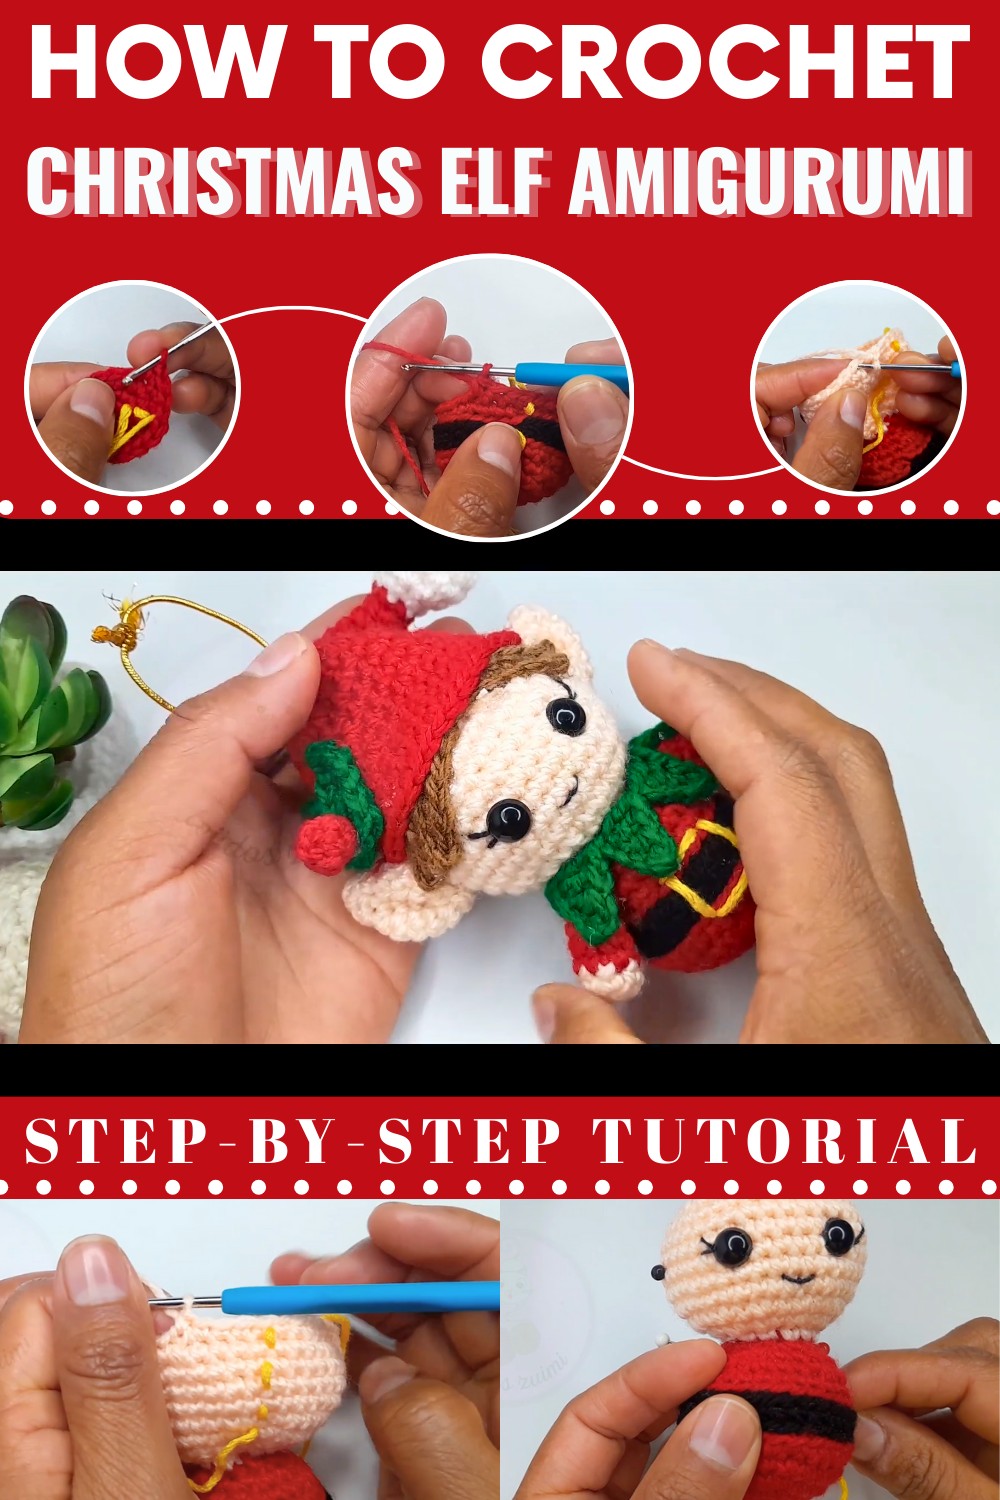
This pattern is beginner-friendly and requires minimal materials, yarn, a hook, stuffing, and safety eyes, yet produces a soft, portable, and vibrant elf. Many people enjoy the process because it’s relaxing and satisfying, a fun way to unwind, be creative, and produce something meaningful that friends or family will love.
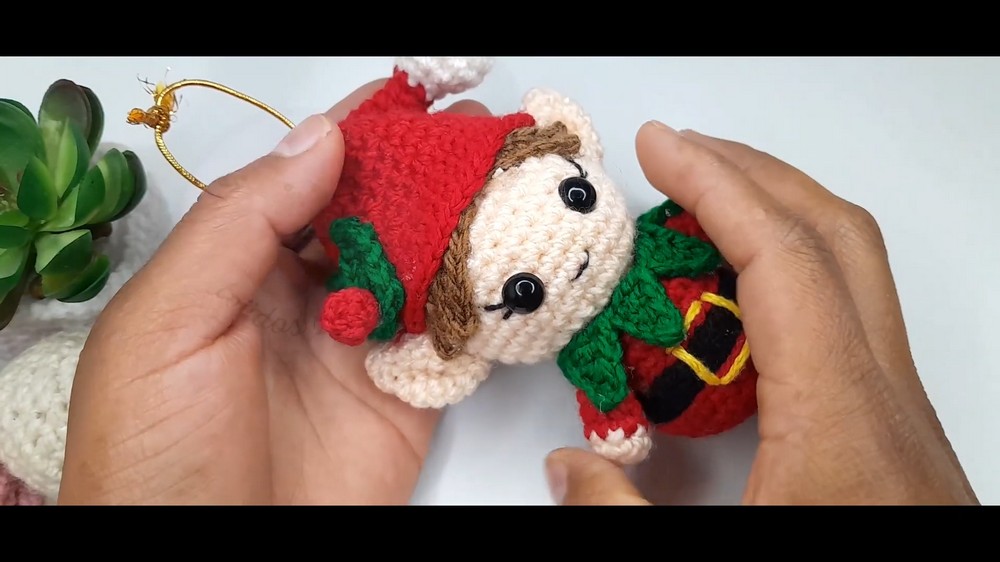
Christmas Elf Amigurumi Pattern
Materials
- Yarn: 2 mm thickness (or sport/fine weight)
- Red (body, hat, arms)
- Green (hat leaves, collar)
- Brown (shoes)
- Black (belt)
- Flesh (head, ears, hands)
- Yellow (belt buckle)
- White (hat pom-pom)
- Hook: 2.0 mm crochet hook
- Stuffing: Polyester fiberfill
- Safety eyes: 9 mm
- Sewing/tapestry needle
- Pins (for assembly)
- Gold thread (for hanging)
- Scissors
- Silicone glue (hot or cold, optional)
- Felt (optional for belt buckle)
Abbreviations (US Terms)
| Abbreviation | Meaning |
|---|---|
| MR | Magic ring/circle |
| sc | Single crochet |
| hdc | Half double crochet |
| inc | Increase (2 sc in same st) |
| dec | Decrease (sc2tog) |
| sl st | Slip stitch |
| ch | Chain |
| st(s) | Stitch(es) |
| BLO | Back loop only |
| FLO | Front loop only |
Special Notes
- Work in continuous rounds unless otherwise specified.
- Use a stitch marker for the first stitch of each round.
- Stuff parts as you go.
- For color changes, finish the last stitch of the previous color with the new color for a neat transition.
- Use either sewing or silicone glue to secure small parts and decorations.
Pattern
BODY
With red yarn:
- MR, 6 sc in ring. (6 sts)
- Rnd 2: Inc in each st around. (12 sts)
- Rnd 3: (1 sc, inc) x6. (18 sts)
- Rnd 4: (2 sc, inc) x6. (24 sts)
- Rnd 5: (3 sc, inc) x6. (30 sts)
- Rnd 6: Sc in each st around. (30 sts)
- Before finishing last st, change to black yarn.

Belt
- With black yarn:
- No. of round: BLO slip stitch in each st around (does not count as a round, acts as a line).
- Rnd 7: BLO sc in each st around with black.
- Before finishing last st, switch back to red.
- With red yarn:
- No. of round: BLO slip stitch in each st around with red (does not count as a round).
- Rnd 8: BLO sc in each st around.

Body Tapering
- Rnd 9: (3 sc, dec) x6. (24 sts)
- Rnd 10: (2 sc, dec) x6. (18 sts)
- Stuff body.
- Rnd 11: (sc, dec) x6. (12 sts)
- Before finishing last st, change to flesh color for the neck/head.
HEAD
With flesh yarn:
- Rnd 12: FLO sc in each st around. (12 sts)
- Rnd 13: FLO inc in each st around. (24 sts)
- Rnd 14: (sc, inc) x12. (36 sts)
- Rnd 15–20: Sc in each st around. (36 sts, 6 rounds)
- Insert safety eyes between rounds 17 and 18, with 5 sc between each eye.
- Add a little more stuffing.
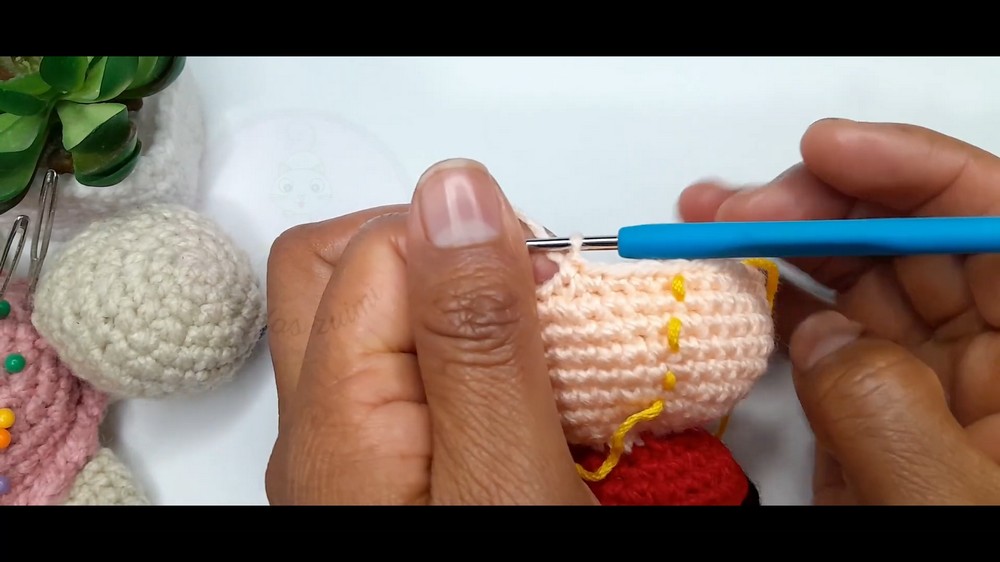
Decreasing for Head Shaping
- Rnd 21: (4 sc, dec) x6. (30 sts)
- Rnd 22: (3 sc, dec) x6. (24 sts)
- Rnd 23: (2 sc, dec) x6. (18 sts)
- Rnd 24: (sc, dec) x6. (12 sts)
- Rnd 25: Dec x6. (6 sts)
- Finish stuffing head.
- Cut a long tail. Use tapestry needle to close hole by weaving through FLO of last 6 sts, pull tightly and hide end.
HAT & HAT POM-POM
Pom-pom (White)
- MR, 6 sc in ring. (6 sts)
- Rnd 2: Inc in each st around. (12 sts)
- Rnd 3: (sc, inc) x6. (18 sts)
- Rnd 4–5: Sc in each st around. (18 sts per round)
- Rnd 6: (sc, dec) x6. (12 sts)
- Begin stuffing.
- Rnd 7: Dec x6. (6 sts)
- Stuff fully.
Begin Hat (Red)
- Change to red at end of last round.
Sc in each st around (carry white for 2–3 sts, then cut off).- Add extra stuffing if needed.
- Rnd 8: (sc, inc) x3. (9 sts)
- Rnd 9: Sc in each st around. (9 sts)
- Rnd 10: (2 sc, inc) x3. (12 sts)
- Rnd 11: Sc in each st around. (12 sts)
- Rnd 12: (3 sc, inc) x3. (15 sts)
- Rnd 13: Sc in each st around. (15 sts)
- Continue increasing (add a few more increase rounds if you want a bigger/floppier hat).
- Work even until desired length; refer to video for pointed/curled look. Fasten off, stuff lightly, sew to head.
HAT LEAVES (Make 2)
With green yarn:
- Ch 6.
- Starting in 2nd ch from hook: sl st, sc in next 2 ch, hdc in next ch, 3 hdc in last ch (triple inc).
- Turn to work down the other side: hdc in next ch, sc in next 2 ch, sl st in last ch.
- Fasten off, weave in end.
EARS (Make 2)
With flesh yarn:
- MR, 4 sc in ring. (4 sts)
- Rnd 2: (sc, inc) x2. (6 sts)
- Rnd 3: (sc, inc) x3. (9 sts)
- Rnd 4: (2 sc, inc) x3. (12 sts)
- Rnd 5–7: Sc in each st around. (12 sts)
- Fasten off, fold in half, sew together at the bottom, and leave tail for attaching to head.
ARMS (Make 2)
With flesh yarn:
- MR, 6 sc in ring. (6 sts)
- Rnd 2: (2 sc, inc) x2. (8 sts)
- Before the last st, change to red.
- Rnd 3: Sc in each st with red. (8 sts)
- Cut off flesh yarn.
- Rnd 4: (2 sc, dec) x2. (6 sts)
- Rnd 5–7: Sc in each st. (6 sts)
- Fasten off, stuff lightly.
COLLAR (Green "Scarf"/Peaks)
With green:
- Make 8 peaks:
- Ch 5.
- Starting in 2nd ch from hook: sc, hdc in next, dc in last 2 chs.
- Rep 8 times, end with long tail.
- Sew or glue around neck after assembly, matching video/photo for placement.
HAIR
With brown/yellow yarn:
- Ch 7.
- Starting in 2nd ch from hook: sc in next 2 ch, hdc in next 4 ch.
- Repeat sequence for 4 "strands." Fasten off, weave in, and glue/sew to top of forehead.
FACE DETAILS
- Embroider eyelashes and mouth using black embroidery thread:
- Lashes: Outwards, between rounds 17/18 and 18/19, just below and to side of eyes.
- Mouth: Curve between rounds 15/16, centered below eyes.
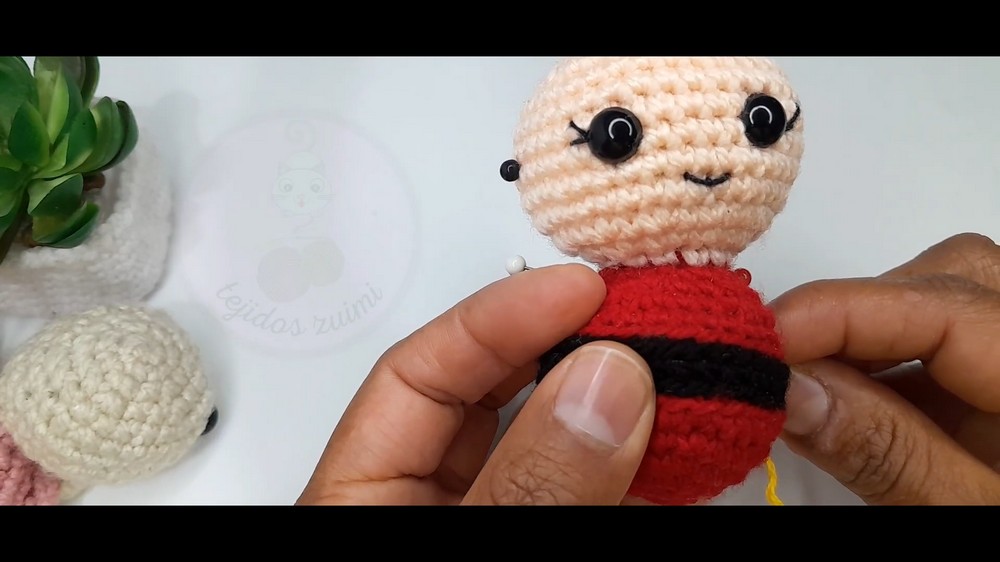
ASSEMBLY
- Sew ears to head (between rounds 17/18/19, about 5 sc from edge of eye, spanning 3 sts each).
- Sew/attach hair between rounds 22 and 23.
- Sew/glue leaves and fence to hat.
- Attach hat over head, tilt as shown.
- Sew arms to body, using ears as guide for alignment.
- Sew/collar around neck and arrange peaks.
- Embroider or glue yellow belt buckle at front of belt (use yarn or felt).
- Add hanging thread to the top of the hat if for ornament.
Conclusion
Your Christmas Elf Amigurumi is finished and ready for gifting or decorating! This festive elf, with its detailed accessories and cheerful features, makes a delightful addition to any holiday setup.
Pattern Correction
- Be careful to use BLO and FLO as indicated for decorative ridges/stripes.
- For the collar and leaves, use long starting/finishing tails for simpler attachment.
Tips
- Always use stitch markers for round beginnings.
- Stuff parts as you go–and not too firmly at joints for easier sewing.
- Use pins to lay out features before sewing.
- Secure knots inside and glue for extra durability, especially if using as an ornament.
- Adjust color schemes for your own unique elves!