
Free Crochet Mushroom Pattern for Rustic Decor
Grow whimsical vibes with this Crochet Mushroom Pattern bringing fairy tale charm and a cute accent for rooms, gifts, seasonal displays.
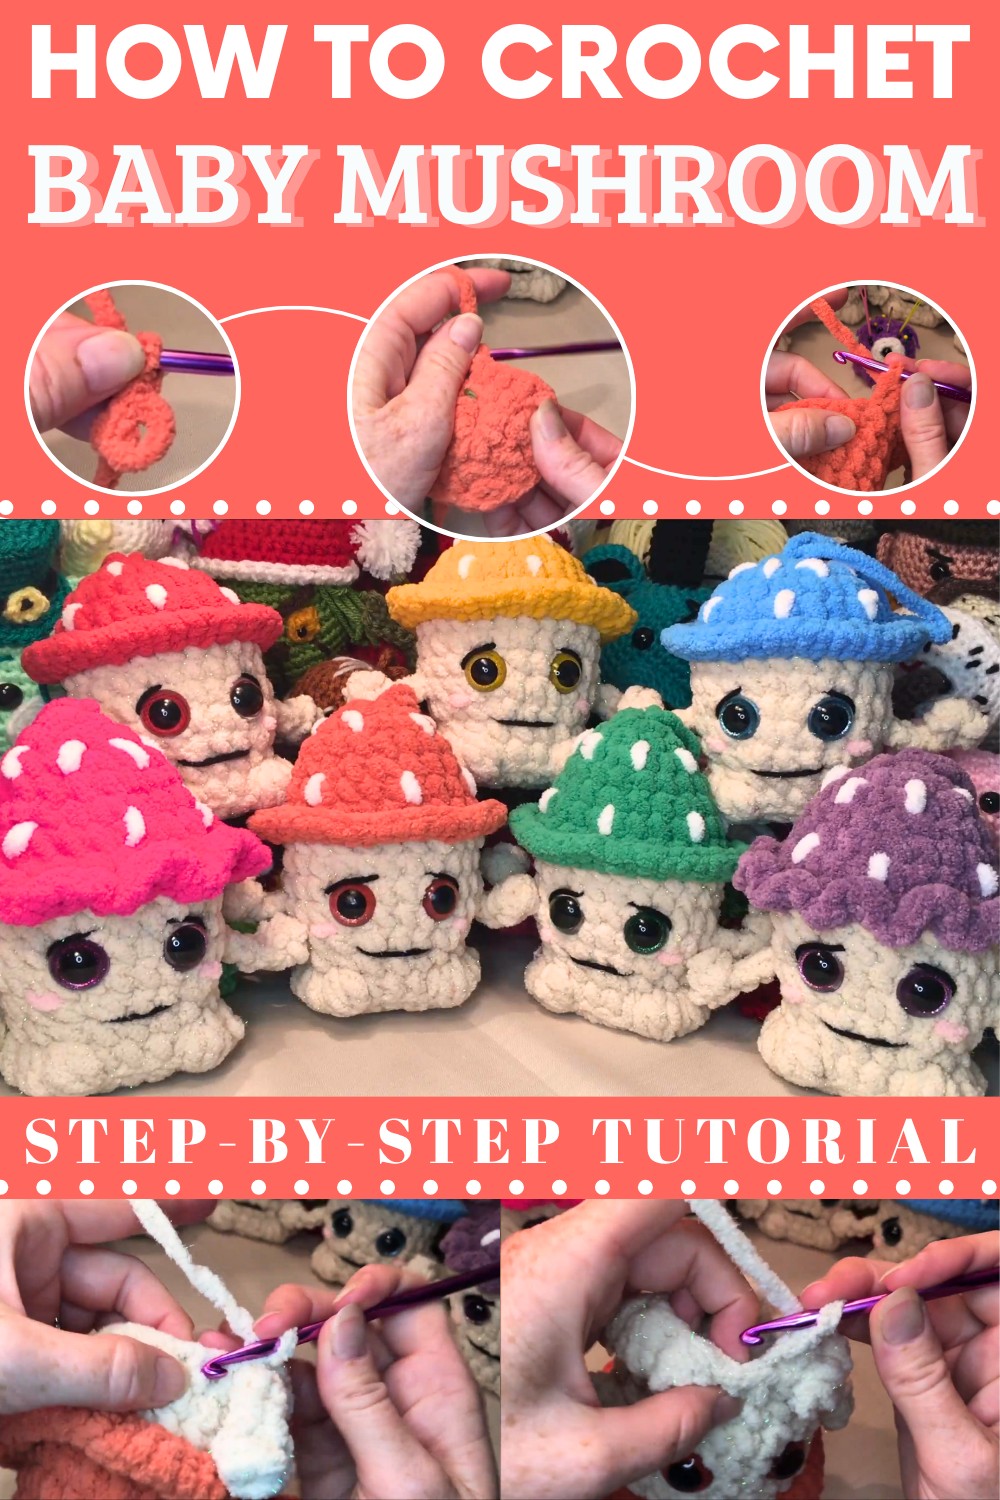
Magical Crochet Mushroom Pattern for Storybook Decor
Finding a tiny forest friend brings a sense of joy and peace to your day. This design is wonderful because it is small and very fast to finish in one sitting. You only need a little bit of yarn, so it is a perfect way to use up leftover scraps from other work. You can turn this cute item into a keychain, a bag charm, or even a tiny decoration for a fairy garden. It makes a wonderful handmade gift for a nature lover or a child who enjoys pretend play.
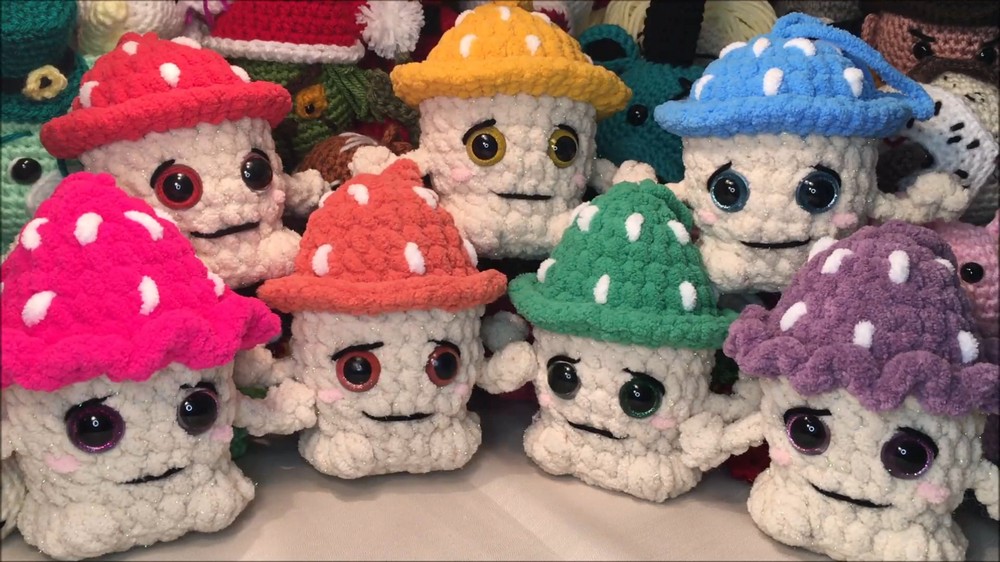
One of the best things about this project is how much fun you can have with different colors. You can try pink, blue, or even sparkly yarn for a magical look. This hobby helps you relax and focus your mind on something peaceful and productive. You add stitches to make it grow wider until it looks like a little hat. Next, you switch to white yarn to form the stem of the plant.
Free Crochet Amigurumi Mushroom Pattern
Materials
- Yarn:
- Plush version: Super bulky plush/chenille yarn (#6, e.g. Bernat Blanket)
- Small version: Worsted weight yarn (#4)
- Mushroom cap color(s) (any), stem color (e.g. white, beige)
- Crochet hook:
- 5.5 mm (for plush, #6 yarn)
- 4.25 mm (for worsted, #4 yarn)
- Safety eyes:
- 20 mm (for plush size)
- 8 mm (for small size)
- Stuffing: Polyester fiberfill
- Tapestry (darning) needle
- Scissors
- Stitch marker (or scrap yarn)
- Scraps of black and pink yarn (for face/cheeks)
- Small amount of white yarn or embroidery floss (for cap spots)
- (Optional) Keyring (if making a keychain)
Abbreviations (US Terms)
- sc – single crochet
- inc – increase (2 sc in same stitch)
- dec – decrease (sc 2 together)
- sl st – slip stitch
- st(s) – stitch(es)
- rep – repeat
- FLO – front loop only
- BLO – back loop only
- ch – chain
- dc – double crochet
- cluster – follow cluster special instructions below
Special Notes
- Work in continuous rounds; do NOT join unless specified.
- Use a stitch marker to keep track of first stitch in each round.
- The pattern gives instructions for both sizes—pick one mushroom cap style:
- Tall/pointy cap: Begin with 8 sc in ring, do all rounds as written.
- Short/round cap: Begin with 12 sc in ring, skip round 2, then follow all rounds.
- For the brim you may choose:
- Flat brim: 2 sc per st (48 sts in round).
- Ruffly brim: 3 sc per st (72 sts in round).
Pattern
Mushroom Cap
Tall/pointy cap:
- Round 1: 8 sc in magic ring. (8)
- Round 2: Sc, inc around. (12)
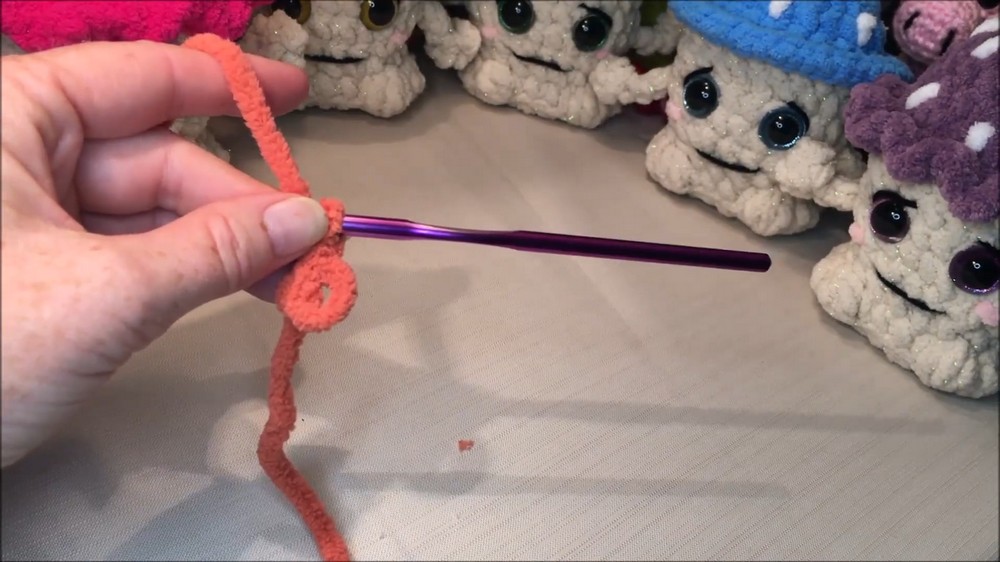
Short/round cap:
- Round 1: 12 sc in magic ring. (12)
- (Skip round 2.)
From this point on, both sizes continue as follows:
Round 3:
- Sc, inc around. (18)
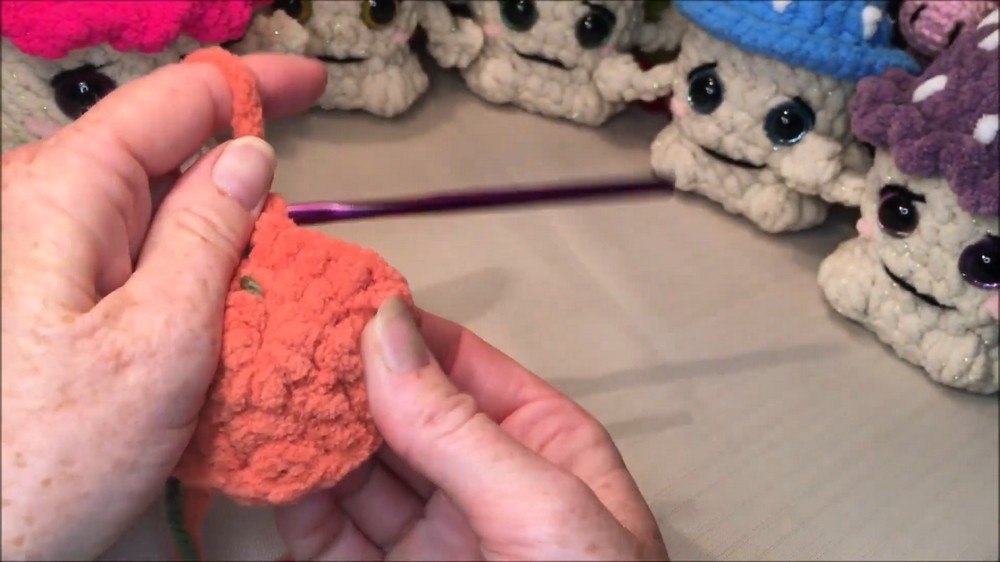
Round 4:
- (Tall cap only) Sc in each st around. (18)
- (Short/round cap, skip this round.)
Round 5:
- Sc in next 2 sts, inc around. (24)
Rounds 6–7:
- Sc in each st around. (24, two rounds)
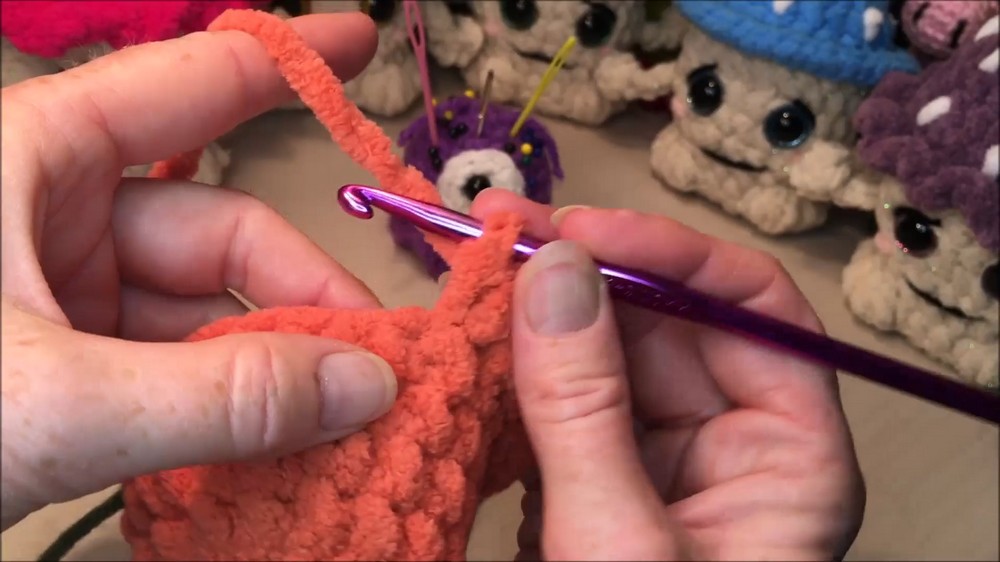
Brim (Choose Style, work in FLO of last round):
- Flat Brim:
- 2 sc in each st around. (48)
- Ruffly Brim:
- 3 sc in each st around. (72)
Finish with a sl st to the next st. Fasten off, leave a long tail for weaving/hanging if desired.
Cap Spots (Optional)
With tapestry needle and white yarn/floss, embroider spots on cap before assembly for easiest access.
Attach Stem (Body Color)
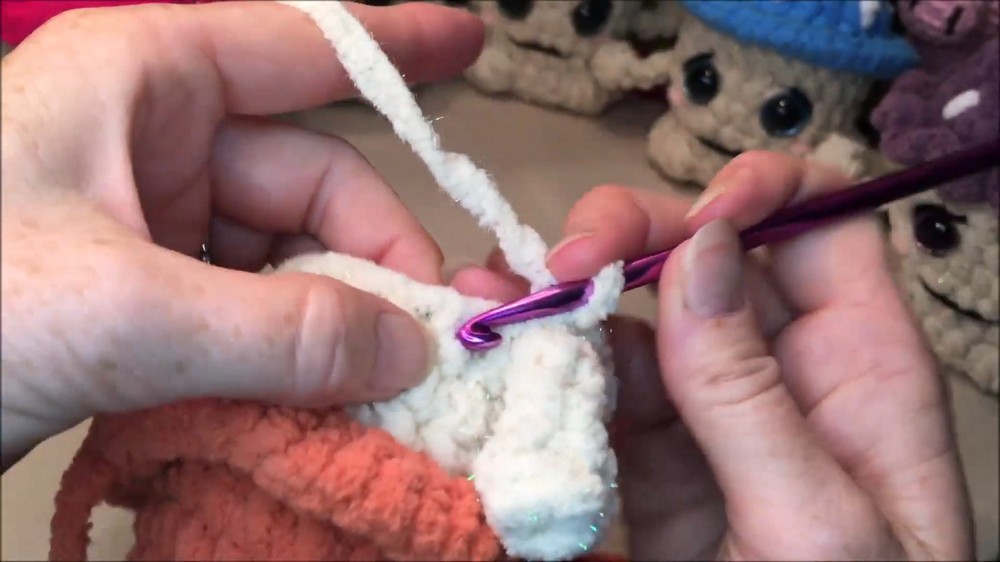
Attach stem yarn to the BLO of round 7’s stitches.
Round 1 (Stem/Body, BLO):
- Sc in each st around. (24)
Round 2:
- Sc in each st around. (24)
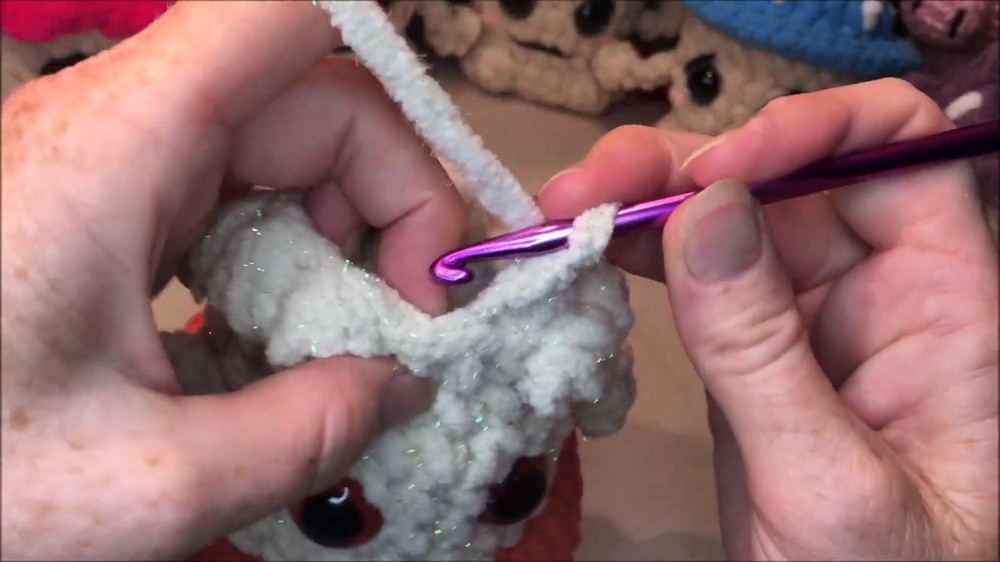
Arms (Worked into Body)
Next round:
- Sc in next 6 sts.
- First arm: Ch 6, work a 3 dc-cluster in the second ch from the hook (see special stitch below), sl st in remaining chains to return to base.
- Sc in next 12 body sts.
- Second arm: Ch 6, work a 3 dc-cluster in the second ch from the hook, sl st in remaining chains.
- Sc in last 6 sts.
Special: Double Crochet Cluster for hands/arms
- Yarn over, insert hook into st, yarn over and pull up a loop, yarn over and pull through two loops, leave loops on hook.
- Repeat two more times (3 total).
- Yarn over and pull through all 4 loops for a cluster.
Single Crochet Rounds
Next round:
- Sc in each st around, working behind the arms as needed. (24)
Body Decreases
Next round:
- Sc in next 2 sts, dec around. (18)
Next round:
- Sc in each st around. (18)
Toes ("Feet") Row
- Sc in next 5 sts.
- (3 x dc-clusters in next 3 sts) makes right “toes.”
- Sc in next 4 sts.
- (3 x dc-clusters in next 3 sts) makes left “toes.”
- Sc in last 3 sts.
Attach Eyes & Stuff
- Insert safety eyes above toes, between arms (as shown), evenly spaced.
- Add fiberfill stuffing. Shape cap and body.
Final Closing
Next round (BLO):
- Sc, dec around. (12)
Next round:
- Dec around. (6)
- Sl st to next st, fasten off, leaving a long tail.
- Add more stuffing if needed.
- Use needle to weave through front loops, pull to close.
Face Embroidery
- Embroider mouth and eyebrows with black yarn/thread.
- Add pink cheeks with yarn or blush (optional).
- Embroider additional white cap spots if desired.
(Optional) Loop for Hanging
- Using cap yarn, fold into loop, attach at center top of cap, secure and weave in ends.
Conclusion
You’ve finished your adorable mini mushroom plush! This pattern is highly customizable—choose your favorite yarn, cap style, and add a loop for hanging or use as a keychain. The arms and toes (using cluster stitches) bring this little mushroom to life.
Pattern Corrections & Tips
- Correction: Check arm/toe placement—if your stitch count is off by one, lightly adjust between arms/toes.
- Tip: For ruffly brims, keep a loose tension to prevent rippling.
- Tip: Stuff the cap firmly for best shape, but do not overfill the base so the mushroom sits flat.
- Tip: Embroider features before closing for neatness.
- Tip: Practice dc-clusters before starting for smooth hands/feet.