
Cozy Crochet Dog Puppy Pattern for Pet Enthusiasts
Meet an adorable crochet dog puppy pattern that's easy to follow, offering endless charm and a heartfelt touch for gifts or cozy additions to your home.

Who doesn’t love an adorable little puppy that you can create with just a bit of yarn and creativity? This no-sew crochet puppy pattern is a charming and delightful project that combines simplicity with style.
Beautiful Crochet Dog Puppy Pattern That Stands Out
Its floppy ears, soft body, tiny paws, and a cute little tail, it’s an irresistibly cuddly design that can brighten up anyone’s day. Whether you’re making it as a toy for kids, a thoughtful handmade gift, or a cozy piece of home décor, this project is sure to spread smiles wherever it goes.

Detailed Crochet Pattern: No-Sew Puppy Amigurumi
Materials Needed
- Yarn: #4 Medium-weight yarn in ~3 colors:
- Main body color (e.g., white or brown)
- Accent feature(s) color (e.g., black, brown, or contrast for paws, muzzle, and details)
- Optional collar/tag color.
- Hook: 4.25 mm crochet hook.
- Eyes: 14 mm safety eyes.
- Stuffing: Polyester fiberfill.
- Darning Needle: For attaching muzzle, ears, tail, and weaving ends.
- Stitch Markers: To track the beginning of rounds.
- Scissors: For trimming yarn.
- Optional: Keyring loop for collar if converting to bag charm/keychain.
Gauge
No fixed gauge, but ensure your stitches are tight enough to prevent stuffing from showing through.
Finished Size
Approximately 16 cm (6.5 inches) tall, depending on yarn, hook size, and tension.
Skill Level
Intermediate – Knowledge of working in the round, single crochet (sc), increases, and decreases required. Familiarity with sewing small parts is recommended.
Abbreviations (US Terminology)
- ch: Chain
- sc: Single Crochet
- inc: Increase (2 sc into the same stitch)
- dec: Invisible Decrease (working in front loops only)
- sl st: Slip Stitch
- st(s): Stitch(es)
Special Note on Invisible Decrease
Insert hook into front loops of the next two stitches, yarn over, and pull up a loop. Yarn over and pull through two loops on hook for a seamless decrease.
Pattern Instructions
Part 1: Arms and Legs (Make 4)
Note: All four limbs begin identically. After Round 18, adjust as follows:
- Legs: Stop after Round 18.
- Arms: Continue for 3 more stitches after Round 18.
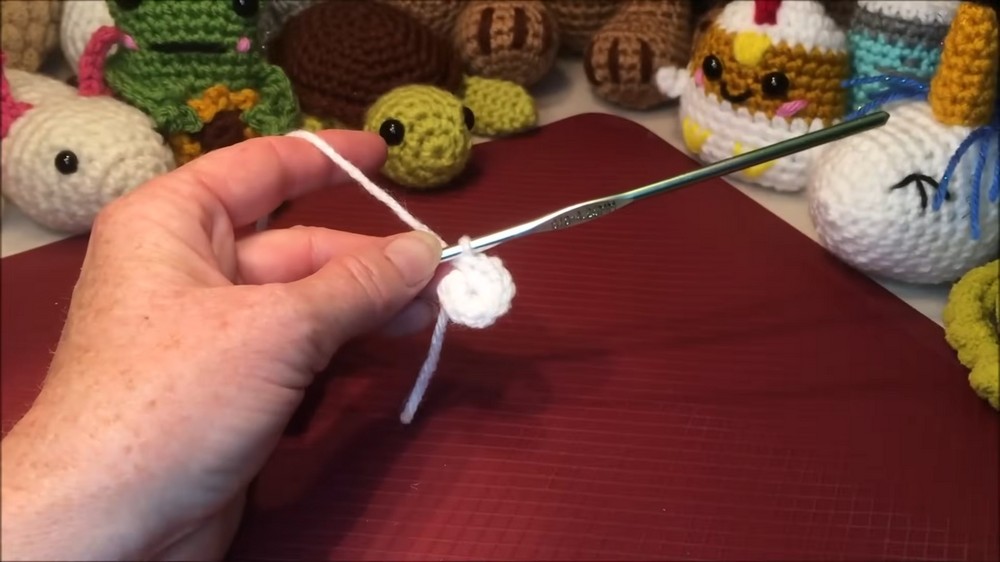
- Start with a magic ring or chain 2:
- Work 8 sc into the ring. (8 stitches)
- Round 2: (1 sc, inc) repeat around. (12 stitches)
- Round 3: (1 sc, inc) repeat around. (18 stitches)
- Round 4: (2 sc, inc) repeat around. (24 stitches)
- Rounds 5–7: Sc in each stitch. (24 stitches)
- Round 8: (6 sc, 6 invisible dec, 6 sc). (18 stitches)
- Round 9: (4 sc, 6 invisible dec, 2 sc). (12 stitches)
- Rounds 10–18: Sc in each stitch. (12 stitches)
Adjust Rounds Based on Placement:
- Legs: Stop at Round 18, stuff lightly.
- Arms: After Round 18, sc 3 more stitches so the arms align when attached to the torso.
Finish: Flatten the open end and crochet 5 sc across both sides to close the limb. Leave a tail for securing.
Part 2: Head and Body (No Sew Transitions)
- Begin with a magic ring:
- Work 8 sc into the ring (8 sts).
- Round 2: (sc, inc) repeat around. (12 sts)
- Round 3: (1 sc, inc) repeat. (18 sts)
- Round 4: (2 sc, inc) repeat. (24 sts)
- Round 5: (3 sc, inc) repeat. (30 sts)
- Round 6: (4 sc, inc) repeat. (36 sts)
- Round 7: (5 sc, inc) repeat. (42 sts)
- Rounds 8–14: Sc in each stitch. (42 sts)
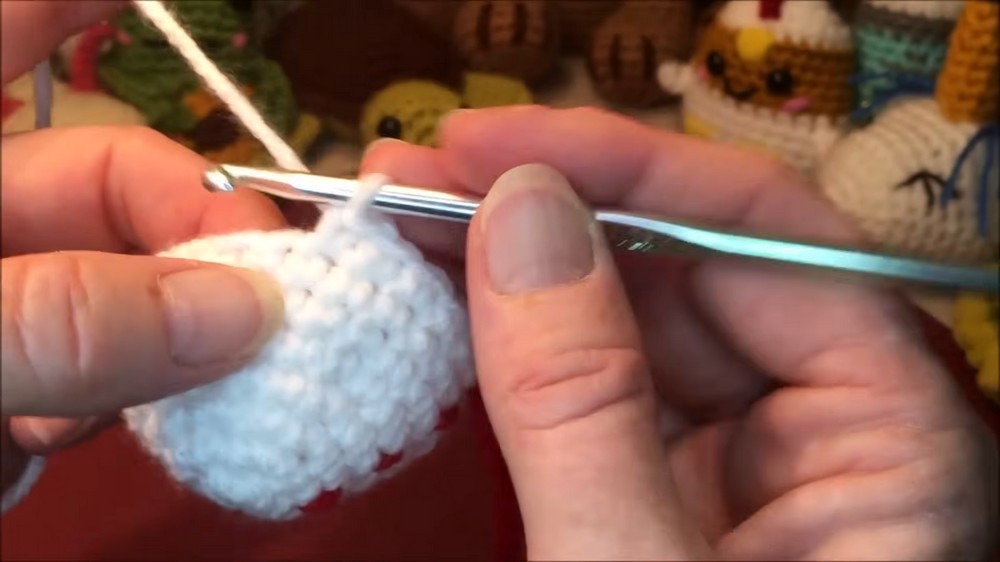
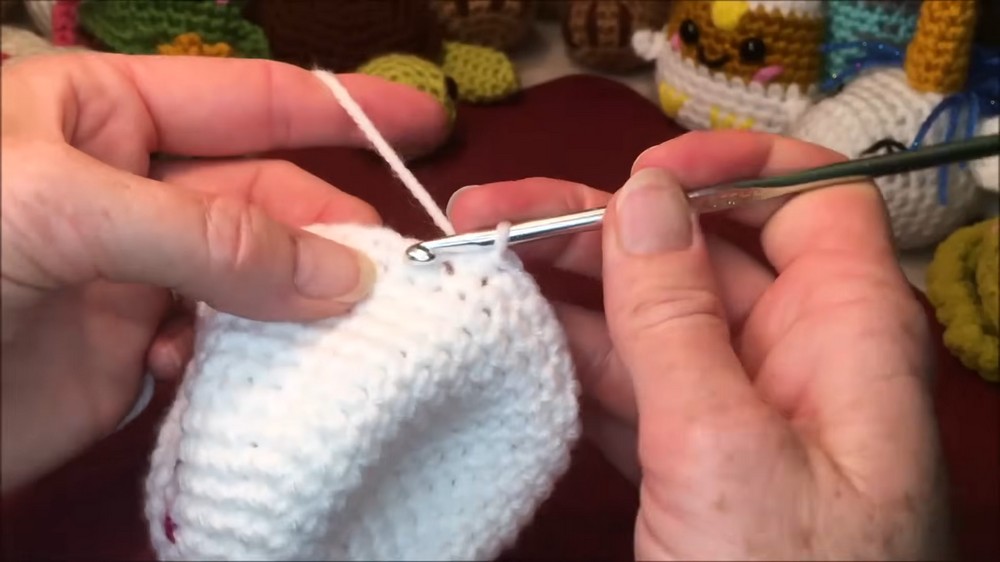
Attaching Arms to the Head
Round 15 involves securing the arms:
- Sc in next 2 sts, then align an arm (with toes facing forward).
- Work 5 sc through arm and body stitches.
- Sc across front stitches (4 sc).
- Work 5 sc through the second arm and body stitches.
- Sc across the final 2 sts. (24 sts)
- Rounds 16–20: Continue working in rounds to create the upper torso:
- Incorporate neck shaping and stuffing as needed.
- Finish and secure.
Part 3: Smaller Attachments
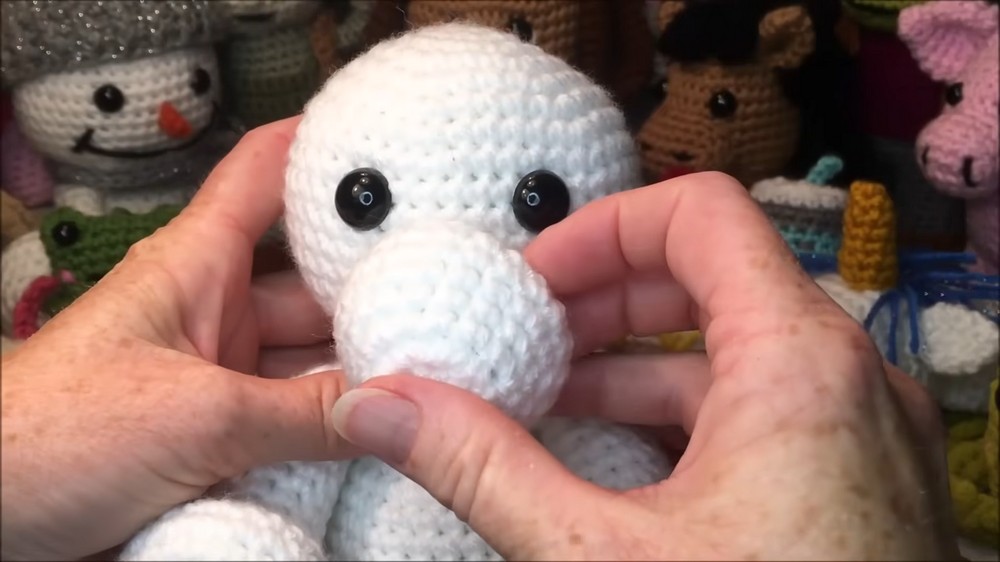
Muzzle
- Magic ring: 6 sc.
- (1 sc, inc) around until 24 sts total.
- Add 2 extra rounds, sc each stitch.
- Stuff lightly and sew below the eyes on the face.
Nose
- Magic ring: 6 sc.
- Work 1–2 rounds of sc for more definition if needed.
- Position at the center of the muzzle; sew securely.
Ears (Make 2)
- Start with 8 sc in magic ring.
- (1 sc, inc) to 16 sts total.
- Add 8 additional rounds of sc.
- Flatten the ear, then sew to each side of the head.
Tail
- Magic ring: 6 sc.
- (2 sc, inc) to 8 sts.
- Add 3 additional rounds of sc.
- Slightly stuff, then sew to rear of the body.
Part 4: Finishing Touches
- Eyes: Place safety eyes between Rows 9–10, about 4 stitches apart.
- Collar and Tag:
- Collar: Chain 26 sts. Work sc in each stitch for Row 2. Wrap around the neck, sew the ends together, and attach a small circular tag using 6–8 sc in magic ring.
- Claws: Use black yarn to embroider tiny lines on the paws.

Final Words
Congratulations on completing your no-sew puppy amigurumi! Each stitch has brought life and personality to this adorable crochet creation.
Tips to Maintain the Pattern
- Tight Stitches: Ensure tight tension to keep stuffing from spilling.
- Adjust Sizes: Use different hook sizes and yarn weights to create varied sizes for a puppy collection.
- Cleaning Tips: Spot-clean with a damp cloth; avoid machine washing as the detailing might get damaged.
- Customization: Add bows, spots, or colored collars to personalize each puppy.