
Bright Free Crochet Bunny Cupcake Pattern for Your Desk
Delight in sweetness with this adorable Crochet Bunny Cupcake Pattern, a playful and charming design perfect for gifts or décor.
Shortly after your morning coffee, you spot a tiny bunny‑topped cupcake peeping out from your keyring, instantly lifting your mood. With the Free Crochet Bunny Cupcake Pattern tucked into your routine, you can bring that charming moment to life through yarn and stitches. This delightful pattern guides you through making a miniature confection topped with a whimsical bunny figure, blending sweetness with a handmade finish.
Free Crochet Bunny Cupcake Pattern Every Maker Will Adore
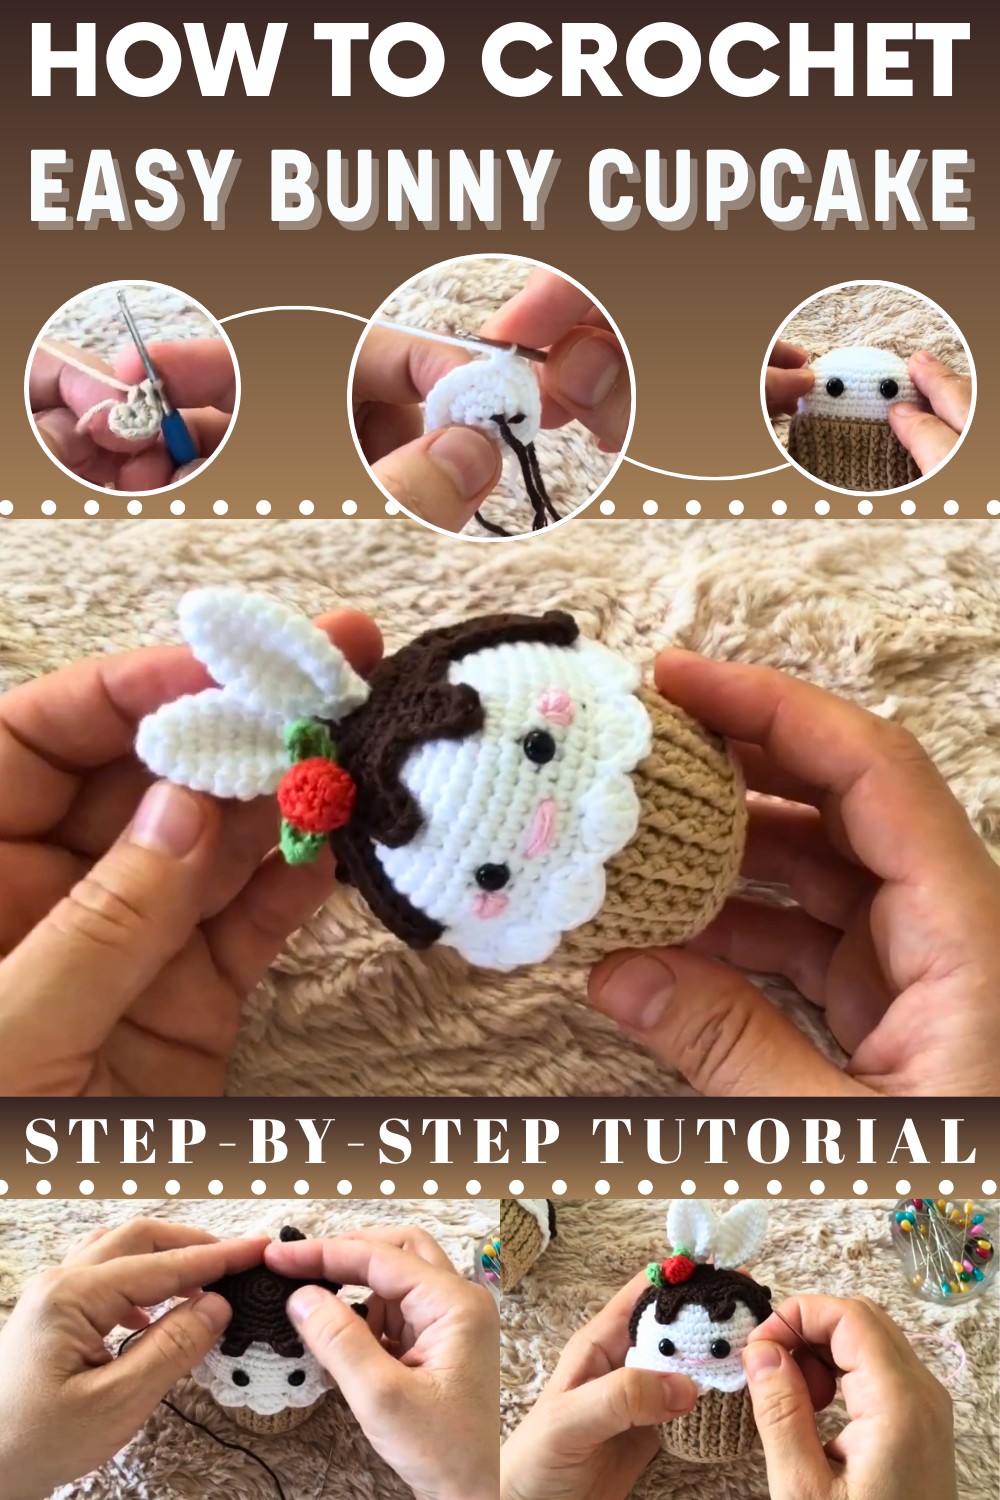
This miniature cupcake makes for a lovely addition to your home décor, a playful pendant on a bag, or a sweet little gift for someone special. Its compact size allows you to explore detailed techniques, like working in rounds, creating textured frosting shapes, and attaching the bunny topper, while producing something both fun and functional.
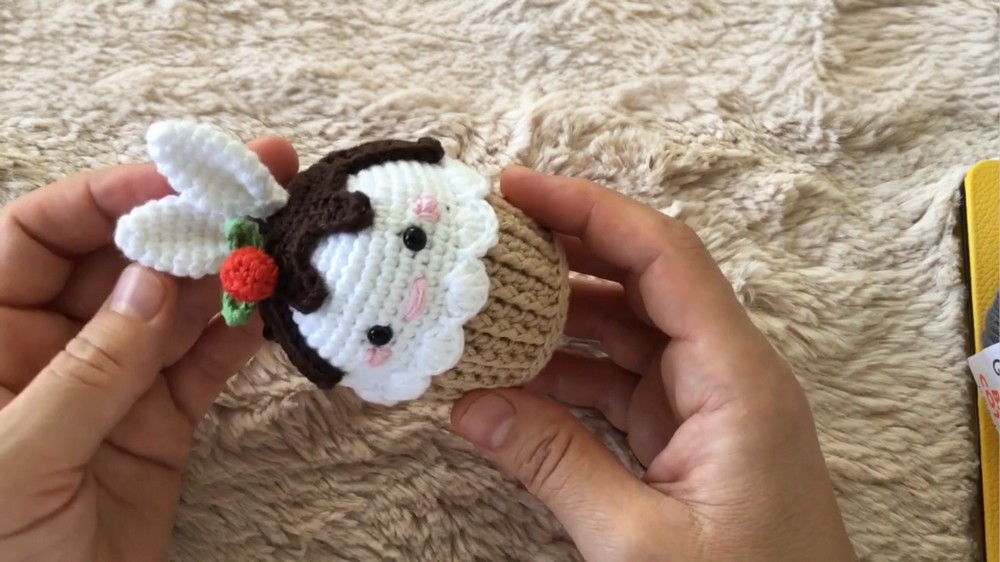
Finished in soft pastel hues, the little cupcake features lifelike swirls of “frosting” and an endearing bunny that brings a touch of elegance to a playful object. Its handcrafted texture and delicate proportions make it equally suitable for a thoughtful keepsake or a decorative accent in a modern setting.
Free Crochet Bunny Cupcake Pattern
Materials
- Yarn:
- Beige, cream, or pastel for cupcake base (Gazal Koton or similar recommended)
- White (cupcake top/icing)
- Dark brown (chocolate frosting)
- Pink (blush, cheeks, or decoration)
- Green (leaves)
- Red (cherry)
- Hook: 2.0–2.5 mm (approx. US B–C; “31/75” noted in video)
- Safety eyes: 6–8 mm
- Fiber stuffing
- Pins (for positioning parts before sewing)
- Yarn needle
- Scissors
- Stitch marker (optional, but recommended)
Key Abbreviations (US Terms)
| Abbreviation | Meaning |
|---|---|
| MR | magic ring |
| ch | chain |
| sc | single crochet |
| inc | increase (2 sc in 1 st) |
| dec | decrease (sc 2 together) |
| sl st | slip stitch |
| dc | double crochet |
| tr | treble crochet |
| BLO | back loop only |
| FO | fasten off |
Special Notes
- This amigurumi is crocheted in a spiral unless otherwise stated.
- Use pins to hold pieces in place before final sewing for symmetry and neatness.
- Safety eyes are inserted before final closure.
- All increases/decreases are evenly spaced unless otherwise marked.
Pattern
1. Cupcake Base (Bottom) - Beige or Color of Choice
- MR, ch 1 to secure.
- Rnd 1: 8 sc in ring. (8)
- Sl st to first sc, ch 1.
- Rnd 2: Inc in each st around. (16)
- Sl st to first sc, ch 1.
- Rnd 3: (1 sc in next st, inc in next st) around. (24)
- Sl st to first sc, ch 1.
- Rnd 4: (2 sc in next 2 sts, inc in next) x8. (32)
- Sl st to first sc, ch 1.
- Rnd 5: (3 sc in next 3 sts, inc in next) x8. (40)
- Sl st to first sc, ch 1.
- Rnd 6: Sc in each st around (no increases). (40)
- Sl st to join, FO.
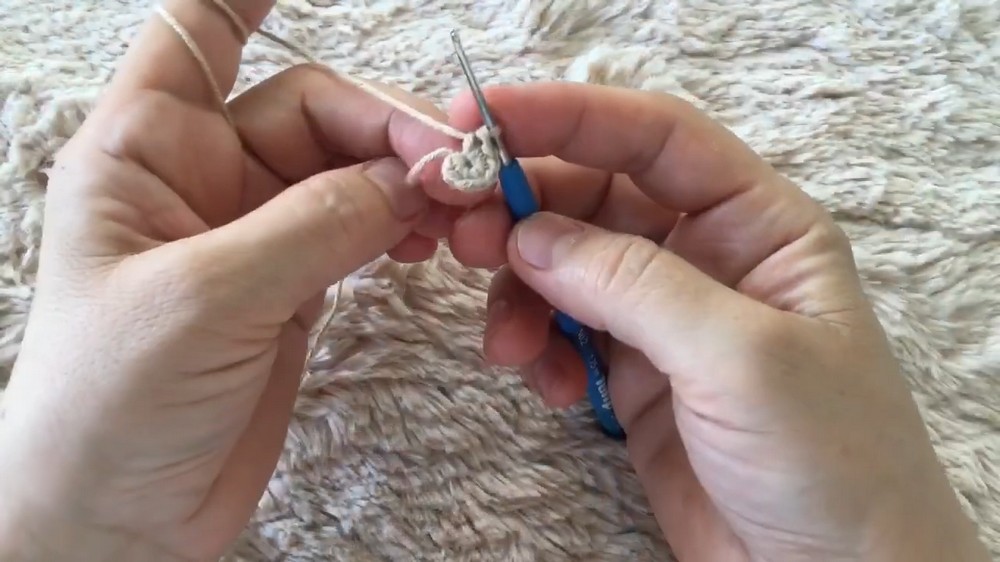
2. Cupcake Top (White/Icing)
- MR, ch 1.
- Rnd 1: 6 sc in ring. (6)
- Place marker.
- Rnd 2: Inc in each st around. (12)
- Rnd 3: (sc in next, inc in next) x6. (18)
- Rnd 4: (sc in next 2, inc in next) x6. (24)
- Rnd 5: (sc in next 3, inc in next) x6. (30)
- Rnd 6: (sc in next 4, inc in next) x6. (36)
- Rnd 7: (sc in next 5, inc in next) x6. (42)
- Rnd 8: (sc in next 3, inc in next) x6, (sc in next 6, inc in next) x5. (48)
- Rnd 9–14: Sc in each st around. (48)
- Rnd 15: (sc in next 10, dec) x4. (44)
- Rnd 16: (sc in next 6, dec) x4. (40)
- Sl st in BLO to join icing/turning row.
- Rnd 17: Ch 2, dc in each st around (40 dc), sl st to join.
- Rnd 18: Ch 2, alternate normal dc and front post dc (for textured edge), sl st to join.
- Repeat dc rows for 5 rounds in total (Rows 17–22). FO.
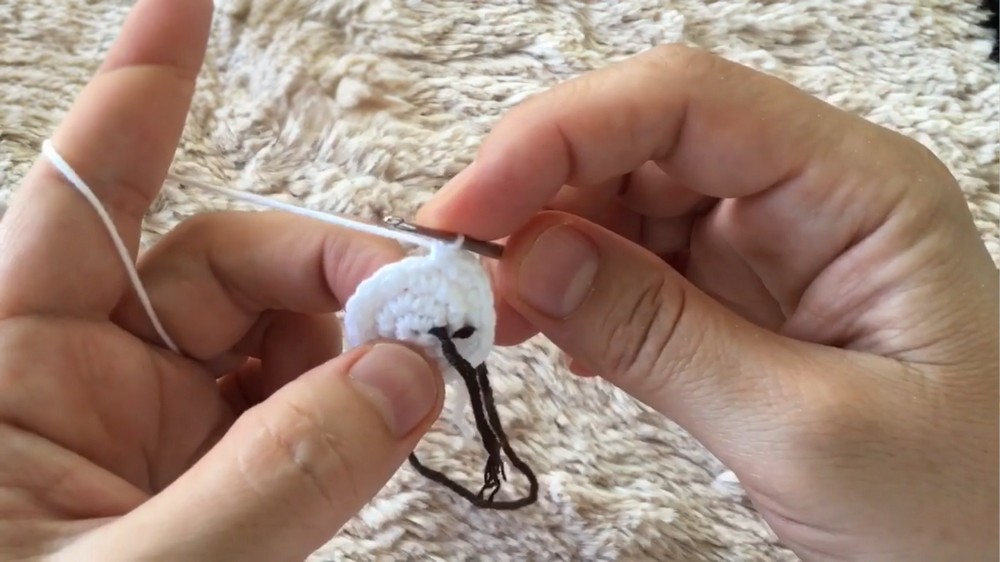
3. Assembly and Stuffing
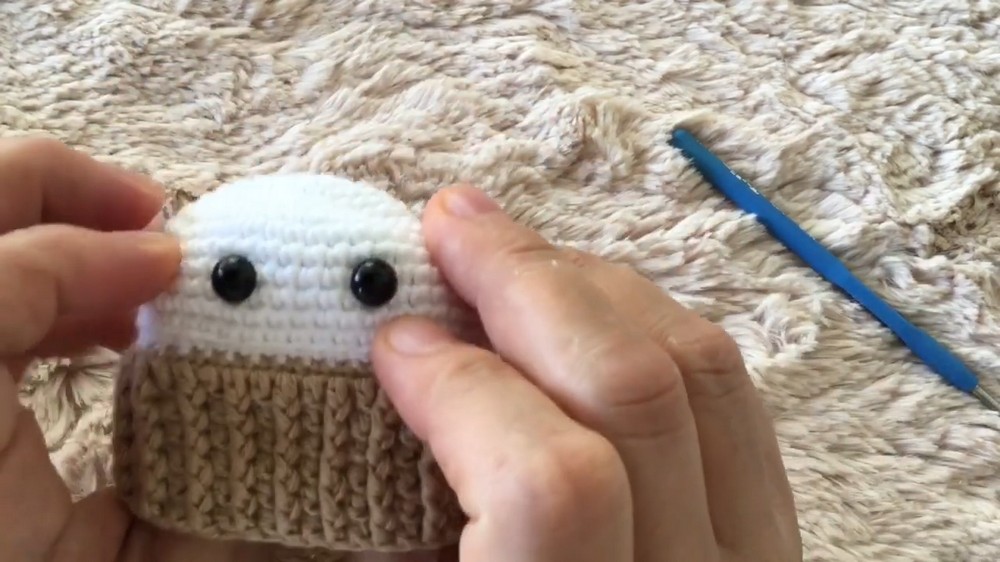
- Firmly stuff base and top.
- Whipstitch/sew top to base with yarn needle.
- Stuff as you go for a smooth, rounded shape.
4. Bunny Ears (Make 2)
With white or pink:
- MR, ch 1.
- Rnd 1: 6 sc in ring. (6)
- Place marker.
- Rnd 2: (sc in next 2, inc in next) x2. (8)
- Rnd 3: (sc in next 3, inc in next) x2. (10)
- Rnd 4: (sc in next 4, inc in next) x2. (12)
- Rnd 5: (sc in next 5, inc in next) x2. (14)
- Rnd 6: Sc in each st around. (14)
- Rnd 7: (sc in next 5, dec) x2. (12)
- Rnd 8: (sc in next 4, dec) x2. (10)
- Rnd 9: (sc in next 3, dec) x2. (8)
- Sl st to finish, leaving long tail for sewing. FO.
- Pin to cupcake and sew in place.
5. Bunny Cheeks/Blush (Optional)
- Use pink yarn.
- Embroider or make 2 tiny circles (MR, 6 sc), sew below eyes.
6. Chocolate Frosting
With dark brown:
- MR, ch 1.
- Rnd 1: 6 sc in ring. (6)
- Rnd 2: Inc in each st around. (12)
- Rnd 3: (sc in next, inc in next) x6. (18)
- Rnd 4: (sc in next 2, inc in next) x6. (24)
- Rnd 5: (sc in next 3, inc in next) x6. (30)
- Sl st to join. FO, leaving a long tail.
- Create drips: Attach yarn, ch 10, starting from 3rd ch, 8 dc back to base, repeat 6 times for longer drip.
- For shorter drip, ch 6, starting from 3rd ch, 4 sc back to base.
- Repeat alternate drips as desired.
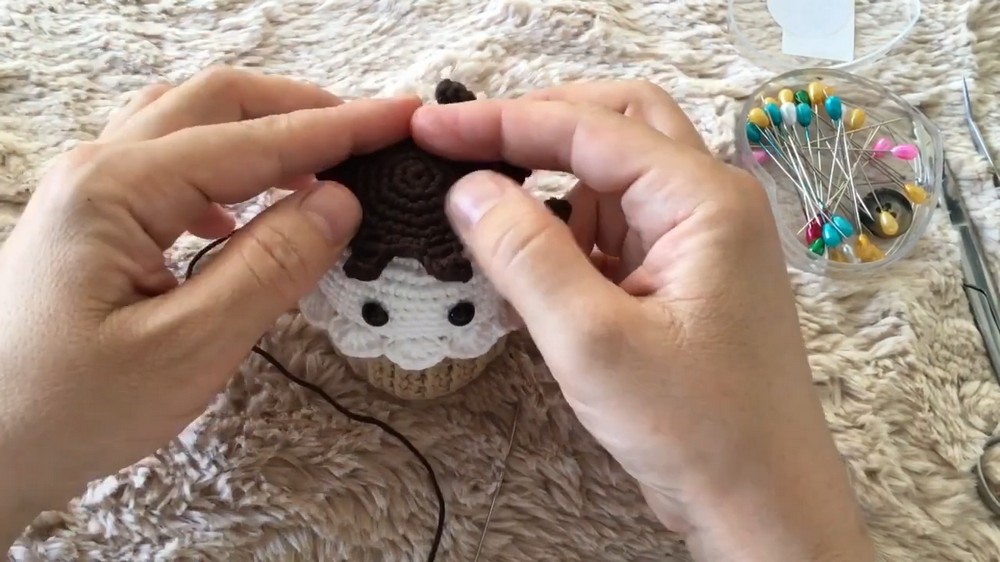
- Sew chocolate on top side of icing.
7. Cherry
With red:
- MR, ch 1.
- Rnd 1: 6 sc in ring. (6)
- Rnd 2: Inc in each st around. (12)
- Rnd 3: Dec in each st around. (6)
- FO, stuff lightly, close hole with tail.
8. Leaves (Make 2)
With green:
- Ch 6.
- Sc in second chain, hdc in next, dc in next, tr in next, dc in next, hdc in last.
- FO, leave tail for sewing.
9. Assembly - Final Steps
- Sew chocolate to icing.
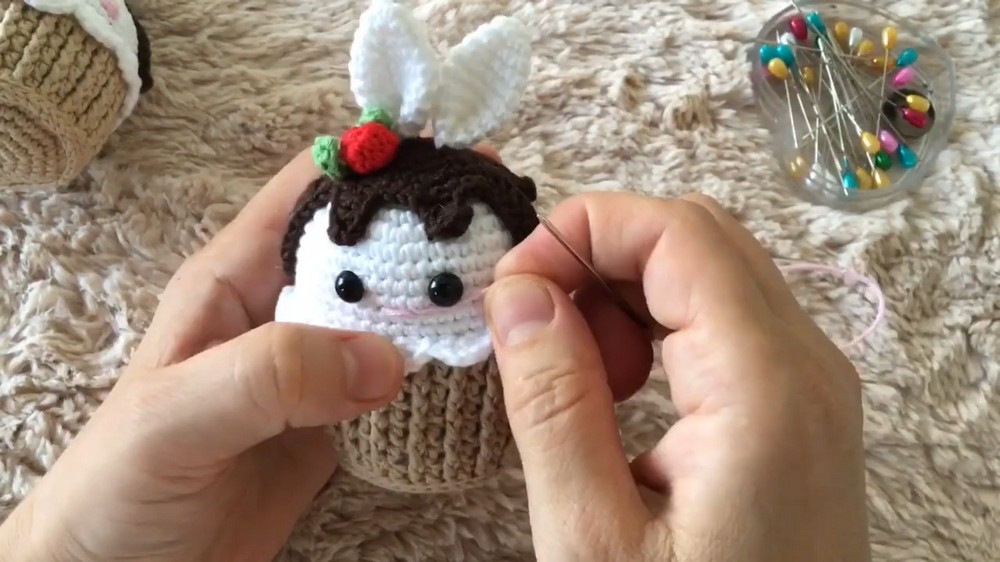
- Attach cherry and leaves on chocolate drip.
- Pin ears to top (vertical), sew securely.
- Attach safety eyes between rounds 12–14 of cupcake top, spaced 4–6 stitches apart.
- Use pink thread to embroider cheeks or sew on pink circles.
- Pin all pieces, adjust for symmetry, then sew securely.
Conclusion
You now have a delightful bunny cupcake—perfect for gifts, desk decor, or as part of a play set. The amigurumi is designed for ease and quick completion, with room for customization.
Pattern Corrections & Tips
- Correction: Drips and details are made as small chains with simple stitches back to base. Adjust length and frequency as you desire.
- Tip: Use pins for assembly to keep parts aligned while sewing.
- Tip: For fuller cupcake top, add extra stuffing before final closure.
- Tip: Safety eyes should be attached before final closure for easiest placement.