
Crochet Ghost Amigurumi Pattern with Swing Instructions
Get into the Halloween spirit by creating these charming crochet ghosts with this simple and unique Ghost Amigurumi Pattern!
Halloween brings a chance to create something unique that fits the season’s spooky yet fun vibe. This Ghost Amigurumi offers a charming decoration for your home or car and also works as a thoughtful handmade gift. The adorable ghost sits on a swing, showcasing a playful design that adds personality to spaces. This project combines creativity with practical uses like personalizing Halloween celebrations.
Crochet Ghost Amigurumi
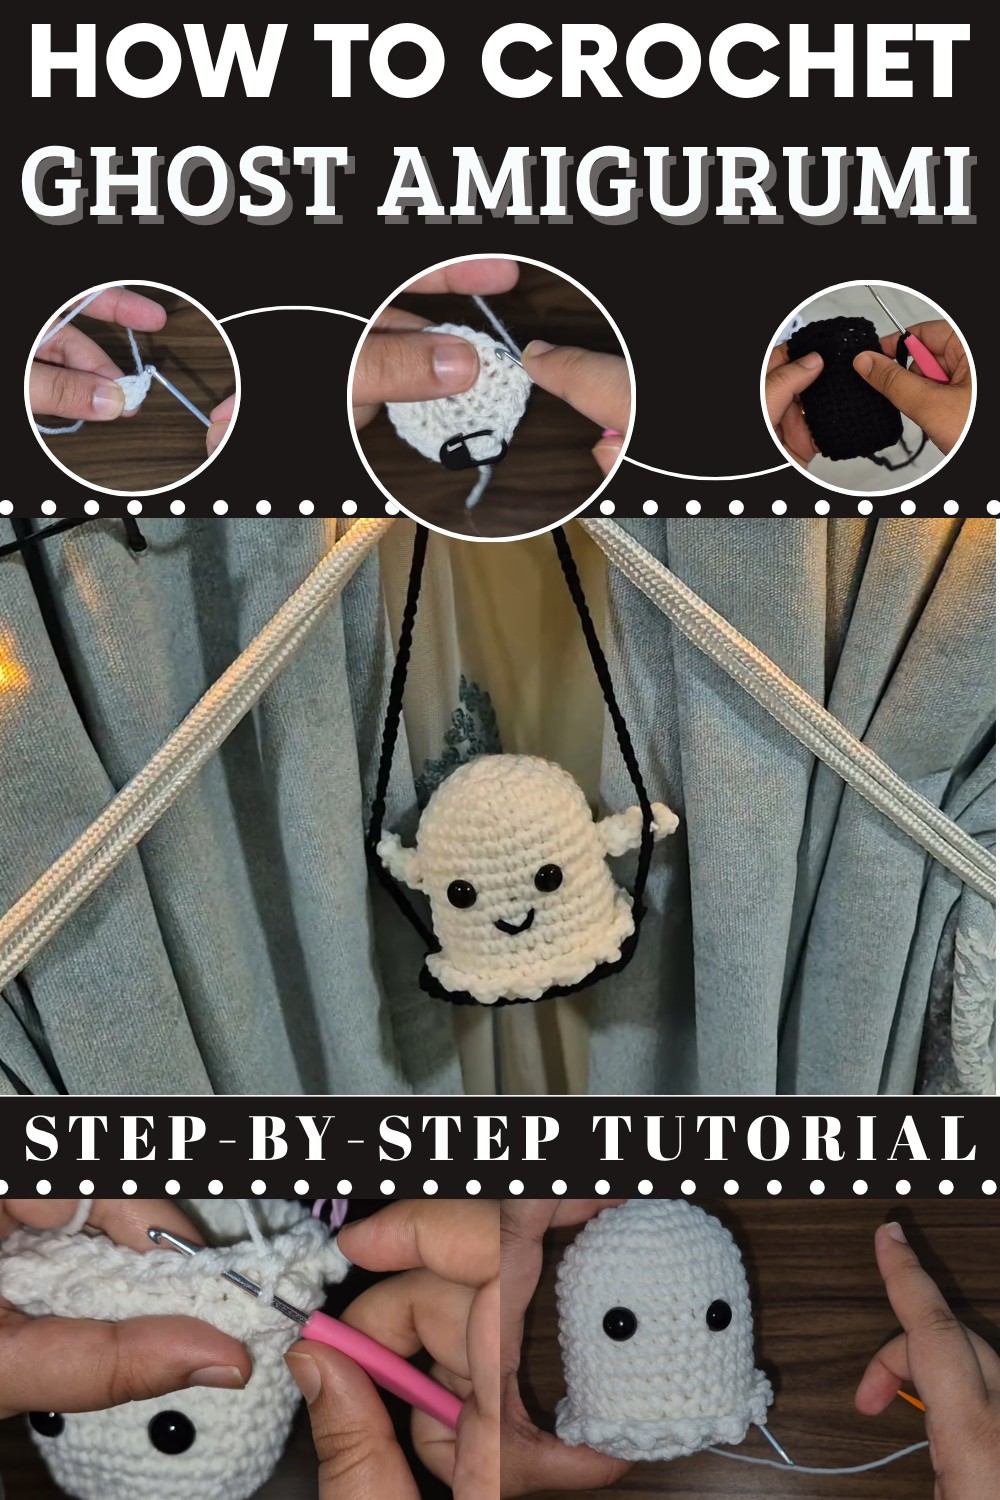
How to Crochet Ghost Amigurumi
Halloween is fast approaching, and this adorable crochet ghost on a swing is the perfect addition to your spooky decorations. This project is suitable for intermediate crocheters and can serve as an ornament for your home, car, or general decor. Follow this step-by-step guide to create this unique and fun crochet craft.
Materials Needed
- Sport-weight yarn:
- White (for the ghost)
- Black (for the swing)
- Crochet hook: 3 mm
- Stuffing: Polyfill, fiberfill, or pillow stuffing
- Stitch marker
- Yarn needle
- Safety eyes
- Scissors
- Optional: Fabric glue (to attach the ghost to the swing)
Abbreviations
This project uses basic crochet terminology. Here's the abbreviation guide:
- sc: Single crochet
- hdc: Half double crochet
- dec: Decrease
- st(s): Stitch(es)
- ch: Chain
- sl st: Slip stitch
- Magic Ring: A circular foundation for starting crochet in the round
Pattern Instructions
Ghost Body
Step 1: Create the Body
- Use white yarn to begin with a magic ring:
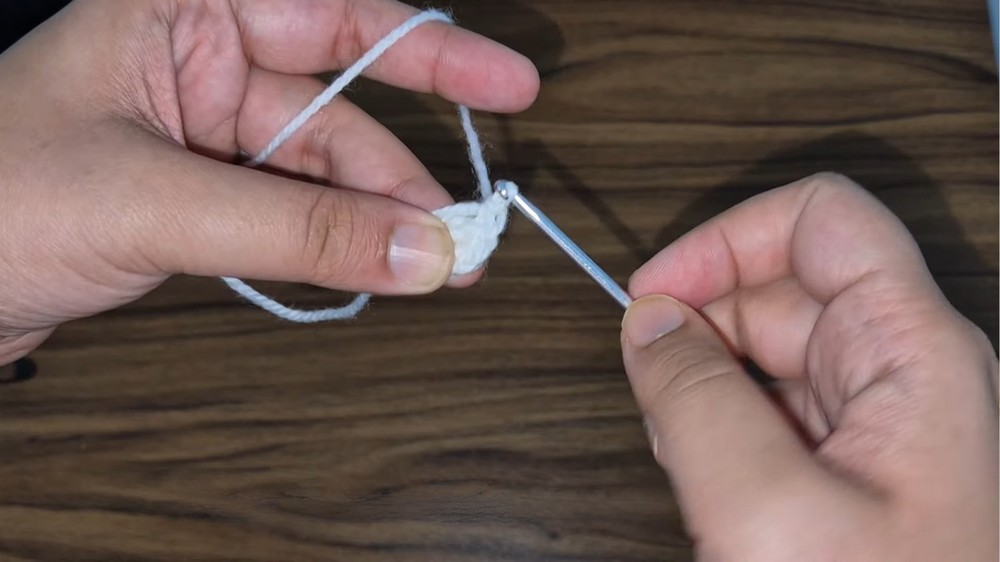
- Wrap yarn around your fingers, forming an "X". Insert your hook under the bottom strand, pick up the top strand, twist, and pull up a loop. You now have a magic ring.
- Into the magic ring, place 6 single crochets (sc):
- Count: 1, 2, 3, 4, 5, 6.
- Pull the tail of the magic ring to close the center loop.
Step 2: Increase Rows
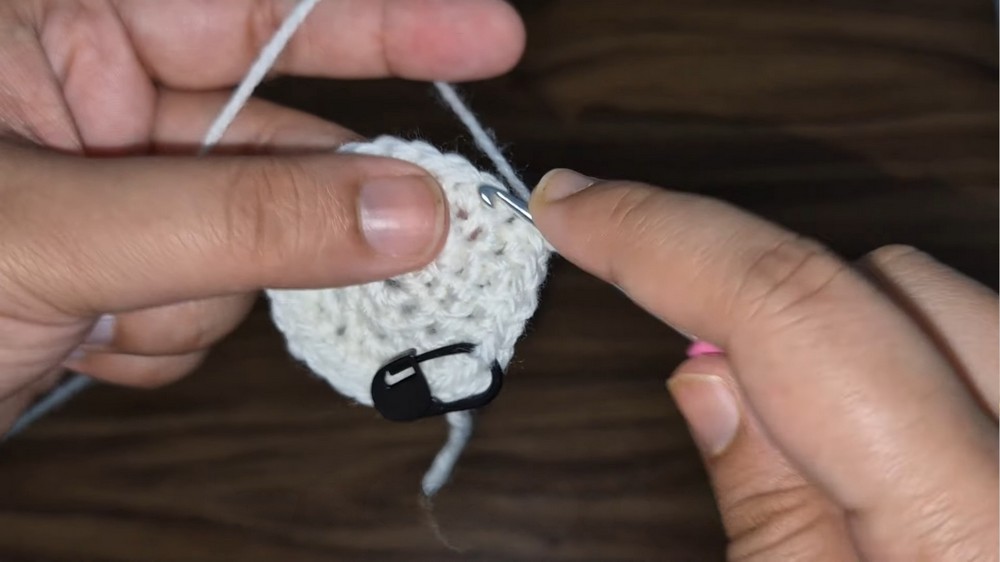
- Row 2: Place 2 sc in every stitch (increase). Repeat 6 times. At the end of the row, you should have 12 stitches.
- Row 3: Place 1 sc in the first stitch, then 2 sc in the next stitch (increase). Repeat 6 times. At the end of the row, you should have 18 stitches.
- Row 4: Place 1 sc in the first 2 stitches, then 2 sc in the next stitch (increase). Repeat 6 times. At the end of the row, you should have 24 stitches.
- Row 5: Place 1 sc in the first 3 stitches, then 2 sc in the next stitch (increase). Repeat 6 times. At the end of the row, you should have 30 stitches.
Step 3: Straight Rows
- For the next 10 rows, place 1 sc in each stitch (30 stitches per row).
Step 4: Add Safety Eyes
- Count 9 rows down from the top row of the ghost body.
- Place the safety eyes, leaving 4 stitches between the eyes.
- Secure the safety eyes by adding their backing pieces.
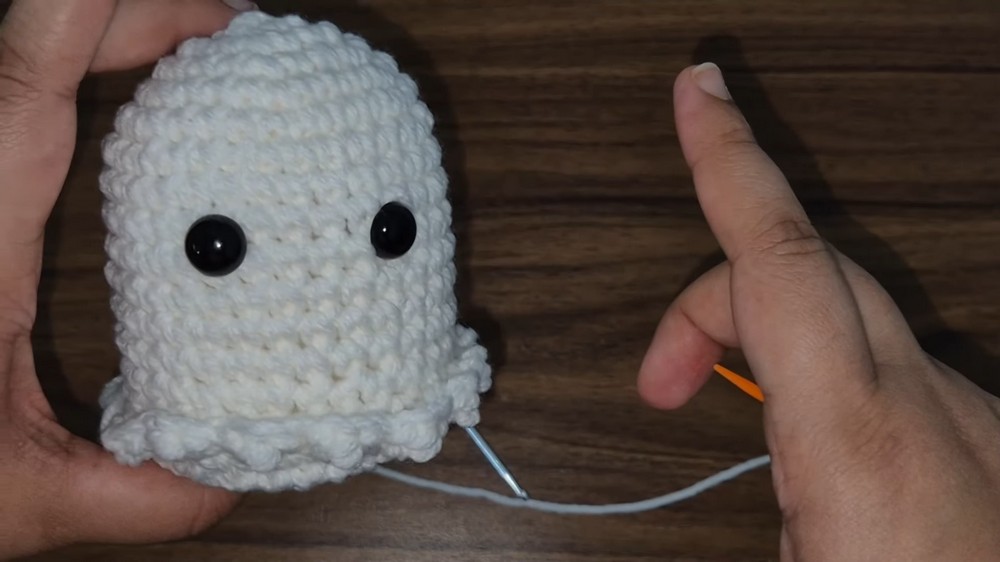
Step 5: Create the Scalloped Edge
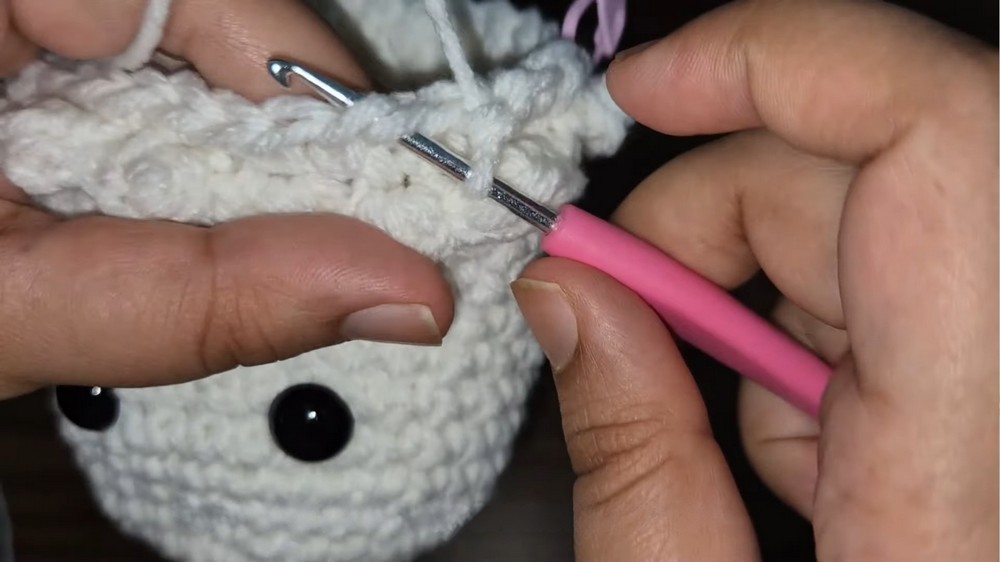
- Work into the front loop only for the first row:
- Into the first stitch: 1 sc, 1 hdc (half double crochet), 1 sc.
- Into the next stitch: 1 sl st (slip stitch).
- Continue alternating this scalloped pattern around the row.
- After completing the scalloped edge, the back loops from the previous row will remain visible.
Step 6: Close the Bottom of the Ghost
- Using the remaining back loops, work 1 sc into each back loop. You should still have 30 stitches.
- Begin decreasing:
- Row 1: Place 3 sc, then 1 dec (decrease). Repeat 6 times to reduce the count to 24 stitches.
- Row 2: Place 2 sc, then 1 dec. Repeat 6 times to reduce the count to 18 stitches.
- Row 3: Place 1 sc, then 1 dec. Repeat 6 times to reduce the count to 12 stitches.
- Stuff the ghost with polyfill or fiberfill. Ensure the filling is evenly distributed.
- Leave a long tail, then snip your yarn. Use a yarn needle to close the ghost:
- Thread your needle through the front and back of each stitch around the edge. Pull tightly to close the gap. Secure with a knot.
Ghost Hands
Step 1: Create the Hands
- Start with a magic ring as before.
- Place 4 sc into the ring.
- Pull the tail of the ring to close the loop.
- For the next 3 rows, place 1 sc in each stitch. (4 stitches per row).
Step 2: Attach the Hands
- Attach each completed hand to the sides of the ghost:
- Count 3 rows down from the eyes. Attach at equal distance.
- Use a yarn needle to sew the hands in place. Secure each with simple stitches.
Swing
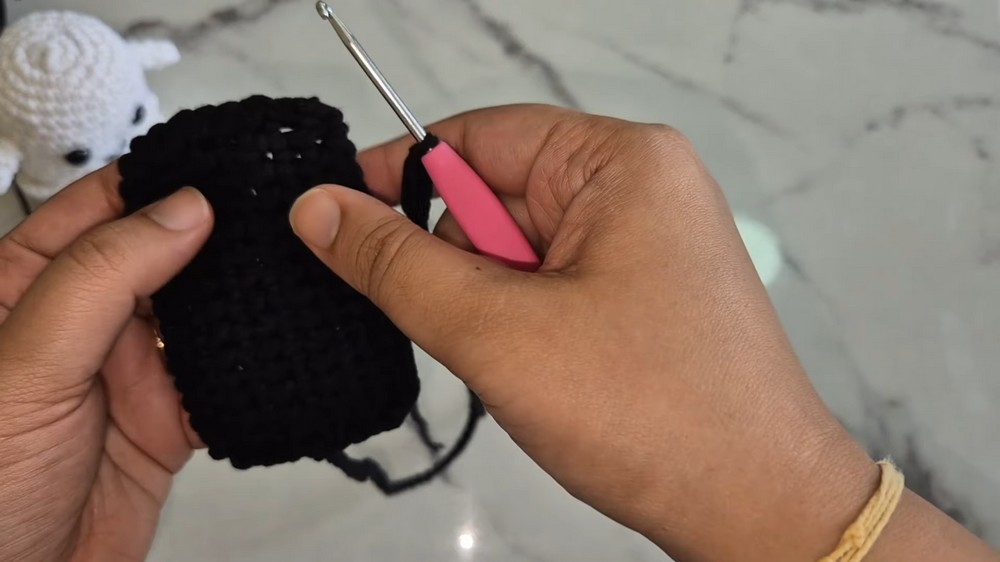
Step 1: Base of the Swing
- Use black yarn and create a slip knot.
- Chain 15 stitches.
- Skip the first chain and place 1 sc into each stitch for a total of 14 sc.
- Continue the same pattern for 8 rows, turning your work and chaining 1 at the beginning of each row.
Step 2: Swing Rope
- Attach black yarn to the middle of the swing.
- Chain 105 stitches (or desired length).
- Attach the loose end to the opposite end of the swing using sl st.
Step 3: Attach the Ghost to the Swing
- Use fabric glue to secure the bottom of the ghost to the swing. Allow the glue to dry completely.
- For additional stability, sew the black rope of the swing to the ghost’s arms using a yarn needle and white yarn.
Conclusion
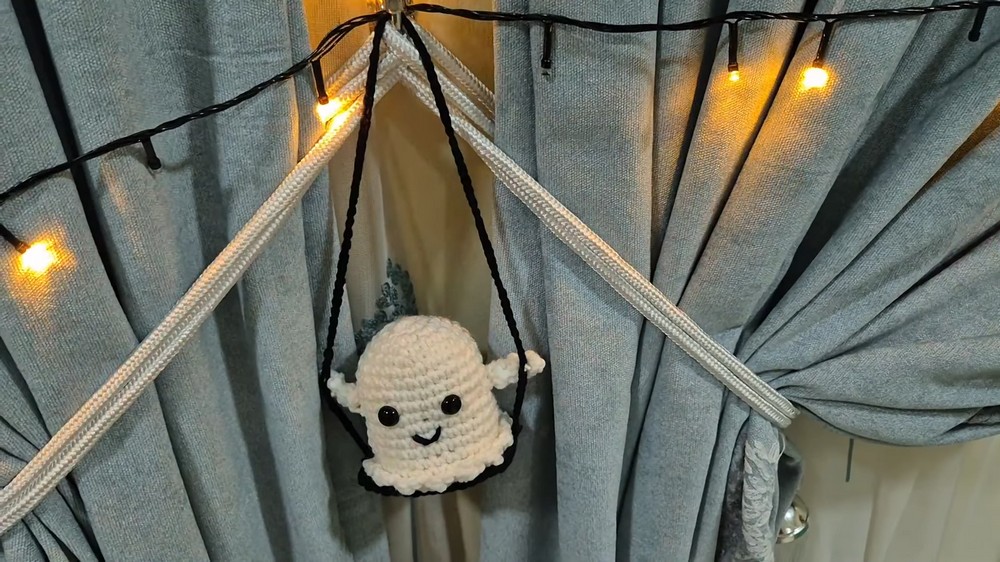
Congratulations! You've finished your Little Crochet Ghost on a Swing! This charming Halloween decoration is ready to hang anywhere you like, whether it’s in your car, your room, or as part of a festive centerpiece. If you're happy with your project, share it online or with your friends and family.