
How to Crochet Kodama Amigurumi Step by step
Crochet unique Kodama amigurumi with this pattern, blending nature-inspired design and handmade creativity for personal decor or thoughtful gifts.
Inspired by the iconic tree spirits from Princess Mononoke, the Kodama Amigurumi pattern brings a charming character to life, perfect for gifting or decorating spaces. Its distinctive design with expressive eyes and a gentle form evokes a sense of whimsy and connection to nature. Compact yet full of character, it brings joy and creativity into any environment.
Crochet Kodama Amigurumi Pattern
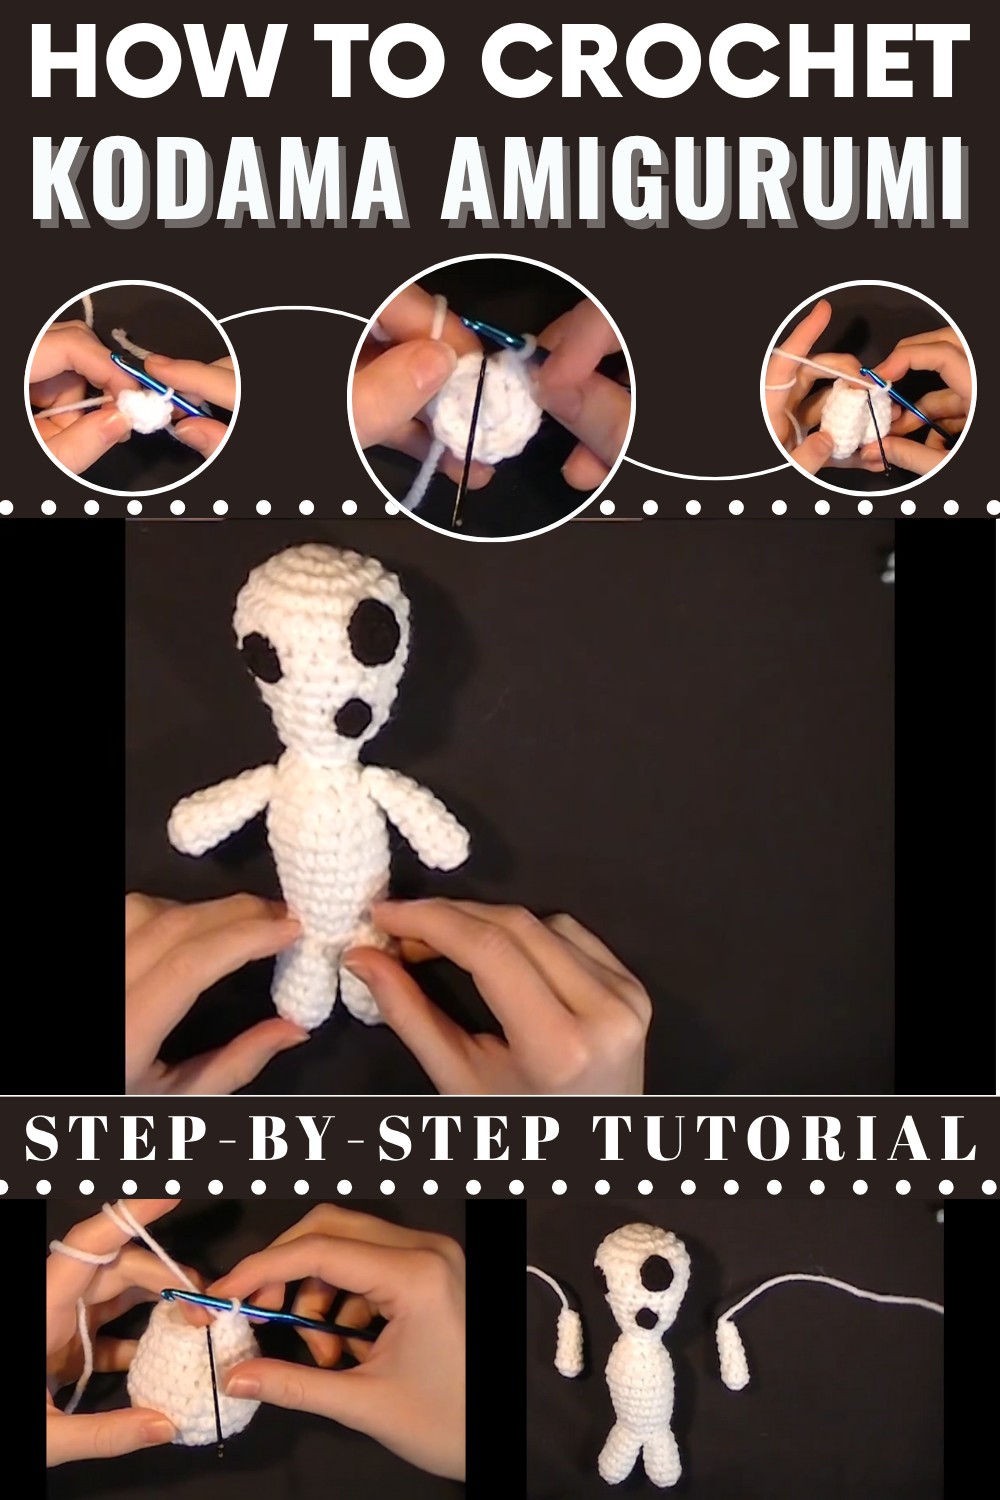
Detailed Crochet Pattern for Kodama Tree Spirit
This pattern helps you create your very own Kodama Tree Spirit inspired by the movie Princess Mononoke. Kodamas are mysterious, ghost-like spirits that inhabit trees in the forest, and this pattern will guide you to crochet a cute Kodama plush. Perfect for beginners and advanced crocheters alike, it is a step-by-step crochet guide combining basic crocheting techniques. You can customize its face to make it unique!
Materials Required
- White yarn – For the Kodama’s body and head.
- Black yarn – For the facial details (eyes and mouth).
- Size 4 mm crochet hook – Used for the main body and face.
- Size 3.5 mm crochet hook – Used for the arms.
- 5.5 mm crochet hook – Used for specific facial details.
- Stitch marker – To keep track of rounds (optional).
- Yarn needle – For sewing pieces together.
- Pins – Optional, for holding parts in place before final sewing.
- Polyfill stuffing – To fill the head, body, arms, and legs.
- Pair of scissors – For cutting yarn.

Abbreviations of Stitches
- SC (Single Crochet): Insert hook, yarn over, pull through loop, yarn over, pull through two loops.
- Increase: Make 2 single crochets in one stitch.
- Decrease: Crochet 2 stitches together to reduce stitch count.
- Magic Circle: Create an adjustable ring as the foundation of your piece.
- Slip Stitch (SS): Insert hook into stitch, yarn over, pull through stitch and loop on the hook.
- Fasten Off: Cut yarn and secure the end to finish the piece.
Pattern Details
Part 1: Kodama’s Head
Using the 4 mm crochet hook:
- Round 1: Make a magic circle; add 6 SC into it.
- Round 2: Increase in every stitch (12 SC).
- Round 3: 1 SC, Increase – Continue this pattern around (18 SC).
- Round 4: 2 SC, Increase – Continue this pattern around (24 SC).
- Round 5: SC all the way around (24 SC).
- Round 6: 2 SC, Decrease – Continue this pattern around (18 SC).
- Round 7: SC all the way around (18 SC).
- Round 8: 4 SC, Decrease – Continue this pattern around (15 SC).
- Rounds 9-10: SC around (15 SC).
- Round 11: 3 SC, Decrease – Continue this pattern around (12 SC).
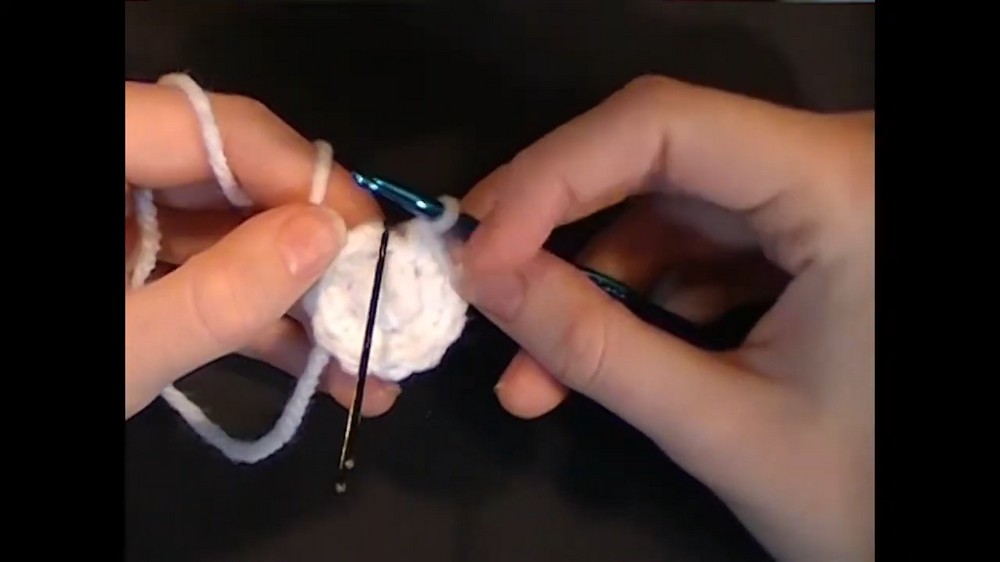
Before finishing:
- Stuff the head with polyfill before the last round for shape.
- Final Round: 1 SC, Decrease – Continue this pattern around (8 SC).
- Leave a long piece of yarn for sewing, cut the yarn, and fasten off.
Part 2: Kodama’s Legs and Body
Legs (Make 2 with 4 mm hook):
- Round 1: Make a magic circle with 4 SC.
- Round 2: Increase in every stitch (8 SC).
- Rounds 3-7: SC all the way around (8 SC).
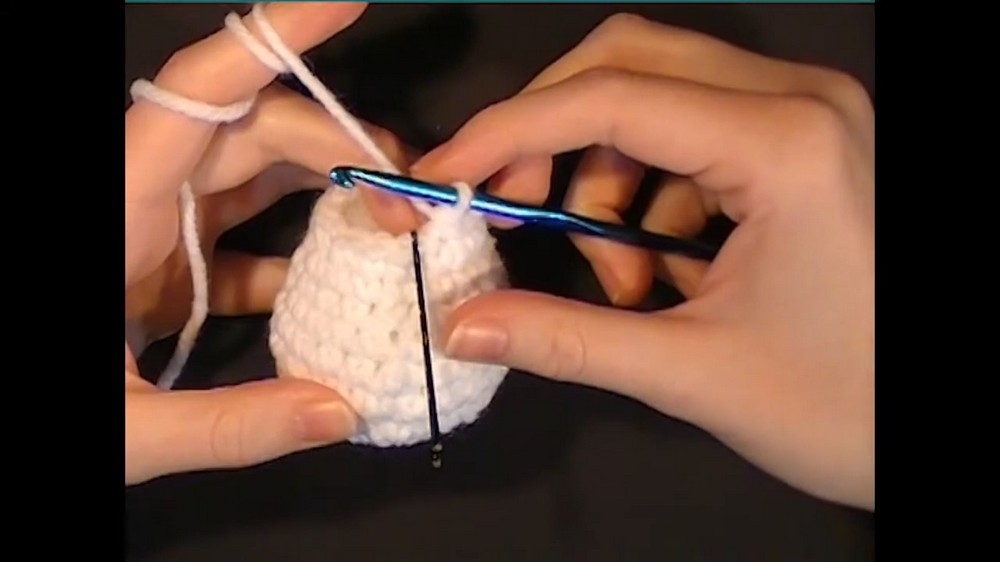
For the second leg:
Do not cut the yarn and do not fasten off after Round 7!
Connecting the Two Legs:
- Place your hook into one stitch from the first leg, do 1 SC, and immediately place your stitch marker.
- Continue SC around the first leg (5 stitches). You should have 2 stitches remaining unworked.
- Pull down the yarn strand from the center of the leg for sewing the bottom later.
- Skip 2 stitches from the first leg and SC into the third stitch. Continue SC into the second leg until the beginning.
- You should now have 12 stitches around the waist and a small hole at the bottom.
- Sew the hole at the bottom using the leftover yarn strand.
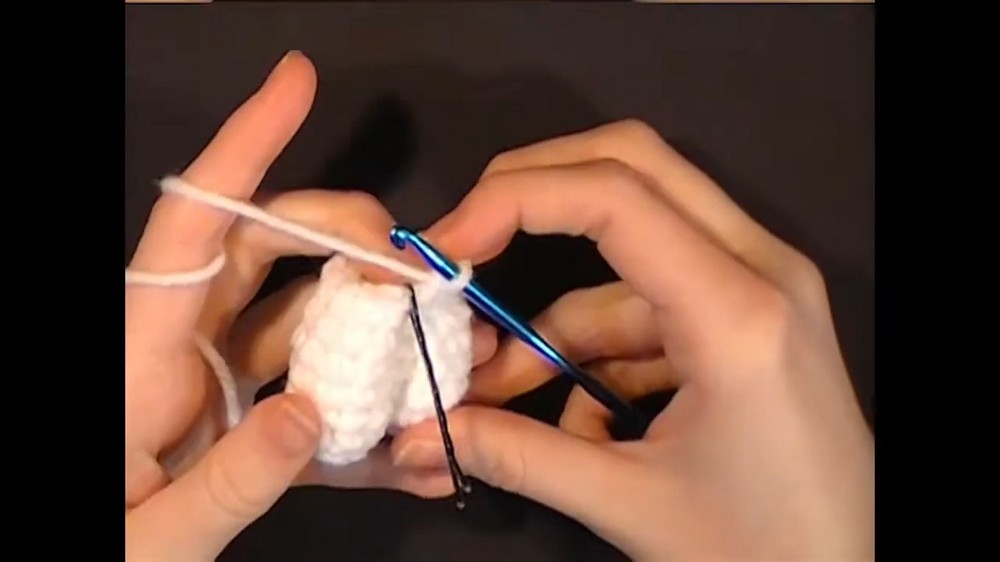
Body Construction:
- Round 8: 3 SC, Increase – Repeat pattern around.
- Rounds 9-14: SC all the way around (15 SC).
- Stuff the body at the end of Round 14.
- Round 15: 3 SC, Decrease – Continue pattern around (12 SC).
- Round 16: 1 SC, Decrease – Continue pattern around (8 SC).
- Finish by adding more polyfill if needed, cut the yarn, and fasten off.
Part 3: Kodama’s Arms (Make 2)
Using a 3.5 mm hook:
- Round 1: Make a magic circle; add 6 SC into it.
- Rounds 2-6: SC all the way around (6 SC).
- Stuff the arm lightly with polyfill.
- Final Round: 1 SC, Decrease – Repeat pattern around (4 SC).
- Cut the yarn and fasten off.
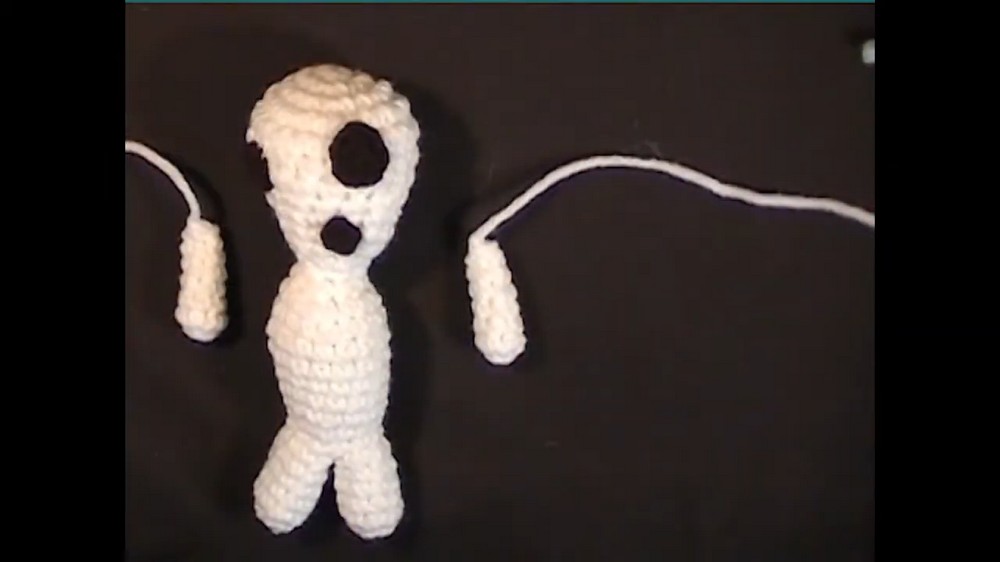
Part 4: Kodama’s Face
Use 5.5 mm hook and black yarn:
Mouth:
- Make a magic circle; add 4 SC into it.
- SS into the first SC; fasten off.
Small Eye:
- Make a magic circle; add 5 SC into it.
- SS into the first SC; fasten off.
Large Eye:
- Make a magic circle; add 5 SC into it.
- Round 2: 1 SC, Increase – Repeat pattern around (7 SC).
- SS into the first SC; fasten off.
Final Steps: Assembly
- Sew the eyes and mouth onto the Kodama’s head. Feel free to customize the facial features!
- Attach the head to the body by sewing it securely.
- Attach both arms to either side of the Kodama’s body and sew them firmly.
Conclusion
Congratulations, your Kodama Tree Spirit is complete! This fun and relatively easy crochet project brings together basic and intermediate techniques. It can be personalized by adding different facial expressions, sizes, or colors to make your Kodama one-of-a-kind. Display your creation proudly or gift it to a friend who loves Princess Mononoke!