
Crochet Mouse Cat Toy Pattern with Simplified Steps
Create your cat’s new favorite interactive toy with this crochet mouse pattern – a crafty way to combine fun and function in one!
Cats love playful distractions, and this crochet mouse cat toy is a game-changer for any feline household. Lightweight, soft, and easy for paws to grasp, this toy keeps cats engaged for hours. Made for active play or gentle cuddling, it’s a functional yet adorable companion to liven up your pet’s space. Say goodbye to boredom as this tiny delight encourages fun and exercise.
Crochet Mouse Cat Toy Pattern
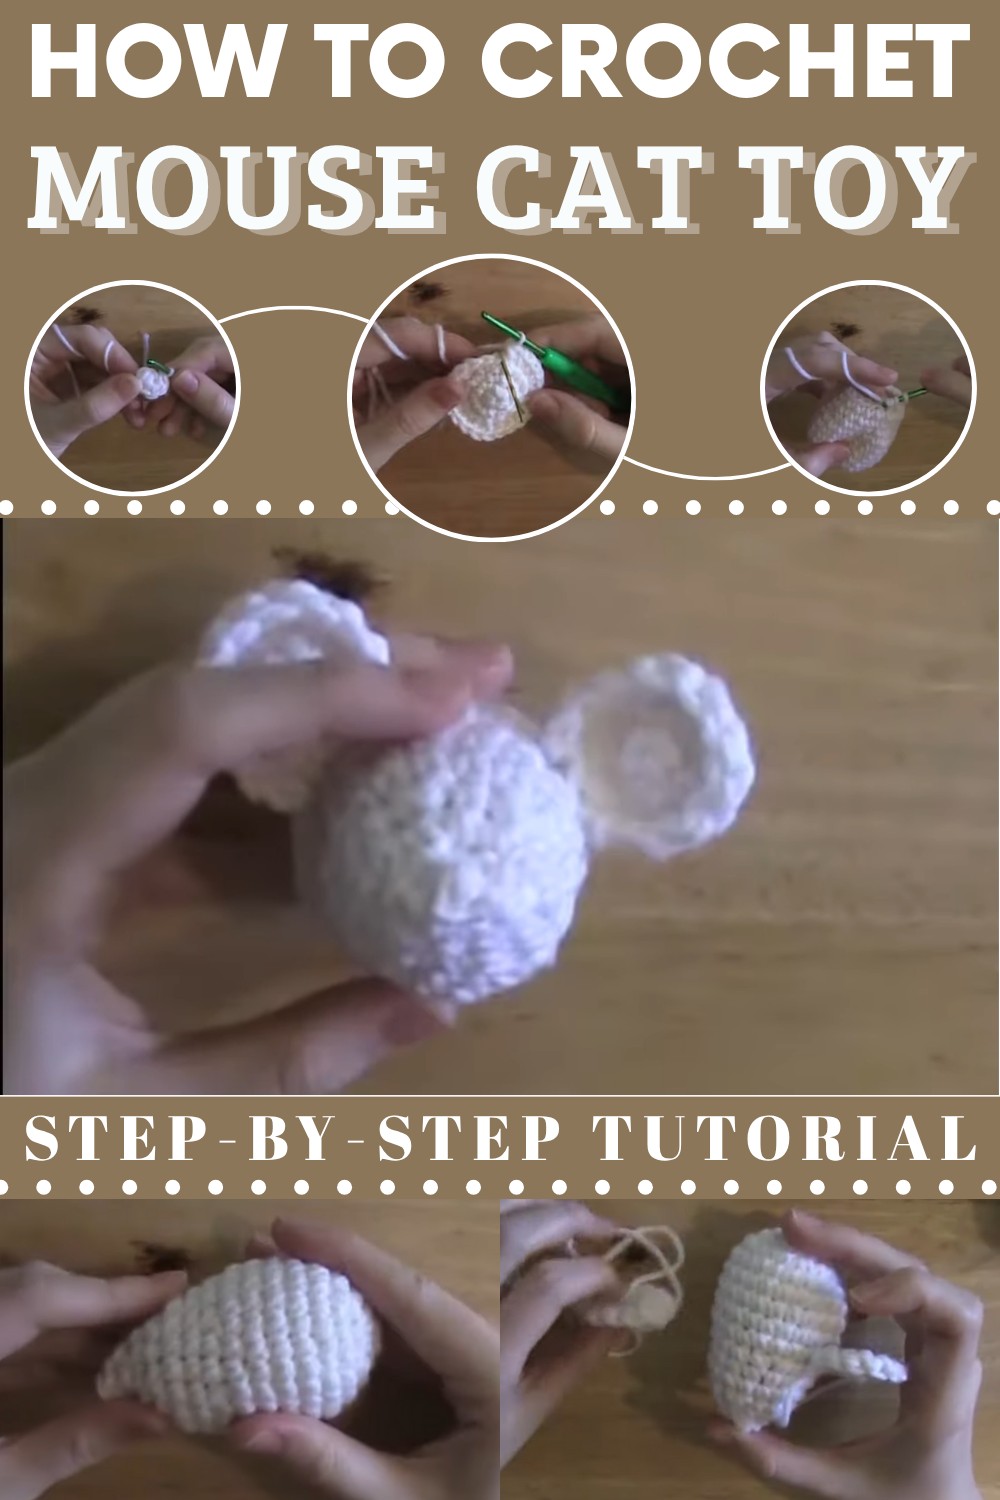
Crochet Pattern: Amigurumi Basic Shape
In this tutorial, we will learn how to crochet a basic Amigurumi shape, which is the foundation for many crochet projects. This pattern is beginner-friendly and covers essential techniques such as creating a magic circle, single crochet, increasing, and decreasing. Follow each step carefully to master the skills necessary for future Amigurumi projects.
Materials
- Yarn: Any color of your choice
- Crochet Hook: Size appropriate for your yarn
- Stuffing: Polyester fiberfill
- Tapestry Needle: For weaving in ends and sewing pieces together
- Stitch Marker: Optional, but helpful for keeping track of rounds
- Scissors: For cutting yarn
Abbreviations
- sc: single crochet
- MC: magic circle
- inc: increase (2 sc in the same stitch)
- dec: decrease (single crochet two stitches together)
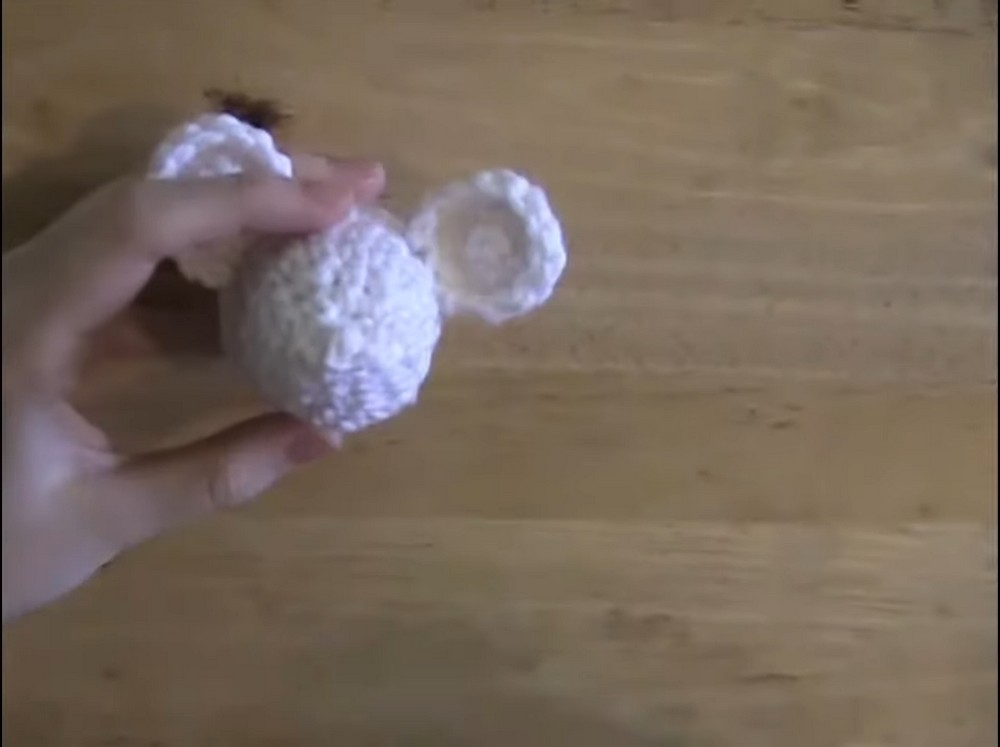
Step by step Pattern
Step 1: Create a Magic Circle
- Make a magic circle (MC).
- Into the MC, work 6 sc. (6 stitches)
Step 2: Increase Rounds
- Round 1: Work 2 sc in each stitch around. (12 stitches)
- Round 2: 1 sc in next stitch, 2 sc in the next stitch, repeat from * to * around. (18 stitches)
- Round 3: 1 sc in next 2 stitches, 2 sc in next stitch, repeat from * to * around. (24 stitches)
- Round 4: 1 sc in next 3 stitches, 2 sc in next stitch, repeat from * to * around. (30 stitches)
- Round 5: 1 sc in next 4 stitches, 2 sc in next stitch, repeat from * to * around. (36 stitches)

Step 3: Body Rounds
- Rounds 6-10: Work 1 sc in each stitch around. (36 stitches)
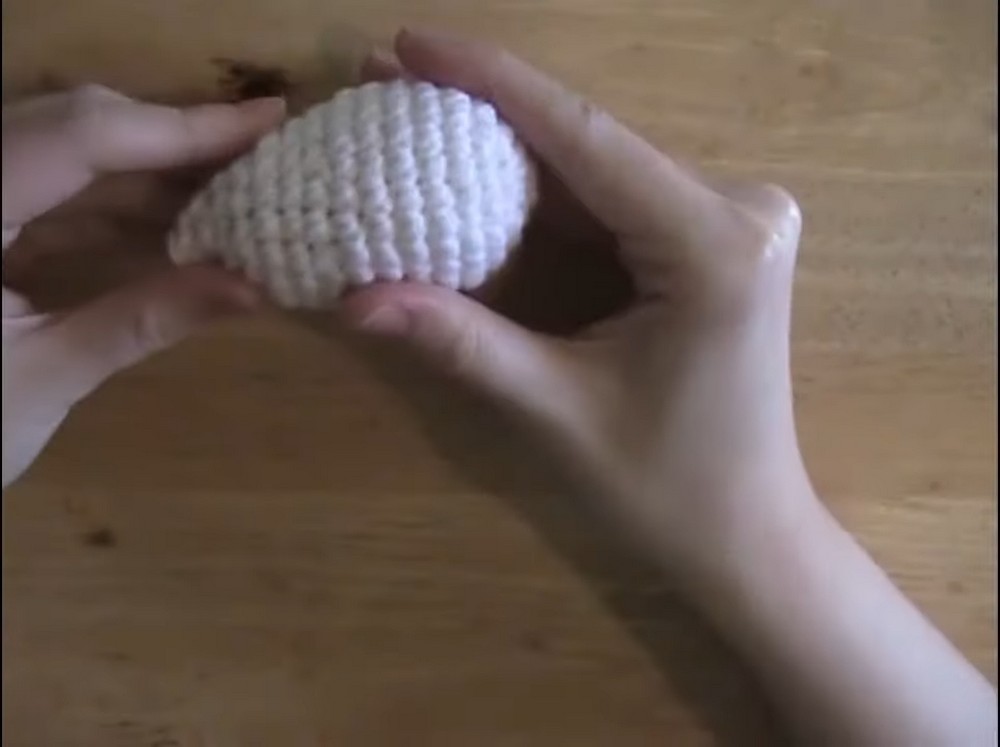
Step 4: Decrease Rounds
- Round 11: 1 sc in next 4 stitches, dec over next 2 stitches, repeat from * to * around. (30 stitches)
- Round 12: 1 sc in next 3 stitches, dec over next 2 stitches, repeat from * to * around. (24 stitches)
- Round 13: 1 sc in next 2 stitches, dec over next 2 stitches, repeat from * to * around. (18 stitches)
- Round 14: 1 sc in next stitch, dec over next 2 stitches, repeat from * to * around. (12 stitches)
- Round 15: Dec over next 2 stitches, repeat from * to * around. (6 stitches)

Step 5: Finishing
- Fasten off, leaving a long tail.
- Stuff the piece firmly with polyester fiberfill.
- Use the tapestry needle to weave the tail through the remaining 6 stitches and pull tight to close.
- Secure and weave in the end.
Conclusion
Congratulations! You've completed the basic Amigurumi shape. This simple pattern forms the basis for many more complex Amigurumi projects. With this foundational technique, you can create a variety of shapes and characters by adjusting the size, color, and embellishments. Keep practicing and enjoy your crochet journey!