
Crochet Ghost Coaster Pattern for Festive Halloween Decor
Give your Halloween table a spooky makeover with the Crochet Ghost Coaster Pattern—an easy-to-make design that's perfect for seasonal crafting!
Fascinatingly spooky yet charming, this ghost-shaped coaster is the perfect seasonal detail to enhance your home decor during Halloween. With its easy-to-follow instructions, the pattern transforms basic stitches into curved edges resembling a ghost’s flowing form. Beyond just aesthetics, these coasters protect surfaces from moisture while filling any space with delightful ghostly vibes.
Crochet Ghost Coaster Pattern
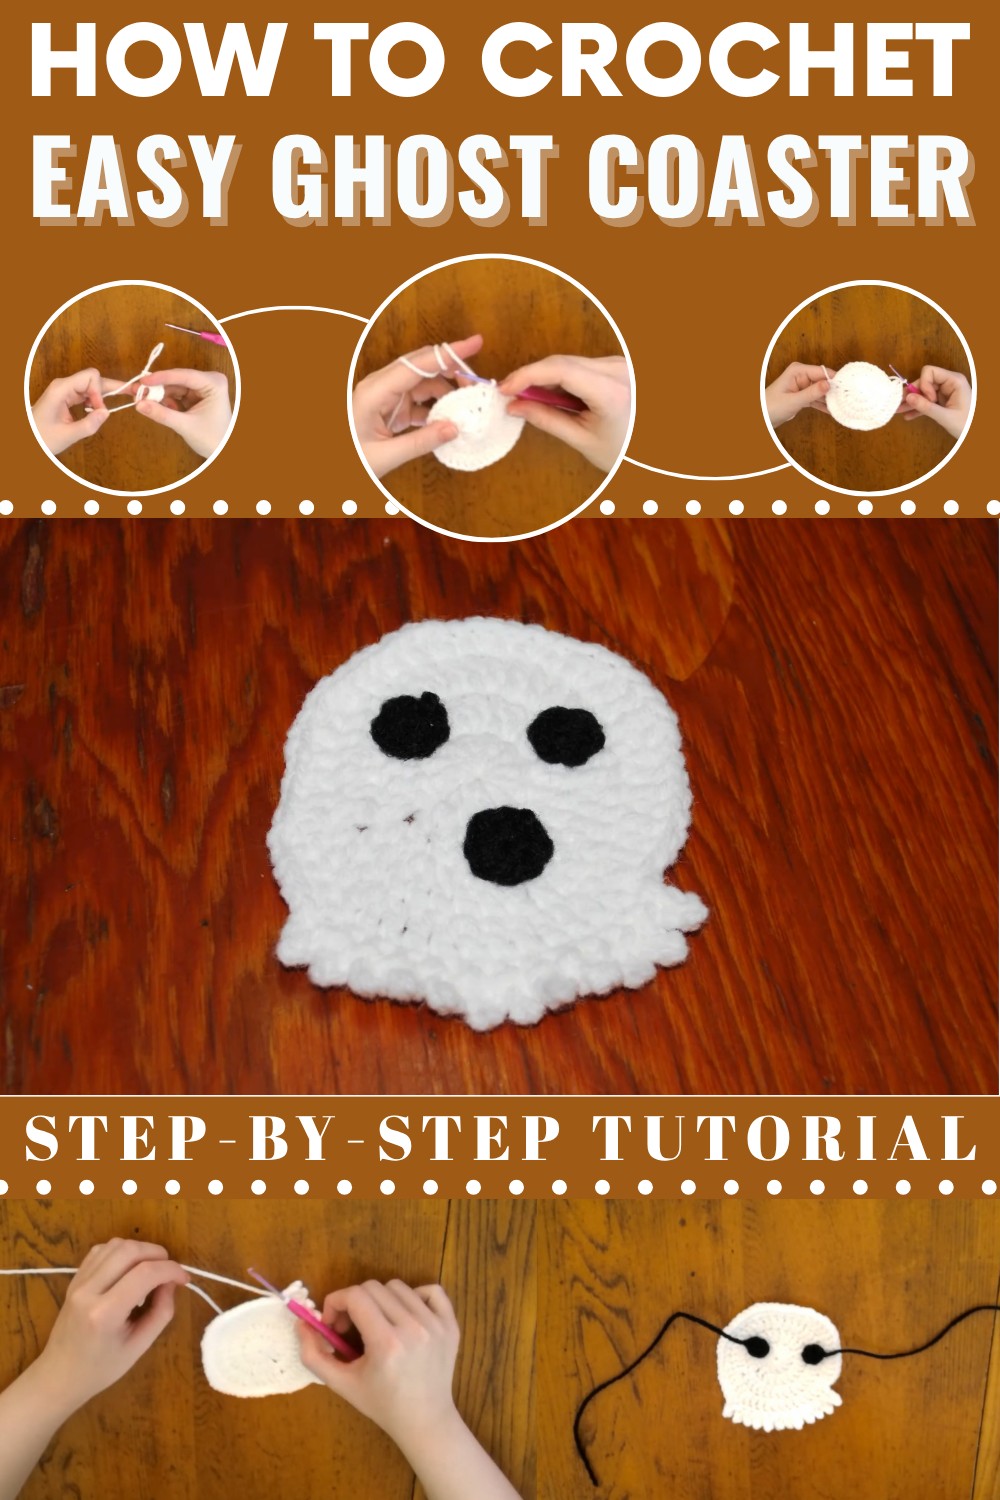
Ghost Coaster Crochet Pattern
This pattern guides you through creating a spooky yet adorable Ghost Coaster—a perfect decoration for Halloween or simply to add some charm to your table. The pattern uses basic crochet techniques such as a magic circle, single crochet (sc), double crochet (dc), and increases. It's beginner-friendly and quick to make, perfect for anyone new to crochet or wanting a fast and fun project.
Materials
To crochet the Ghost Coaster, you will need the following materials:
- Yarn: Cotton or acrylic yarn (white for the ghost body, black for the eyes, and black for the mouth). Choose DK (Double Knitting) or worsted weight yarn depending on your desired coaster size.
- Hook: Size 4.0 mm (G) or 5.0 mm (H) crochet hook.
- Tapestry Needle: For sewing pieces together and weaving in ends.
- Scissors
- Stitch Marker (Optional): To keep track of rounds or stitches.
Abbreviations
Below is a list of stitch abbreviations used in the pattern:
- ch: Chain
- sc: Single Crochet
- dc: Double Crochet
- st: Stitch
- sl st: Slip Stitch
- inc: Increase (2 stitches worked into the same stitch)
- magic circle: Starting method to create a tight loop for crocheting in the round.
Ghost Coaster Pattern Instructions
Body of the Ghost
Round 1: Magic Circle and Double Crochets
- Start with a magic circle.
- Chain 3 (this chain 3 counts as the first dc).
- Work 11 dc into the magic circle (including the starting chain 3, you will have 12 double crochets in total).
- Slip stitch into the top of the chain-3 to close the round.
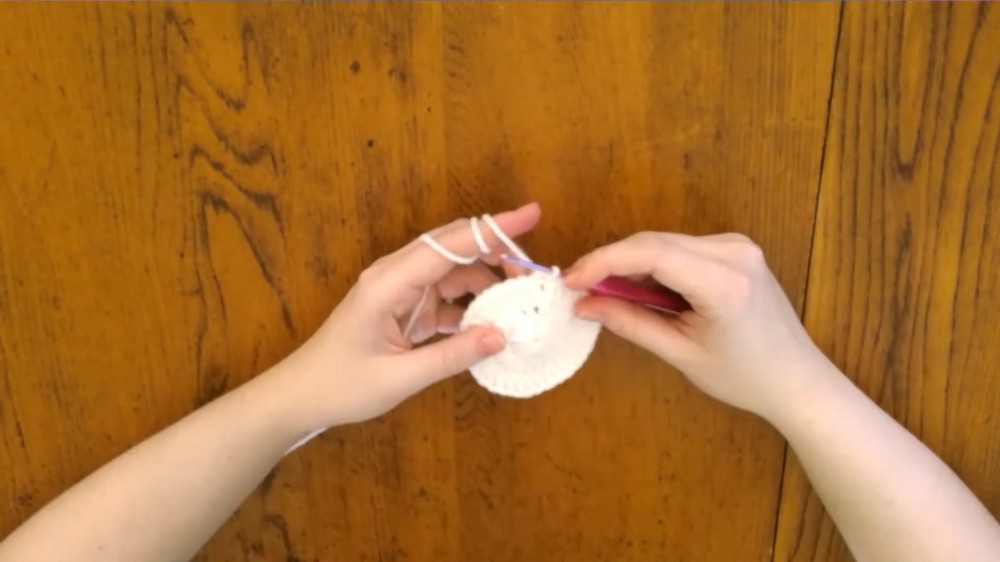
Round 2: Increasing Double Crochets
- Chain 3 (as your first dc).
- Double crochet into the same stitch where the chain 3 begins.
- Work 2 dc into each stitch (this is a dc increase). Repeat this for all 11 remaining stitches around.
- Slip stitch to the top of the chain-3 to close this round.
Round 3: Next Round of Double Crochet Increases
- Chain 3 and work dc in the same stitch.
- For this round, follow this sequence:
- Work 1 dc into the first stitch.
- Work 2 dc into the next stitch (dc increase).
- Repeat this pattern all the way around.
- At the end of the row, you should have 36 double crochets, including the chain-3 at the start.
- Slip stitch to join.
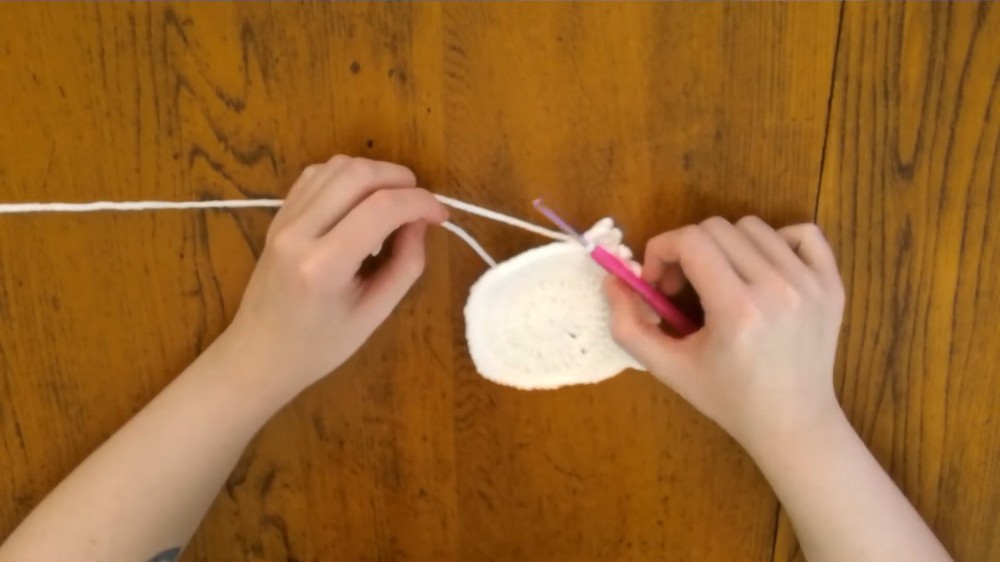
Round 4: Final Round for the Body
- Chain 3, then work dc into the same stitch.
- Use the following sequence for this round:
- Work 2 dc into the next 2 stitches.
- Work a dc increase into the next stitch.
- Repeat this sequence 7 times around.
- At the end, work 5 sc then begin a single crochet increase in the remaining stitches (these are the final finishing touches for the top of the ghost).
- Slip stitch to join.
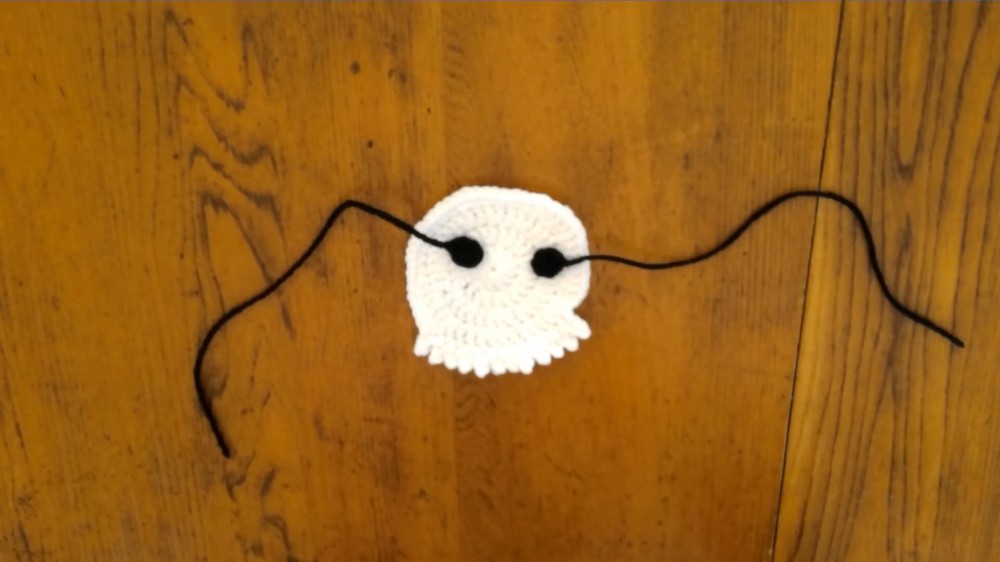
Creating Spikes for the Ghost’s Bottom Edge
- Chain 1, sc into the next 4 stitches.
- Chain 3, then slip stitch into the second chain from the hook.
- Work sc into the next chain and then sl st into the next stitch on the body.
- Repeat this process 11 more times until you have 12 spikes along the bottom edge of the ghost.
- Finish off and weave in the ends using a tapestry needle.
Eyes of the Ghost
- Make a magic circle and work 6 sc into the loop.
- Slip stitch into the first single crochet to close the round.
- Fasten off, leaving a long tail for sewing.
- Repeat this process for the second eye.
Mouth of the Ghost
- Make another magic circle and work 8 sc into the loop.
- Slip stitch into the first single crochet to close the round.
- Fasten off, leaving a long tail for sewing.
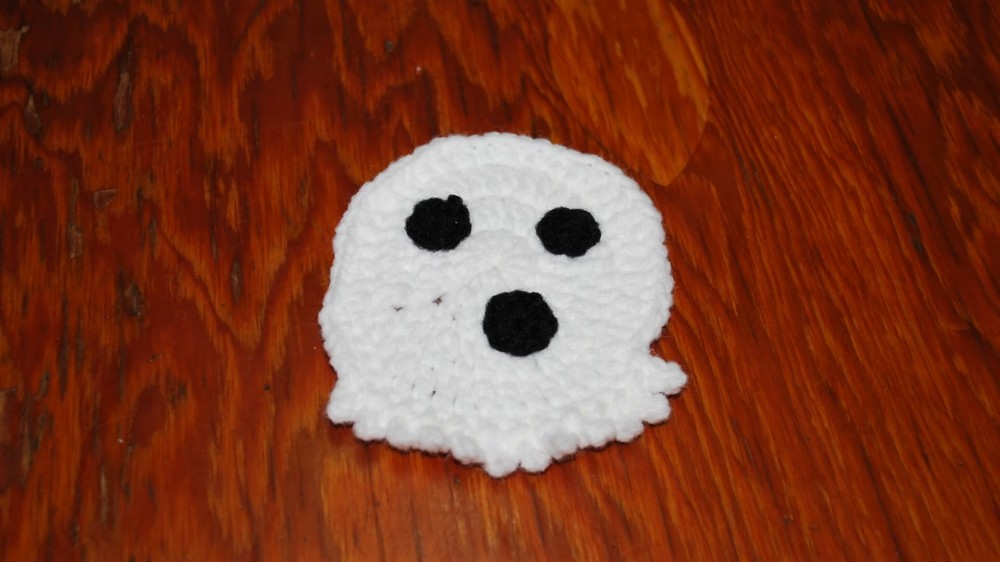
Final Assembly
- Position the eyes and mouth on the ghost body.
- Use a tapestry needle and the yarn tails to sew each piece securely onto the body.
- Weave in all remaining ends. Block the ghost gently if necessary to flatten it and shape the spikes.
Conclusion
Your Ghost Coaster is now complete! This charming decoration is perfect for Halloween, spooky parties, or just a fun addition to your everyday decor. Play around with colors and yarn thickness to customize your ghost for different themes. If you have extra yarn, you can create more ghosts to make a full set.