
Beginner Friendly Crochet Rilakkuma _ Free Pattern
Make your own adorable Crochet Rilakkuma Bear with this free pattern that is simple to follow and perfect for adding a cute handmade friend to your collection.
Add a touch of happiness to your day with a sleepy brown bear that is always ready for a hug. This lovable cartoon character has a calm personality and an innocent face that makes it hard to resist.
Lovely Crochet Rilakkuma Bear Free Pattern For Toy Collections
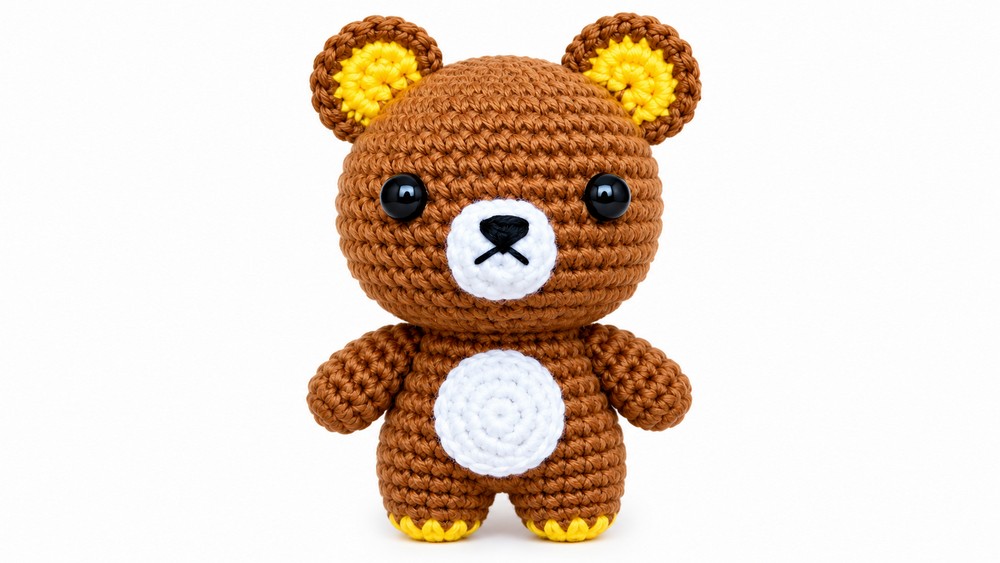
This Crochet Rilakkuma Bear is a small stuffed toy with a plump belly, round ears, and short paws. Its warm brown body, cream-colored face, and tiny black nose give it the familiar look of the popular Japanese character. The close crochet stitches provide a neat texture, while its relaxed sitting shape adds extra appeal.
The yellow details inside its ears and simple facial features are what make this bear special. You can dress it with a small scarf or colorful bow to give it a personal style. Different shades of brown can also change its overall appearance without losing its original look.
Place this Rilakkuma on a bedroom shelf, study desk, or living room table for a cheerful decoration. It is also a thoughtful handmade birthday gift for children, friends, or anyone who enjoys collecting cartoon toys.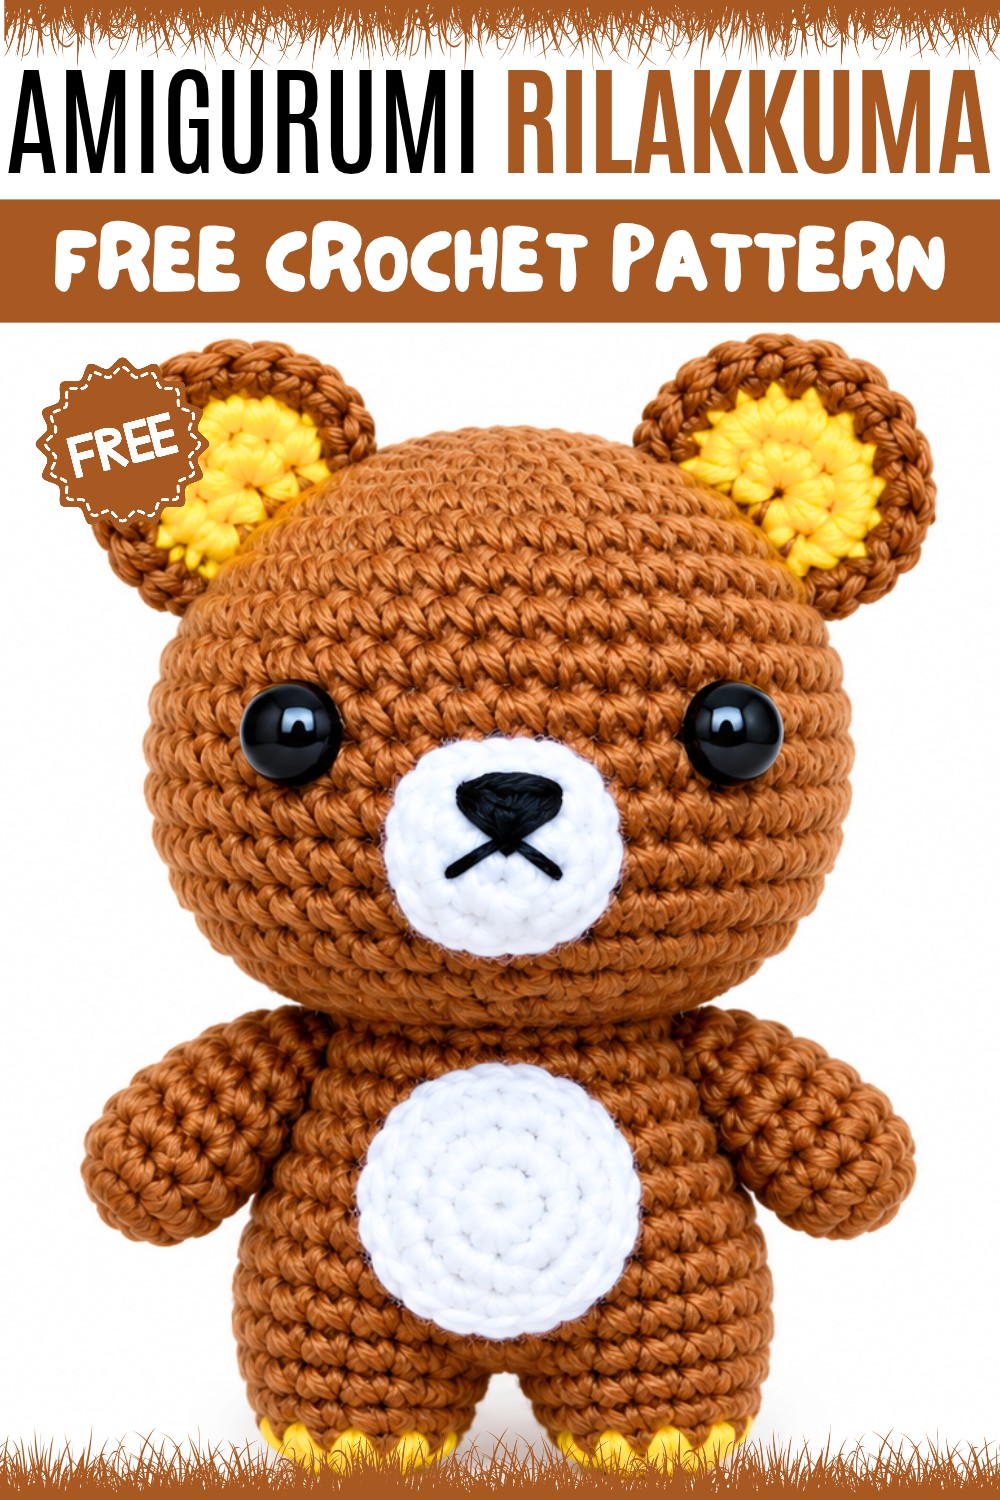
The bear is made by crocheting the head, body, arms, and legs, adding filling, and joining the pieces together. Carefully placed eyes and a small muzzle complete its friendly expression.
Pick this free Rilakkuma bear pattern based on Hooks _On_The_Go for your next crochet project and give your favorite cartoon character a special place at home!
About the Pattern
The Amigurumi Rilakkuma pattern yields a classic, rounded bear figure featuring iconic details: a seamless combined head and torso, distinctly colored limbs, ears with contrast inner and outer details, and simple embroidered facial features. Careful color placement, stuffing, and integrated increases and decreases define the plush’s expressive silhouette. The project is well-suited for gift-giving or as a captivating addition to a handmade collection of pop culture amigurumi.
Pattern at a Glance
- Construction: The pattern is worked mostly in continuous spirals (no joining unless noted), starting with the head and body as a single piece, then partitioned and joined with independent limbs and facial features.
- Colors: Classic Rilakkuma brown, with yellow and white for accent features.
- Detailing: Ears consist of a separate yellow circle joined in the round to a brown outer, demonstrating layered colorwork. The face and stomach patches are crocheted and sewn, with a simple embroidered mouth and nose giving expression.
Important Notes
- Strive for firm tension using the 3mm hook; this prevents stuffing from showing and ensures the bear keeps its shape during play or display.
- Use a stitch marker to track rounds, especially for the continuous spirals.
- Stuff the head/neck section firmly before partitioning into legs.
- Securely attach all sewn elements and weave in ends discreetly for a clean look and optimal durability.
- For embroidered facial features, use a sharp needle for clear, neat lines.
- Match the yarn weight throughout for consistent texture and stitch definition.
Difficulty Level
Advanced Beginner to Intermediate
A basic knowledge of amigurumi, increasing, decreasing, joining with different colors, working in continuous rounds, and hand sewing are essential. Some experience with embroidering on crochet is beneficial.
Supplies Needed
- Yarn: Brown, yellow, and white (worsted or light worsted for best shape retention)
- 3.0 mm crochet hook
- Stuffing: Polyester fiberfill
- Yarn Needle: For sewing pieces and facial embroidery
- Stitch marker
- Small scissors
- Black embroidery floss or fine black yarn: For nose and mouth
Size & Measurements
- Finished height: approx. 12–15 cm (may vary with tension and yarn type)
- Limbs are proportional to body for classic, squat Rilakkuma appearance
- Ears are a prominent, slightly oversized feature for expressiveness
Gauge & Stitch Details
- Gauge is not strictly important for toys; ensure stitches are tight enough that stuffing is not visible.
- Each increase or decrease is worked cleanly—use invisible decrease for best results on the neck.
- Single crochet is used for all pieces except embroidery.
Crochet Abbreviations
| Abbr. | Stitch Name |
|---|---|
| ch | chain |
| sc | single crochet |
| inc | increase (2 sc in 1 st) |
| dec | decrease (sc 2 together) |
| sl st | slip stitch |
| st | stitch |
| rnd | round |
Special Stitch Guide
- Magic Ring: Wrap yarn to form an adjustable starting circle, work stitches into center, pull closed securely.
- Increase (inc): Work 2 sc in a single stitch.
- Decrease (dec): Insert hook, pull up loop in each of 2 stitches, yarn over and pull through all 3 loops.
- Invisible Join: For flat patches, after the final stitch, cut yarn, pull through, and sew it invisibly into the fabric.
Complete Crochet Pattern
Head & Body (Brown Yarn)
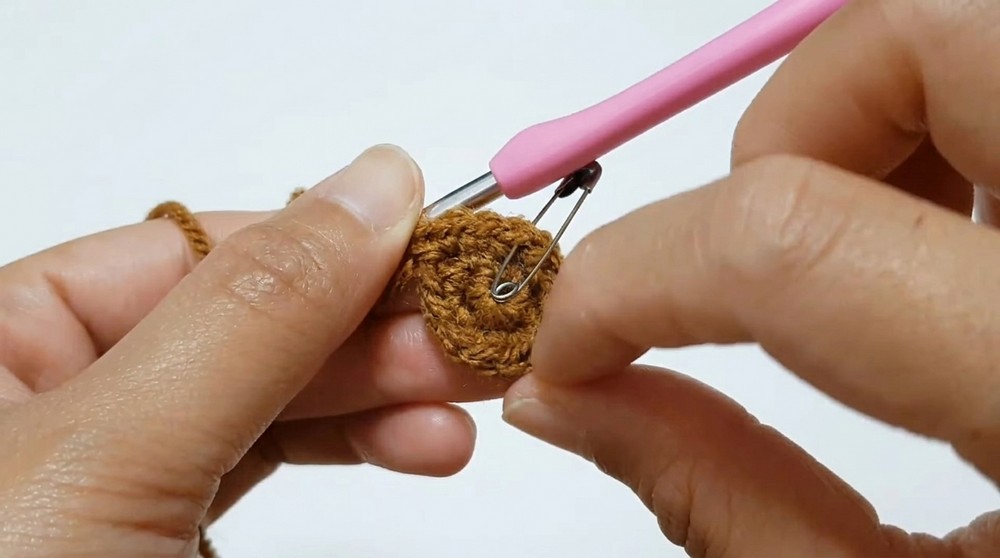
- Rnds 1–7:
- Rnd 1: Start with a magic ring, 6 sc into ring.
- Rnd 2: inc in each st (12)
- Rnd 3: (1 sc, inc) repeat around (18)
- Rnd 4: (2 sc, inc) repeat around (24)
- Rnd 5: (3 sc, inc) repeat around (30)
- Rnd 6: (4 sc, inc) repeat around (36)
- Rnd 7: (5 sc, inc) repeat around (42)
- Rnds 8–14:
- Work 7 rounds of 42 sc (plain, no increases or decreases)
- Rnds 15–18:
- Shape the neck with decreases:
- Rnd 15: (5 sc, dec) repeat around (36)
- Rnd 16: (4 sc, dec) repeat around (30)
- Rnd 17: (3 sc, dec) repeat around (24)
- Rnd 18: (2 sc, dec) repeat around (18)
- Shape the neck with decreases:
- Rnds 19–23:
- Increase to form the body:
- Rnd 19: (2 sc, inc) repeat around (24)
- Rnd 20: (3 sc, inc) repeat around (30)
- Rnd 21: (4 sc, inc) repeat around (36)
- Rnd 22: (5 sc, inc) repeat around (42)
- Rnd 23: (6 sc, inc) repeat around (48)
- Increase to form the body:
- Rnds 24–28:
- Begin tapering for hips/torso base:
- Rnd 24: (4 sc, dec) repeat around (40)
- Rnd 25: (3 sc, dec) repeat around (32)
- Rnd 26–28: 28 sc per round (3 rounds)
- Begin tapering for hips/torso base:

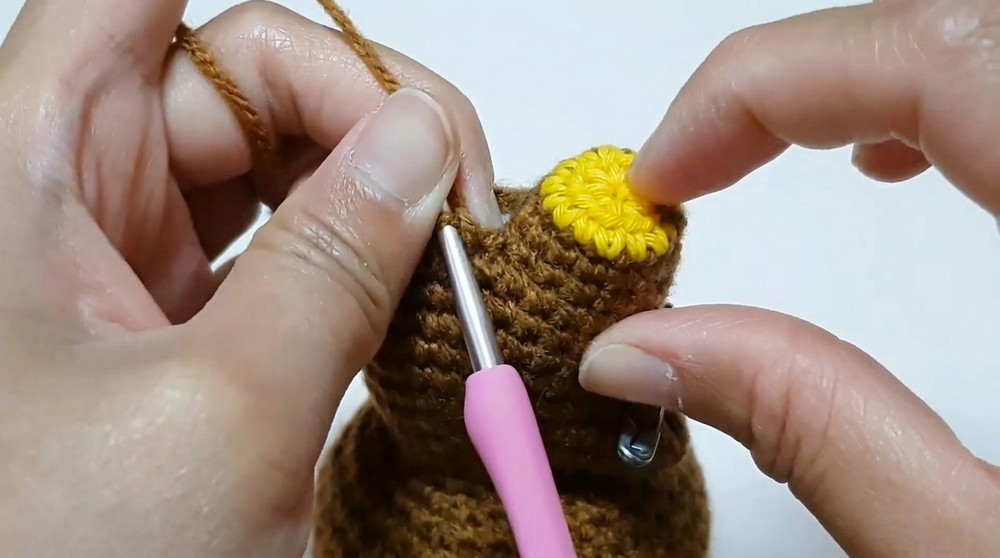
Legs (Make 2)
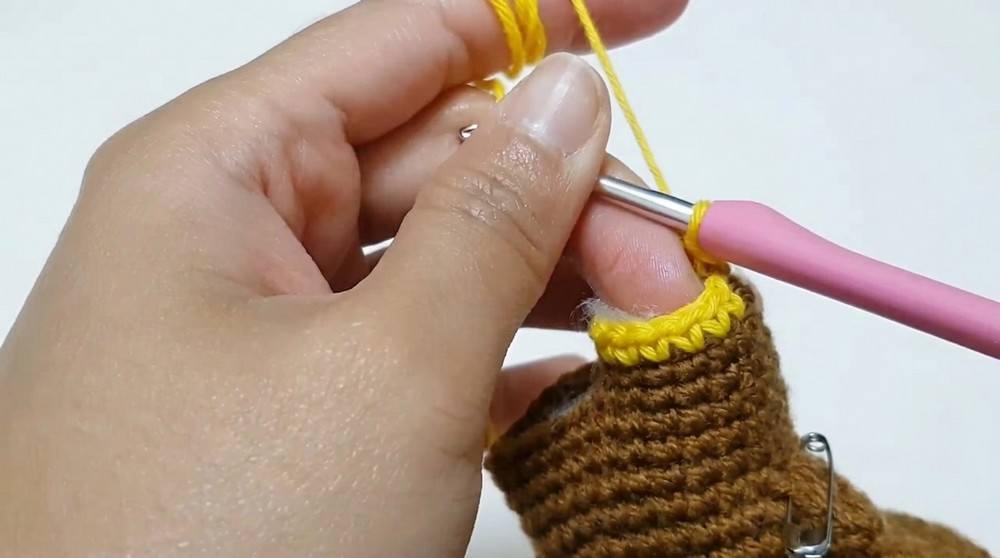
- Partition the 28 stitches evenly into two sections of 14 sc each (do not break yarn; work around one opening first for seamless join, then the other).
- Rnd 1–2: In brown, 14 sc around, for 2 rounds.
- Rnd 3: Attach yellow yarn, 14 sc.
- Fasten off and close up. Repeat for second leg.
Arms (Make 2, Brown Yarn)
- Rnd 1: Magic ring, 6 sc.
- Rnd 2: inc in each st (12)
- Rnd 3: (1 sc, inc) repeat around (18)
- Rnd 4–6: 10 sc each round
- Fasten off, stuff if desired, sew closed.
Ears (Make 2: Inner Yellow, Outer Brown)
- Inner Circle (Yellow):
- Rnd 1: Magic ring, 6 sc
- Rnd 2: inc in each st (12)
- Fasten off, leave tail for joining.
- Outer (Brown):
- With brown, join to yellow circle.
- Rnd 1: 12 sc around the edge of yellow, working both pieces together.
- Rnd 2: (1 sc, inc) (18)
- Rnd 3: (sc) in each stitch around.
- Fasten off, leave tail to sew to head.
Face Patch (White Yarn)
- Rnd 1: Magic ring, 6 sc
- Rnd 2: inc in each st (12)
- Rnd 3: (1 sc, inc) repeat (18)
- Rnd 4: (sc) in each stitch (18)
- Fasten off with a long tail for sewing.
Stomach Patch (White Yarn)
- Rnd 1: Magic ring, 6 sc
- Rnd 2: inc in each st (12)
- Rnd 3: (1 sc, inc) repeat (18)
- Fasten off with tail to sew.
Assembly & Finished Size
- Firmly stuff all sections as you go (particularly the body/head before leg division).
- Sew the ears to the top sides of the head, slightly angled outward.
- Position and sew the face patch to the lower center of the face.
- Place and sew the stomach patch to the center lower body.
- Sew arms evenly spaced to the sides of the body near the shoulders.
- Embroider the nose and mouth on the white face patch with black yarn or floss, forming a small oval nose and an inverted "Y" below.
- Check all seams for security, tuck in any loose ends.

Conclusion
The Amigurumi Rilakkuma pattern showcases attention to playful proportions and crisp colorwork, yielding a plushie with personality and nostalgia. Focusing on precise shaping, dense stitchwork, and careful assembly lends lasting charm to this well-loved bear. Suitable as both a collectible or toy, this project spotlights amigurumi’s charm and offers a satisfying balance of technical structure and hand-finished detail.