
How to Crochet a Teddy Bear With A Free Pattern
Personalize a sweet little animal with this Crochet Amigurumi Teddy Bear Free Pattern and share a cute toy with children, friends, or family.
Here’s a lovable friend you can make with just some yarn and a hook. Crochet Amigurumi Teddy Bear created by Frayed KnotCo Tutorials is a sweet project anyone can enjoy. This little bear is soft and cuddly, perfect to hold close or to decorate your room.
Easy Crochet Amigurumi Teddy Bear Free Pattern For Beginners
The bear has a round head, little ears, and tiny paws. Its cute face makes it look friendly and warm, like a real bear friend ready for hugs. You can make it in classic brown, soft cream, or even fun colors like pink or blue. The size can change too—you can make it small enough to fit in your pocket or big enough to sit beside you on the couch.
The most important stitch for this project is the single crochet stitch. It’s easy and helps make sure the bear is tight and full, so the stuffing doesn’t show through. You will also practice increasing and decreasing stitches to shape the teddy bear’s body and limbs nicely.
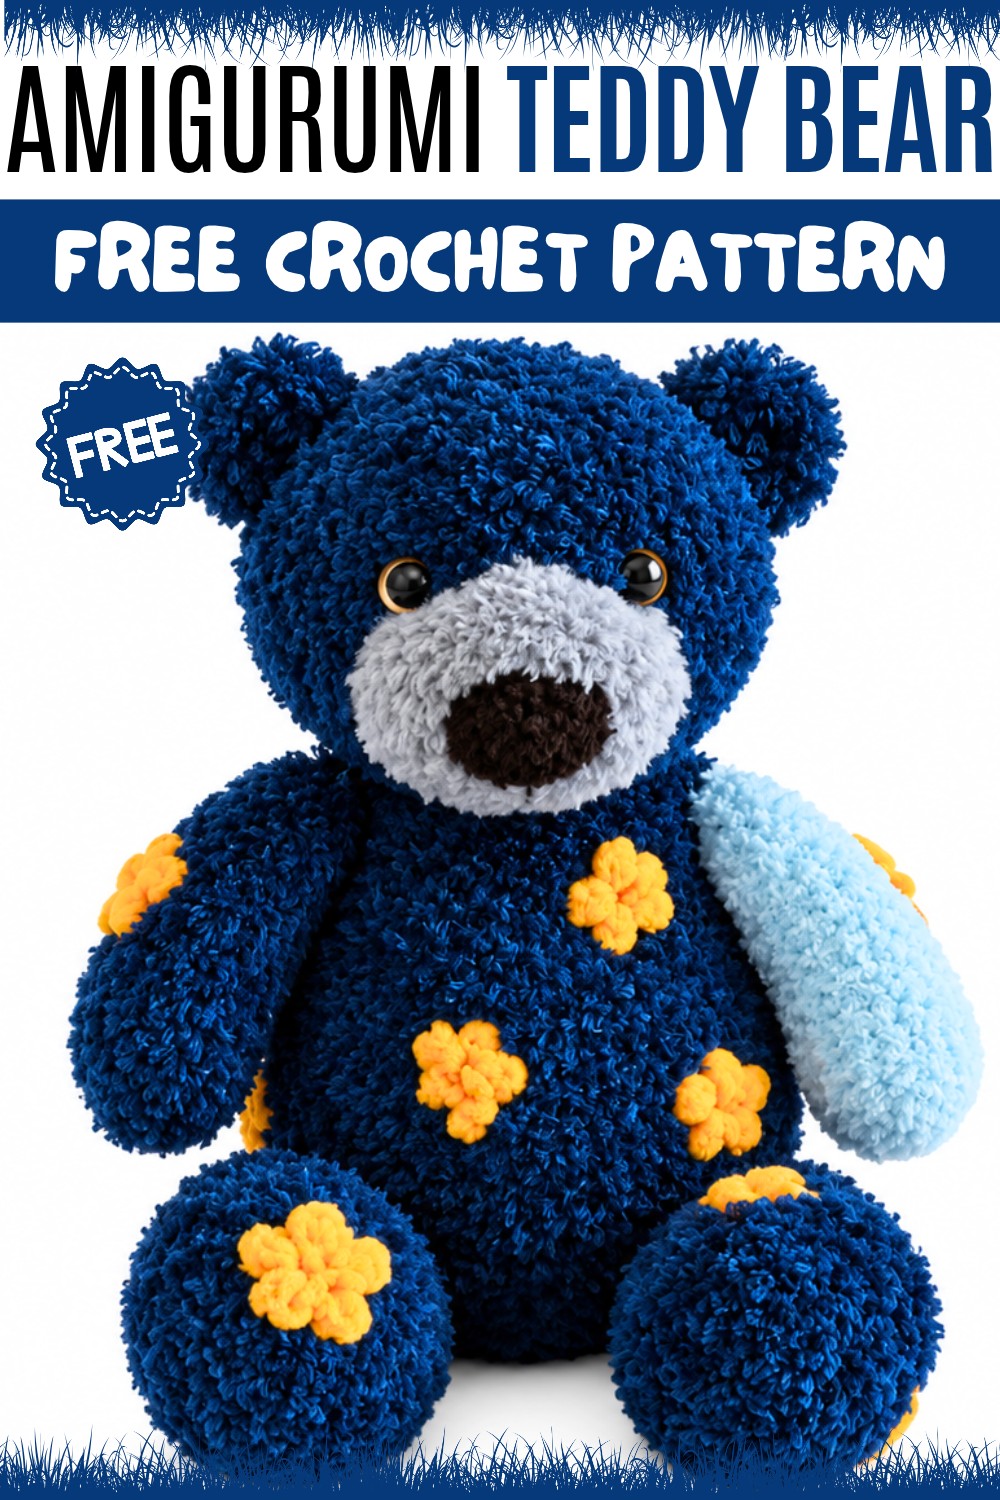
Besides being a cute toy, the bear can be a great gift for friends or family. Also, it looks amazing as a decoration, brightening up any space.
So, pick up your yarn and hook to start making your own special Crochet Amigurumi Teddy Bear. It’s a fun way to create something warm, soft, and full of love. Give it a try and enjoy every stitch with your new, friendly bear!
About the Pattern
This crochet bear pattern features a cuddly, classic teddy bear constructed almost entirely with single crochet (SC) stitches. The bear’s whimsical look is created through careful, round-by-round increases and decreases for smooth shaping, with arms and legs that hug the body and a rounded muzzle for added character. Flat ears and a tiny tail add to its charm. A small, crocheted star detail stitched with double crochet lends a touch of playful customization, making this bear a unique and treasured creation. Sturdy and soft, this bear pattern offers an engaging project for those seeking satisfying results through classic crochet techniques.

Pattern at a Glance
- Style: Amigurumi, crocheted in rounds and rows
- Stitches: Primarily single crochet (SC), with double crochet (DC) and slip stitch (SL ST) for the star
- Components: Head, muzzle, ears, body, legs, arms, tail, and star applique
- Assembly: Sewn together after individual pieces are stuffed and shaped
Important Notes
- Maintain consistent tension for uniform shaping and a neat finished project.
- Stuff each part as you go or just before closing each piece.
- Safety eyes should be attached to the head before final rounds of closing.
- The ears are constructed in flat rows, then stitched together for thickness before being attached.
- The star is created separately and stitched onto the completed bear.
- Carefully count stitches on each round and row to ensure the bear’s features match and are symmetrical.
Difficulty Level
Confident Beginner to Intermediate
This design uses simple stitch patterns and basic amigurumi shaping. Familiarity with the magic ring, working in the round, and making increases and decreases is assumed. Some assembly and basic embroidery are required for finishing the facial features and attaching the star, making it accessible to those with some crochet experience.
Supplies Needed
- Worsted or aran weight yarn in bear and accent colors (e.g., brown for body, cream for muzzle, color for star)
- Crochet hook to match yarn (usually 3.25–4 mm/US D–G for worsted weight)
- Tapestry/yarn needle for sewing parts and embroidering
- Small amount of black embroidery thread or yarn for the nose and mouth
- Safety eyes or black buttons (alternative: embroider eyes)
- Fiberfill or preferred stuffing material
- Scissors
- Stitch marker or scrap yarn
Size & Measurements
- Finished size: Approximately 9–12 inches (23–30 cm) tall, depending on yarn and hook size
- Head (diameter): About 3–4 inches (7.5–10 cm)
- Body (height): About 4 inches (10 cm)
- Arms/legs: Proportional to body (arms can be made longer as desired)
- Star applique: Around 1.5 inches (4 cm) across
Gauge & Stitch Details
- Gauge: 5 rounds in SC in a circle = 2 inches (5 cm)
- Main stitch pattern: single crochet in continuous spiral rounds (unless otherwise stated)
- Ears, arms: single crochet in rows
Crochet Abbreviations
- ch: chain
- sc: single crochet
- inc: increase (2 sc in same stitch)
- dec: decrease (work 2 sc together)
- sl st: slip stitch
- dc: double crochet
- st(s): stitch(es)
- MR: magic ring
Special Stitch Guide
- Magic Ring (MR): Loop yarn and crochet required stitches into loop, then pull loop tight.
- Increase (inc): 2 sc in same st.
- Decrease (dec): sc2tog (single crochet two together—insert hook in next st, yarn over, pull up a loop, insert in next st, yarn over, pull up a loop, yarn over and draw through all three loops).
- Continuous rounds: Do not join; use a stitch marker to keep track of the first stitch.
Detailed Pattern
Head
- Round 1: Make a MR and work 8 sc into ring.
- Round 2: Inc in each st around (2 sc in each st) – 16 sc.
- Round 3: (Sc 1, inc) around – 24 sc.
- Round 4: (Sc 2, inc) around – 32 sc.
- Round 5: (Sc 3, inc) around – 40 sc.
- Round 6: (Sc 4, inc) around – 48 sc.
- Rounds 7–16: Sc in each st around – 10 rounds of 48 sc.
- Decrease rounds: Begin closing:
- Round 17: (Sc 4, dec) around
- Round 18: (Sc 3, dec) around
- Round 19: (Sc 2, dec) around
- Round 20: (Sc 1, dec) around
- Round 21: (dec) around until closed
Insert safety eyes between rounds 12–14, spaced evenly before full closing.
Finish stuffing and shape as you go. Fasten off securely.
Muzzle
- Round 1: Make a MR and work 8 sc into ring.
- Round 2: Inc in each st (16 sc).
- Round 3: (Sc 1, inc) around (20 sc).
- Rounds 4–5: Sc in each st around (20 sc per round).
Embroider nose on top and attach securely to the face.
Ears (Make 4 pieces, 2 per ear)
- Foundation: Ch 6.
- Row 1: Sc in 2nd ch from hook and next 4 ch – 5 sc.
- Rows 2–3: Sc across – 5 sc per row.
- Row 4: Dec, sc 1, dec (decrease, single crochet, decrease) – 3 sc.
Make 2 pieces per ear. Place wrong sides together and sew around the edge for thickness. Lightly shape before attaching to head.
Body
- Round 1: Make a MR and work 8 sc into ring.
- Round 2: Inc in each st around (16 sc).
- Round 3: (Sc 1, inc) around (24 sc).
- Round 4: (Sc 2, inc) around (32 sc).
- Round 5: (Sc 3, inc) around (40 sc).
- Round 6: (Sc 4, inc) around (48 sc).
- Rounds 7–13: Sc in each st around (7 rounds of 48 sc).
- Begin decrease shaping for the neck:
- Next rounds: Dec in pattern (Sc 4, dec; sc 3, dec; etc.) with a steady sc round between each decrease round to bring the opening in and form the neck before closing and fastening off.
Stuff body firmly but shape before final decrease rounds. Fasten off.
- Next rounds: Dec in pattern (Sc 4, dec; sc 3, dec; etc.) with a steady sc round between each decrease round to bring the opening in and form the neck before closing and fastening off.
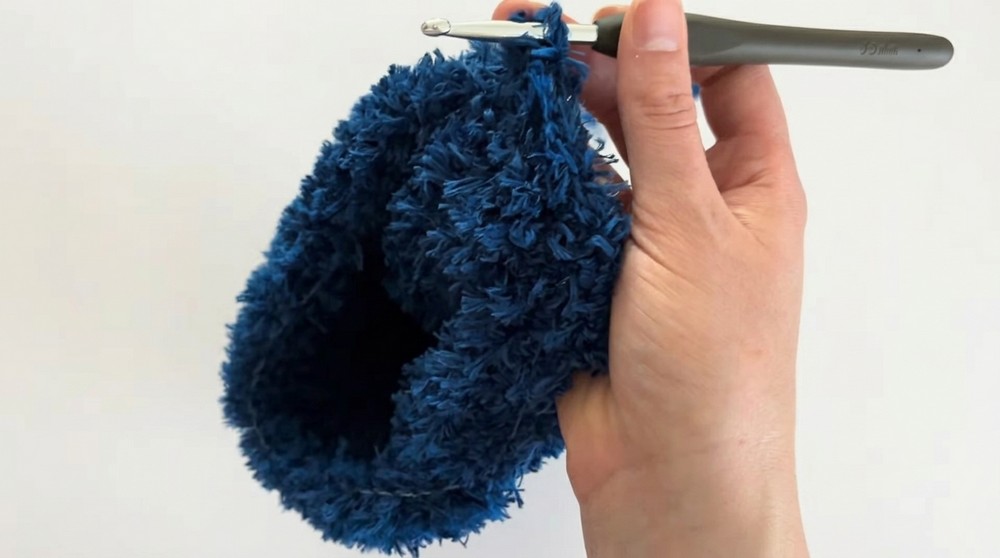
Legs (Make 2)
- Round 1: Make a MR, 8 sc in ring.
- Round 2: Inc in each st (16 sc).
- Round 3: (Sc 1, inc) around (24 sc).
- Rounds 4–11: Sc in each st – 8 rounds of 24 sc.
- Round 12: (Sc 2, dec) around to decrease.
- Rounds 13–19: Sc in each st around (7 rounds).
- End: Work 2 half-rounds (rows of 8 sc) to create a flat top for sewing to body.
Stuff firmly before closing. Fasten off, leave tail for sewing.

Arms (Make 2)
- Foundation: Ch 20 (for standard; Ch 25 for longer arms as variation).
- Row 1: Sc in 2nd ch from hook and each across (19/24 sc).
- Rows 2–10: Sc in each st across.
Fold for strength if desired. Shape and attach after legs.
Tail
- Round 1: MR, 8 sc in ring.
- Rounds 2–3: Sc in each st (8 sc per round).
Stuff lightly and attach to lower back.
Star Detailing
- MR, perform sequence for each point:
- (Ch 3, 1 dc, ch 2, sl st into ring**) × 5 times for 5 points.
Pull tight, weave ends to shape, and sew to bear.
- (Ch 3, 1 dc, ch 2, sl st into ring**) × 5 times for 5 points.

Assembly & Finished Size
- Gently sew muzzle to front center of head, position and attach ears on top/side of head.
- Position and securely sew eyes (if not already attached), embroider facial details.
- Pin arms and legs in place for balance, then sew (legs at bottom/front, arms to sides just under neck).
- Attach tail at center of rear bottom.
- Sew star to bear’s belly or wherever desired.
- Adjust stuffing as needed and neaten all attachments.

Finished bear is soft, sturdy, and proportioned for cuddling. All components are balanced for comfort and display. The added star motif gives it unique charm and can be customized in any color.

Conclusion and Ending Words
This bear pattern highlights the beauty of classic crochet with single crochet stitches providing a seamless, plush finish. Sturdy construction and clear shaping rounds establish a timeless appeal while the simple piecework ensures that each element fits easily together. The whimsical star embellishment invites creative experimentation and personal flair. This project offers a satisfying way to develop amigurumi skills while producing a result that brings warmth to any home or makes a heartfelt gift. Each finished bear is easily customized through yarn and accent color choices, ensuring that every project reflects individual style and care.