
Cute Crochet Amigurumi Reindeer Free Pattern With Tiny Antlers
Set a cheerful holiday scene with this Crochet Amigurumi Reindeer Free Pattern featuring a sweet face, cute antlers, and winter charm.
A sweet and tiny toy made with yarn and a crochet hook is easy and fun to create. The Crochet Amigurumi Reindeer looks like a small, friendly deer with soft antlers and a cute nose. You can make it in different sizes—from a tiny keychain to a bigger plush toy you can hug. Its shape is usually simple, with a round body, a little head, and short legs.
Lovely Crochet Amigurumi Reindeer Free Pattern for a Holiday Keepsake
This little reindeer can bring a lot of joy. Kids love to play with it because it feels soft and cuddly. You can use it as a decoration during the holiday season or keep it on your desk to smile at each day. It can even be a nice gift for friends or family when the snow starts to fall.
Usually, people use brown yarn to give it a real deer look, but you can pick any color you like! Some make reindeer with red noses just like a famous story character, while others add scarves or tiny hats to make it special. This way, you can make your reindeer your own.
When making a Crochet Amigurumi Reindeer, the most important stitch to know is the single crochet. This stitch makes the fabric tight so the stuffing inside the toy doesn’t fall out. You will also use small stitches called increases and decreases to shape the body, head, and legs.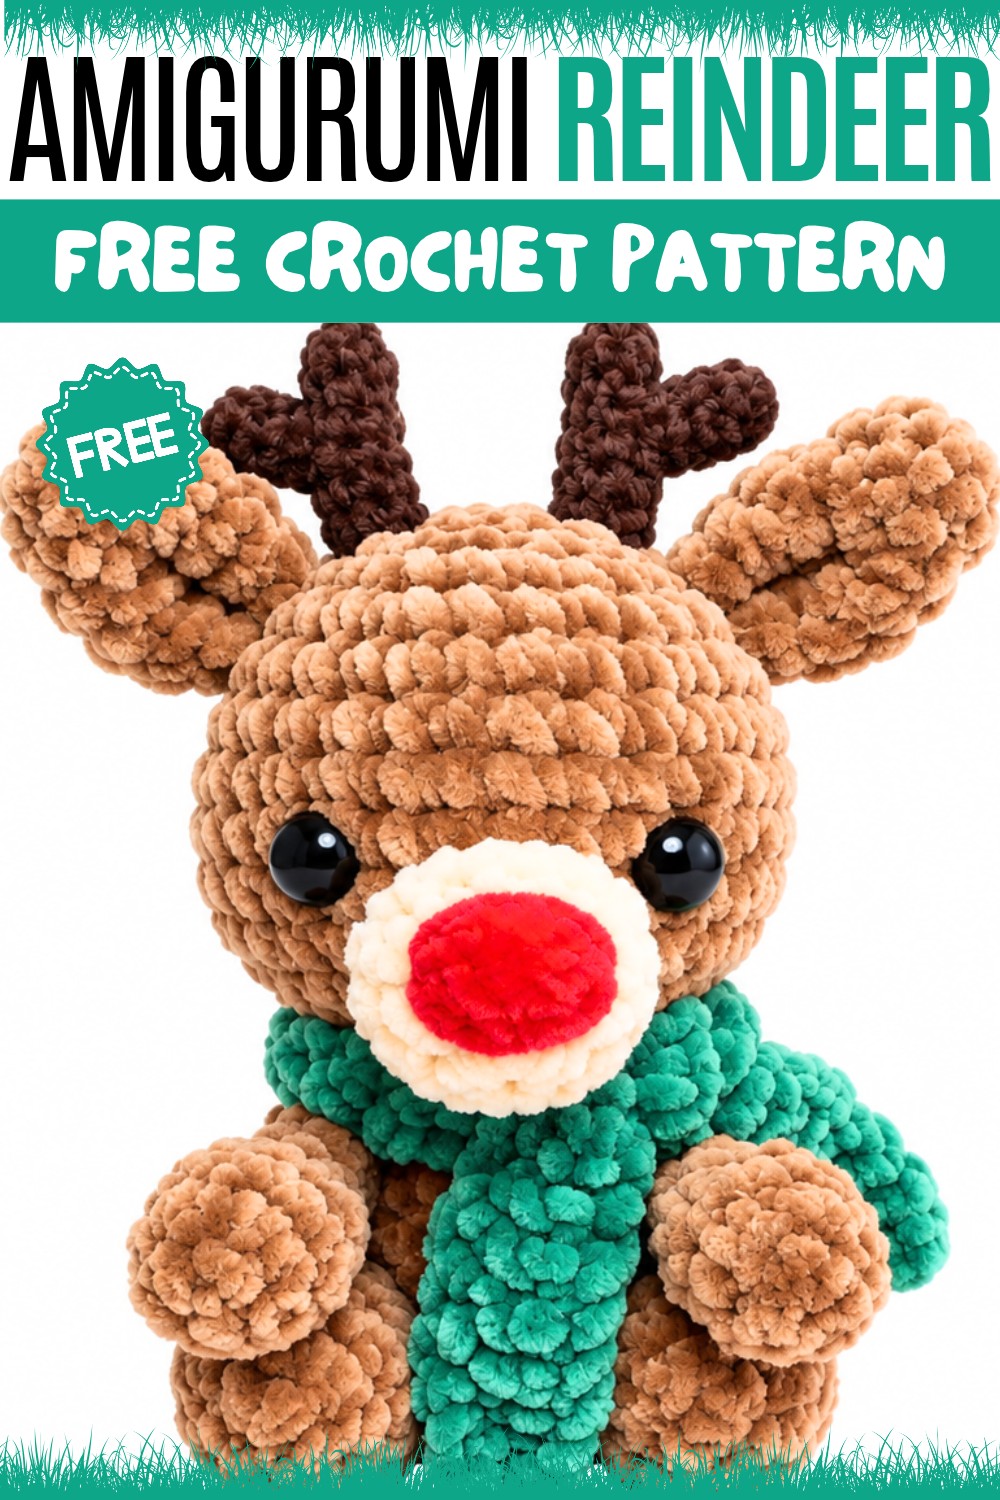
Making this reindeer is a fun way to practice crocheting. It helps you learn to count stitches and follow simple instructions. Plus, knitting it step by step is relaxing and keeps your hands busy. Whether you are a beginner or have some experience, this project can be a lovely start or a new challenge for you.
With just a hook and some colorful yarn, you can create a happy little friend to enjoy all year round!
Design By :
About This Reindeer Crochet Pattern
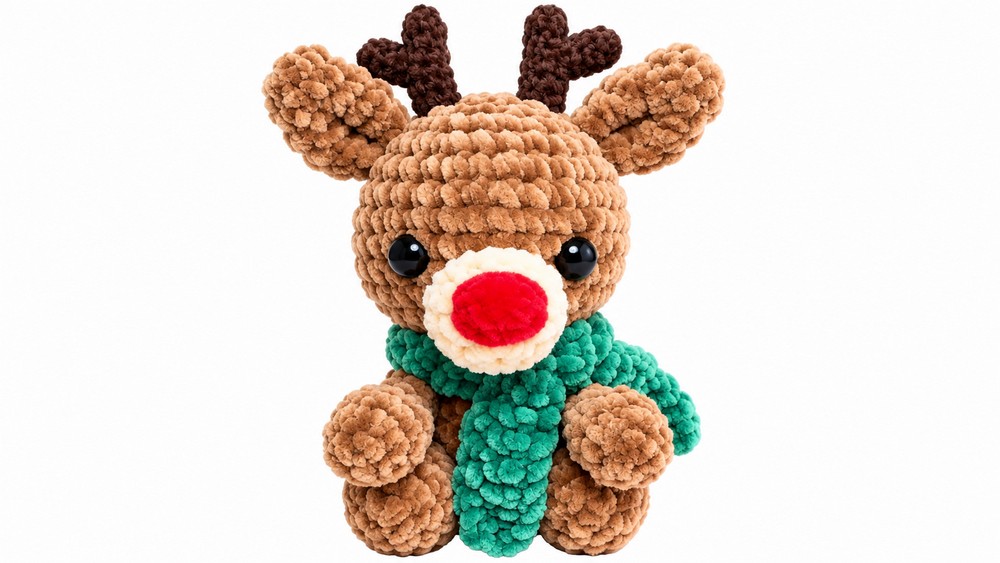
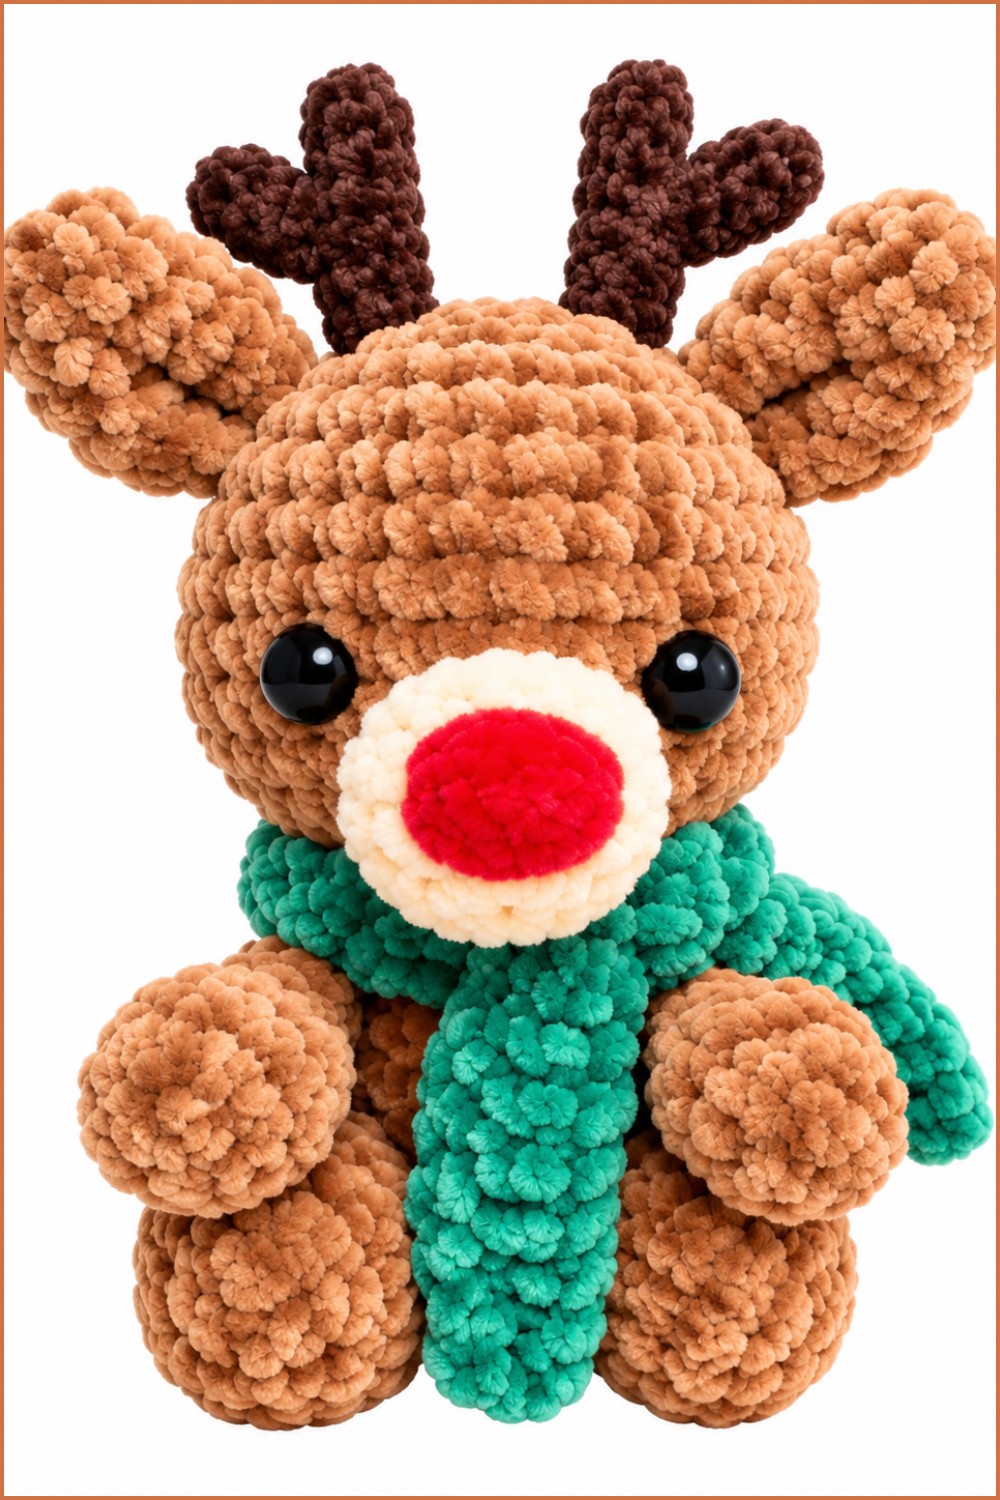
This crochet project creates a charming amigurumi reindeer, perfect as a centerpiece for holiday decor or a treasured gift. The pattern is structured into sequential components: head, body, legs, arms, ears, muzzle, horns, and scarf. Thoughtful assembly instructions and detailed rounds ensure a satisfying and clear construction process, resulting in a classic and cuddly reindeer.
Pattern Basic Points
- All pieces are worked in the round unless specified.
- Body parts are crocheted separately and then sewn together.
- Stitch counts are indicated at the end of each relevant round.
- Safety eyes and fiberfill are recommended for best appearance and durability.
- Continuous spiral method is used; do not join rounds unless specified.
- Consistent tension ensures neatness.
- Stuff each part firmly as you work.
Special Notes
- This pattern is designed to be approachable and enjoyable for those learning amigurumi or expanding basic crochet skills.
- Stitch markers are useful for tracking rounds.
- Positioning of features (horns, limbs, muzzle) helps express the personality of the reindeer.
- All assembly steps are to be performed after crocheting and stuffing each part.
Skill Level
Skill Level: Beginner to Early Intermediate
This pattern employs primarily basic stitches and shaping. Minimal sewing and embroidery skills are helpful for final assembly. Those comfortable with working in the round and simple increases/decreases will find this approachable, while beginners may appreciate the straightforward pacing.
Materials
- Worsted-weight yarn in brown, cream, red, and gray or black
- Crochet hook size 3.0–3.5 mm (US E/4)
- Safety eyes (8 mm)
- Polyester fiberfill stuffing
- Yarn needle and sewing pins
- Scissors
- Stitch marker
Measurements & Gauge
- Finished reindeer: approximately 16–18 cm (6.5–7 in) tall when seated, with proportions varying by yarn and stuffing used.
- Gauge: 6 sc = 2 cm, but gauge is not critical for amigurumi. Focus on tight stitches for minimal stuffing show-through.
- Stitch Pattern: Single crochet in the round.
Stitch Abbreviations
| Abbreviation | Meaning |
|---|---|
| mr | magic ring |
| ch | chain |
| sc | single crochet |
| dc | double crochet |
| inc | increase (2 sc in 1) |
| dec | decrease (sc2tog) |
| sl st | slip stitch |
| st(s) | stitch(es) |
| FO | fasten off |
Special Stitches
- Magic Ring (mr): Begin by forming a ring and crocheting into the loop for seamless starts.
- Invisible Decrease (sc2tog): Insert hook into front loops of the next 2 sts, yarn over, pull through 2 loops, yarn over, pull through both loops on hook.
Detailed Pattern
Head
Round 1:
- 6 sc into a mr or ch 2, 6 sc into second chain from hook. (6 sts)
Round 2:
- 1 inc in each st around. (12 sts)

Round 3:
- 1 sc, 1 inc around. (18 sts)
Round 4:
- 2 sc, 1 inc around. (24 sts)
Round 5:
- 3 sc, 1 inc around. (30 sts)
Rounds 6–11 (6 rounds):
- 1 sc in each st around. (30 sts each round)
Insert safety eyes between rounds 6 and 7, approximately 7 sts apart.
Round 12:
- 3 sc, dec around. (24 sts)
Round 13:
- 2 sc, dec around. (18 sts)
Round 14:
- 1 sc, dec around. (12 sts)
Begin stuffing here.
Round 15:
- dec around. (6 sts)
**Fasten off, weave tail through front loops and pull tight to close._
Body
Round 1:
- 6 sc into mr or ch 2, 6 sc in second chain (6 sts)
Round 2:
- 1 inc in each st around. (12 sts)
Round 3:
- 1 sc, 1 inc around. (18 sts)
Round 4:
- 2 sc, 1 inc around. (24 sts)
Rounds 5–7 (3 rounds):
- 1 sc in each of 24 sts. (24 sts each round)
Round 8:
- 2 sc, dec around. (18 sts)
Round 9:
- 1 sc, dec around. (12 sts)
Stuff body, making it firm.
Round 10:
- dec around. (6 sts)

**Fasten off, close opening with sl st, weave in ends._
Legs (make 2)
Round 1:
- 6 sc in mr or ch 2, 6 in second chain (6 sts)
Round 2:
- 1 inc in each st. (12 sts)
Rounds 3–4 (2 rounds):
- 1 sc in each st. (12 sts)
Round 5:
- 1 sc, dec around. (8 sts)
**Fasten off, stuff lightly. Close with sl st._
Arms (make 2)
Round 1:
- 6 sc in mr (6 sts)
Round 2:
- 1 sc, inc 3×. (9 sts)
Rounds 3–5 (3 rounds):
- 1 sc in each. (9 sts)
Round 6:
- 1 sc, dec 3×. (6 sts)
Rounds 7–9 (3 rounds):
- 1 sc in each. (6 sts)
FO, leave end for sewing. Stuff only the lower portion, flatten and close top.
Ears (make 2)
Round 1:
- 6 sc in mr (6 sts)
Round 2:
- 1 sc in each (6 sts)
Round 3:
- 1 sc, inc 3×. (9 sts)
Rounds 4–5 (2 rounds):
- 1 sc in each (9 sts)
Round 6:
- 1 sc, dec 3×. (6 sts)
FO, flatten and shape. Leave end for sewing.
Muzzle
Round 1:
- 6 sc in mr (6 sts)
Round 2:
- 1 inc in each st around. (12 sts)
Rounds 3–4 (2 rounds):
- 1 sc in each (12 sts)
FO, leaving long tail for sewing. Flatten slightly, stuff lightly before sewing.
Scarf
Row 1:
- With red yarn, ch 40.
Row 2:
- Begin in 3rd ch from hook, work 1 dc in each ch to the end. (38 dc)
FO, weave in ends.
Horns (make 2 sets)
Short Horn (make 2):
- 6 sc in mr. Work 4 rounds of 6 sc. FO.
Long Horn (make 2):
- 6 sc in mr. Work 7 rounds of 6 sc. FO.
Sew short horn onto the long horn near the top to make a Y-shape.
Assembly & Finishing
- Attach horns symmetrically on the head, 1–2 rounds apart.
- Position and sew ears to head next to horns but slightly lower.
- Sew head to body, aligning centers.
- Align legs beneath body so the reindeer is balanced and sew securely.
- Sew arms at the 'shoulders,' level with ear placement.
- Place muzzle between eyes, lower on face. Sew in place.
- Embroider the red nose with approx. five strands of red yarn for a dimensional effect.
- Tie scarf around neck.
- Weave in all loose ends and trim excess.


Finished Size
- Approximately 16–18 cm (6.5–7 in) when seated, depending on yarn choice and hook size.
Conclusion
The structure of this pattern guides the crocheter through every round, component, and assembly stage, helping to ensure an even, polished, and well-proportioned reindeer. Paying close attention to small elements such as the directionality of the horns and the placement of the muzzle contributes greatly to the finished character and appeal of the piece. Selecting soft but resilient yarn, consistent tension, and careful stuffing will maximize the plushness and durability of the reindeer. This project offers both satisfying makeability and timeless appeal for handcrafted holiday decor or a personal gift.