
Crochet Amigurumi Turtle Free Pattern for Ocean-Themed Decor
Bring joyful smiles quickly by working on a free crochet amigurumi turtle pattern that combines playful looks with simple techniques.
Making small, stuffed animals with yarn is a delightful activity. You can produce your very own ocean friend using this Free crochet Amigurumi Turtle Pattern. This project shows you how to assemble a tiny, charming turtle that works perfectly as a keychain or a little decoration. It is a quick and enjoyable little build. The complete video guide for this tiny turtle is presented by the creator at Mundo Crochet 🌸. Their clear instructions help you follow along from the first stitch to the last.
This amigurumi turtle is packed with adorable details. It has a classic round, brown shell with a beautiful scalloped border that gives it a finished look. Its sweet green head, four fins, and tiny tail all peek out from underneath the shell, giving it a playful appearance.
Free Amigurumi Turtle Crochet Pattern for Beginners
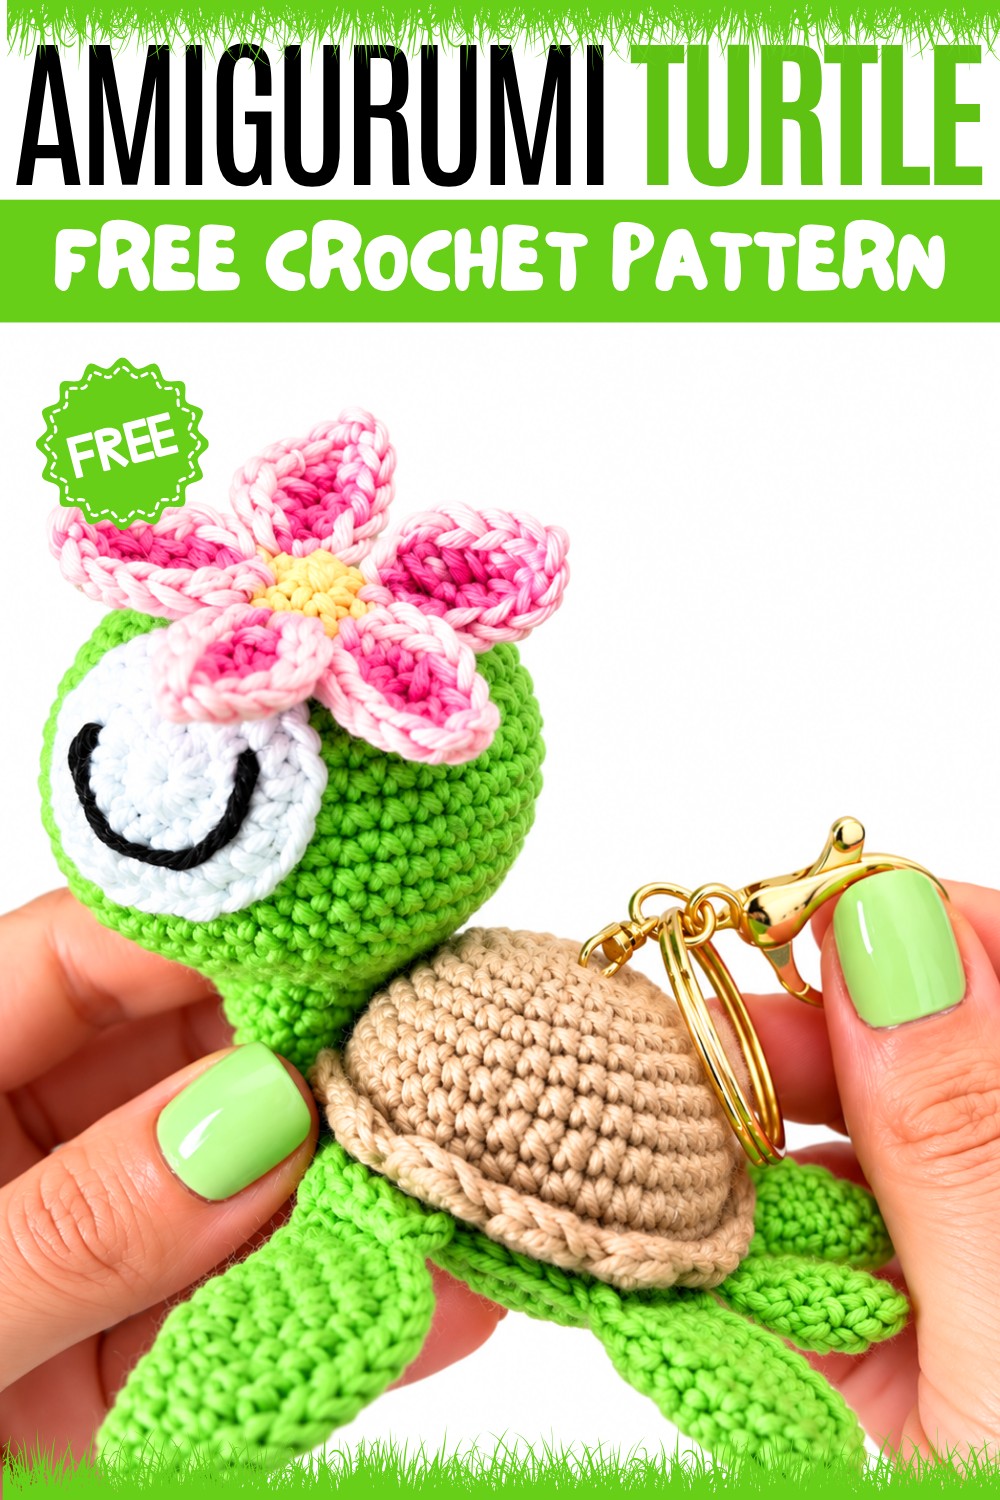
The turtle’s character comes from its large, friendly eyes that make it look so sweet and innocent. What really makes this design special is the pretty pink flower with a yellow center perched right on its head. This extra touch gives it a unique style and a splash of color.
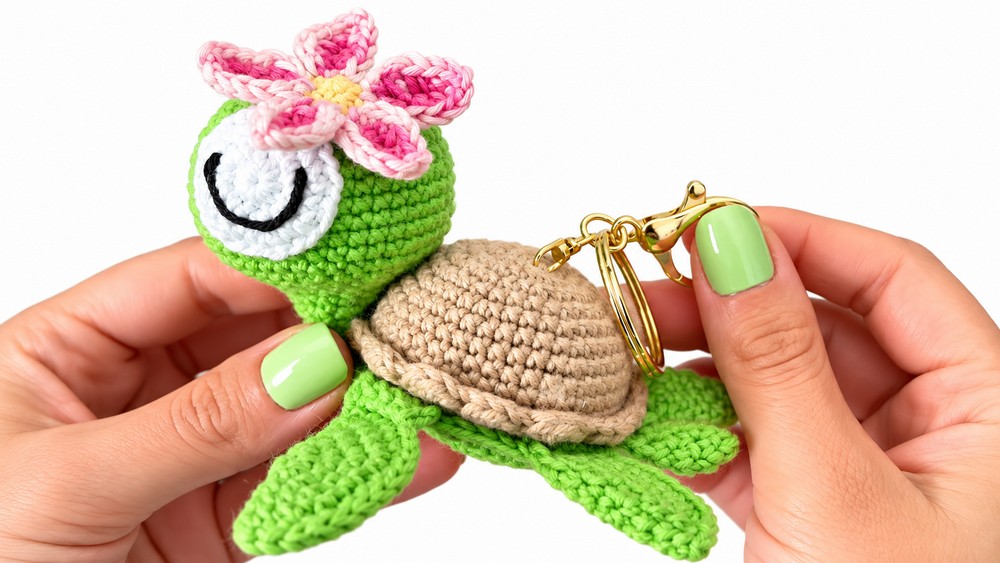
This little creature is more than just a toy. It can be attached to a ring to become a keychain, making your keys easy to spot. It also works as a lovely bag charm for a purse or backpack. Because they are so cute, these turtles are wonderful handmade presents for friends and family.
Crochet Turtle Keychain Pattern
Create a charming crochet turtle keychain using multiple colorful pieces skillfully joined for a delightful finished accessory. This pattern guides you step by step through crocheting the head, flippers, body and shell, eyes, tail, flower, and assembling the turtle. Using green, brown, white, yellow, black, and pink yarn, you will shape this adorable turtle ready to hang on your keys or bag.
Pattern Highlights
- Multiple individual parts crocheted separately and joined for a detailed look.
- Shaping achieved with increases and decreases worked in rounds.
- Shell includes unique edging with half double crochets for texture.
- Cute flower embellishment with petals made using chain and half double crochets.
- Use of multiple yarn colors for realistic and decorative effect.
- Attachment of safety eyes and embroidered details for expression.
- Finished with a secure keychain ring.
Notes
- The pattern is worked in continuous rounds unless otherwise specified.
- Magic rings are used to start most parts for a tight, closed center.
- Stitch counts for each round are given to track your progress.
- The shell’s edge is worked in the front loops only, creating a decorative border.
- Assembly involves careful sewing of components to the shell base.
- Use a stitch marker in the first stitch of each round to keep track.
- Stuff pieces firmly with fiberfill to ensure lasting shape.
- The flower uses basic crochet stitches combined in a creative way for petals.
Skill Level
Intermediate crochet skills recommended including:
- Magic ring technique
- Working in rounds
- Increases and decreases
- Front loops only stitches
- Basic embroidery and sewing techniques
Materials
- Worsted weight yarn in colors: green, brown, white, yellow, black, pink
- Crochet hook appropriate for yarn (suggested size approx. 3.5 mm or as desired)
- Fiberfill or stuffing material
- Stitch markers
- Tapestry needle
- Scissors
- Fabric glue (optional for securing components)
- Keychain ring
Measurements / Sizing
A small, handheld keychain approximately 6 to 7 cm in length once fully assembled; size may vary with tension and yarn thickness.
Gauge
Gauge is flexible; consistent tension is more important for a neat finish.
Stitch Abbreviations
- sc = single crochet
- inc = increase (2 sc in same stitch)
- dec = decrease (single crochet 2 stitches together)
- ch = chain
- sl st = slip stitch
- hdc = half double crochet
- magic ring = adjustable loop start to crochet in the round
- FLO = front loops only
Special Stitches
- Magic ring: Creates a tight center when crocheting in rounds.
- Front loops only (FLO): Input hook in front loop of stitch to produce ridged or decorative texture.
- Shell edge: Combination of slip stitches with clusters of half double crochets to form scalloped edging.
Crochet Pattern
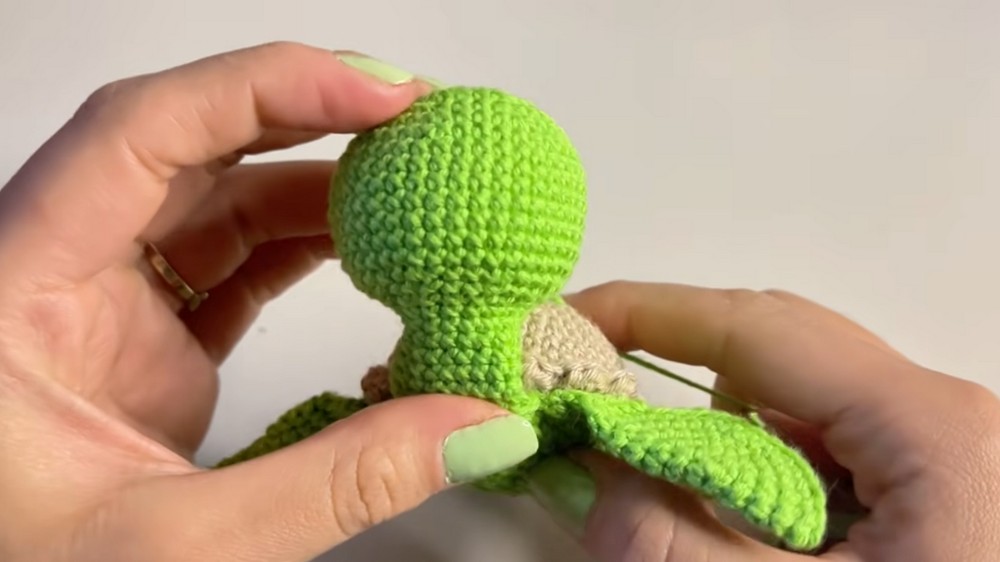
Head (Green Yarn)
- Round 1: Make a magic ring; work 8 single crochet (sc) into it. (8 stitches)
- Round 2: 8 increases (2 sc in each stitch) around. (16 stitches)
- Round 3: Repeat [1 sc, 1 inc] 8 times. (24 stitches)
- Round 4: Repeat [2 sc, 1 inc] 7 times, then 1 sc. (32 stitches)
- Round 5: Work 32 sc evenly around.
- Round 6: Repeat [3 sc, 1 inc] 8 times. (40 stitches)
- Rounds 7–14: Work even 40 sc.
- Round 15: Repeat [3 sc, 1 dec] 8 times. (32 stitches)
- Round 16: Repeat [2 sc, 1 dec] 8 times. (24 stitches)
- Stuffing: Add fiberfill stuffing firmly into the head.
- Round 17: Repeat [1 sc, 1 dec] 8 times. (16 stitches)
- Rounds 18–23: Work even rounds of 16 sc each.
- Closing: Fold flat and close the opening by working 8 sc evenly across both layers.

Flippers (Aletas)
Front Flippers
- Begin with a magic ring and work 7 sc into it.
- Increase rounds to reach 14, 21, 28, and finally 35 stitches.
- Fold the piece and close with single crochets along the fold, then work two additional rows of 4 sc flat for thickness and shape.
Back Flippers
- Work similarly to front flippers, starting with a 7 sc magic ring.
- Increase rounds until you reach 28 stitches.
- Fold and close like the front flippers but without continuing to 35 stitches.
- Add two rows of 4 sc flat to complete.
Body & Shell
Shell (Brown Yarn)
- Start with a magic ring and work 8 sc.
- Increase rounds sequentially to 16, 24, 32, 40, and 44 stitches.
- Work rounds 9 to 11 maintaining 44 sc.
- Create shell edge with a special stitch pattern worked in the front loops only (FLO):
[Slip stitch, 3 half double crochets in next stitch, skip 1 stitch] repeated around, creating scalloped edge texture.

Shell Base (Green Yarn)
- Make a magic ring, 8 sc.
- Follow increase rounds similar to shell, increasing to 44 stitches, matching shell size and shape.

Tail (Colita)
- Start with a magic ring, work 6 sc.
- Crochet 5 rounds of 6 sc each for length.
- Fold and close to shape the tail.
Eyes
- Use white yarn to make the eyes:
- Start with a magic ring of 8 sc.
- Increase to 16 stitches, then 24 stitches over subsequent rounds for size and shape.
- Embroider with black yarn/thread to add pupils and detail.
- Attach eyes to the head between rounds 5 and 12, securely sewing or gluing.
Flower (Decorative)
- Using yellow yarn for the center:
- Create 5 sc in a magic ring to form the flower’s base.
- Use pink yarn for petals: chain 6, work back on chain with 2 half double crochets (hdc), 2 single crochet (sc), 2 sc in the end chain, 2 sc, and 2 hdc.
- Create multiple petals around the center for a full floral embellishment.
Assembly & Final Details
- Sew all individual components — head, body, flippers, tail, and eyes — firmly to the shell base using a tapestry needle.
- Attach the keychain ring through the top of the shell securely.
- Embroider any additional facial features or accents as desired.
- Ensure all parts are firmly stuffed and attached for durability.
Finished Size
The completed turtle keychain measures approximately 6–7 cm in length, making it a cute and portable accessory or gift.

Conclusion
With deliberate stitching and careful assembly, you have created a detailed and colorful crochet turtle keychain. The multi-piece construction allows for rich texture and realistic shaping, while the flower embellishment adds a charming touch. This pattern, featuring thoughtful stitch strategies and assembly instructions, guides you through crafting an accessory that is as functional as it is adorable.