
Cute Crochet Santa Claus Free Pattern For Christmas Decor
Celebrate the season with Crochet Santa Claus Free Pattern and place this jolly figure on mantels, shelves, trees, or festive corners.
Looking for a fun and friendly holiday project? The Crochet Santa Claus is a delightful option that brings a warm, cheerful feeling to any room. This small figure usually stands around 6 to 8 inches tall, making it easy to place on shelves, mantels, or as part of your Christmas decorations.
Fun Crochet Santa Claus Free Pattern For Holiday Displays
The shape of this Santa Claus is simple and recognizable. It has a round body with a classic red suit and white trim. The face is friendly, often featuring a big white beard, rosy cheeks, and a small red nose that adds personality. The hat is pointed with a white fluffy edge and a pom-pom on top. Sometimes, little black boots and a belt are included, giving even more character to the figure.
As for the skill level, this project is usually good for beginners who have some basic crochet skills. You will mostly use simple stitches such as single crochet along with increases and decreases to shape the parts. The pieces are made separately and then sewn together, which makes the project easier to manage step by step.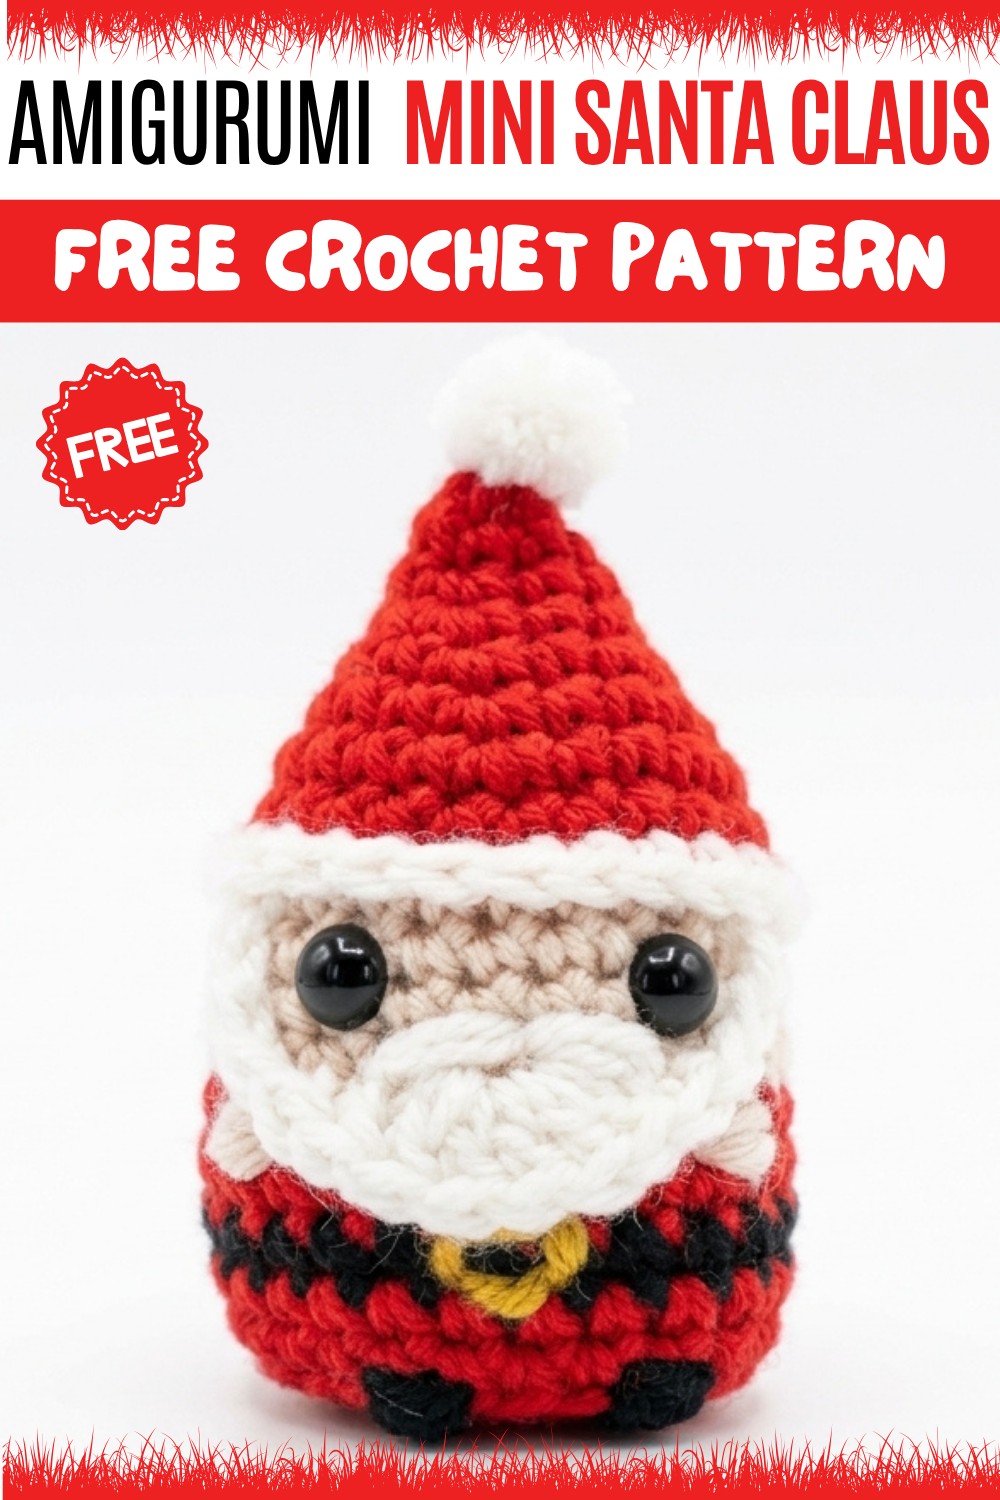
Overall, this Crochet Santa Claus project is a great way to enjoy the holiday spirit while practicing your crochet. It’s friendly on your time and skills, and the finished doll feels like a little holiday helper. Give it a try and add some handmade holiday cheer to your home!
As shown in the tutorial by Rhonda Butler, this crochet project has been adapted into an easy written reference.
Mini Santa Claus Crochet Pattern
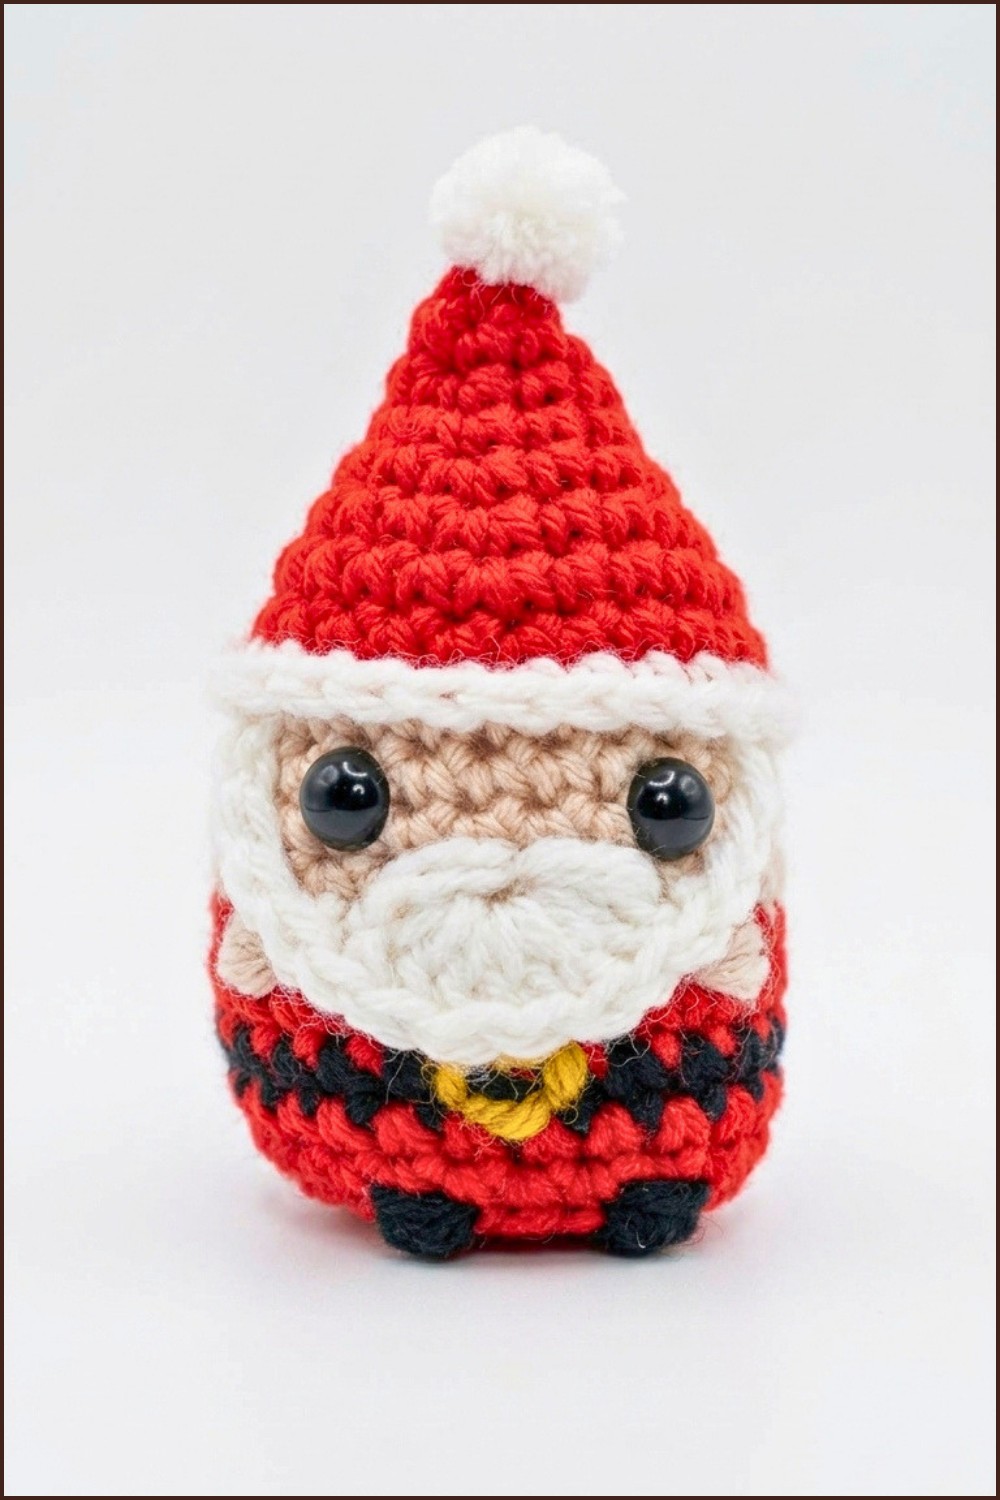
This delightful mini Santa Claus is worked in one piece with special shaping for features and is a charming seasonal project. The compact, seamless design is ideal as a collectible ornament or as a sweet gift addition. Featuring classic Santa details—like fluffy beard, red suit, and iconic hat—this pattern is constructed seamlessly from the base up, with specific round instructions and additional decorative elements applied at the end.

Pattern Basic Points
Key Characteristics
- Compact design: Worked in a single piece with minimal seaming.
- Distinctive features: Built-in ears, beard, and color changes to define Santa's hat, face, and body.
- Embellishments required: Includes embroidery for belt, boots, arms, mustache, and a pom-pom for the hat.
- Assembly: Eyes and finishing touches are added at the end for ease.
Special Notes
- Continuous Rounds: Santa is crocheted in seamless spirals unless stated otherwise, so a stitch marker is recommended to keep track of the start of each round.
- Color Changes: Pay special attention to the suggested color change points for a clear separation between hat, face, and body.
- Stuffing: Lightly stuff after forming the body and prior to final decreases for best shape retention.
- Stitch Tension: Work stitches snugly for a dense, plush result that holds its form.
Skill Level
Beginner to Intermediate:
The pattern uses basic crochet stitches but includes strategic shaping, color changes, and simple embroidery, making it suitable for crocheters who have mastered the fundamentals and want a gentle challenge.
Materials
- Worsted weight yarn: Red, white, beige, and black (small amounts of each)
- Crochet hook: 3.0 mm (or size recommended for yarn)
- Stuffing fiber
- 10mm black safety eyes (2)
- Yarn needle
- Stitch marker
- Small pom-pom (white) for hat tip
- Scissors
Measurements
- Finished Size: Approximately 4.5" (11-12 cm) tall
- Gauge: Not strictly crucial, but for reference, 6 sc x 6 rows = 1" square worked in spiral rounds
Stitch Abbreviations
- ch: chain
- sc: single crochet
- hdc: half double crochet
- dc: double crochet
- inc: increase (2 sc in next stitch)
- dec: decrease (single crochet two stitches together)
- sl st: slip stitch
- FL: front loop(s) only
- BL: back loop(s) only
- rep: repeat
- st(s): stitch(es)
Special Stitches
- Double Crochet Cluster (Ear):
YO, insert hook in designated stitch, YO, pull through, YO, pull through 2 loops (leave loop on hook), repeat 2 more times (total 3 partial dcs), YO, pull through all loops on hook. - Beard Foundation Loop:
Instructions for beard are given as a decorative add-on, worked into a specific round using a combination of sc, hdc, and dc stitches to create a scalloped edge.
Pattern Instructions
Body and Head (Santa’s Base)
Round 1:
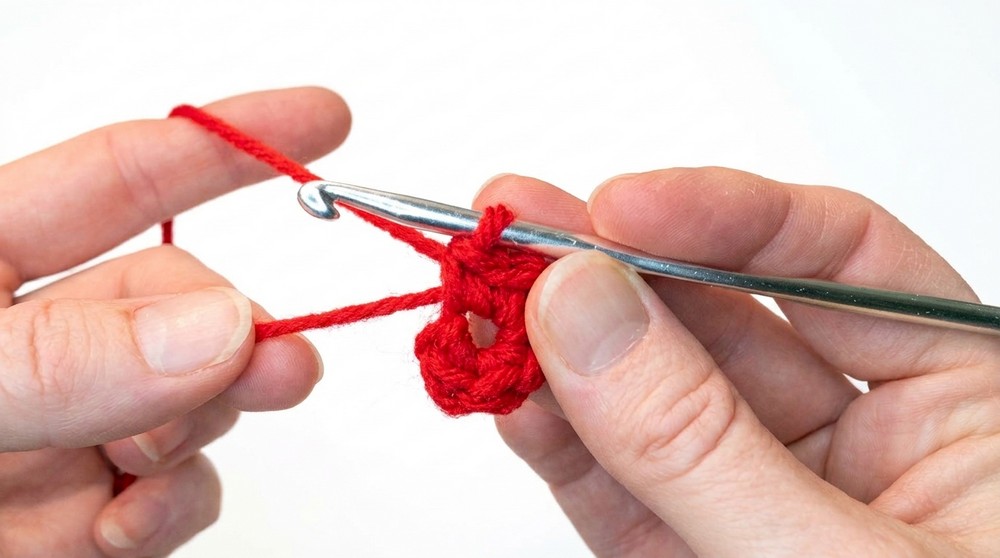
- 6 sc into a magic ring. (6)
Round 2:
- 2 sc, 1 inc, repeat around for 8 repeats. (16)
Round 3:
- 3 sc, 1 inc, repeat around for 10 repeats. (20)
Round 4:
- 4 sc, 1 inc, repeat around for 12 repeats. (24)
Round 5:
- 2 sc, 1 inc, repeat around for 16 repeats. (32)
Round 6:
- 3 sc, 1 inc, repeat around for 20 repeats. (40)
Round 7:
- 4 sc, 1 inc, repeat around for 24 repeats. (48)
Round 8:
- sc in each st around. (48)
- (Color change: Switch to beige/flesh color for face after completing this round.)
Round 9:
- sc in each st FL only. (48)
Round 10:
- sc in each st BL only. (48)
Round 11:
- 6 sc, work 1 dc cluster in next st for 1st ear, 9 sc, 1 dc cluster in next st for 2nd ear, 7 sc. (48, with 2 ears formed)
Rounds 12-13:
- sc in each st around. (48)
Round 14:
- 9 sc, 6 sc in BL only, 9 sc. (48)
(BL section marks position for under-hat shaping/hairline.)
Round 15:
- sc in each st around. (48)
- (Color change: Switch to red for Santa’s suit.)
Round 16:
- sc in each st around. (48)
- (Color change: Add small black stripe for belt if preferred.)
Rounds 17-18:
- sc in each st around. (48)
Round 19:
- sc in next st, dec in BL only, repeat around for 16 times. (32)

Round 20:
- 8 dec. (Final shaping occurs here. 8)
Fasten off, leave a long yarn tail for closing and weaving in.
Beard
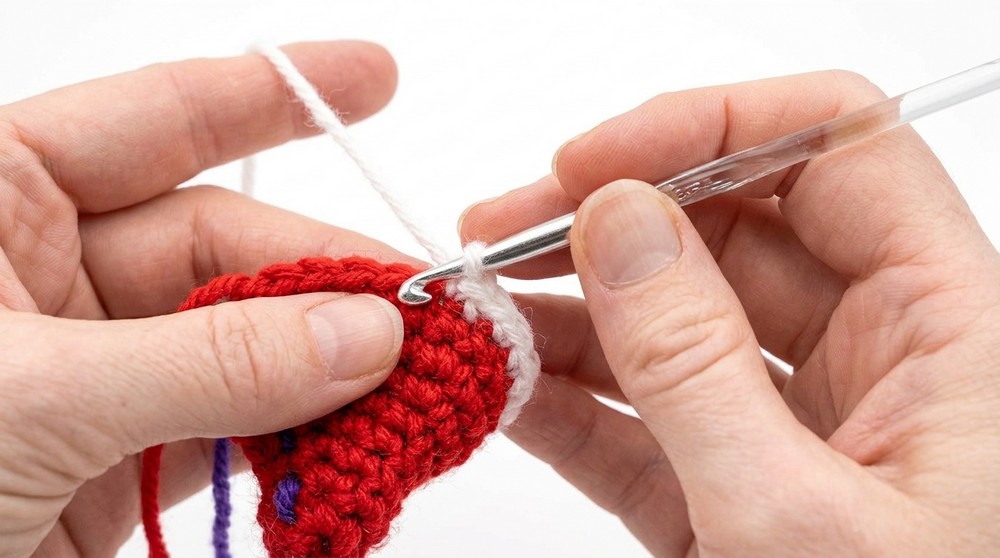
- Attach white yarn to FL of Round 9 at desired starting point.
- ch 4, sc, hdc, 2 dc in next st, 2 dc in next st, hdc, sc* and repeat scallop pattern around chosen portion for beard fullness.
- Fasten off and weave in ends.
Eyes
- Insert 10 mm safety eyes between the two ears, positioned horizontally.
- Attach securely and close backings.
Embellishments (Belt, Arms, Feet, Mustache, Pom-pom)
- Belt: With black yarn, embroider horizontal stripe at waist (just below color change to red), over approximately 8 stitches.
- Arms: Embroider small lines or use short chains/stitched-on tubes in red, attached at shoulder line.
- Feet: Embroider small black stitches at base (optional for boots).
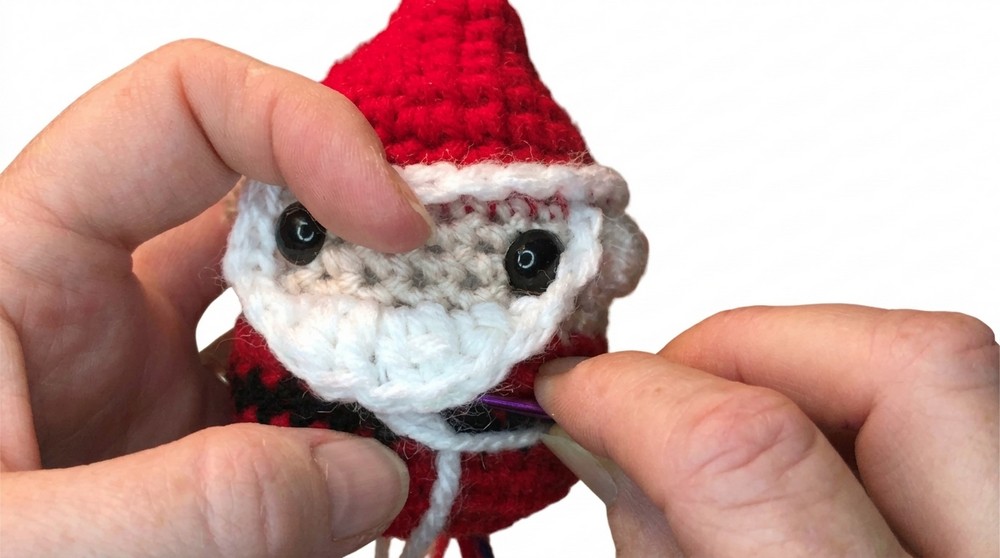
- Mustache: With white yarn, embroider or surface-crochet a small mustache above the beard.
- Pom-pom: Attach the small white pom-pom to the tip of Santa’s hat using yarn or thread.
Assembly & Finishing Size
- Stuff the figure thoroughly but evenly before closing up last round.
- Sew or embroider on all facial features and accessories per position guides above.
- Weave in all remaining ends securely inside the figure.
- Finished Santa should stand between 4" and 4.5" tall when completed with listed materials.
Conclusion
This mini Santa Claus crochet pattern blends beginner-friendly construction with creative embellishments for a festive result. Following the structured, round-by-round instructions yields an appealing and distinct Santa figure, complete with authentic character. Enjoy exploring traditional techniques, colorwork, and add-on elements with this timeless holiday pattern, perfect for gifting, displaying, or spreading a bit of handmade seasonal joy.