
Easy Crochet Bee Bear Free Pattern To Brighten Your Collection
Bring a playful animal touch to your collection with Crochet Bee Bear Free Pattern and display this cute character on a shelf, desk, or table.
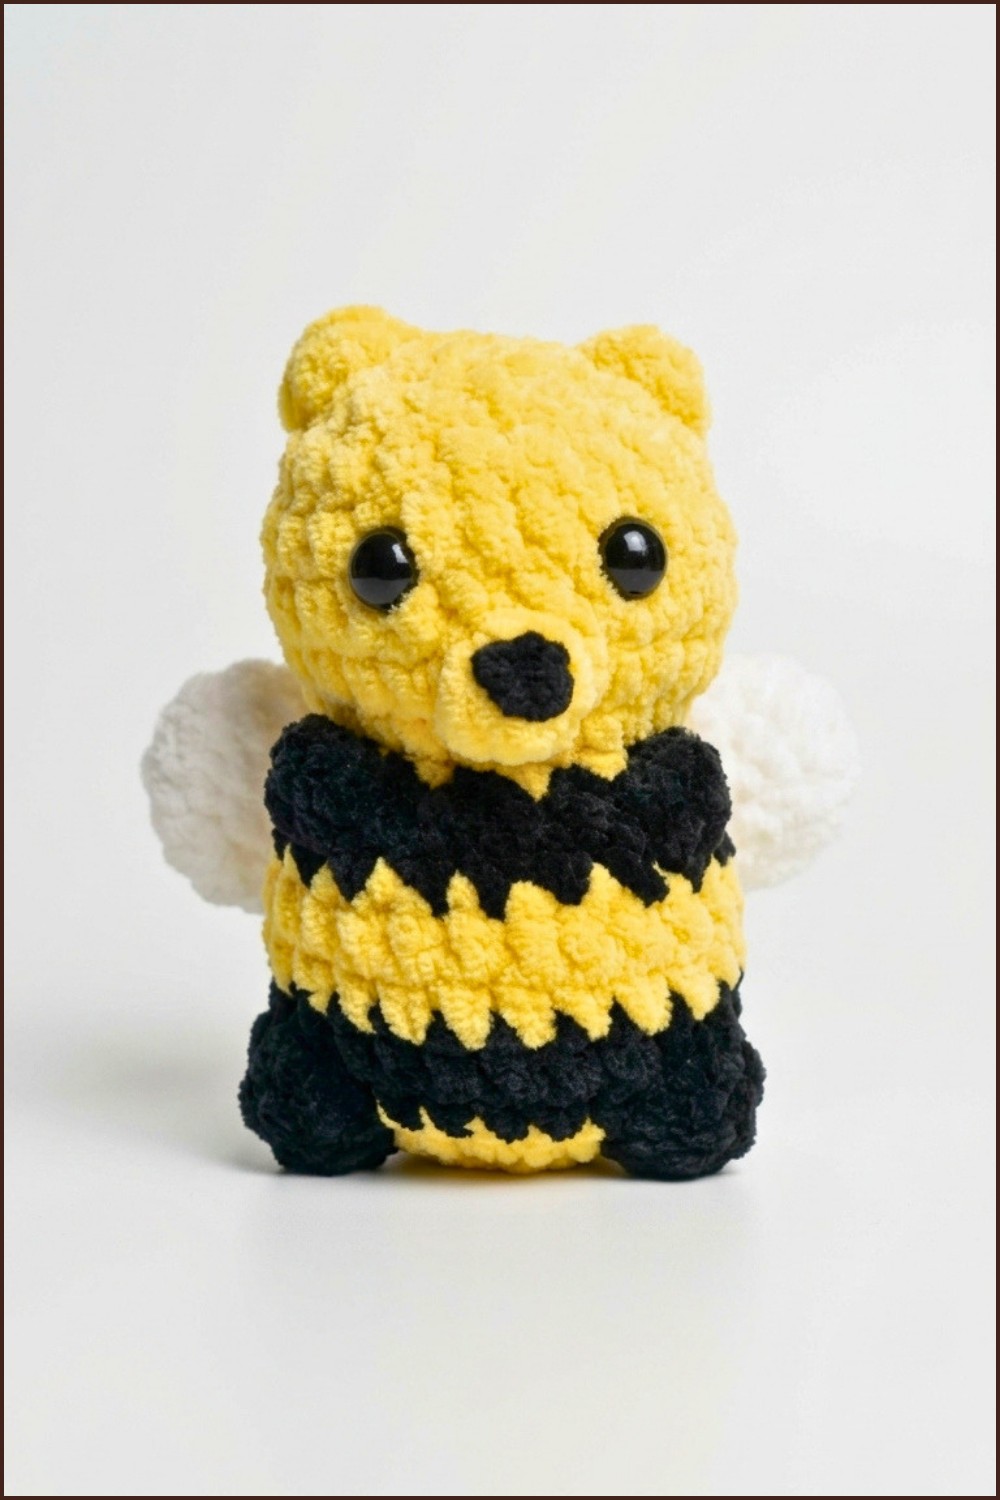
Creating a lovable combination of a bear and a bee, the Crochet Bee Bear is an endearing amigurumi project that brings charm and fun into any space. Standing around 6 to 7 inches tall, this little figure features a striped yellow and black body, tiny wings, and cute antennae, giving it a playful and cheerful personality. Its compact size makes it ideal as a whimsical decoration, a unique gift, or a collectible for those who appreciate handmadetoys.
Fun Crochet Bee Bear Free Pattern With Cute Details
This project fits well with beginner to intermediate crocheters. The work involves basic stitches such as single crochet, along with increases and decreases to shape the different parts of the bear’s body. Each piece is crocheted separately and carefully sewn together, which helps develop both crochet and sewing skills. Adding details like embroidered or sewn-on eyes and the antennae brings the character to life, making the final piece truly special.
One of the great aspects of this project is how manageable it is in size and complexity, allowing crocheters to practice essential techniques without feeling overwhelmed. The combination of stitching and assembly makes it a rewarding task that results in a cuddly, unique finished piece.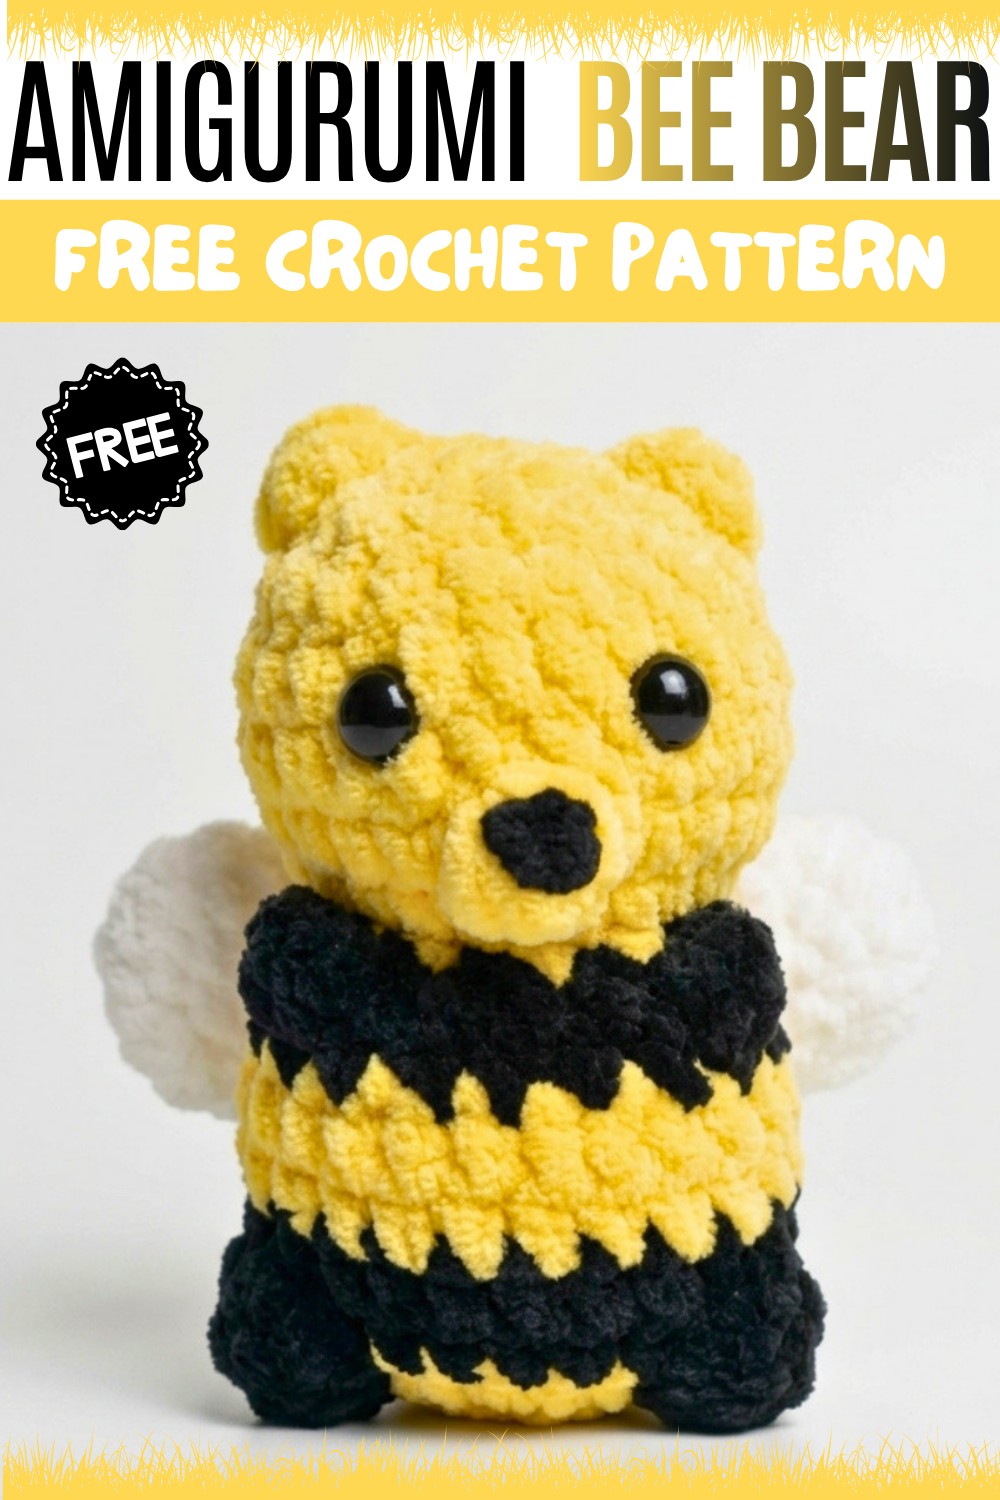
For a friendly and well-explained guide to this charming project, check out the original tutorial by Crochet Critters and try this free pattern to add a sweet Crochet Bee Bear to your collection!
Bumble Bear Amigurumi Pattern
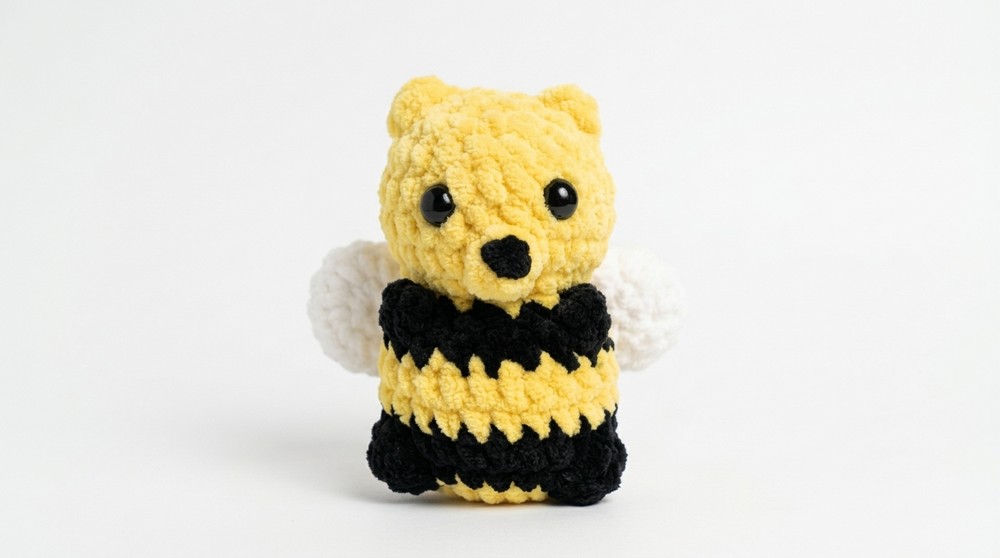
The Bumble Bear amigurumi is a playful take on classic plush toys, blending the sweetness of a teddy bear with the vibrant stripes of a bumble bee. This one-piece pattern, with clearly defined color changes and textured bobble features, produces a sturdy, squishable figure. Carefully placed bobble stitches create dimensional legs, arms, and muzzle, while bold stripes and chubby wings bring the bee-like design to life. The approachable design is seamless and thoughtfully structured for reliable results.
Pattern Basic Points
Main Features
- Seamless body: From the magic ring to the head, the body is crocheted in one continuous spiral.
- Distinct features: Legs, arms, ears, and muzzle are worked directly into the main body with bobble stitches.
- Colorwork: Alternating yellow and black mimic bee stripes, with clear round-by-round guidance for changes.
- Wing additions: Small, rounded wings are crocheted separately and sewn at the end for durability and definition.
- Minimal sewing: Only wing attachment requires needle assembly; all limbs and features are built-in.
Special Notes
- Continuous Spiral: Place a stitch marker at the round’s start and move it up as you progress to keep track.
- Bobble Placement: Take care to work bobbles firmly and consistently for uniform feature size.
- Color Change: Always complete a color change on the last yarn-over of the stitch before the new color.
- Stuffing: Stuff moderately as you work, paying close attention before the opening narrows at the head.
- Eyes: Insert safety eyes before final closing for easiest placement, referencing round instructions.
- Yarn Choice: Acrylic or cotton worsted weight yarn is recommended for optimal structure and stitch definition.
Skill Level
Confident Beginner (Lower Intermediate):
The stitches themselves are basic, but accurate bobble placement, clean color changes, and some minor shaping are required. Comfort with working in continuous rounds and basic amigurumi techniques (magic ring, increases, invisible decreases) is helpful.
Materials
- Yarn: Worsted (medium/4) weight yarn; yellow (bee color), black (stripes and accents), white (wings)
- Crochet hook: 2.75–3.5 mm (E/4 or F/5, according to yarn and desired tightness)
- 10mm safety eyes (2)
- Black embroidery or tapestry yarn (for nose)
- Stuffing fiber
- Yarn needle
- Stitch marker
- Scissors
Measurements
- Completed Size: Approximately 4.5–5 inches (11–13 cm) tall
- Gauge: 6 sc x 6 rows = 1 inch square, when working in spiral rounds. Not critical but a tighter gauge avoids holes in fabric.
Stitch Abbreviations
- ch: chain
- sc: single crochet
- inc: increase (2 sc in the same stitch)
- dec: decrease (single crochet two stitches together, preferably using invisible decrease)
- bobble: 4 double crochet bobble (see below)
- st(s): stitch(es)
- rnd: round
- rep: repeat
Special Stitches
Bobble Stitch (4-dc bobble):
Yarn over (YO), insert hook into stitch, YO, pull through, YO, pull through 2 loops (leave last loop), repeat 3 more times (total 4 partial dcs), YO, pull through all 5 loops on hook.
Bobbles are always followed immediately by regular sc stitches unless otherwise noted.
Bumble Bear Pattern
Head and Body (Worked in one piece, from bottom up)
Round 1:
- Work 6 sc in a magic ring. (6 sts)
Round 2:
- 6 inc (2 sc in each st). (12 sts)
Round 3:
- 1 sc, 1 inc, rep 6 times. (18 sts)
Round 4:
- 2 sc, 1 inc, rep 6 times. (24 sts)
Round 5 (Change to Black):
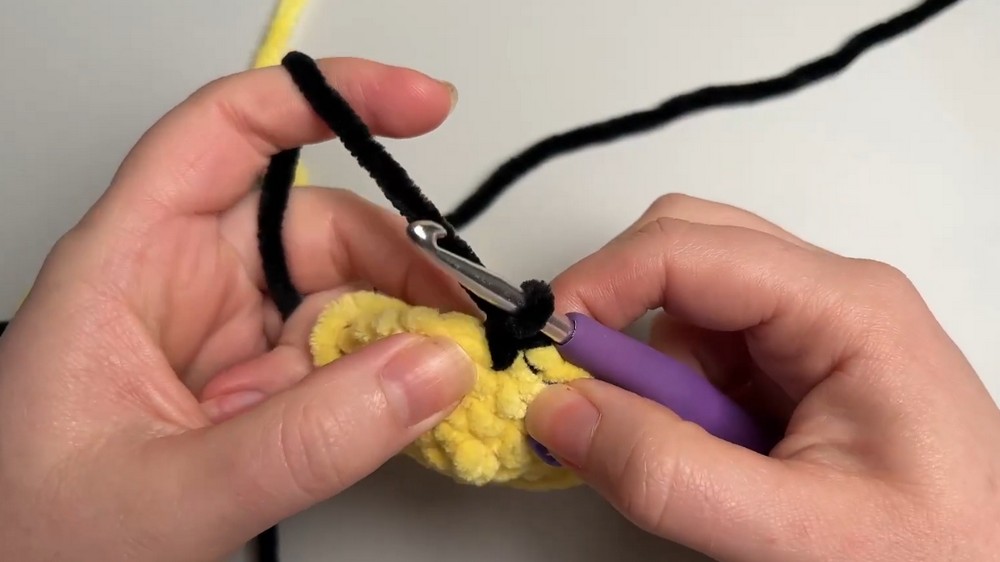
- 3 sc, 1 bobble (for first leg), 7 sc, 1 bobble (second leg), 7 sc, 1 bobble (third leg), 4 sc. (24 sts; three legs formed by bobbles)
Round 6:
- sc in each st. (24 sts)
Round 7 (Change to Yellow):
- sc in each st. (24 sts)
Round 8:
- sc in each st. (24 sts)
Round 9 (Change to Black):
- 2 sc, 1 invisible dec, rep 6 times. (18 sts)
Round 10:
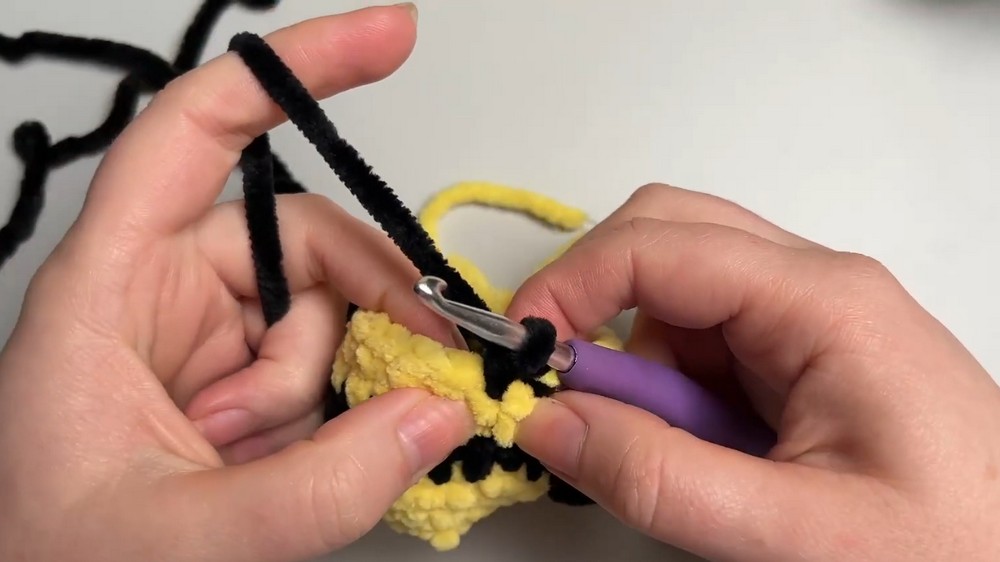
- 3 sc, 1 bobble (arm), 6 sc, 1 bobble (arm), 7 sc. (18 sts; two arms created)
Round 11 (Change to Yellow):
- 1 sc, 1 dec, rep 6 times. (12 sts)
Round 12:
- 12 inc (2 sc in each st). (24 sts)
Round 13 (Snout):
- 9 sc, 1 bobble (snout), 14 sc. (24 sts; snout is formed)
Round 14–15:
- sc in each st around. (24 sts x 2 rounds)
Round 16:
-
2 sc, 1 dec, rep 6 times. (18 sts)
Round 17 (Ears):
- 1 sc, 1 bobble (ear), 1 dec, 1 sc, 1 dec, 1 sc, 1 dec, 1 sc, 1 bobble (ear), 2 dec. (Ear bobbles placed as per video, with single crochets and decreases between for shape)
Round 18:
- 6 dec. (6 sts)
- Finish off: Fasten off and use tail to close hole. Weave in securely.
Wings (Make 2, in White)
Round 1:
- 6 sc in a magic ring. (6 sts)
Round 2:
- 6 inc (2 sc in each st). (12 sts)
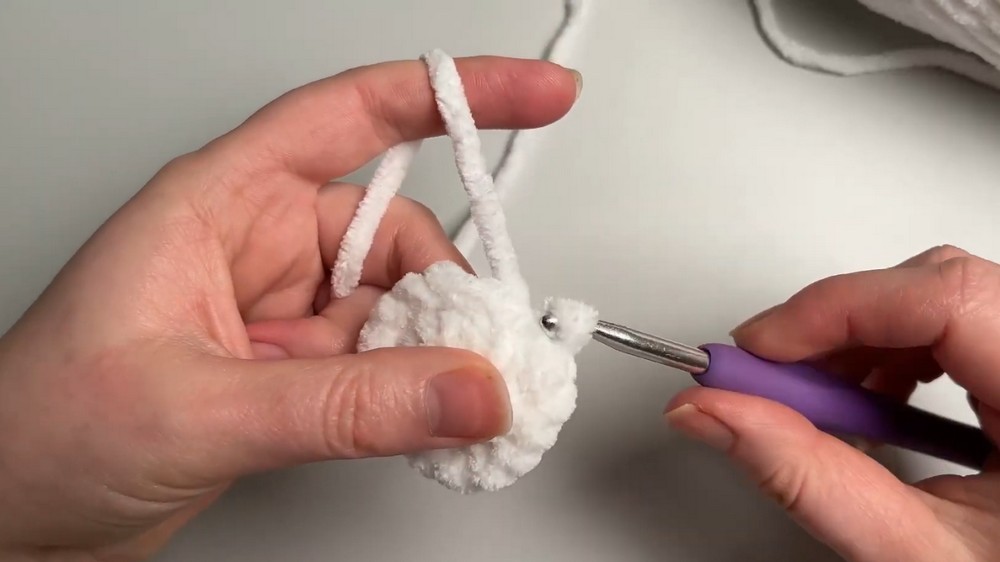
Round 3:
- 2 sc, 1 inc, rep 4 times. (16 sts)
- Fasten off, leaving a long tail for sewing onto back.
Assembly & Finished Size
- Stuff the bear firmly before closing the final head round and shaping the body. Take care especially to fill the snout and body base for stability.
- Attach safety eyes between rounds 14/15, evenly spaced on either side of the bobble snout.
- Embroider nose: With black yarn, embroider a small triangle or vertical line on the tip of the snout created by the bobble.
- Sew on wings: Using yarn tails, stitch each wing securely to the mid-upper back of the bear, spaced equally for a balanced look.
- Final touches: Weave in all threads securely inside the body.

The completed Bumble Bear stands approximately 4.5–5 inches tall, proportionate for gifting, home décor, or desk mascots.
Conclusion
With its cheerful, characterful shaping and distinctive design, the Bumble Bear amigurumi offers a playful and engaging crochet experience for confident beginners and transitioning intermediates. Built-in bobble features and bold stripes create plenty of texture and charm without the need for excessive assembly. Working through the rounds as provided and finishing with crisp color changes and feature placements results in a sturdy, adorable bear that fits right in as a friendly companion or bright decoration. The techniques learned here—particularly bobbles and colorwork—are useful elsewhere in amigurumi, adding value and skill depth for any crocheter’s future projects.