
Quick Crochet Bear Free Pattern For Handmade Gifts
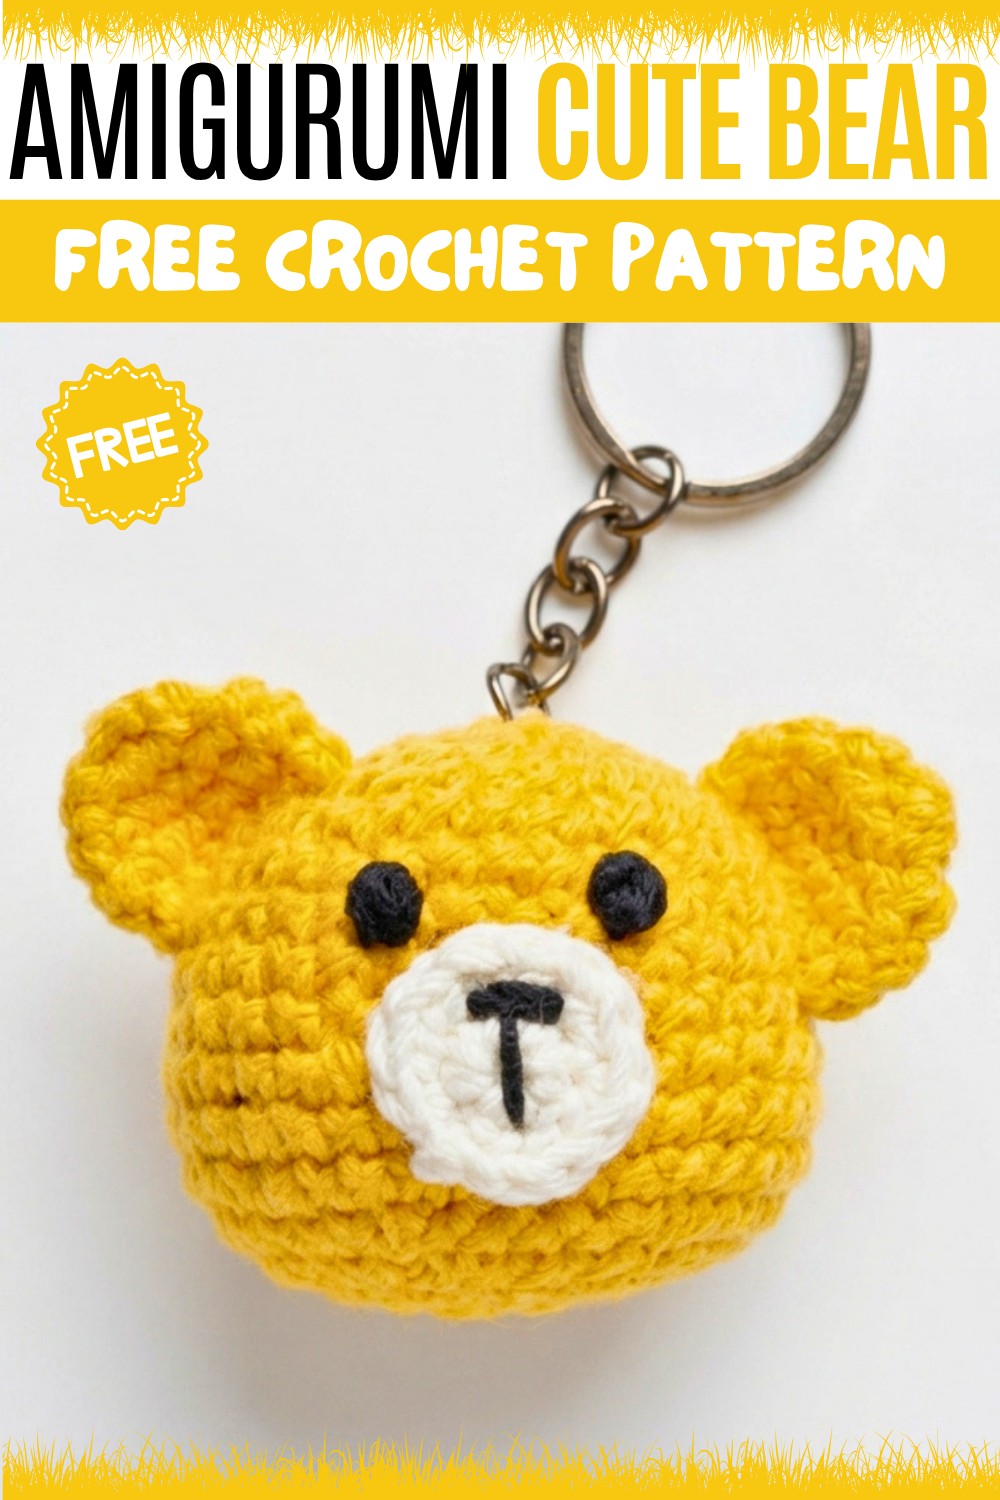
Brighten your space with Crochet Cute Bear Free Pattern and enjoy this sweet little toy as a decoration, keepsake, or add charm into your bags.
- The original tutorial by Magic in loopz serves as the main reference for this written pattern.
Creating a soft, cuddly companion with yarn and hook is always a joy. This Crochet Bear Amigurumi brings warmth and charm into any space, making it a perfect keychain , gift, decoration, or collectible. With its sweet personality and adorable features, this handmade friend can brighten up a room or bring comfort to someone special.
Little Crochet Bear Free Pattern With A Cozy Finish
Typically, the finished creation measures around 7 to 9 inches tall. Its rounded head and plump body give it a classic teddy bear shape that is instantly recognizable and inviting. The small, stitched nose and button eyes add character, while the slightly curved arms and legs make it look friendly and huggable. Many crafters enjoy adding accessories like tiny scarves or hats to personalize their bears further.
This project suits those at a beginner to intermediate level. Basic crochet techniques such as single crochet, slip stitch, and increasing and decreasing are often used. Amigurumi methods help shape the bear’s body parts, which are crocheted separately and then joined together. Stuffing the pieces with soft fiberfill gives the bear its plush form. While simple stitches are the foundation, you’ll also practice sewing skills to attach limbs and facial details securely.
The crochet bear is a versatile project. Whether you’re looking for a thoughtful handmade gift or a charming piece to display, it fits the bill perfectly. Plus, it’s a great way to build your confidence with crochet patterns and basic techniques. So, gather your yarn and hooks, and explore the fun of making your very own adorable crochet bear!
Amigurumi Bear Keychain Crochet Pattern
This crochet pattern is designed to create an amigurumi bear head, perfect as a charming and sturdy keychain. The compact design features a seamless head, flat ears, and a snout for easy personalization. Strategic shaping provides a soft, plush appearance, while embroidery brings the bear’s face to life. The quick size and simple but effective details make this a great project for gifts, personal accessories, or craft fairs.

Pattern Basic Points
- Seamless crochet construction: The bear’s head is worked in continuous rounds, creating a sturdy, no-seam structure.
- Flat, folded ears: Ears are made separately, then folded for dimension before being attached.
- Distinct muzzle: The prominent muzzle is perfect for expressive faces and custom embroidery.
- Simple finishing: After embroidery, all assembly is completed with minimal sewing and ends are neatly hidden.
- Functional keychain design: A jump ring can be attached at the top for practicality without compromising the plush appearance.
Special Notes
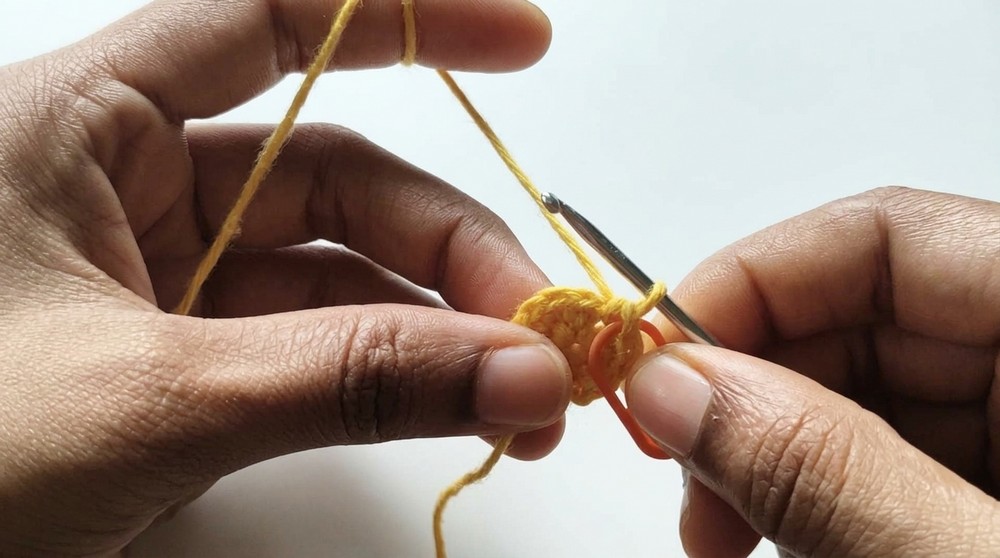
- Continuous Spiral Rounds: Mark the first stitch of each round with a removable stitch marker for accuracy.
- Stuffing: Use small tufts of fiberfill to firmly shape the head before final closure.
- Facial Placement: Embroider facial features before or after assembly, as preferred; for optimal symmetry, attach the muzzle first.
- Embroidery: Use contrasting black thread for facial details. Secure knots and hide threads inside the head to keep the design neat.
- Keychain Assembly: Attach the keyring securely using a sewn-in loop of yarn or metal finding.
Skill Level
Beginner to Confident Beginner:
This project is suitable for crocheters who are comfortable with stitching in the round and working basic increases and decreases. Assembly and embroidery are straightforward, making it ideal for newer amigurumi makers wanting to expand their skills.
Materials
- Yarn: Cotton 4-ply or sport-weight yarn in main bear color (e.g. brown, beige), contrasting color for muzzle if desired
- Hook: 2.5mm crochet hook (for tight, dense stitches)
- Stuffing: Polyester fiberfill
- Embroidery thread: Black (for face details)
- Yarn/tapestry needle: For sewing and embroidery
- Scissors
- Stitch marker
- Keyring/finding: Small metal split ring or lobster clasp for keychain attachment, optional jump ring
Measurements
- Finished Size: Head approximately 1.5–2 inches (4–5 cm) diameter
- Gauge: Not crucial for this project; aim for tight, even stitches to prevent stuffing from showing through
Stitch Abbreviations
- MR: Magic ring
- ch: chain
- sc: single crochet
- inc: increase (2 sc in same stitch)
- dec: decrease (single crochet 2 together)
- sl st: slip stitch
- st(s): stitch(es)
- rep: repeat
Special Stitches
- Invisible Decrease (inv dec): Insert hook into the front loop of the next two stitches, yarn over, pull through both loops (2 st on hook), yarn over and pull through both.
- Folding/Slip Stitch Ear Closure: Fold the completed circle in half, then slip stitch across the curved edge to seal the ear, ensuring a flat, semi-circular shape.
Bear Keychain Crochet Instructions
Head
Round 1:
- Start with a magic ring, work 6 sc into the ring. (6 sts)
Round 2:
- 6 inc (2 sc in every st). (12 sts)
Round 3:
- 1 sc, 1 inc, rep around. (18 sts)
Round 4:
- 2 sc, 1 inc, rep around. (24 sts)
Round 5:
- 3 sc, 1 inc, rep around. (30 sts)
Rounds 6–9:
- sc in each st around (30 sts for each round).
Round 10:
- 4 sc, 1 inc, rep around. (36 sts)
Rounds 11–12:
- sc in each st around (36 sts for each round).
Round 13:
- 4 sc, 1 dec, rep around. (30 sts)

Round 14:
- 3 sc, 1 dec, rep around. (24 sts)
Round 15:
- 2 sc, 1 dec, rep around. (18 sts)
- Stuff the head firmly with fiberfill.
Round 16:
- 1 sc, 1 dec, rep around. (12 sts)
- Closing: Fasten off, weave yarn tail through the front loops of the remaining stitches, pull tight to close. Secure and weave in end.
Ears (Make 2)
Round 1:
- MR, work 6 sc into ring. (6 sts)
Round 2:
- 6 inc. (12 sts)
Round 3:
- sc in each st around. (12 sts)
Round 4:
- sc in each st around. (12 sts)
- Ear Closure: Fold the ear flat; slip stitch through both sides across the opening to create a flat, semi-circular ear. Fasten off, leaving a long tail for sewing.
Muzzle
Round 1:
- MR, 6 sc in ring. (6 sts)
Round 2:
- 6 inc. (12 sts)
- Finishing: sl st into next st, fasten off leaving a long tail for attachment.
- Face Embroidery: Using black thread, embroider the nose and mouth onto the muzzle piece before sewing it to the head.
Assembly
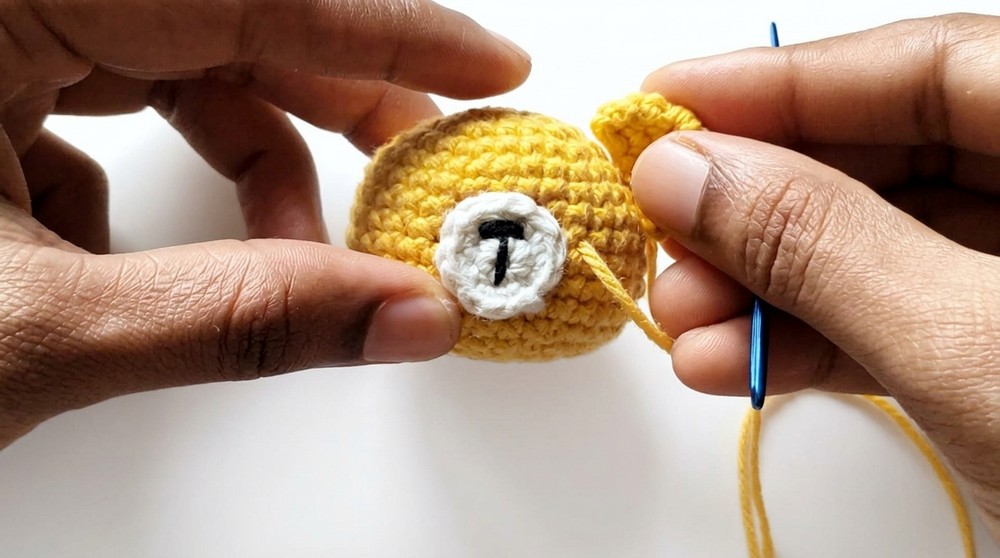
- Muzzle Attachment: Position muzzle slightly below the center of the head. Secure with pins, then sew in place with a yarn or tapestry needle. Alternately, attach with strong fabric glue if preferred.
- Ear Attachment: Folded ears should be positioned symmetrically on each side of the head, typically aligned to start above or around the third round. Pin in place, then sew securely.
- Facial Features: Using black embroidery thread, add eyes directly above or on either side of the muzzle. Ensure spacing and symmetry for the expression you want. Secure all thread ends inside the head.
- Keyring Attachment: With a yarn or tapestry needle, attach a small loop of yarn at the top of the head, then slide on a metal keyring or finding. Ensure stitching is strong and secure.
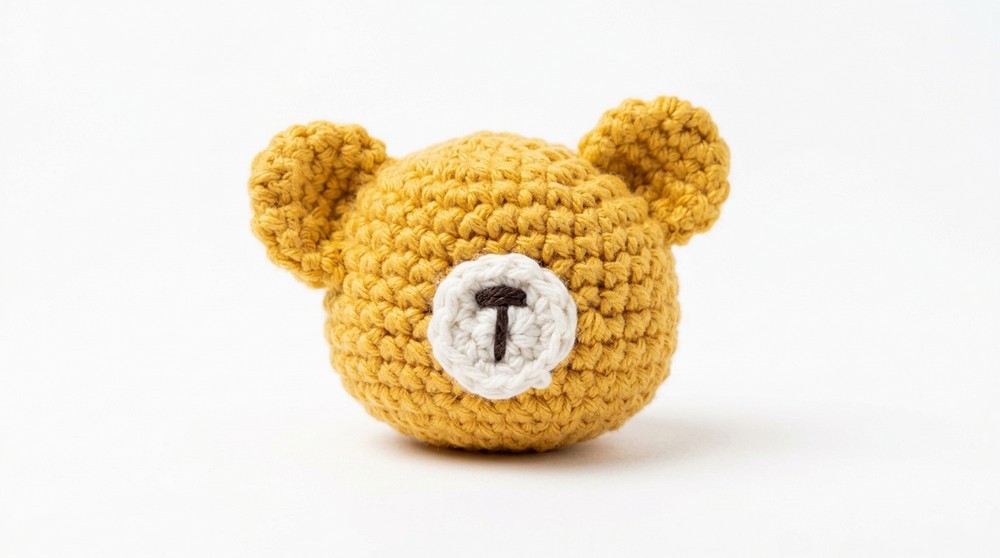
- Finishing: Trim any remaining ends and weave them into the head invisibly.
Finished Size
The completed bear head measures about 1.5–2 inches in diameter—just right for a pocket-sized keychain or bag charm. This compact size is perfect for both everyday use and gifting.

Conclusion
This amigurumi bear keychain pattern serves as an ideal entry project into the world of 3D crochet. The manageable size and simple construction paired with practice in shaping, embroidery, and assembly yield a delightful accessory. With each round, the pattern demonstrates the fundamentals of amigurumi, building confidence for more complex future creations. Enjoy customizing with color choices, unique facial details, or even adding accessories like bows or hats to make every bear unique.